
Butterfly Hair Pins
Obliczymy ostateczną cenę na podstawie wybranego pliku. Sprawdzisz ją i zaakceptujesz przed płatnością.
Zapisane na tym urządzeniu.
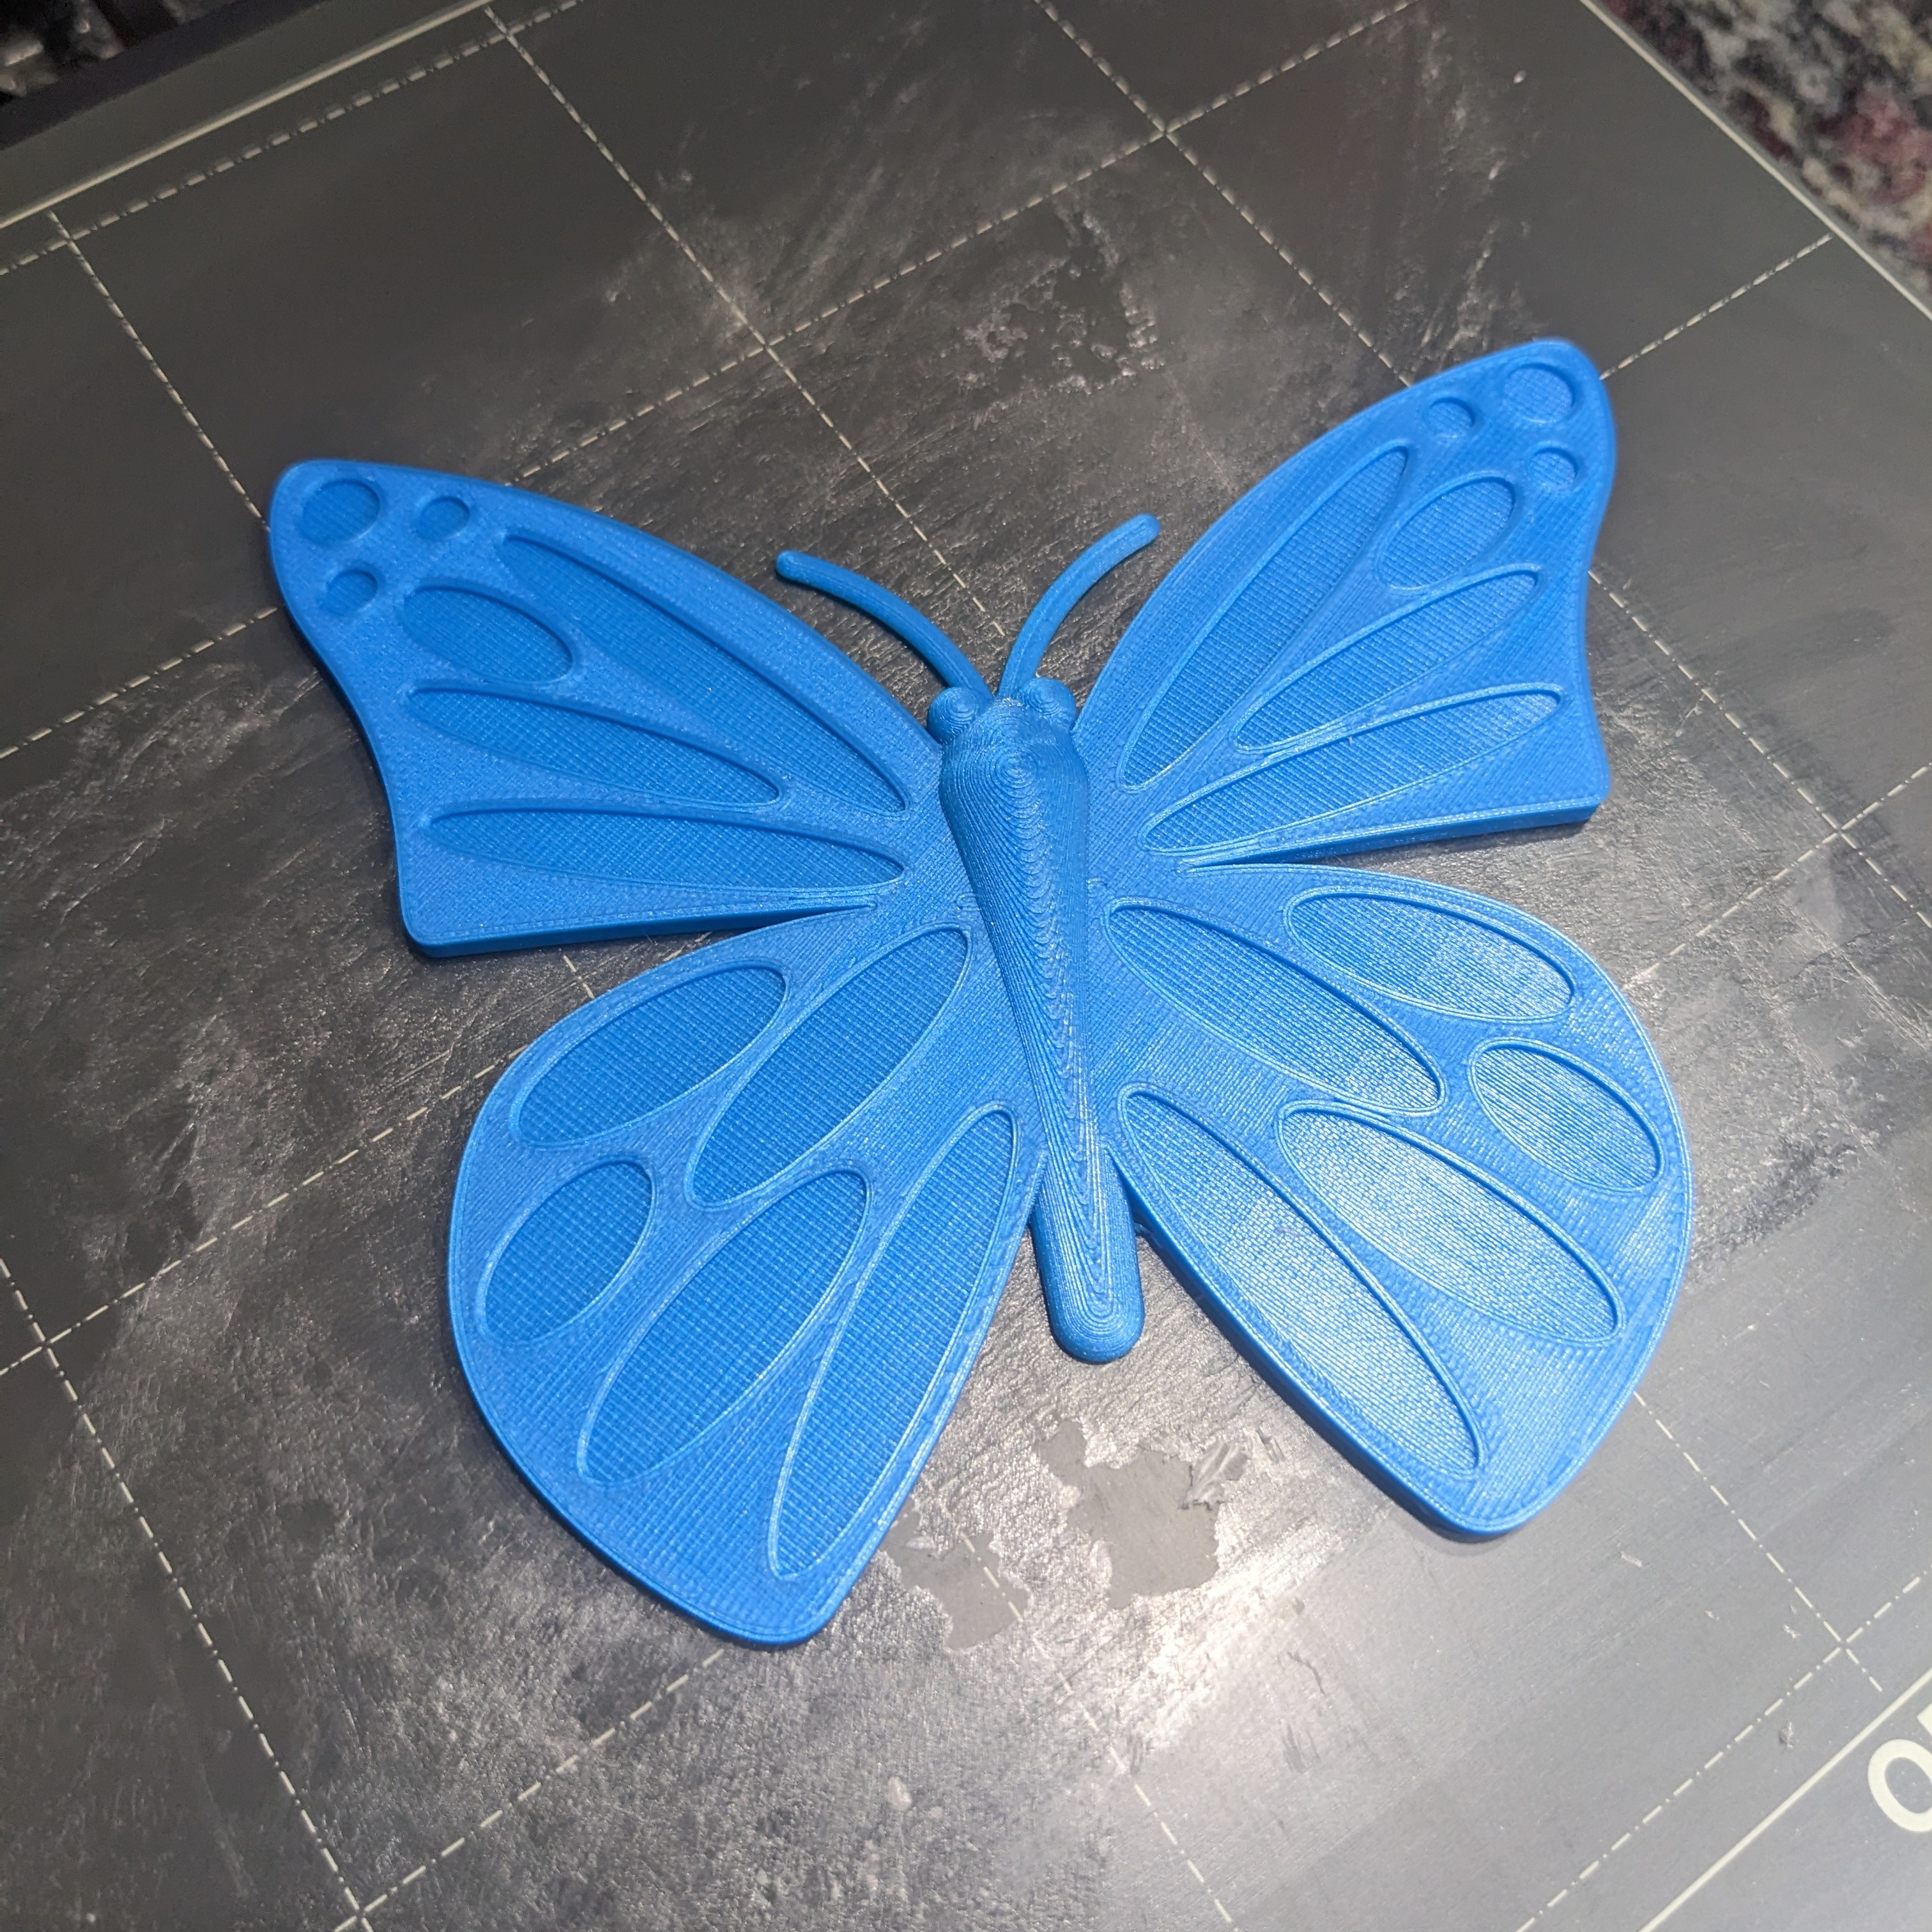
Straight and Spiral Hair Pins with a 2-Tone Butterfly Decoration
- Ocena
- 5 / 5
- Polubienia
- 128
- Pobrania
- 335
- Wydruki
- 1
- Wyświetlenia
- 2769
- Oceny
- 1
Aktualizacja u źródła:
Informacje o modelu
- Źródło
- Printables
- Kategoria
- Women
- Licencja
- Creative Commons — Attribution — Noncommercial
Design Intent
I wanted to make hair pins for my wife and daughter with a butterfly shape. The spiral hair pins are somewhat easier to use and hold well in place without much work on the hair side. The straight pin can be put in a bun similar to a pencil or chopstick.
One Color Slicing / Printing
- Orient the STL with the butterfly face down
- It can be printed without supports and the butterfly spots should bridge well enough because they're small. If you have trouble, add supports for those spots (0.4mm deep)
- I sliced the spiral butterfly in 0.1 mm layers and the straight butterfly in 0.2 mm layers with 0.1 mm at the tip
- I used 4 perimeters to get a little more strength
- Support is optional with the spiral hair pin. The coil is flexible enough that it wobbles during printing, making a little bit of a wavy surface. Supports will hold in it place, but the surface ended up rougher for me from the supports than from the wobbling. Neither is rough enough to matter, and you can clean it up with a deburring tool if you want to.
Multi-Color Slicing / Printing
Slicing
- Slice the spots and the hair pin separately
- The spots should be sliced with an extra large gap for the skirt distance to keep it away from the later pin print - I used 10 mm instead of the standard 2
- I sliced the spots at 0.1 mm
- The Z-Lift for the hair pin should be increased by 0.4 mm (to 0.8 mm) to make sure it doesn't collide with the spots
- I sliced the spiral butterfly in 0.1 mm layers and the straight butterfly in 0.2 mm layers with 0.1 mm at the tip
- I used 4 perimeters to get a little more strength
- As mentioned above, support is optional for the spiral hair pin. If you decide to use supports, make sure you put support blockers in all of the spots - otherwise it will try to print supports where your spots already are.
- If you'd like to make have the pin a different color from the butterfly, add a color change to the layer just above the butterfly body
Printing
- Print the spots in the desired color. Depending on how clean your bed is and how well you're getting first layer adherence, you may want to use a glue stick.
- Remove the wipe strip but leave the skirt and spots alone
- Change the filament color to the main color (or the outside butterfly color if you're doing a color change for the pin)
- Print the hair pin. It should hop right over the spots and fill in the spaces around them
My Prints
I printed the butterflies with Prusa Azure Blue and SunLu Silver Silk PLA. I also printed the straight pins with wood PLA (Amolen Wood and Ebony Wood). The wood added a nice texture to the long straight pin.