
Mazda CX-3 (Possibly Mazda2 and Mx5 and other models) Handbrake Lever Rod
Obliczymy ostateczną cenę na podstawie wybranego pliku. Sprawdzisz ją i zaakceptujesz przed płatnością.
Zapisane na tym urządzeniu.

Replacement part for handbrake lever, resolves handbrake lever not staying engaged. Performed on a 2017 CX-3 GS
- Ocena
- 0 / 5
- Polubienia
- 1
- Pobrania
- 23
- Wydruki
- 0
- Wyświetlenia
- 1095
- Oceny
- 0
Aktualizacja u źródła:
Informacje o modelu
- Źródło
- Printables
- Kategoria
- Automotive
- Licencja
- Creative Commons — Attribution — Noncommercial
This is a replacement for a plastic rod that is housed in the handle of the Mazda CX-3 handbrake lever and holds the ratcheting mechanism against the ratchet teeth. My mechanic wanted about 500$ to just replace the entire handbrake handle assembly rather than fix the existing one, and the dealer wanted half that for just the part so if you're the kind of person who doesn't want to spend that kind of money to replace what amounts to around 10 cents worth of plastic here's how to fix it.
There's a decent chance this fits the Mazda2 and Miata as they apparently share nearly the entire interior with the CX-3, but I have also seen people describing this issue and discovering the same culprit on other models so it's possible it's a generic part shared between multiple Mazdas.
The white piece in the pictures is the original, the orange is the print. I have slightly redesigned the back where it grips the ratcheting mechanism to be closed on both sides instead of open like the original to hopefully improve the strength of the part.
I printed mine with PETG with 100% infill, but if you have a printer capable of printing stronger materials with heat resistance appropriate for car interiors that would probably be a better choice. Don't use a print that does not come out properly. If it's warped try again until you get one that comes out properly, this repair is a little obnoxious to pull off so it's preferable to put a quality part in the first time around.
THE PROBLEM:
If your handbrake lever suddenly does not ratchet and handbrake immediately disengages this part is likely the culprit. If your handbrake's grip got progressively worse over time the culprit is likely the spring that is attached to this part rather than the part itself and the steps to access it are the same.
THE SOLUTION:
(classic disclaimer do this at your own risk)
Remove the center console parts in the order shown in picture 4, parts 1 through 3 simply lift out without much force, and the handbrake cover can be easily removed by pulling it up from the bottom.
You can find the process demonstrated here, but you only need to remove the indicated parts this guy disassembles the entire thing:
You will be greeted with the exposed metal of the handbrake lever (note the seam at the top), which is unfortunately riveted shut and can not be easily opened. However since it is two separate pieces of metal it is possible to wedge it open enough to perform this repair. I used small metal toolkit wrenches (like these) to wedge open the gap in the top and access the inside which worked well enough.


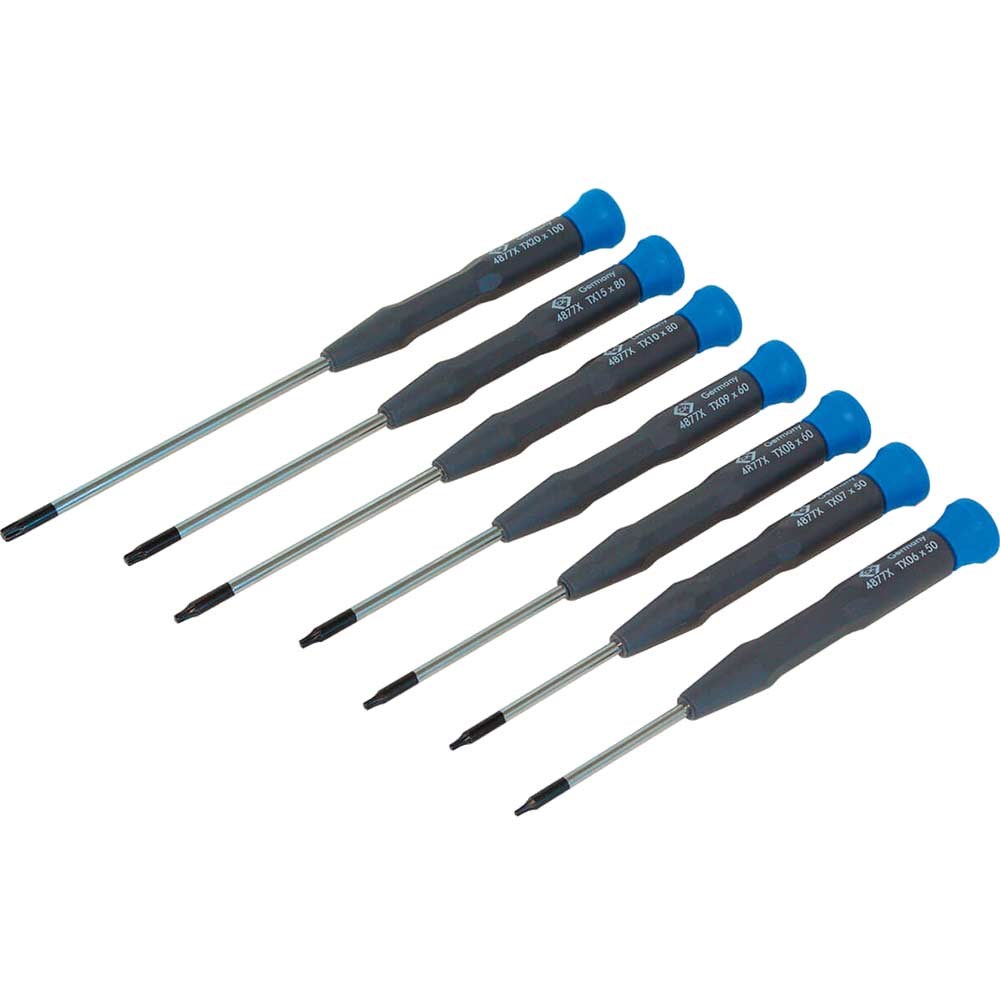
For the next part I used small metal computer screwdrivers (like these) to manipulate the inside. It's very difficult to see exactly what's going on inside the handbrake assembly, but it looks similar to this.

First, note the position of the spring, and the sides of the handbrake interior that are used to tension it, you will need to set it up like this again afterwards, it's not difficult or confusing, but it doesn't hurt to look now to see how it's set up.
Removing the broken plastic rod is fairly easy as the back is broken, simply push it forward and out, make sure the spring comes out with it and DO NOT LOSE the spring.
Remove the press button and install it on the replacement rod, and slide the spring into place on the replacement rod as well, and slide it into the handbrake assembly. I also applied white lithium grease in the back of the rod where it holds the pawl but I'm not sure how helpful that is.
Now this is the most obnoxious part, it is not difficult so much as tedious. The hole in the back of the rod must be placed over the tip of the pawl so that the rod is holding it securely. The easiest way I found to do this is to push the rod further back into the assembly while using a screwdriver to manipulate the pawl under the hole and then push the rod down onto it. Keep trying until an attempt to slot it into place is successful.
Once you have done this you must move the rod forward and get the spring into it's correct position, thankfully the pawl is just as hard to dislodge as it was to get it in and this part is relatively easy.
You will see two parts sticking out on each side of the interior of the metal housing where the back of the spring originally rested. Use a screwdriver to coax the spring back into place, and once it is in place carefully remove whatever you used to wedge the handbrake assembly apart so that it is not disturbed as you close it.
And that's it, your handbrake should now be functioning again. If you want to avoid stressing the part hold the handbrake button down as you lift it instead of allowing it to ratchet normally, and slightly lift then push the button when releasing it, this greatly lowers the stress placed on the part.