
Original Prusa Enclosure - Slider Lock Latch
Obliczymy ostateczną cenę na podstawie wybranego pliku. Sprawdzisz ją i zaakceptujesz przed płatnością.
Wstępna wycena dla PETG
0,80 € – 0,98 € netto (bez VAT)
Dla pliku: Slide_Latch_Lock_V3_0.4n_0.2mm_PETG_MK3S_1h1m.gcode
To wstępna wycena jednego pliku. Dokładną cenę poznasz przed zamówieniem.
Plik i założenia wyceny
Plik użyty do wyceny
Średnia wycena orientacyjna: 0,89 € netto (środek widełek).
- Masa podana przez autora
- 9 g
- Czas druku podany przez autora
- 1,02 godz.
- Materiał u źródła
- PET
- Materiał wyceny
- PETG
- Drukarka wyceny
- Bambu Lab P1S - 0.4 nozzle
- Proces wyceny
- 0.20mm Standard
Orientacyjna wycena wyłącznie wybranego pliku, oparta na masie i czasie druku podanych przez autora. Warianty plików nie są sumowane. Ostateczna cena zostanie obliczona po analizie pliku.
Zapisane na tym urządzeniu.
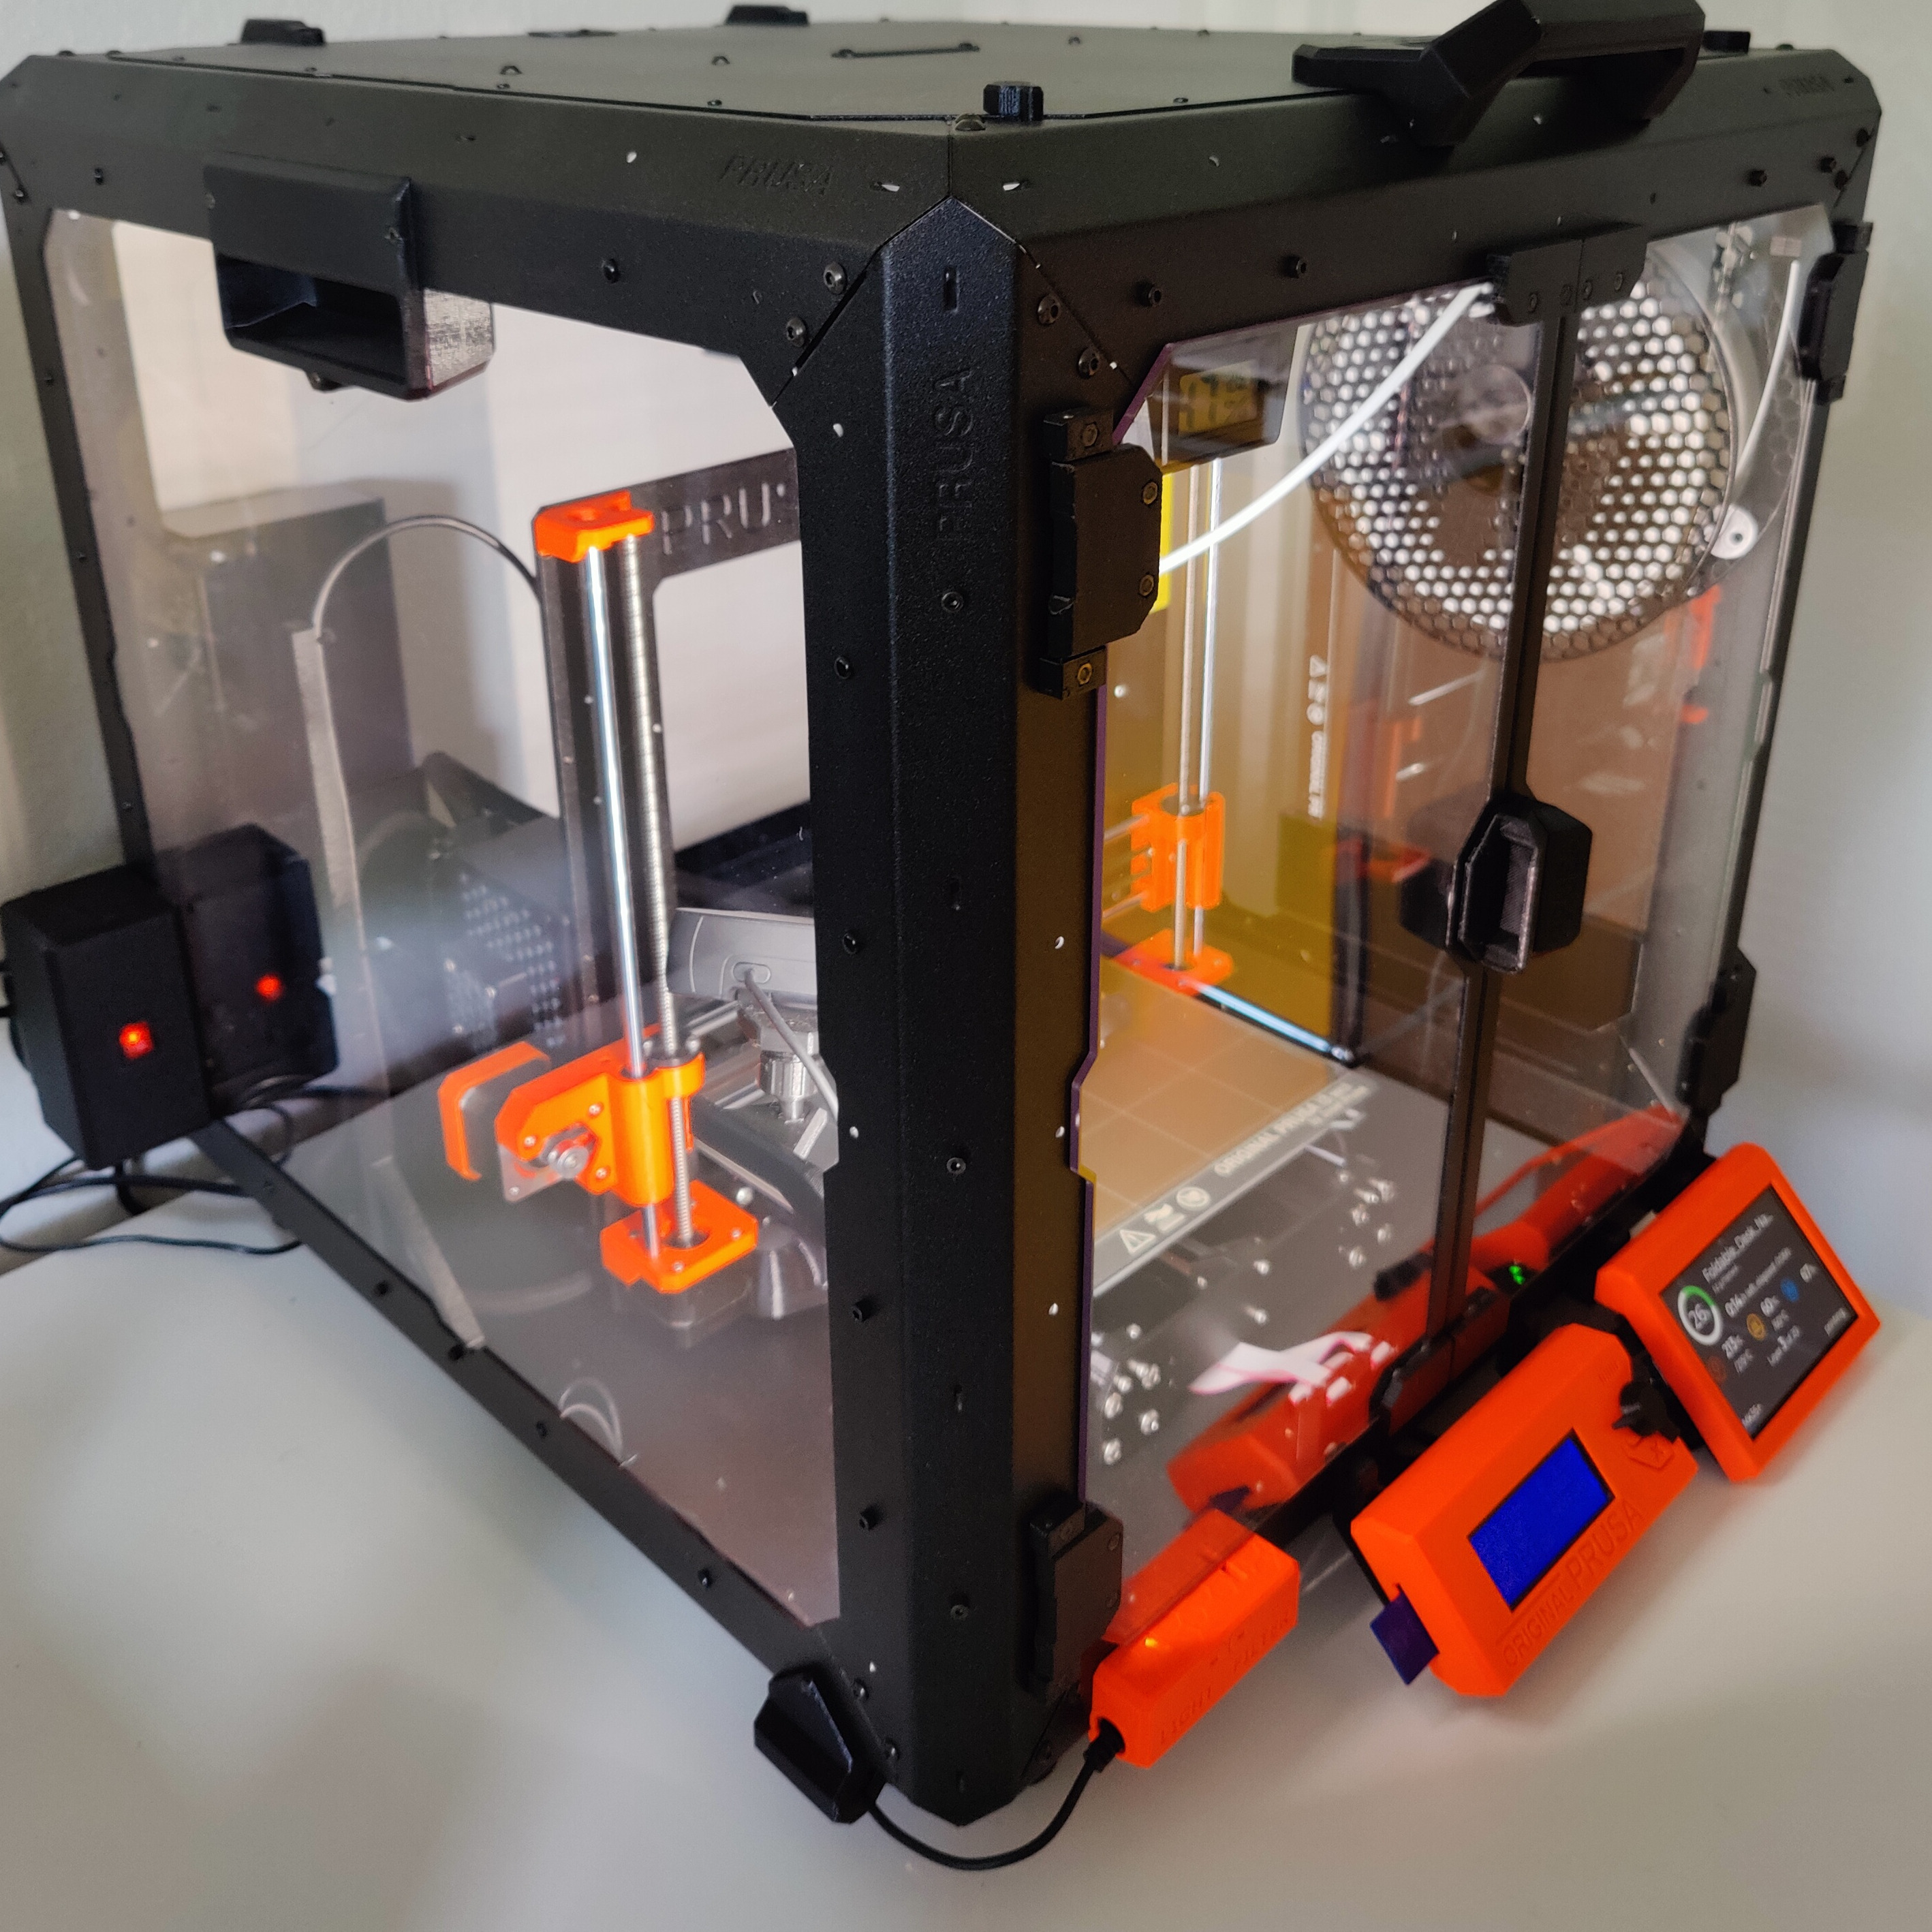
For users of the hinged lid who have always wanted stronger latches to lock the lid.
- Ocena
- 4,98 / 5
- Polubienia
- 228
- Pobrania
- 656
- Wydruki
- 52
- Wyświetlenia
- 4664
- Oceny
- 51
Aktualizacja u źródła:
Informacje o modelu
- Źródło
- Printables
- Kategoria
- Prusa Parts & Upgrades
- Licencja
- GNU General Public License v2.0
When I assembled the enclosure, I had already decided to treat myself to the hinged lid version. It is easier to clean the enclosure or maintain the air filter.
But what didn't satisfy me from the start were—excuse my choice of words—the crappy lid locks. I printed out probably 6 of them because I kept wearing out the threads.
Not that my design is the perfect one, but it is more stable, looks better, and you can use the same screw (M3 x 8mm Allen screw) as for the lid lock. You just need one M3 square nut per latch.
The latch can also be mounted on the side or rear. You could also use the latch to make the lid removable, so without hinges.
To assemble the model, take a look at the photos. You don't need any glue, just put it together with some force.
A few tips in case the sliders are too hard to move because it depends somewhat on the material and how you print the slider and the case.
- The orientation of the parts in the 3MF Prusa Slicer project is intentional so that the layers are aligned with the slide direction.
- You can spread a tiny bit of silicone grease on the bump of the slider.
- You can sand the bump on the slider a bit until you get the snap you want.
The model was created with FreeCAD. The file is also available.