
Extruder fan mount for Creality K1
Obliczymy ostateczną cenę na podstawie wybranego pliku. Sprawdzisz ją i zaakceptujesz przed płatnością.
Zapisane na tym urządzeniu.
To allow K1 print PLA(or other lower temp materials) with lid close, need to keep filament cool
- Ocena
- 5 / 5
- Polubienia
- 159
- Pobrania
- 790
- Wydruki
- 3
- Wyświetlenia
- 9129
- Oceny
- 3
Aktualizacja u źródła:
Informacje o modelu
- Źródło
- Printables
- Kategoria
- Creality Parts & Upgrades
- Licencja
- Creative Commons — Attribution — Share Alike
[13 Oct 2023 update] some one PMed and said the 3mf is not working on some slicer, uploaded a stl version as well.
There is an annoying issue with K1, that you can't print PLA or other lower temp materials with lid on, otherwise it might either under extruder or clog inside extruder due to warm up filament deform by the powerful motor(only if your extruder is v2 or above, since v2 no more crooked extruder wheel, to learn more about extruder: point 4a)
Here is an example of deform and clog inside extruder:

Have finish the design of this mount since 15July, been testing for more than a month, until now no under extrude, no clog as well. So I think it is time to share to public, my solution is to tap a fan to the existing auxiliary fan, not to the toolhead side, because I know the side fan is 18W, and the 3010 I am adding is 1.7W only, taping to side fan should have enough head room from the board to drive the extra fan.
Here is how it works:
To complete this mod, you will need
1.) M3x12 screws - 3pcs
2.) M3 washer - 2pc (recommend 1mm)
3.) 3010 fan 24V (recommended look for 16000rpm) - 1pc
4.) K1 Lid Raiser (any raiser on Printables should work, I have also designed some)
5.) some wires
6.) SM2.54 connector - 3pairs

Step by step:
1.) Print the mount, tap the threads(or just use metal screw and hard force them in)
2.) Cut off one corner of the 3010 fan.
3.) Add the washers in between the motor and extruder, so there is a gap for air to run down

4.) Follow green arrow and run the wires
5.) Yellow arrow is the existing aux fan cable, can open the pvc cable trunking to tap into existing.
If you don't know how to clamp SM2.54, can order fan already have SM2.54 connector, then buy a SM2.54 Y-split cable
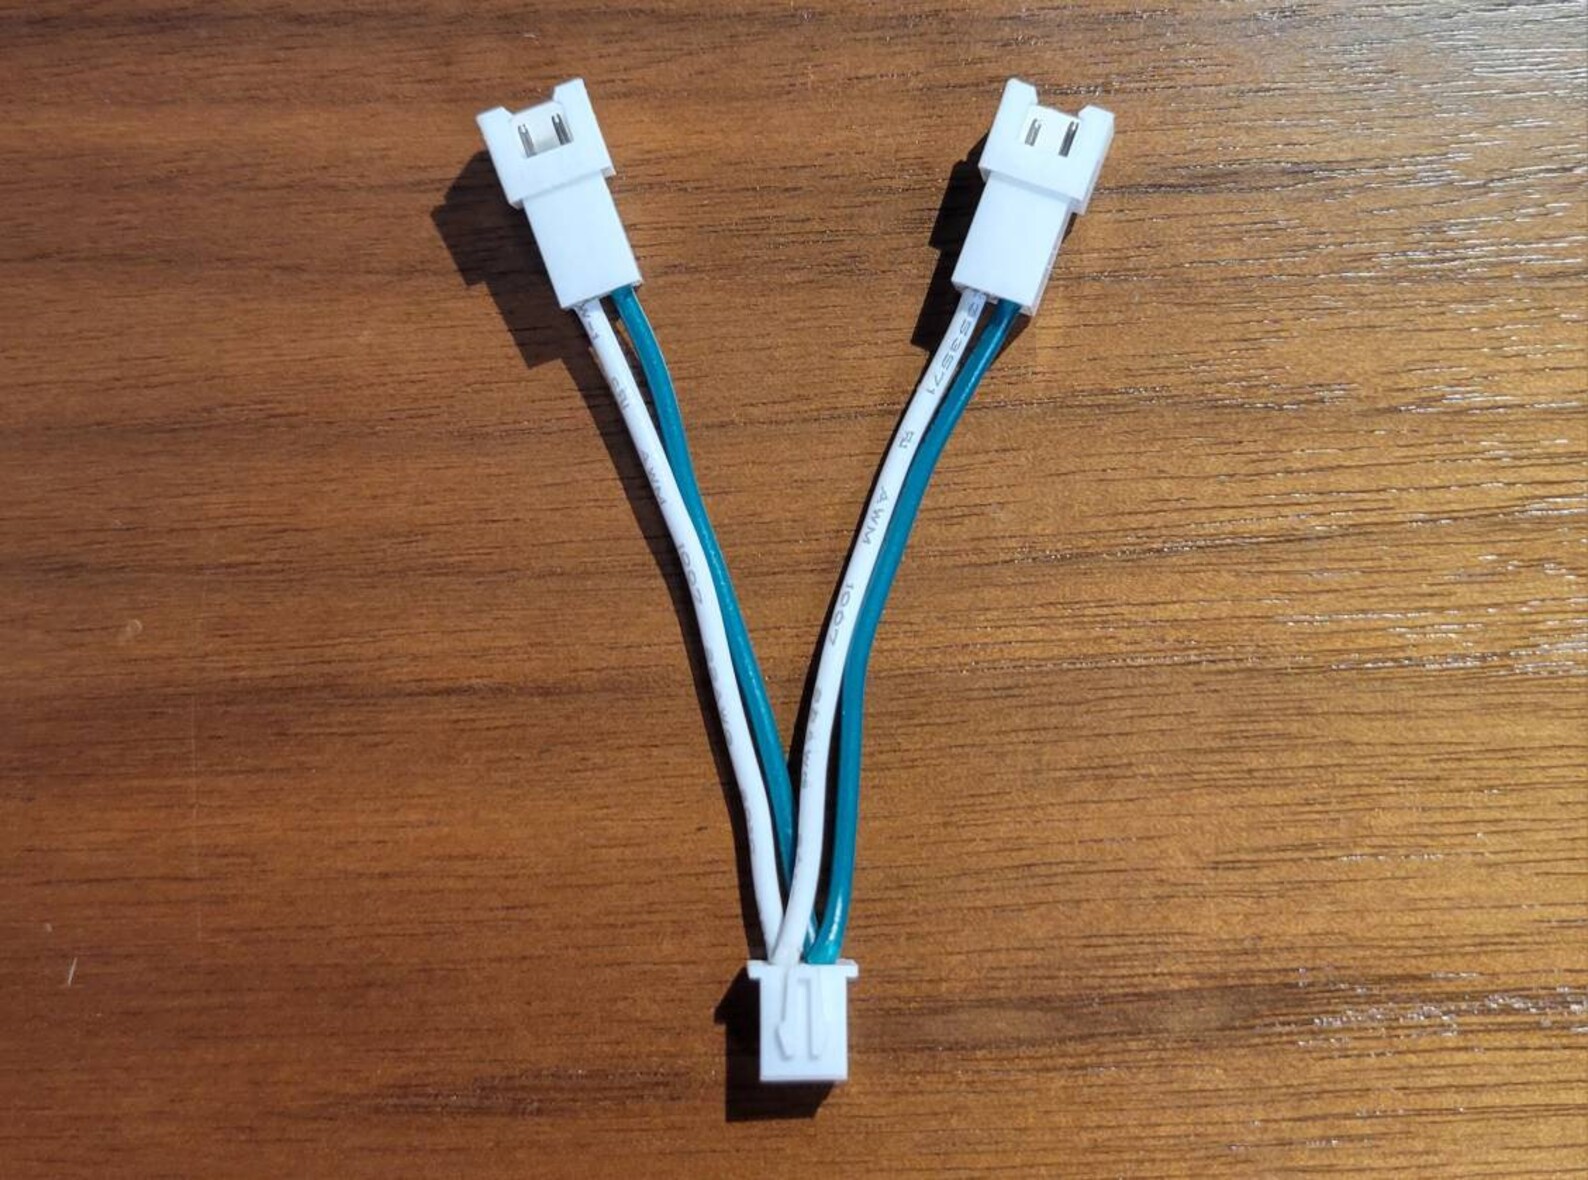
Also, you don't need to use the extruder tube lock, the one I designed and included in the file is still hard to use, have been not locking the capricorn tube for 2weeks, so far so good
If you also want a hinged lid with extra LED as the video, this is a remix I did, other LED mount raiser/hinge won't work, they will hit the fan, they don't have enough height clearance.