
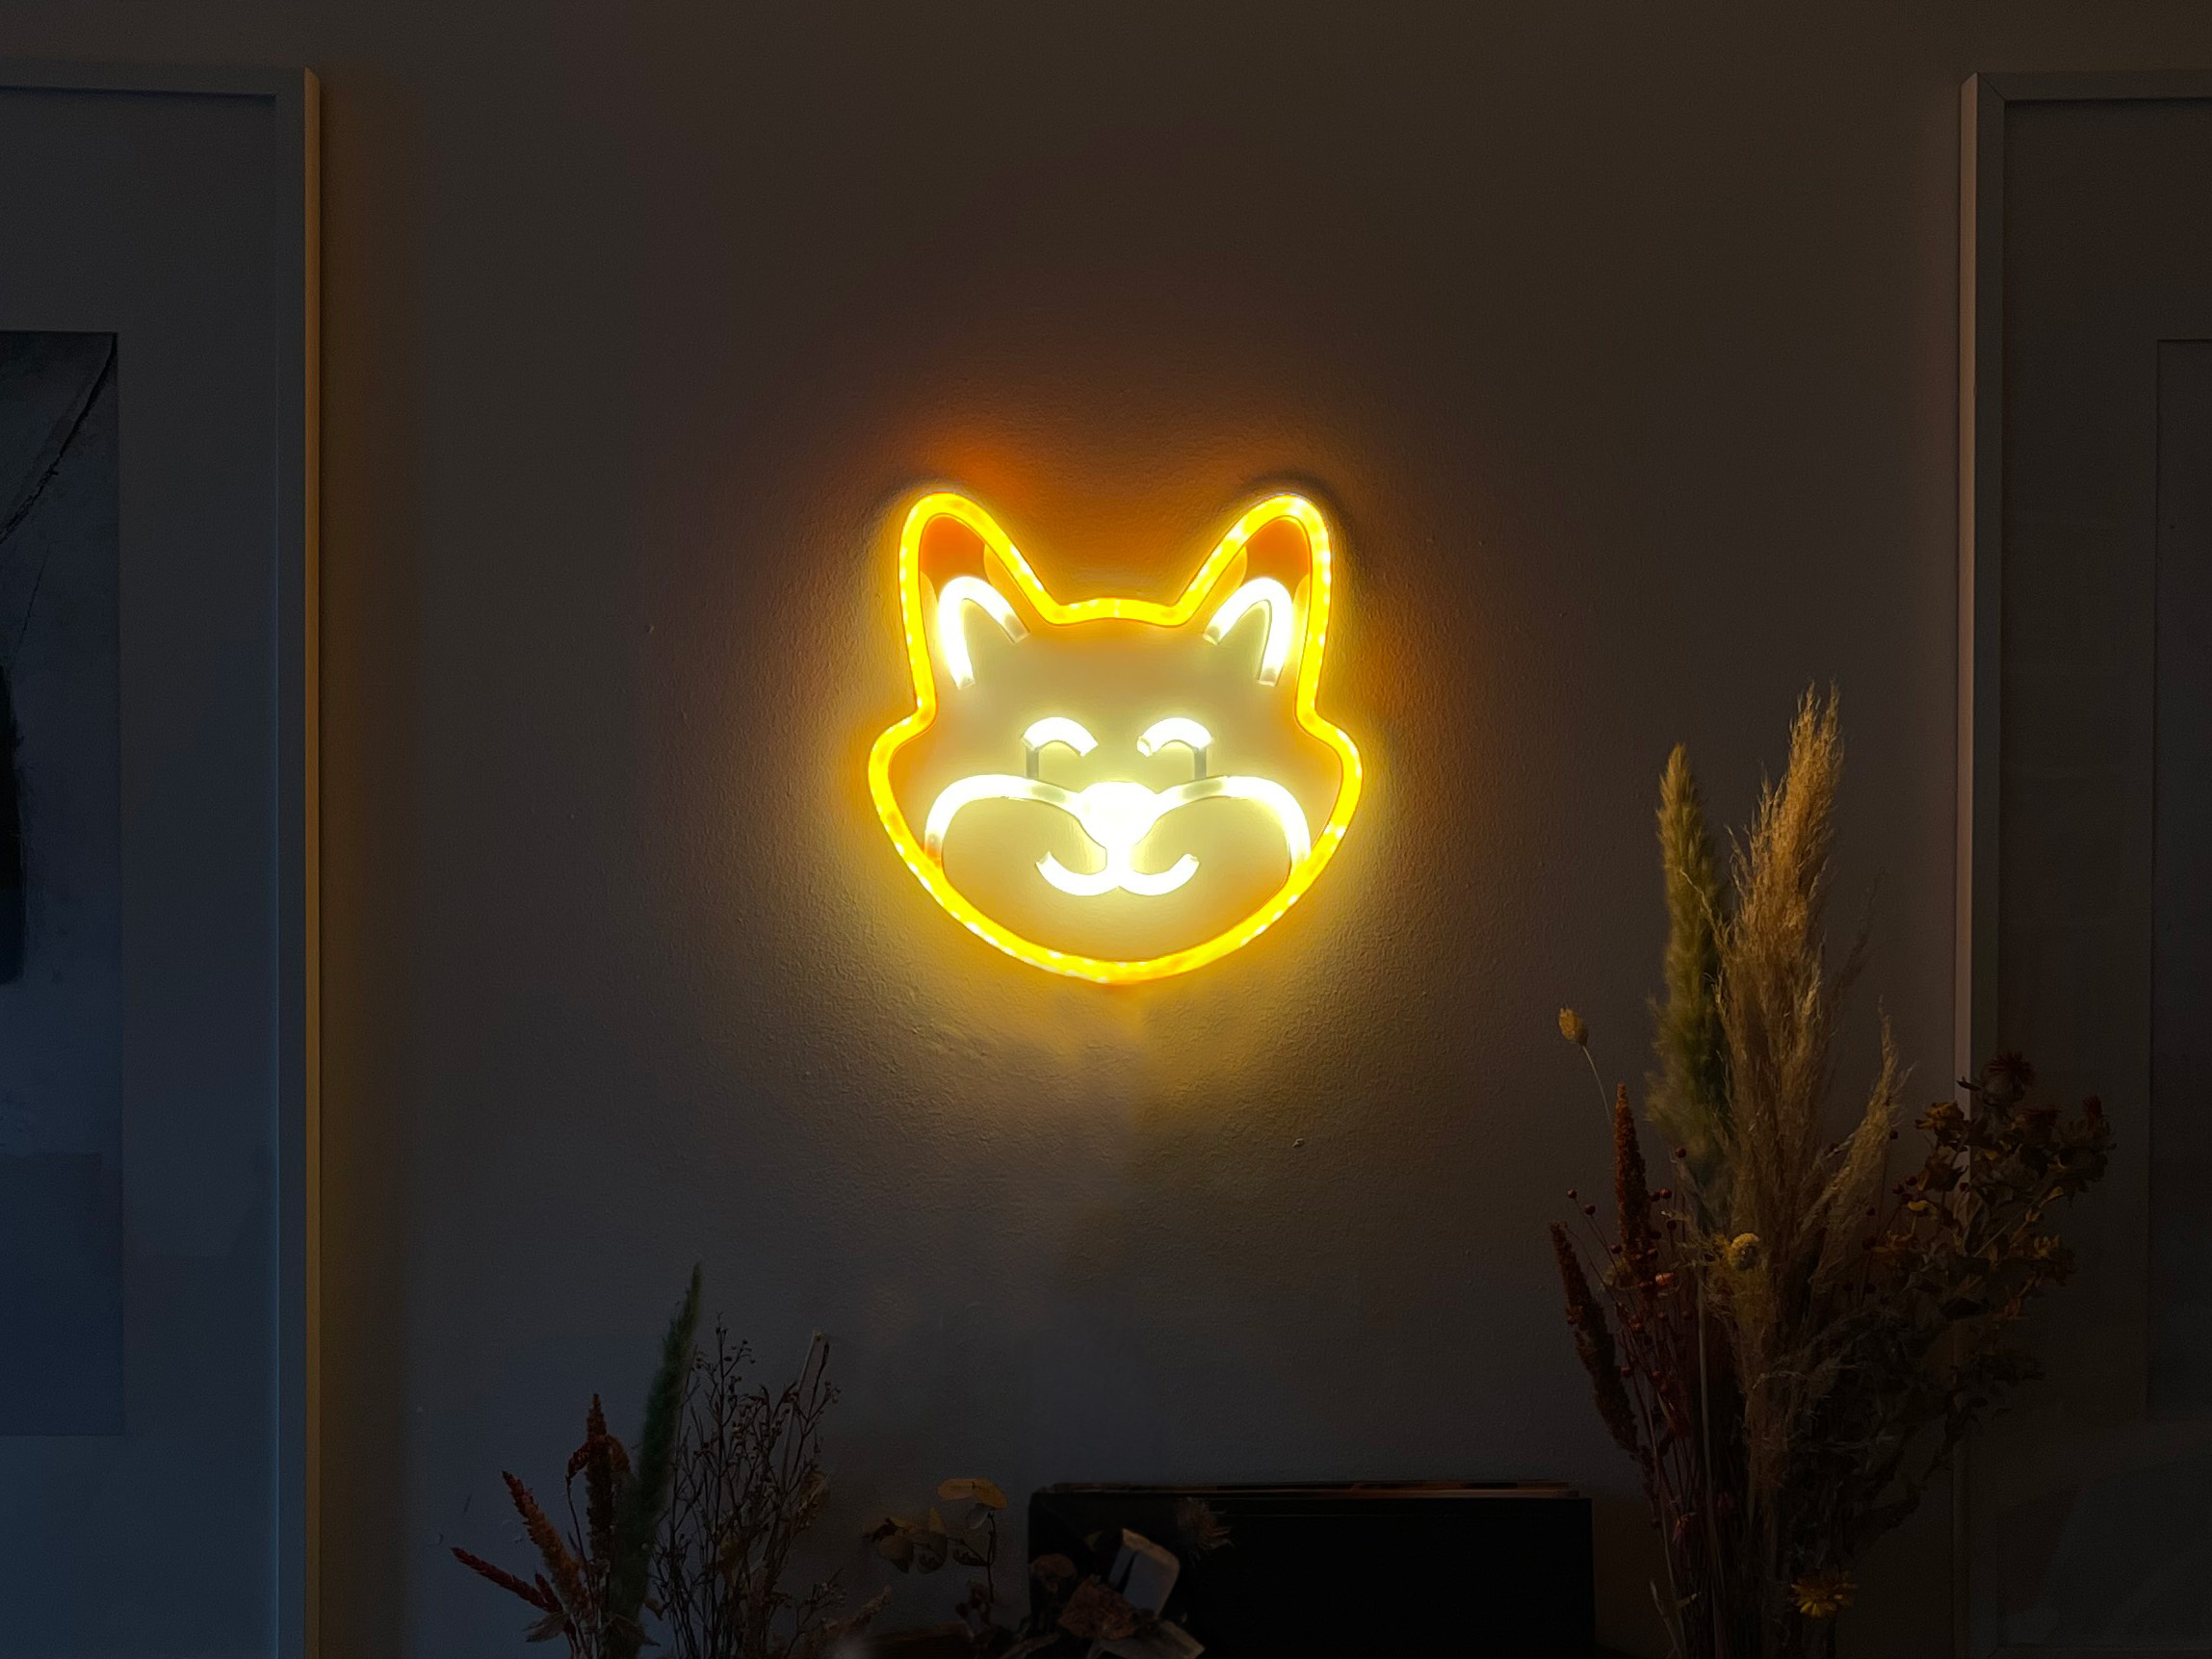
DIY Neon LED sign Shiba Inu (full tutorial in description)
Obliczymy ostateczną cenę na podstawie wybranego pliku. Sprawdzisz ją i zaakceptujesz przed płatnością.
Zapisane na tym urządzeniu.

Complete Do It Yourself neon LED even the coloured strings are hand made!
- Ocena
- 0 / 5
- Polubienia
- 19
- Pobrania
- 58
- Wydruki
- 0
- Wyświetlenia
- 788
- Oceny
- 0
Aktualizacja u źródła:
Informacje o modelu
- Źródło
- Printables
- Kategoria
- 2D Plates & Logos
- Licencja
- Creative Commons — Public Domain
DIY Neon led lights tutorial
Ever since I found out that you can fake neon lights with LED strips I wanted to make something with it. I’ve got a 3D printer, so printing the shape seemed no problem, LED strips are easy to come by, the only thing I needed to by where to coloured strips, but I was looking for a way to make them my self. It is just a flexible string that would allow light to pass through…
First I planned the design and get a feel for the general size I needed, this I did by taking a photo of the space and placing a ruler in the frame, which I could import in my design program.

Modeling

Next was modelling the shape. It wouldn't fit on my printer, so I had to split it. I could probably get a way by splitting it in to 4 sections, but then I had to split it in the exact middle, which I wanted to avoid and hide the seems in other places, so I split it in 5 parts. I also designed small pegs that connected the pieces and glued them in to place. A great tutorial is linked below how to get the general shape in Fusion 360.
Coloured tube
As I stated I was looking for a way to make my own coloured strings, not only to save on money, but also I wanted to finish this project and didn't want to wait for weeks for the part to arrive. Some how I came across people making their own tubes from silicone! The steps seems fairly doable and my string didn't need a hole in the middle, so no fancy jigs needed.
The trick to making a silicone tube was warm water mixed with hydrogen peroxide, which can just be bought at your local pharmacy for a few bucks! The peroxide will make it that the outside of the silicone will cure instantly, which prevent it from sticking to it self and it will just float in the water in the form it came out of the mould. I had used a whipped cream bag with a metal insert I had cut to the diameter I wanted my string to be.
I just needed to find a way to color it. I had found you can use any paint, but there are some acrylic paints that can speed up the curing process of the silicone, so to keep is save I had used an oil based paint which throughout my research didn’t have any interaction with silicone
Here are the tools I’d used to mix the silicone and moulding it in to a flexible string.
- Silicone
- Caulking guns
- Oil based paint
- Whipped cream bag
- Hydrogen peroxide
- Large bowl and mixing container and stick

Some tips
- Use hot water not boiling
- Add the peroxide to the water not the other way around
- 2,5 liter of water on 100ml of hydrogen peroxide
- Let the silicone cure for around an hour then pore of the water and let it cure further, best is to cover the silicone to prevent it from catching dust, because it can still be sticky at this point
- Let it air out a bit, the silicone can smell for a few days
Some thing I’m looking to improve
- I’ve used transparent silicone, maybe white silicone generates a better effect
- Getting a more consistent tube. I had to adjust my grip several times, which allowed some bumps on the silicone string, it is not that noticeable, but I would like a more even string
- While mixing the some bubbles formed in the silicone, I’ve found that flatting the silicone in the cream bag to push out most of the bubbles helped, but it didn't get rid of them all

LED strips
The LED strips I could locally source. 1,5 meter for €5 which included a power supply. I needed a bit more than 1,5 meter, so I bought two. This was a great choice, because I needed to do some testing and doing that I’d burned a few strips , still fairly new to electronics. I had cut the strips at the cuttable marked spots, but came to the realisation that some of my routes were smaller then the smallest length I could cut my LED strip and yes I’d tried to cut it at different spots, that how I burned a view strips… My advise make the smalles route in your design the minimal length you can cut the LED strips.
My frist idea was to lay the LEDs down in the design, so the light would shine up, but due to my design some angles where too sharp and I just couldn't get the strip to bend in the ways I wanted, so I had to angle the strips around the design, this was so much more easy to manage, so I don't know if I would change it if I could.

Final result!
Resources
Creating a silicone tube
https://www.youtube.com/watch?v=KlNXHEqKLdg
Design a model in Fusion 360
https://www.youtube.com/watch?v=vSoq3YqZpBA
The LED strips I got the inspiration from