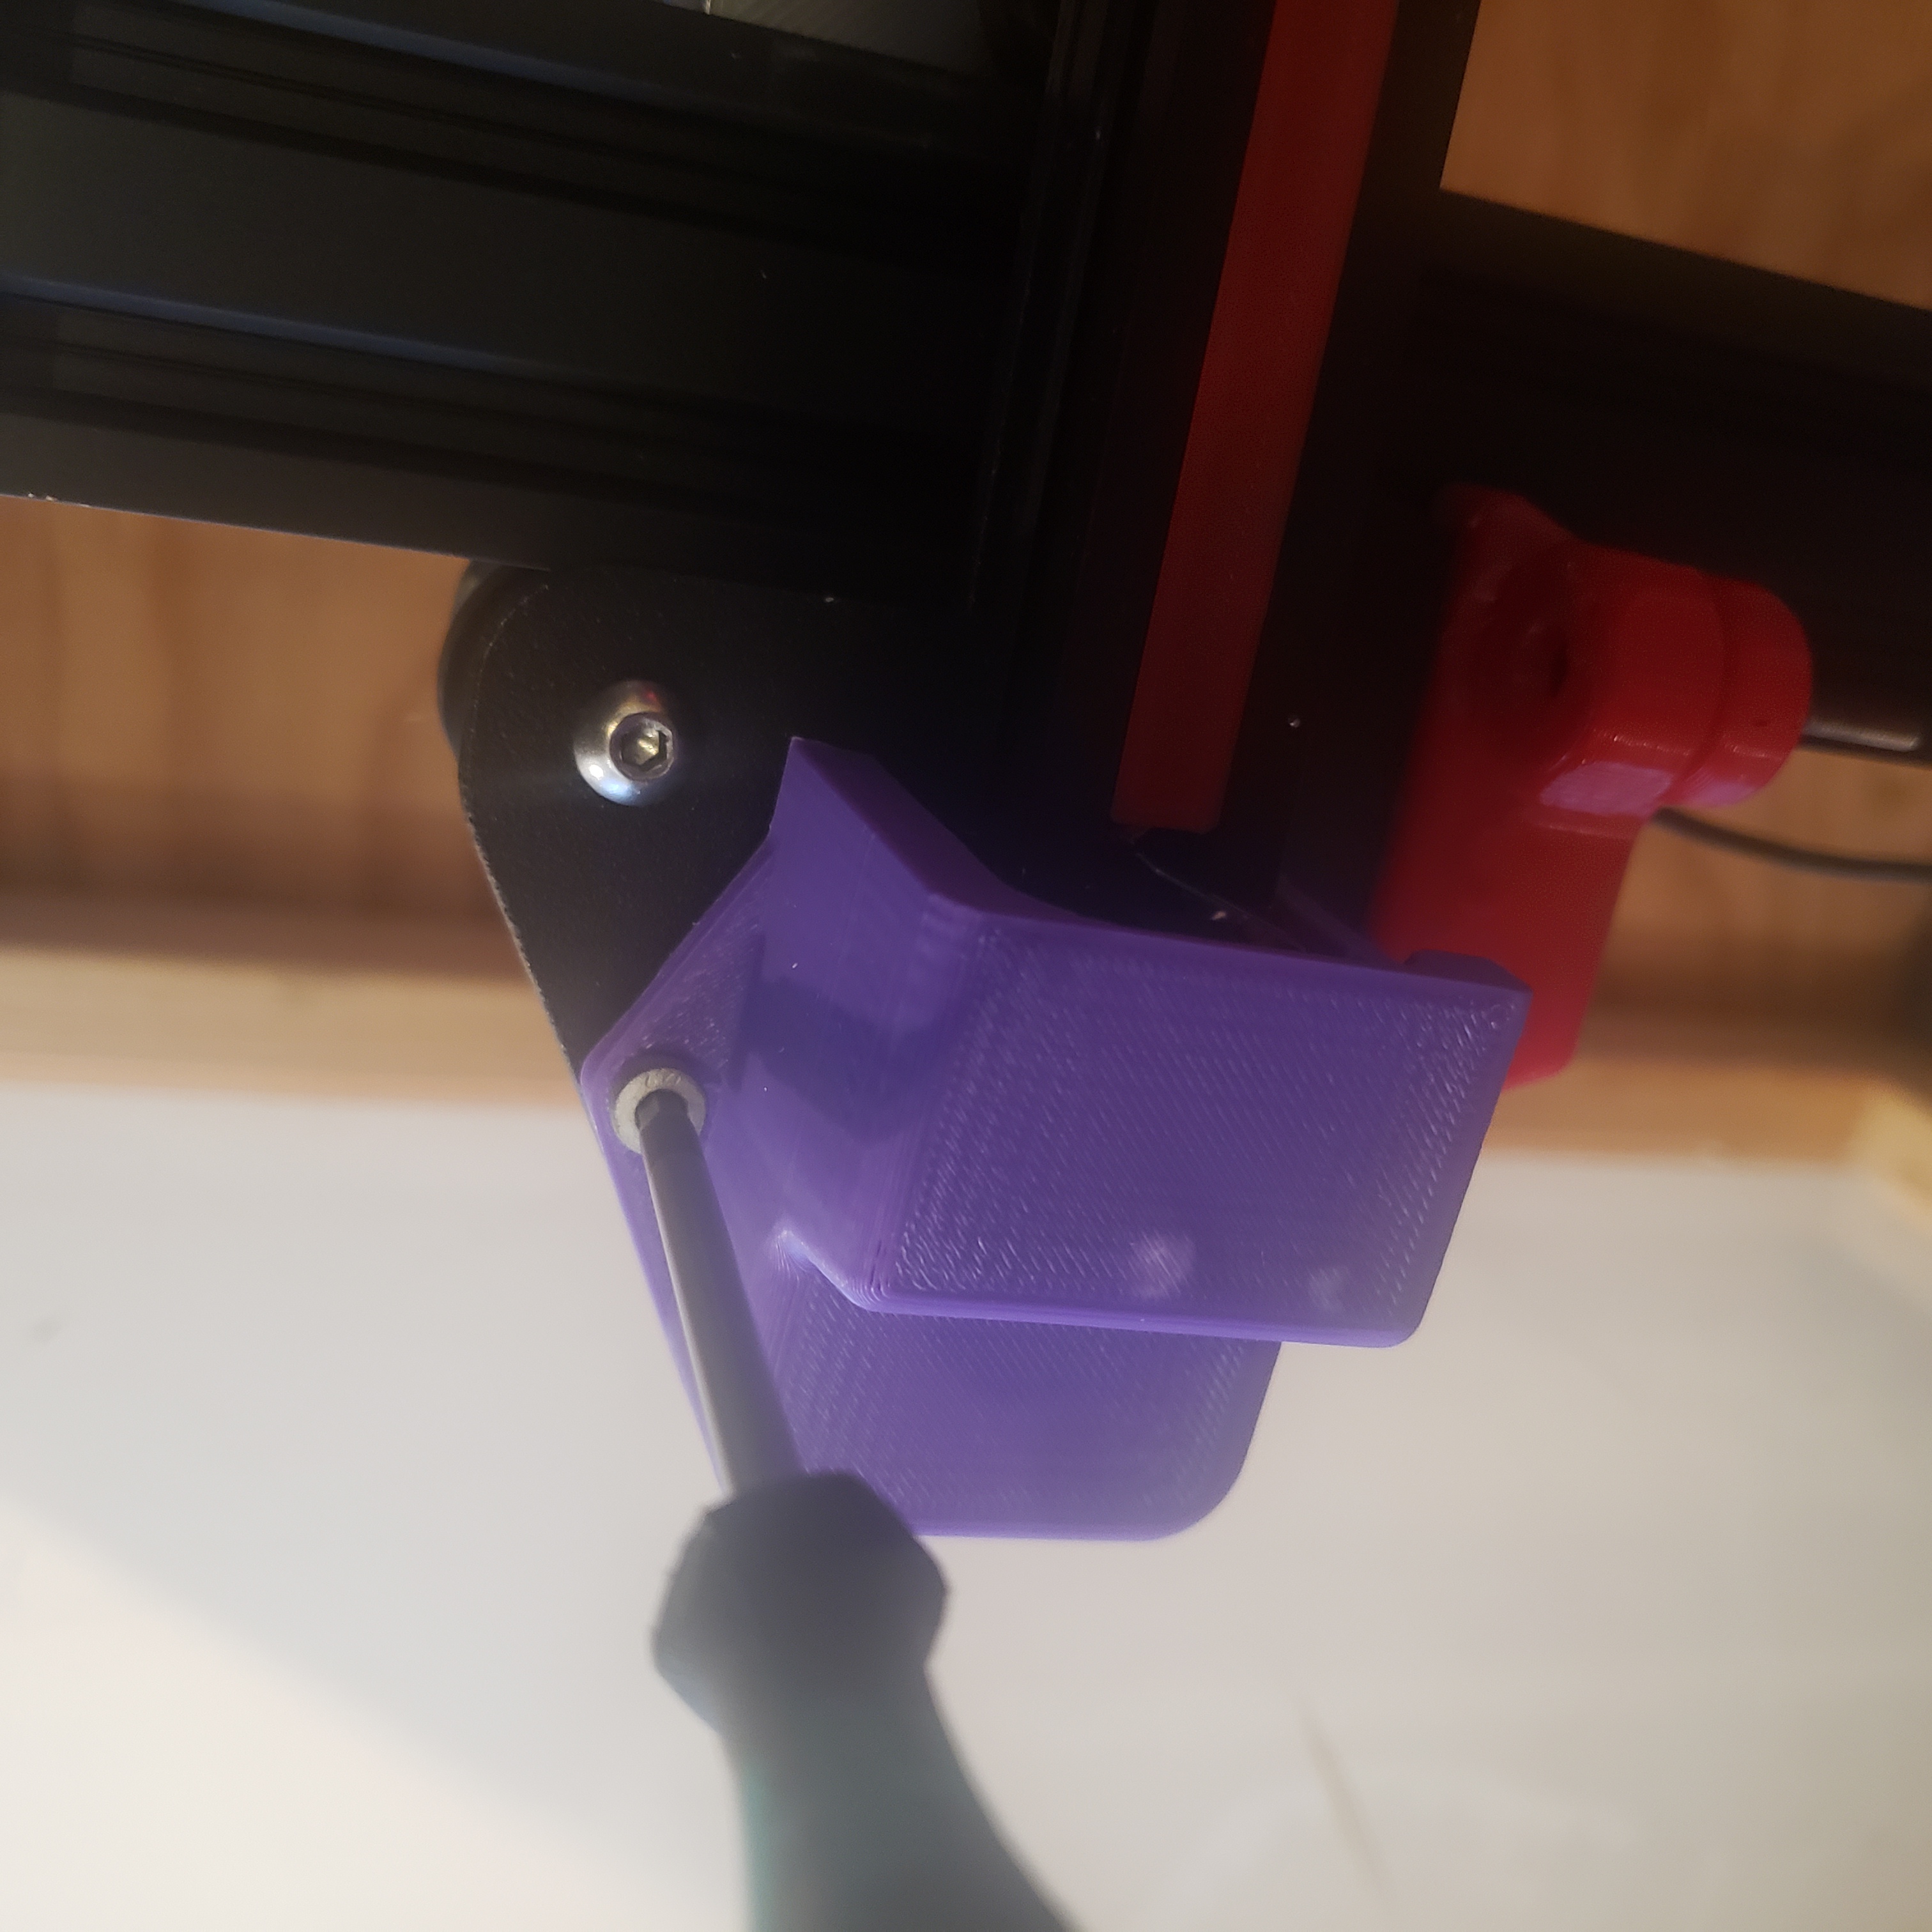
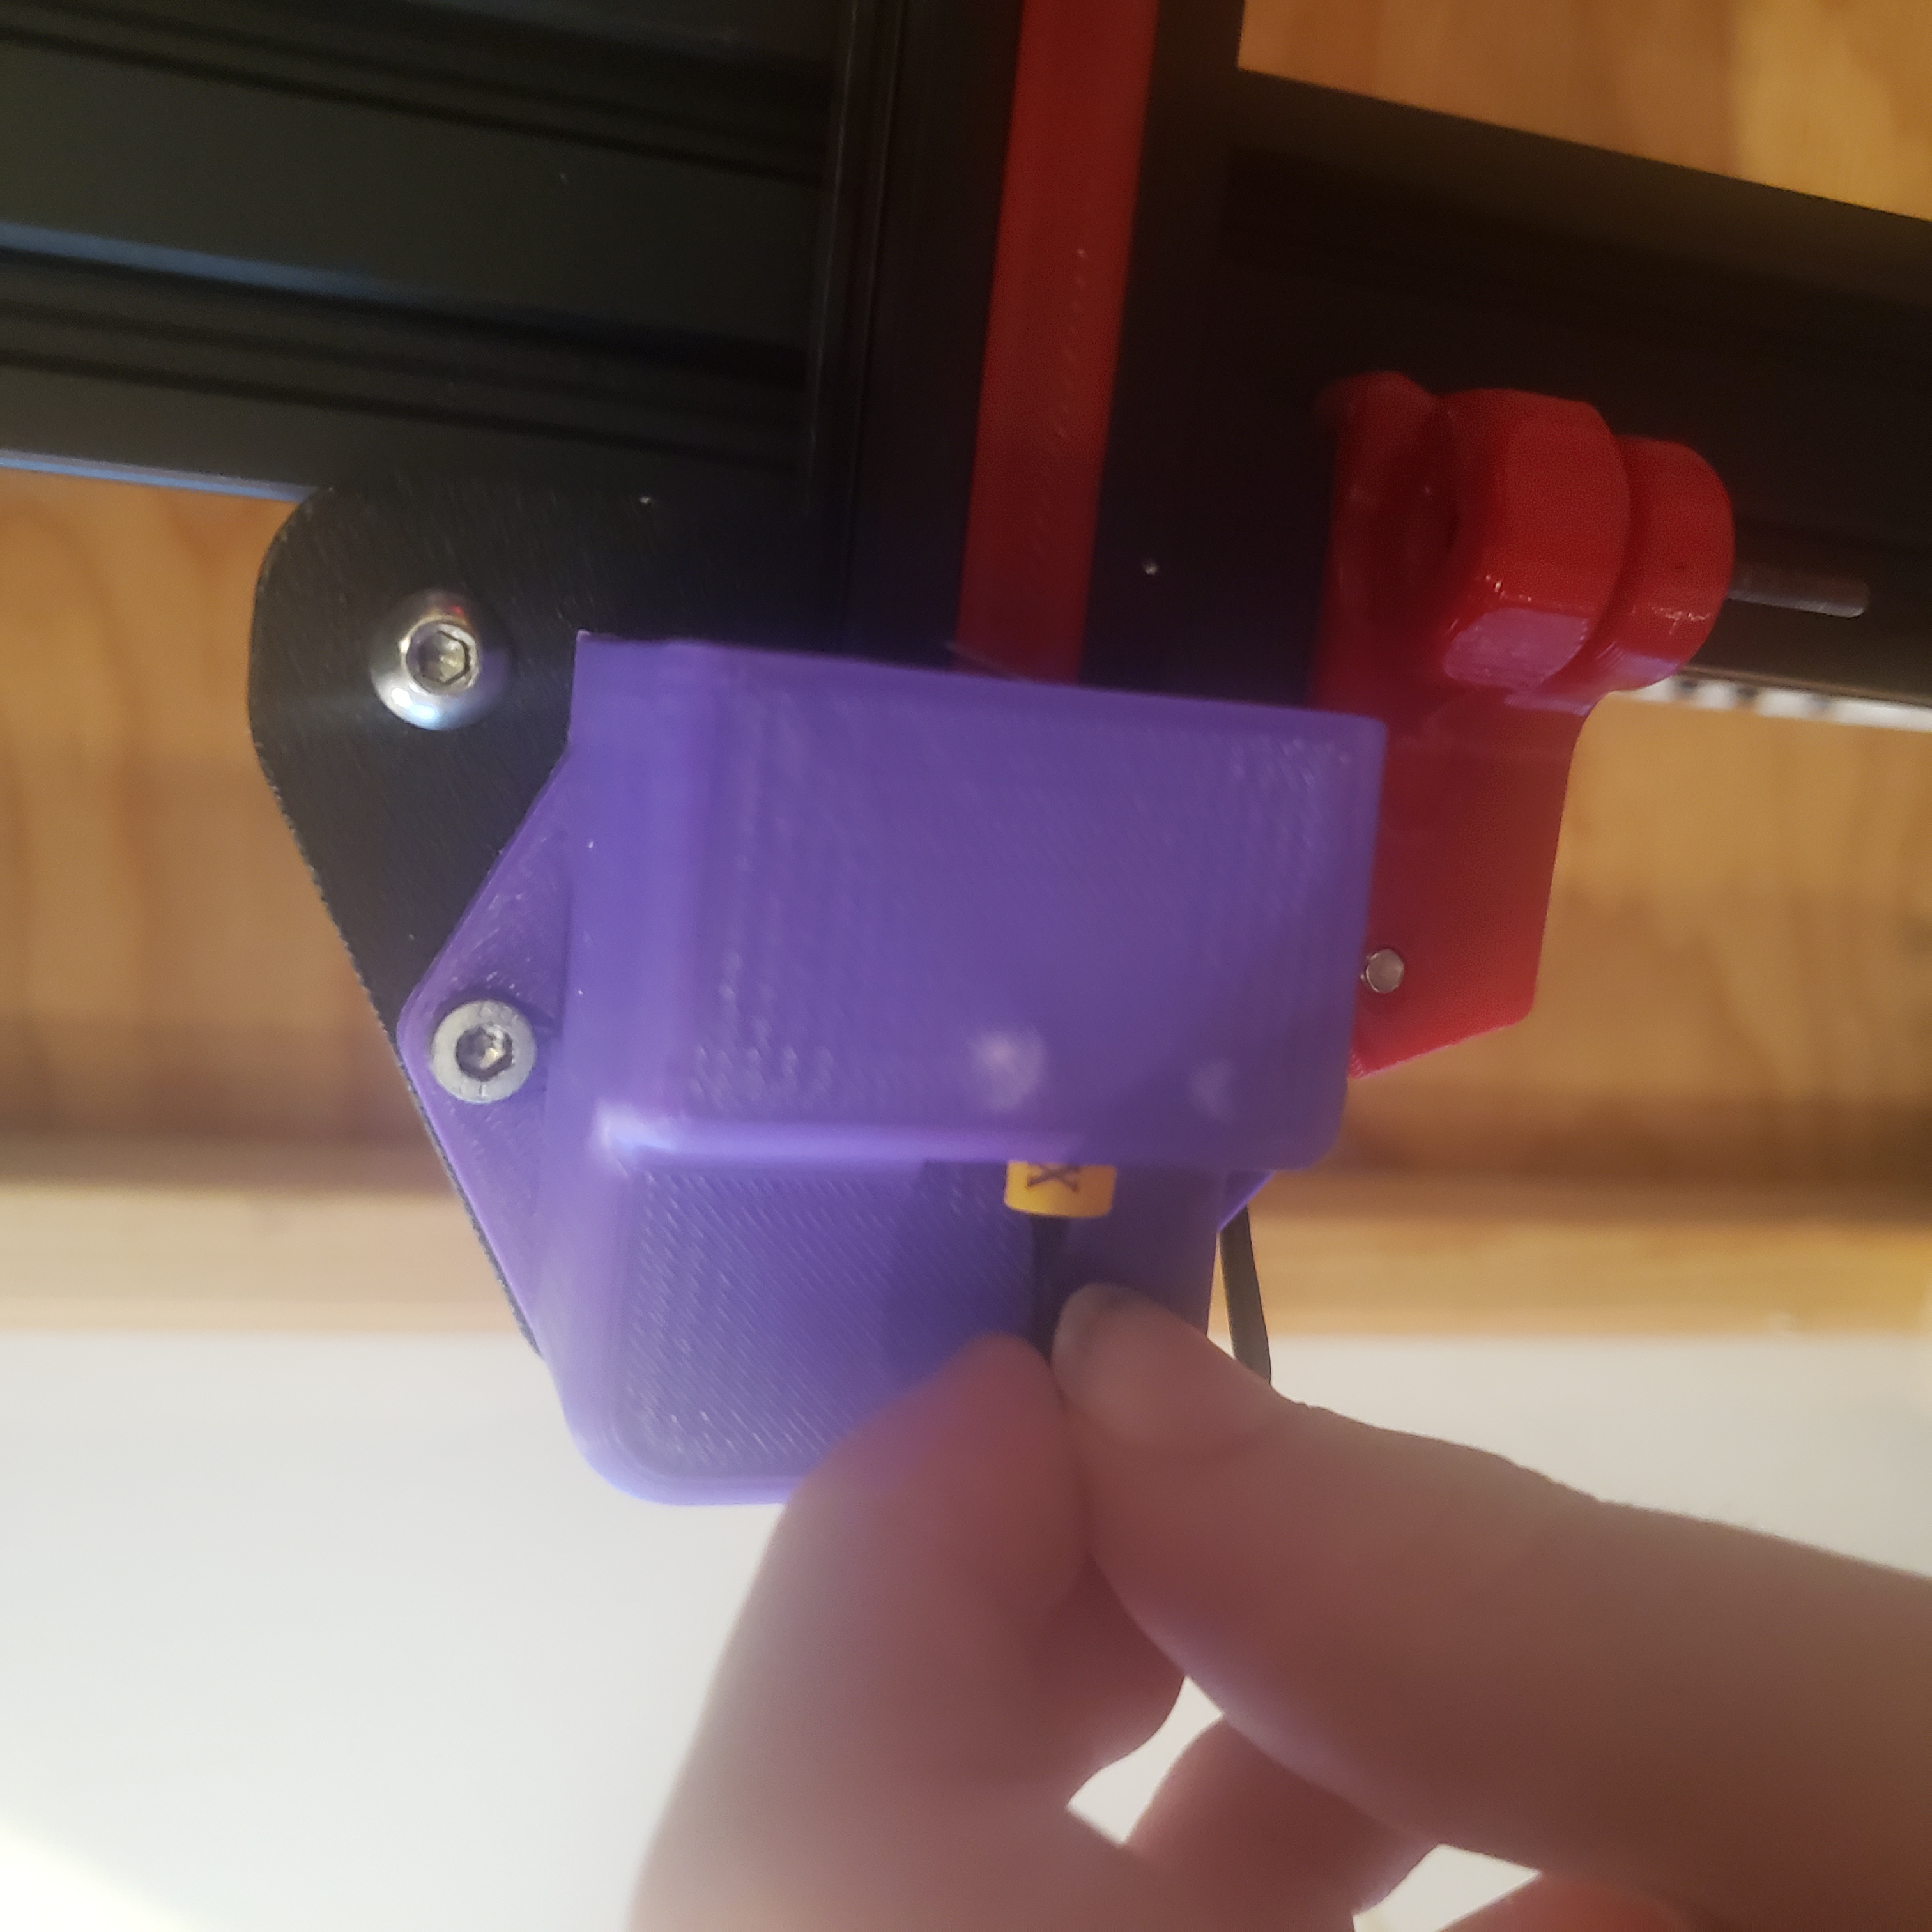
Voxelab Aquila X-Axis Belt Spacer
Obliczymy ostateczną cenę na podstawie wybranego pliku. Sprawdzisz ją i zaakceptujesz przed płatnością.
Zapisane na tym urządzeniu.

The X-axis belt holder on the Aquila is misaligned. This design shims the belt to be parallel with the pulley and idler.
- Ocena
- 0 / 5
- Polubienia
- 5
- Pobrania
- 29
- Wydruki
- 0
- Wyświetlenia
- 336
- Oceny
- 0
Aktualizacja u źródła:
Informacje o modelu
- Źródło
- Printables
- Kategoria
- Other Printer Parts & Upgrades
- Licencja
- Creative Commons — Attribution — Share Alike
The motor_side_spacer will hit the x-endstop mount, to fix this you need to print a new endstop mount, if you are using stock endstop print “Belt spacer endstop stock.stl”, if you use fysetc endstop print one of the stls in the fysetc endstop folder
Print Settings:
motor_side_spacer and idler_side_spacer:
- Filament: PETG recommended because it's close to the hotend
- layer height: doesn't matter, i used 0.3 and 0.2 without issue
- perimeters: 2 or more
- infill: 100%
x_axis_endstop:
- Filament: PETG recommended, can be printed in PLA as well
- layer height: same as the other parts
- perimeters: 2-3
- infill: 15-30%
Belt Spacer Installation:
motor_side_spacer:
Loosen and take off the belt, then remove the x-carriage from the gantry.
Put the motor side belt end in the belt spacer with the teeth facing away from the spacer
Place the belt spacer in the bottom of the gantry.
Put the x-carriage on the gantry while lining it up with the belt spacer so that the belt spacer goes on the x-carriage.
idler_side_spacer:
Loosen and take off the right-side belt.
Place the belt in the belt spacer with the teeth facing away from the spacer.
Put the belt spacer with the belt on it back on the x-carriage and re-tension the belt.
X-Endstop Installation:
Unplug the endstop, then unscrew the two M4 screws holding the endstop mount on.

Unscrew the two screws from the endstop.
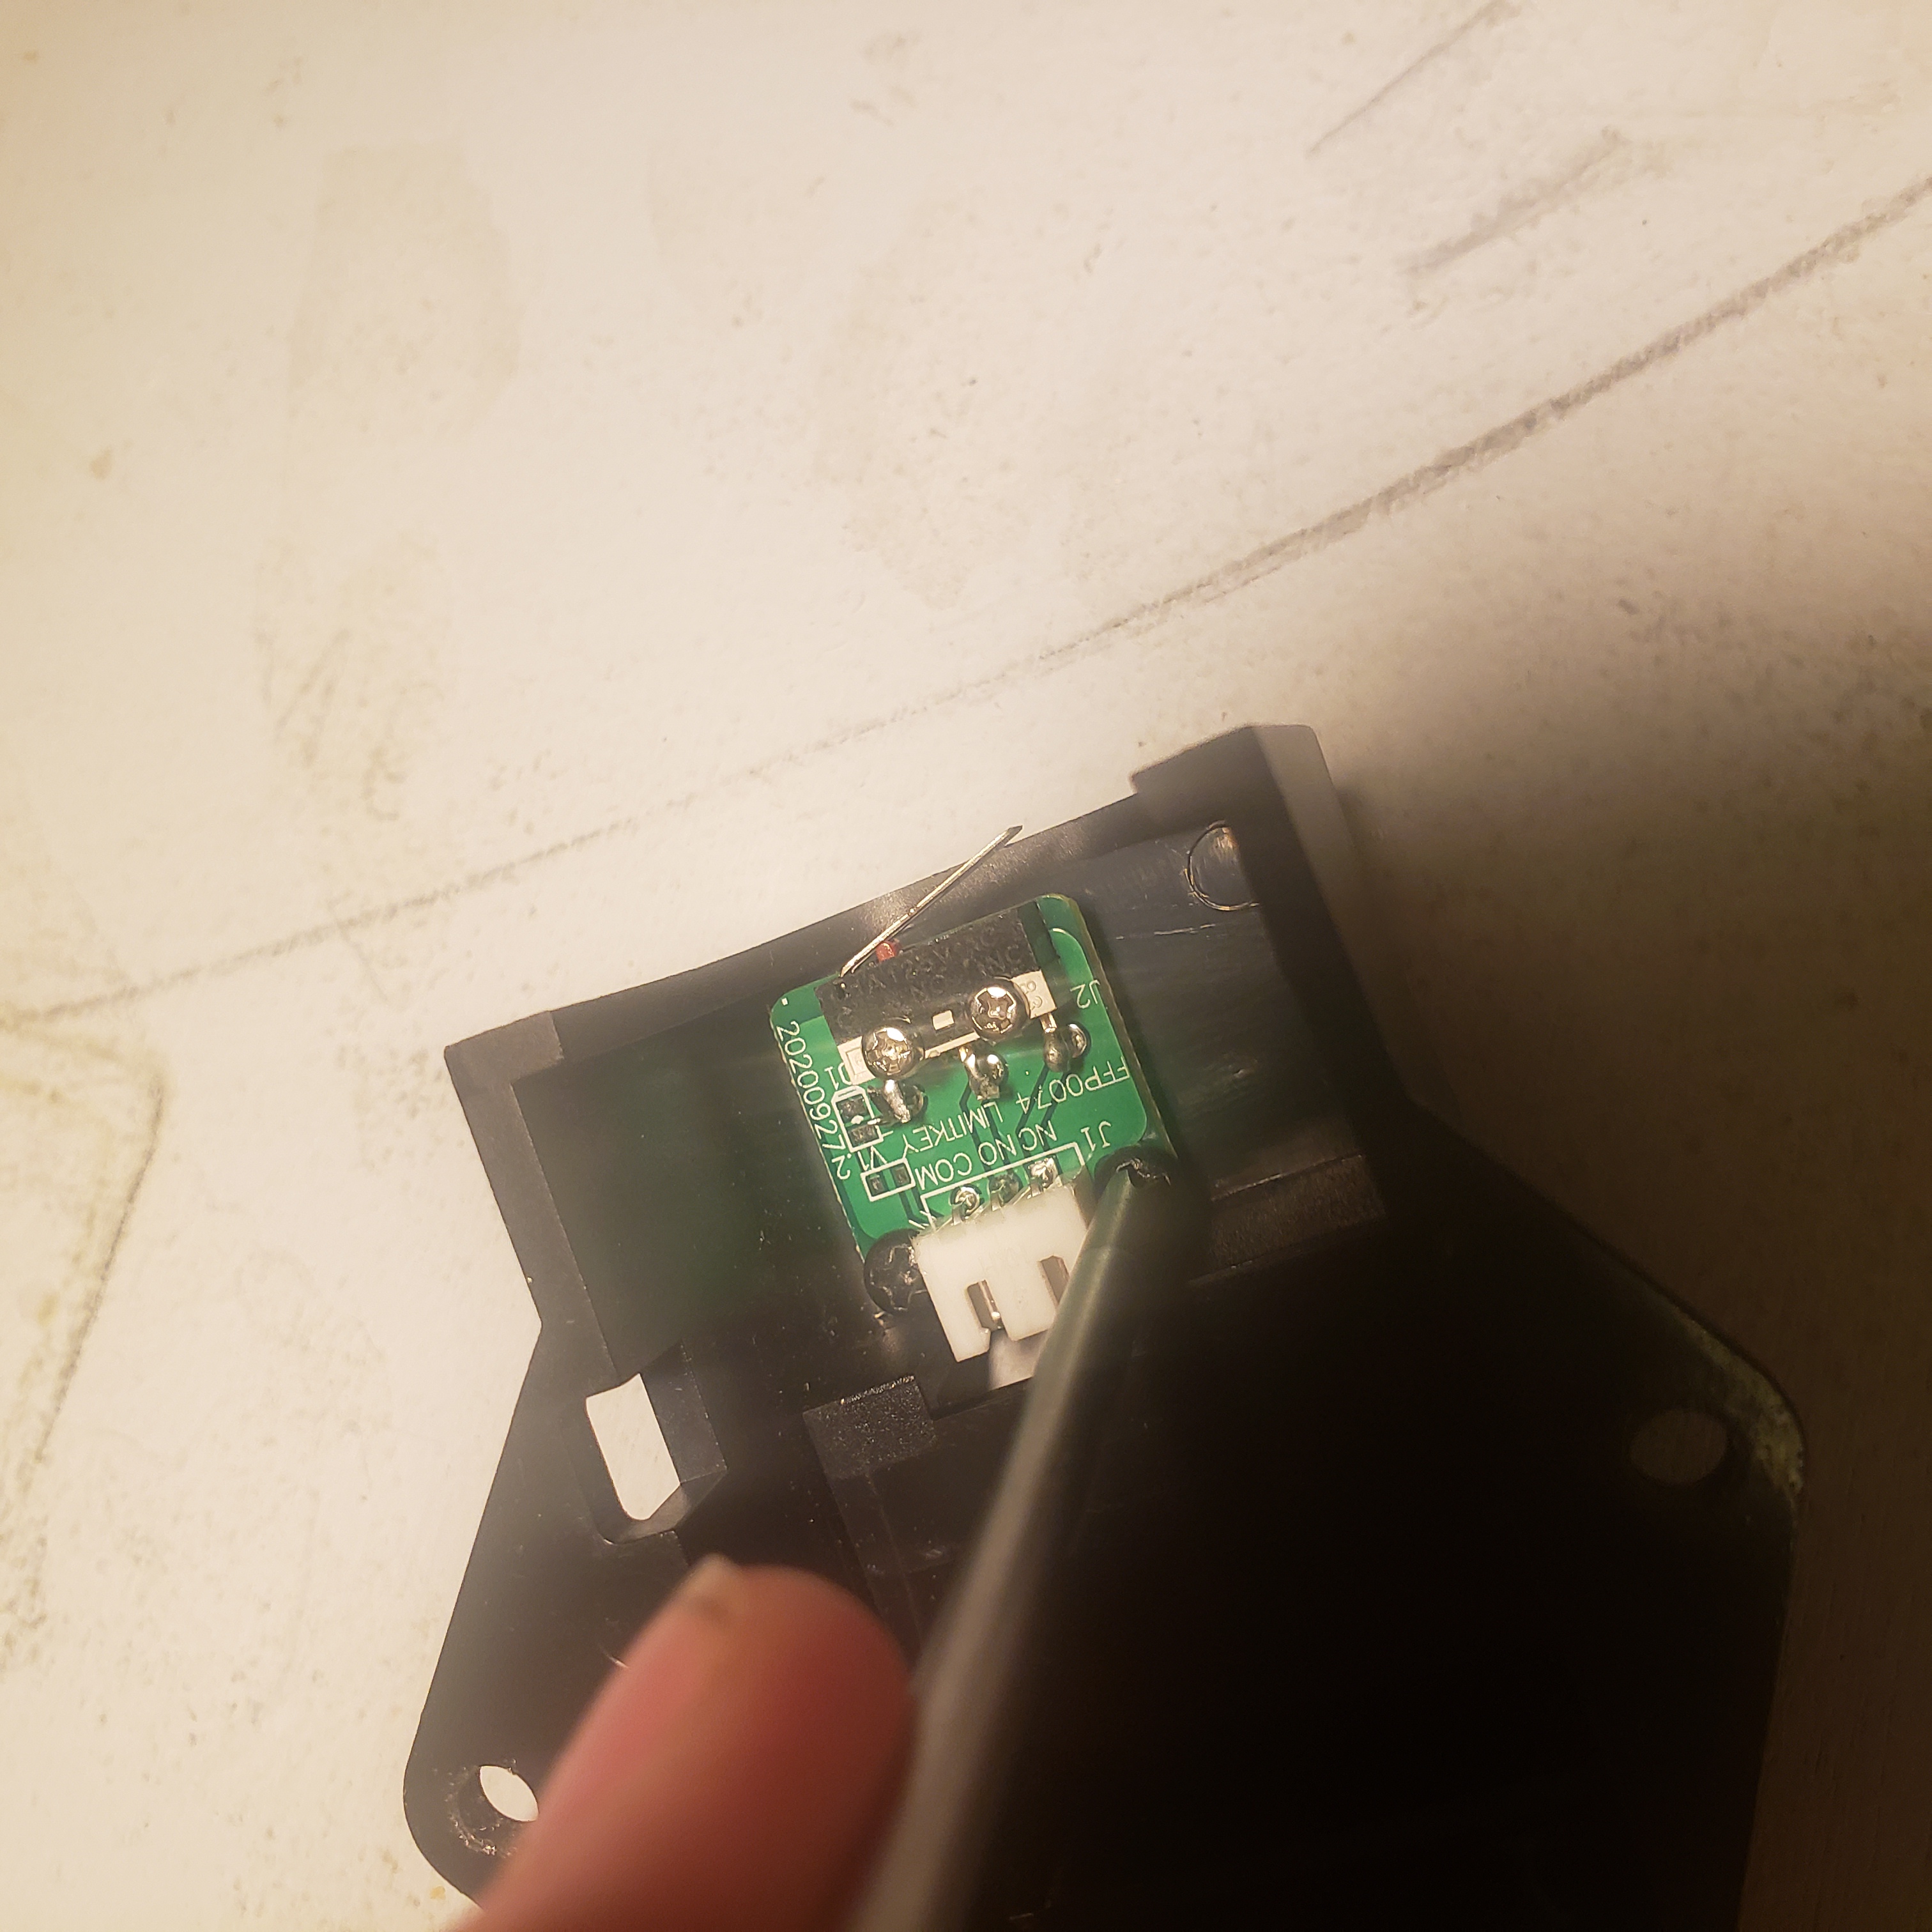

Place the endstop in the new mount, then install the two screws.


Place the endstop mount back on the printer and install the two M4 screws,
then plug in the endstop.