
V-Labs Ender 3
Obliczymy ostateczną cenę na podstawie wybranego pliku. Sprawdzisz ją i zaakceptujesz przed płatnością.
Zapisane na tym urządzeniu.
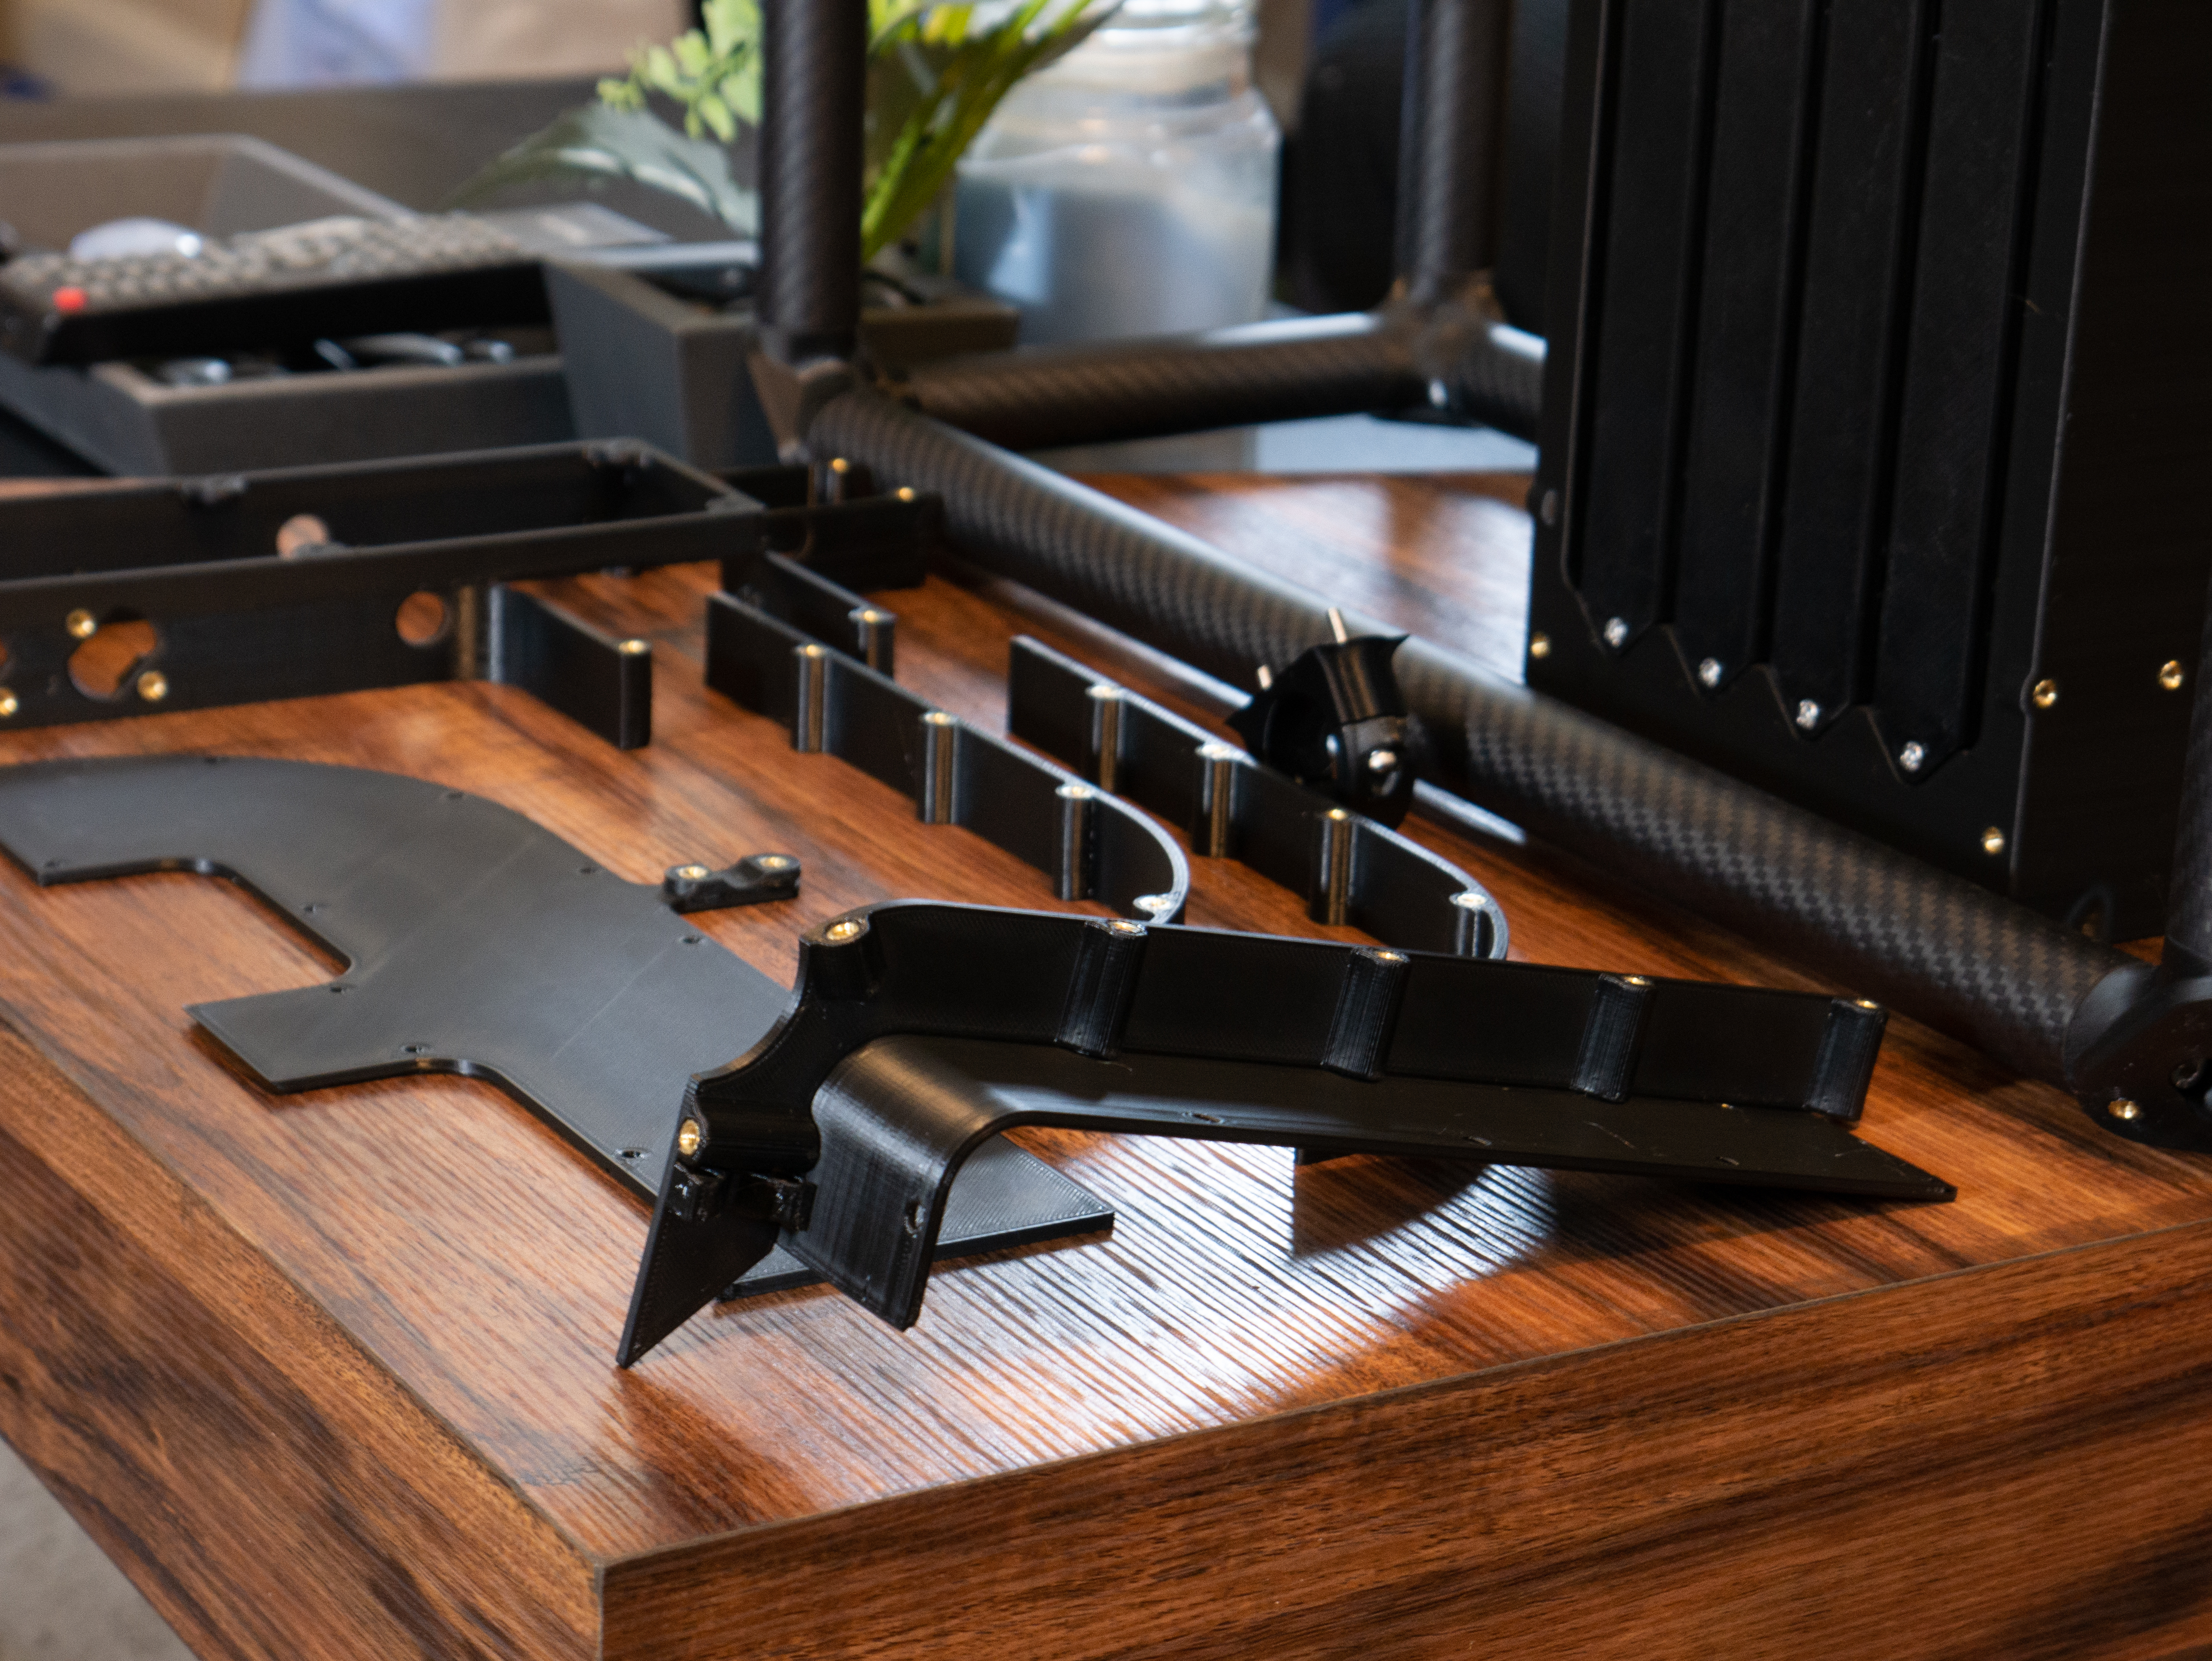
The Ender 3 is so cheap, if only you didn't have to waste 80% of your filament messing around with the first layer!
- Ocena
- 4,5 / 5
- Polubienia
- 71
- Pobrania
- 208
- Wydruki
- 2
- Wyświetlenia
- 4107
- Oceny
- 2
Aktualizacja u źródła:
Informacje o modelu
- Źródło
- Printables
- Kategoria
- Creality Parts & Upgrades
- Licencja
- Creative Commons — Attribution — Noncommercial
This project flips the meta of the Ender 3 on its head, resulting in a reliable, fast, and accurate machine.
Here are some of the changes:
- Improved printhead. Direct, dual drive extruder, reusing the stock hotend and hotend fan. Upgraded 5015 Fan and duct for better cooling. BlTouch to replace Z switch and run mesh compensation.
- Replaced the bed springs with TPU springs and high friction knobs that don't wander over time due to vibrations.
- Upgraded control board to the the Fly E3 Pro V3 (Outdated) or the Fly Pro Ultra. This board supports RepRap Firmware, makes operation faster and quieter, with WIFI connection. no rasPi or other klipper related hassle.
- Excessive cable management.
- Filament run out sensor.
For the bare minimum printhead you will need:
- 17x M3 inserts, 4 of which are 5mm length or shorter
- 7x M3 x 8mm SHCS
- 3x M3 x 12mm SHCS
- 1x M3 x 16mm SHCS
- 2x M3 x 20mm SHCS
- 2x M3 x 25mm SHCS
- Dual Drive Extruder
- Improved Heat Break
- 3D Touch
- 5015 Fan
- Voron Style TL-Q5MC2-Z Inductive Probe OR BLTouch
- Short PTFE tube 50mm-55mm
For the bed you will need:
- 1x M4 x 25-26mm FHCS (shorter than usual for chain clearance)
- Magnetic bed upgrade + textured PEI sheet
For the Cable chains and board enclosure and filament switch you will need:
- Cable Chains 20x20, 49 center links, 6 end links.
- 22x M3 x 8mm FHS
- 24x M3 inserts
- 9x M3 x 8mm SHCS
- 7x M3 rotating T nuts
For the filament detector you will need:
- 2x PC4-M6 fittings
- 1x V-155-1C25 Switch
- 1x 5mm ID 10mm OD 4mm width bearing.
If you have issues with the fan shroud melting, you can print it in ABS.
Wiring and firmware setup guide: Fly Pro V3 - Fly E3 Ultra
When you are ready to install firmware, read the official setup guide to understand how it works, and then use my preconfigured files down below. Drag all files to the SD card. Upon first run the printer will load the firmware (30 seconds) and then run the runonce.g to set up WIFI (edit beforehand).
Download my slicer presets below.