
Anycubic Kobra 2/2 Pro Compact Top Spool Holder Filament Holder
Obliczymy ostateczną cenę na podstawie wybranego pliku. Sprawdzisz ją i zaakceptujesz przed płatnością.
Zapisane na tym urządzeniu.

Requires 1 single M4*8mm screw to hold it on to the top of the printer, a screw of similar length will also work fine.
- Ocena
- 4,8 / 5
- Polubienia
- 105
- Pobrania
- 1231
- Wydruki
- 5
- Wyświetlenia
- 8591
- Oceny
- 5
Aktualizacja u źródła:
Informacje o modelu
- Źródło
- Printables
- Kategoria
- Anycubic Parts & Upgrades
- Licencja
- Creative Commons — Attribution — Noncommercial
NOTICE: Use this remix of my project instead, my design has several issues:
https://www.printables.com/model/888568-anycubic-kobra-2-top-compact-spool-holder
This is a SUPER COMPACT and FAST print that takes around 15 minutes on the Kobra 2 Pro. This simple mod will convert the annoying side mount to a top mount to save more space on your desktop!
Print at 100% infill to maximize strength, print as oriented on it's side, if you are having bed adhesion problems, try a brim. No supports are required.
If you remix this design it is a requirement you leave the watermark on the side to credit the original creator.
Installation Steps
Step 1: Screw on the mount to the screw on the right on the top of the printer.

Step 2: Slide on the original side mount.
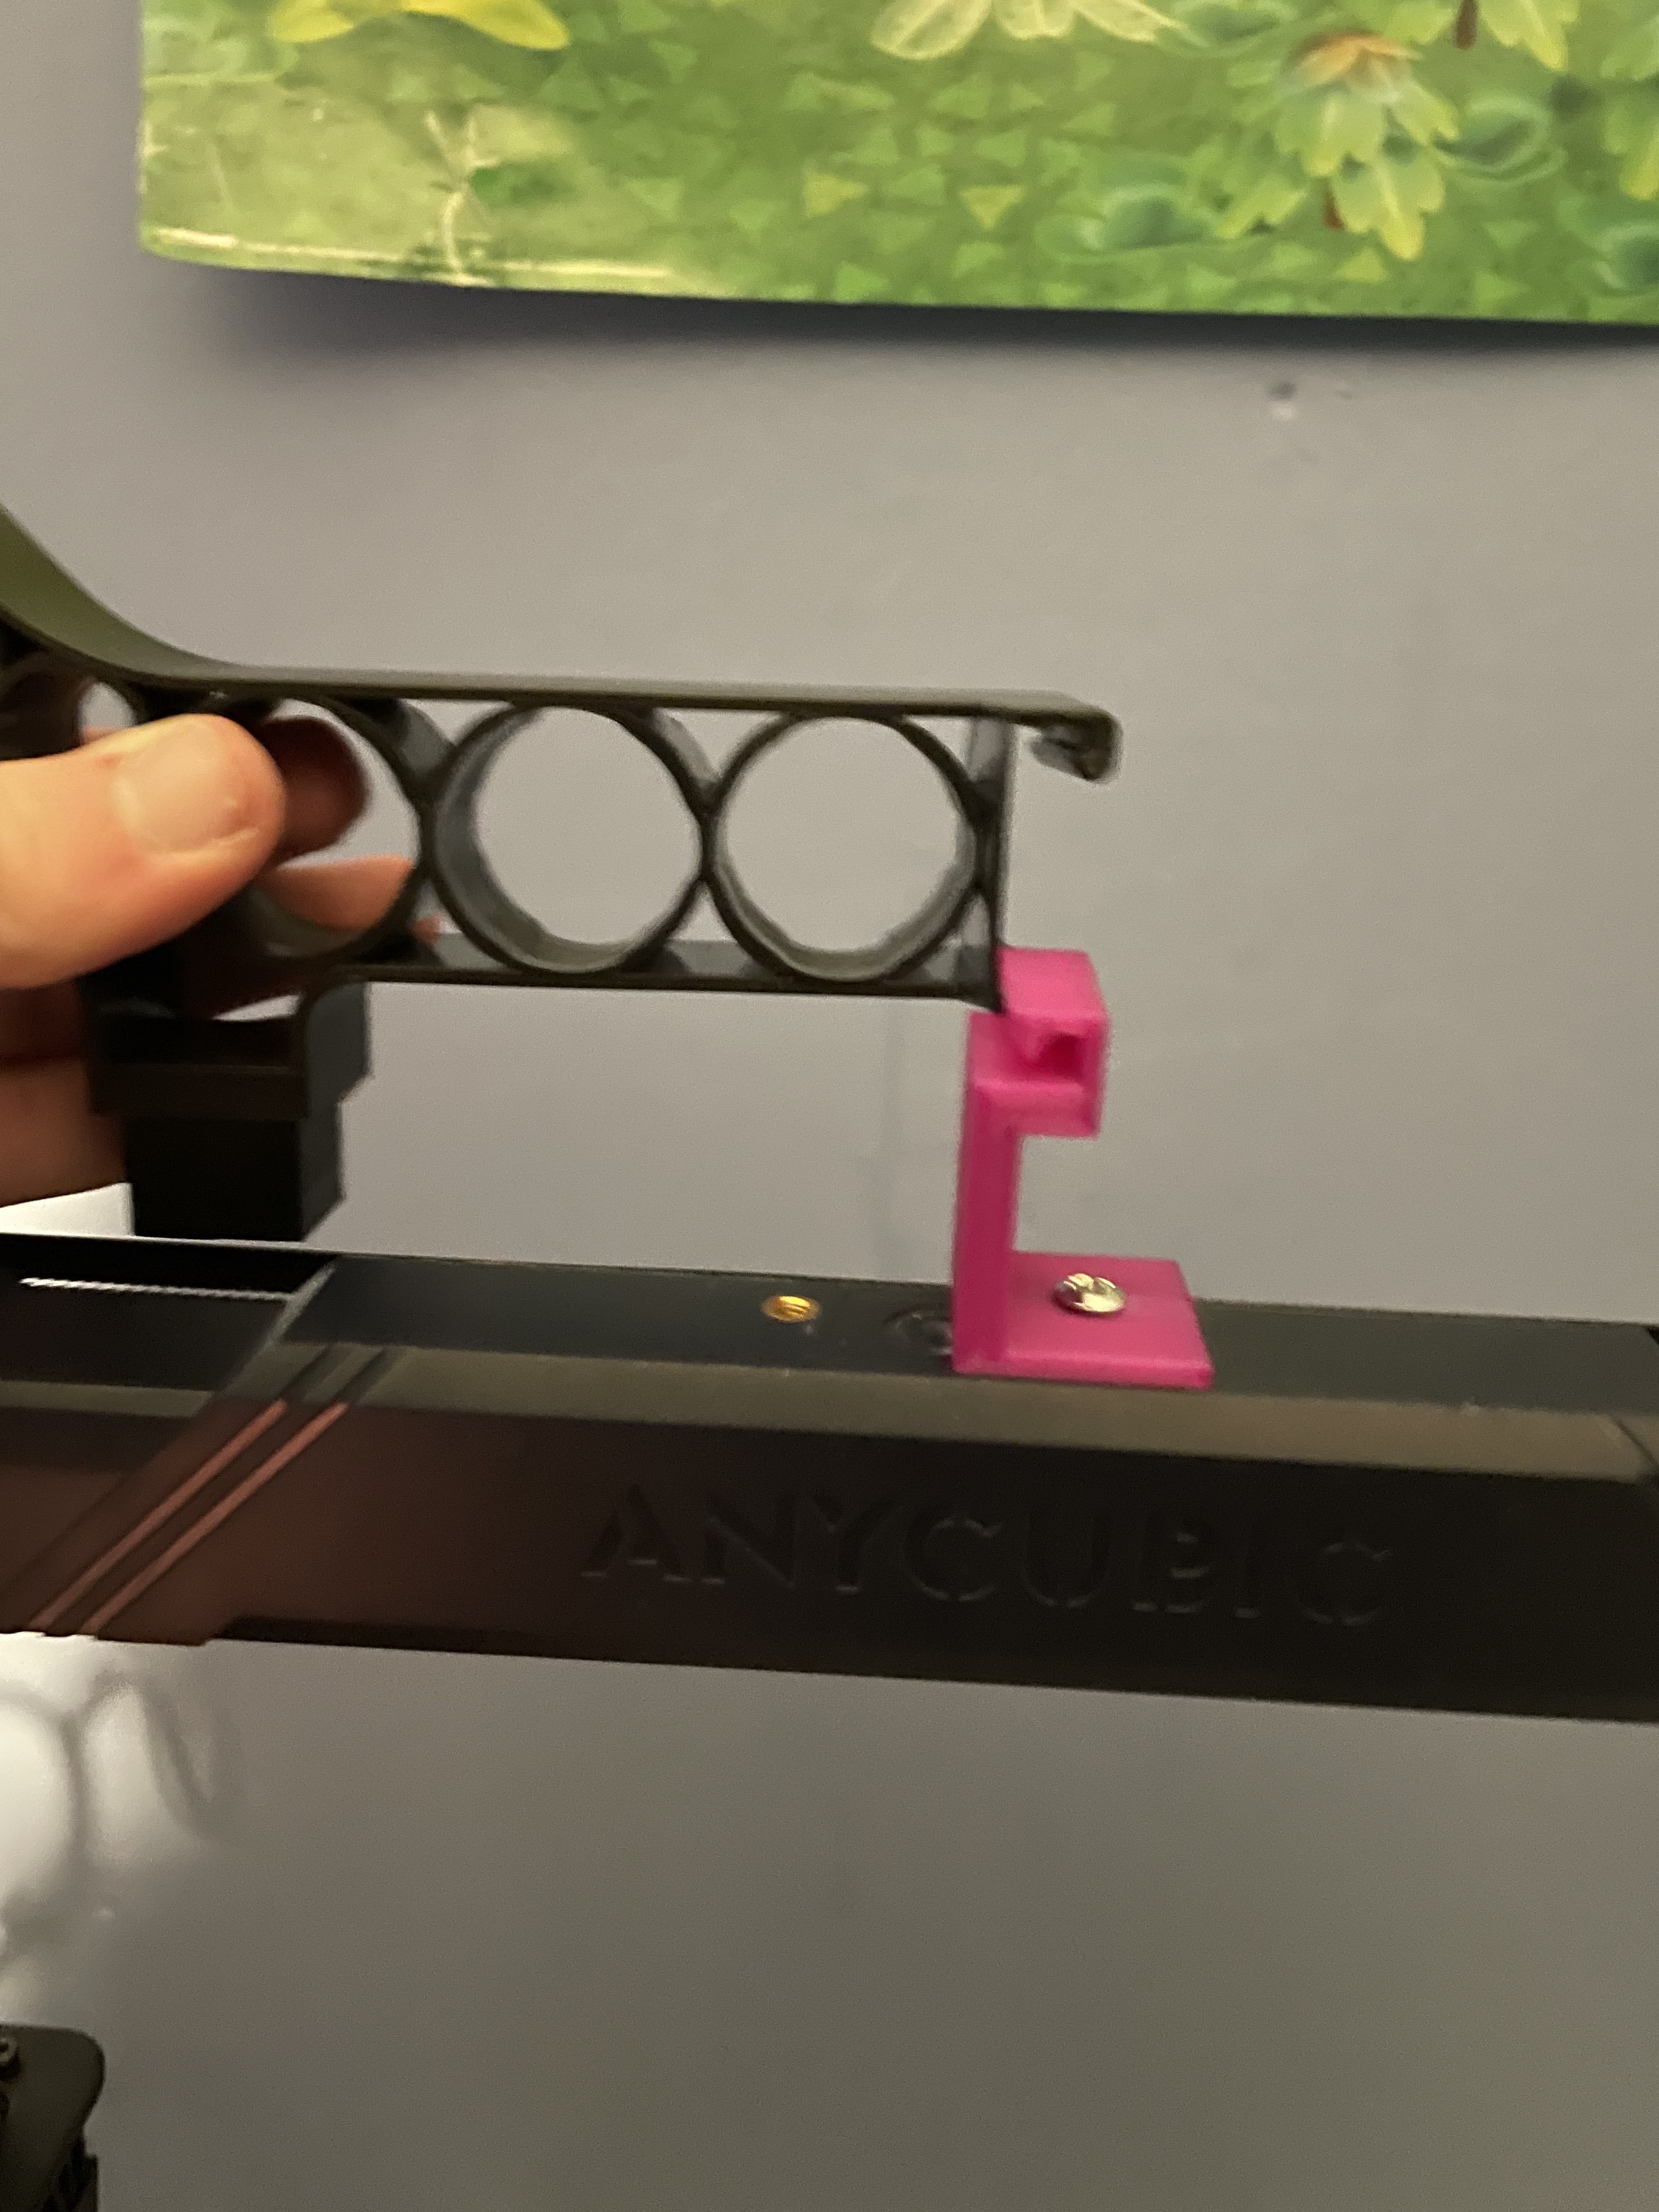
Step 3: Screw on the filament holder facing the front of the printer.

Step 4: Done.. nearly! Take out the PTFE tube from the runout sensor and cut a little bit off the end, and stick this in to the print head. this means the filament can run directly to the print head.

(OPTIONAL) Repositioning the runout sensor
If you don't want to repositioning the sensor, just leave it screwed in to where it was originally, and in the settings of the printer, turn off “Filament Detection”, this will prevent the printer from sensing that there is no filament inside.
If you do wish to proceed, follow these steps beforehand, take out the PTFE tubing from both sides, cut off a little bit at the end and stick it in to the print head, this will help to prevent any heat creep. You are now ready to follow the steps below.
Step 1: Unscrew the runout sensor.

Step 2: Unplug the runout sensor and ensure the cable is as long as it can go.
Step 3: Using one of the included clips to secure the PTFE tubing to the print heads cable, position the runout sensor cable so the white tube with the labeling is held in place, then plug in the runout sensor, and line it up with the cut PTFE tubing.

Step 4: You are 100% done with this mod! Thank you so much for taking the time to read and print the mod. I have spent ages trying to perfect this and get the perfect fit.