
Side-Release Buckle Replacement - Pin & Ladder Lock - 24 mm - with M3 screw as a retaining pin for seabag, complete
Obliczymy ostateczną cenę na podstawie wybranego pliku. Sprawdzisz ją i zaakceptujesz przed płatnością.
Zapisane na tym urządzeniu.
Side-Release Buckle replacement, M3 screw as Pin-Lock for 24 mm loop straps or a adjustable Ladder-Lock, for my Sea Bag.
- Ocena
- 4,667 / 5
- Polubienia
- 169
- Pobrania
- 577
- Wydruki
- 3
- Wyświetlenia
- 3341
- Oceny
- 3
Aktualizacja u źródła:
Informacje o modelu
- Źródło
- Printables
- Kategoria
- Other House Equipment
- Licencja
- Creative Commons — Attribution — Noncommercial — Share Alike
It's a buckle with quick side opening and with Pin-Lock or Ladder-Lock for 24mm wide straps.
The special feature is that the buckle can be mounted without having to cut the loop band.
Due to the screw used as a retaining pin, the buckle is very robust and can withstand high tensile forces.
If you don't need a direct replacement for a defective buckle, you can take a look at my new buckle design Side-Release Buckle - Pin & Ladder Lock - 24 mm - fully printable. This buckle is easier and completely printable - the idea was to make the insertable pin printable as well.
Overview of Models
Two Fastening Types:
- Pin-Lock type
- Ladder-Lock type (only the male part currently exists)
Common features:
- Produceability: good printable
- Field Repair: Easy to replace in the field
- Durability and Strength: very robust and withstands high tensile forces
Pin-Lock Type
The pin-lock type is intended for a loop strap and can be fitted without the loop strap having to be cut and sewed.
Special features:
- Fastening Type: Strong, corrosion-resistant M3 screw as Pin.
- Field Repair:
- No sewing required
- Requires only an Allen key for fastening
- Webbing size:
- width typ/max: 24.0 mm [0.95"]/24.6 mm [0.97"]
- thickness max: 2.8 mm [0.11"]
Since maybe not everyone wants to melt threaded inserts with a soldering iron, I have also created variants with a simple M3 hexagon nut.
| Model/STL Name | Nut w. M3 thread | Retainer Pin | |||
|---|---|---|---|---|---|
| heat-set Insert | Hex-Nut ISO 4032 | M3x30 DIN912 | M3x35 DIN912 | M3x35 ISO7380-1 | |
| Female--M3-heat-set-Insert--M3x30-DIN912--A2 | X | X | |||
| Male--M3-heat-set-insert--M3x35-ISO7380--C1 | X | X | X | ||
| Male--M3-heat-set-insert--M3x35-ISO7380--D1 | X | X | X | ||
| Female--M3-Hex-Nut--M3x35-DIN912--A1 | X | X | |||
| Female--M3-Hex-Nut--M3x35-ISO7380--A1 | X | X | |||
| Male--M3-Hex-Nut--M3x35-ISO7380--C1 | X | X | X | ||
| Male--M3-Hex-Nut--M3x35-ISO7380--D1 | X | X | X | ||
Ladder-Lock Type
With the standard ladder lock type, the clamping length of the strap is adjustable.
Special features:
- Webbing size:
- width typ/max: 24.0 mm [0.95"]/24.6 mm [0.97"]
- thickness max: 4.3 mm [0.17"]
Print recommendations
I printed most of the design iterations on the Crality K1-Max, but I also printed a couple on the Prusa MK3. If you are struggling too much with the settings, please let me know. I can provide you with 3MF print files for Orca Slicer or PrusaSlicer.
Female Pin-Lock Design A
- Material:
- The outer buckle part has to be more robust and not as elastic as the inner buckle part.
ASAorPETGfor outdoor use in very warm environments and/or in strong sunlight.
I used Polymaker PolyLite ASA white and it works well.

PLAfor normal use, however, should withstand the mechanical stresses just as well. However, bear in mind that the advantage of ASA/PETG over PLA would be that the closure would be slightly more elastic and more UV-resistant.- Nozzle diameter: 0.4 mm
- Layer height: 0.20 mm
- Perimeter: 4
- Infill: 100%
- Support: is not needed
Male Pin-Lock Design C/D
- Material
- The inner part of the buckle must be somewhat flexible.
ASA,NylonorPETGfor outdoor use in strong sunlight.
I used Polymaker PolyLite ASA white and it works well. However, I recommend PETG as it will also print successfully on printers without a closed housing.ABSfor normal use could also be used.

- Nozzle diameter: 0.4 mm
- Layer height: 0.20 mm (better use Varaible layer height)
- Perimeter: 4
- Infill: 100%
- Flow-Rate: [Tip] try to avoid excessive under-extruding (0.95- 1.0)
- Support: is needed, only on the printbed
- Brim Type: Mouse ear
- Ironing: [optional] all top surfaces (for a smooth top surface)
Note: Ensure strong layer adhesion between the layers and between the extrusion lines.
Male Ladder-Lock Design B
The same print settings as for the Pin-Lock design,

but with the following differences:
- Print Speed: [optional] reduce the print speed between Height Range 1.0 - 1.6 mm (if the first 3 layers over the support structure does not adhere sufficiently).
- Walls printing order: [optional] Inner/Outer/Inner (at least available in Orca Slicer)
Mounting material
| Image | Quantity / Part Description |
|---|---|
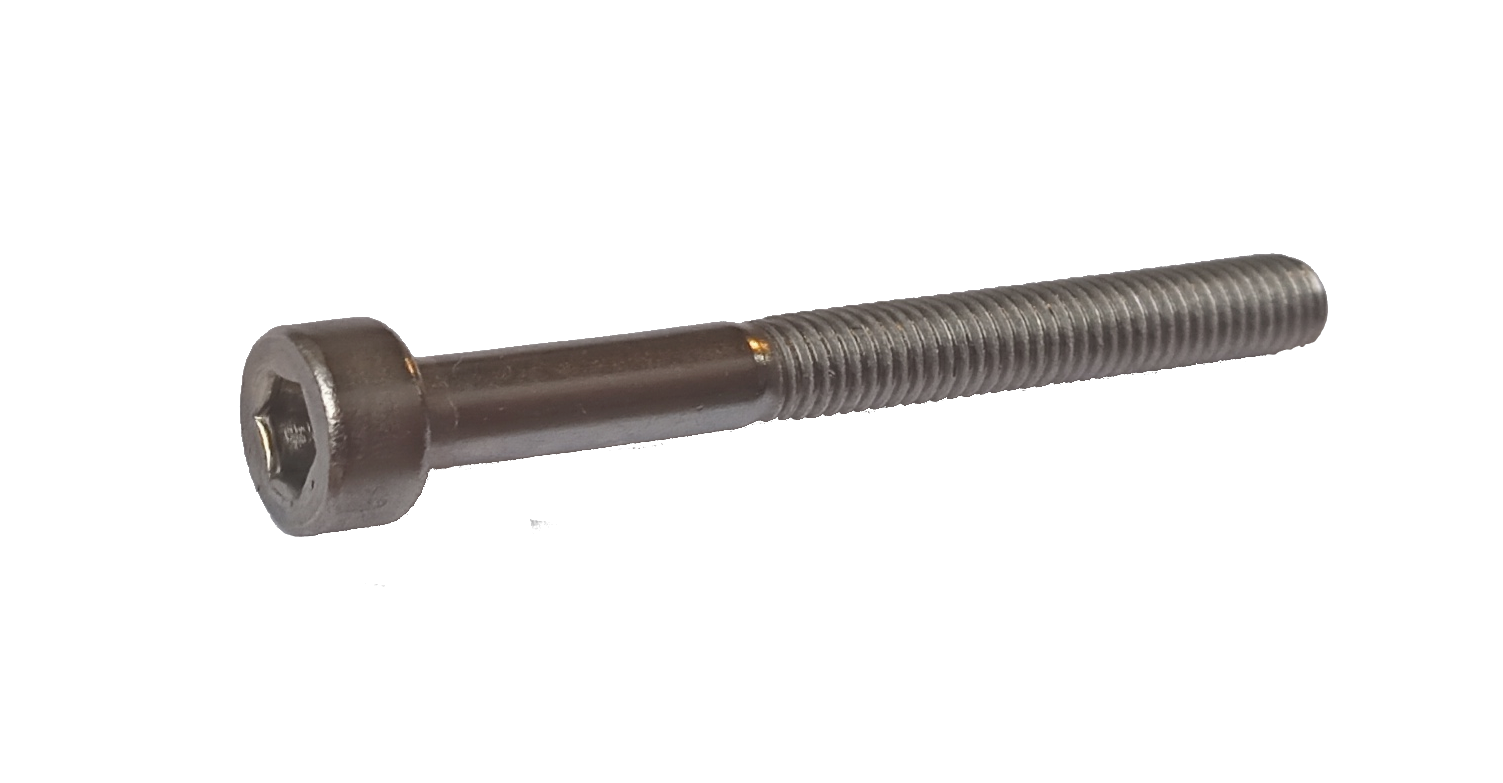 | 1 piece / M3 x 30 mm DIN 912 Socket Head Cap Screw with hexagon drive, A2 stainless steel (1 Stk. M3 x 30 mm Zylinderschraube DIN 912, Edelstahl A2) |
 | 1 piece / M3 x 35 mm DIN 912 Socket Head Cap Screw with hexagon drive, A2 stainless steel (1 Stk. M3 x 35 mm Zylinderschraube DIN 912, Edelstahl A2) |
 | 1 piece / M3 x 35 mm ISO 7380-1 Button Head Screw with hexagon drive, A2 stainless steel (1 Stk. M3 x 35 mm Linsenkopfschraube ISO 7380-1, Edelstahl A2) |
 | 1 piece / Threaded insert M3 x 4 mm, diameter approx. 5 mm, brass (1 Stk. Gewindeeinsatz M3 x 4 mm, Durchmesser 4,95 mm, Messing) |
 or  | 1 piece / M3 ISO 4032 Hexagon Nut, A2 stainless steel (Equivalent norms: DIN 934; CSN 021401; PN 82144; UNI 5588; EU 24032) (1 Stk. M3 Sechskantmutter ISO 4032, Edelstahl rostfrei A2 |
 | Optional strap abrasion protection
|
Post-processing of the Male part
Well, FDM 3D printing does not always deliver perfect results. Especially if you have to use support structures, there is often no way around post-processing the printed objects. It took me about 5 to 10 minutes to do this.
- Remove support material, be careful when removing the mouse ears at the tip.
- I sanded down the surfaces that were supported by the support material to smooth them out.

Installing the Heat-Set Inserts
I use a normal soldering iron for that task.

This can be done more easily with special thread insert installation tips for soldering irons. In my opinion, however, these are only worthwhile if you need to carry out the process as perfectly as possible and with consistent quality - i.e. for larger projects.
Attach the buckle
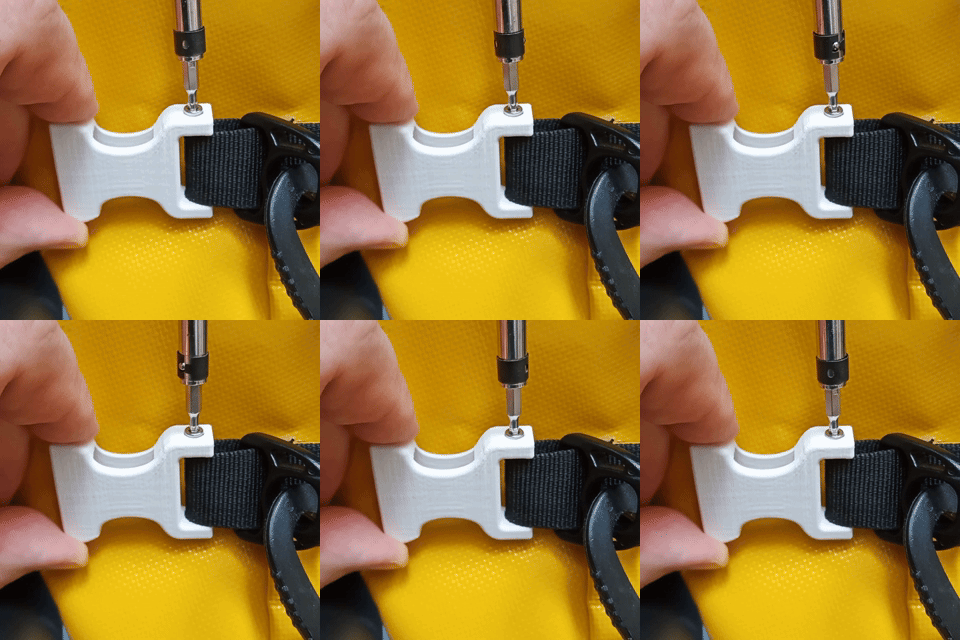
The buckle works great again on my big sea bag.
Have fun with your repair!
Updates
| 11 Oct 2023 | Female Version A2 Initial release |
| 12 Oct 2023 | More detailed information on the parts required. |
| 13 Oct 2023 | More detailed information about the material that can be used. |
| 30 Jan 2024 | New, added Buckle Male Version B1 + Sleeve tube DIA3.4mm L24.2mm |
| 20 Apr 2024 | New, added Buckle male & female versions with Hexagon Nut (instead of M3 Threaded heat-set Insert) as requested by Julien S. + variations with two screw types DIN 912 and ISO 7380-1. |
| 07 Jul 2024 |
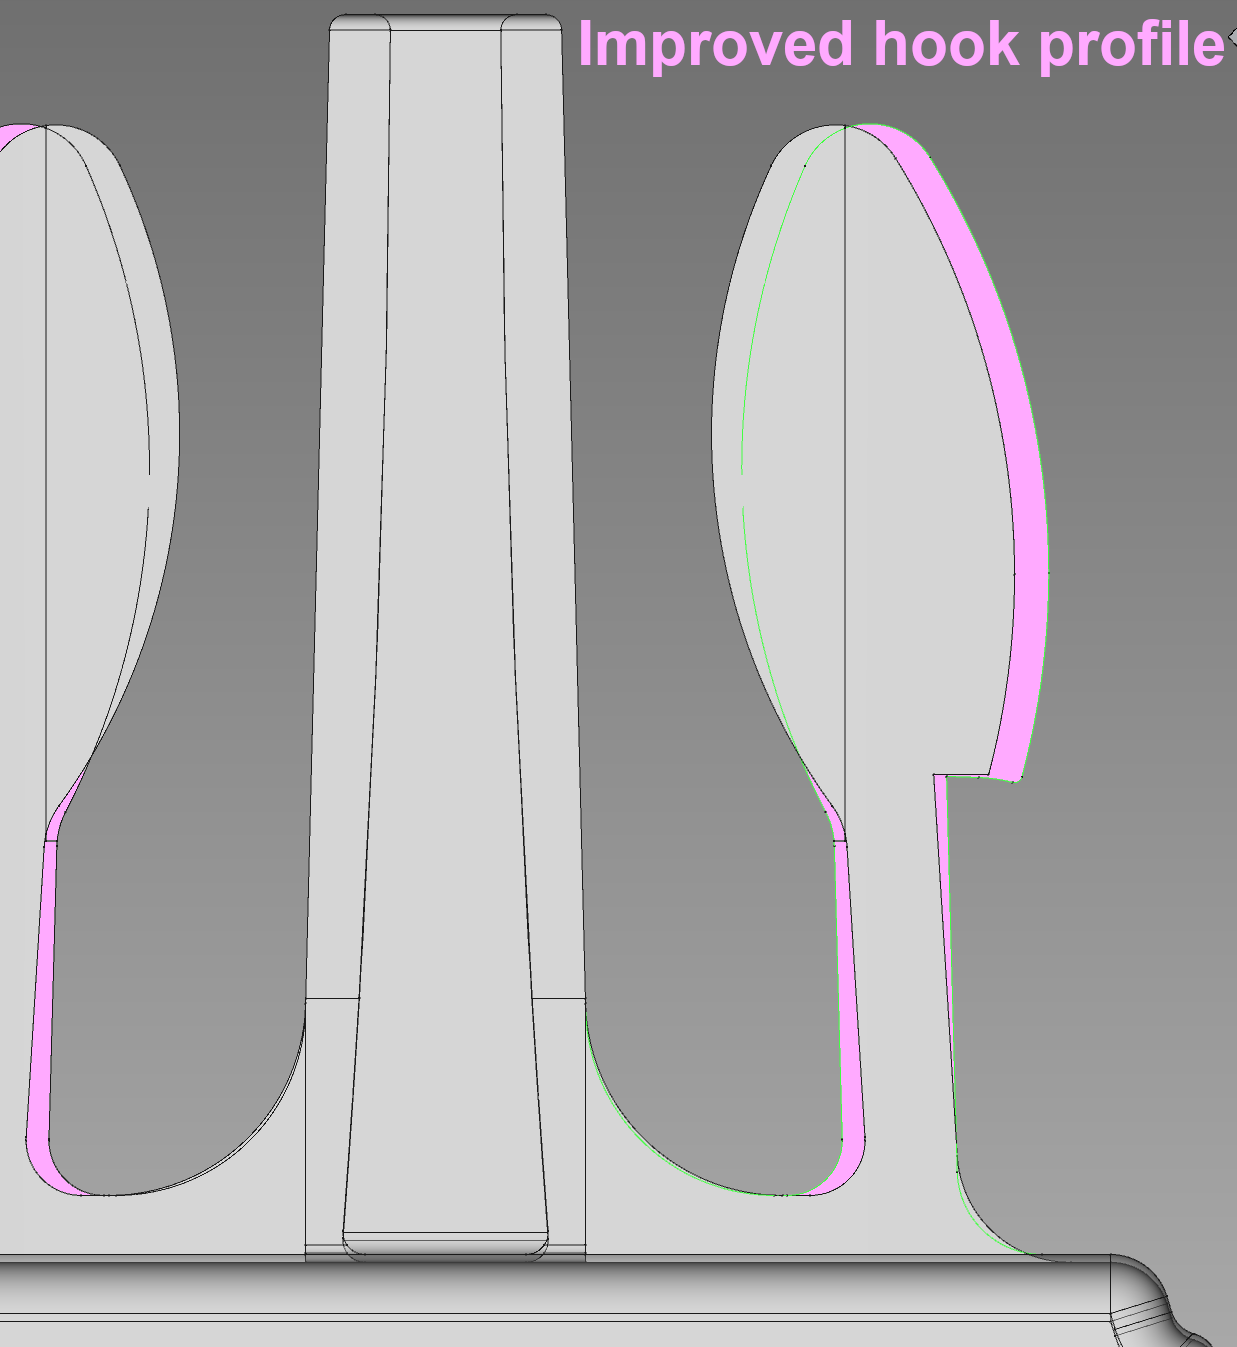 |
| 13 Aug 2024 |
|