
Sturdy Meta Quest 3 and Quest 2 Headphone Mount
Obliczymy ostateczną cenę na podstawie wybranego pliku. Sprawdzisz ją i zaakceptujesz przed płatnością.
Zapisane na tym urządzeniu.
The best way to mount your Koss Porta Pro / Koss KSC75 drivers on your Meta Quest 3 or 2!
- Ocena
- 4,583 / 5
- Polubienia
- 98
- Pobrania
- 696
- Wydruki
- 13
- Wyświetlenia
- 9294
- Oceny
- 12
Aktualizacja u źródła:
Informacje o modelu
- Źródło
- Printables
- Kategoria
- Virtual Reality
- Licencja
- Creative Commons — Attribution — Noncommercial
Looking for a solution to get better sound on my Meta Quest (previously known as Oculus Quest), I stumbled upon this design by budgiesarecool. I already had some Koss Porta Pros so I printed it and used that for a couple of weeks (after tweaking the size of some parts for a tighter fit, especially the push pin which is modelled too small).
However, after a couple of weeks using that, I came to the conclusion that while the design's intent and general approach are valid, it had a couple of issues that annoyed me and that couldn't be fixed by just resizing parts before printing.
This print is a complete redesign strongly inspired by the original, but which fixes all of the gripes I had with it and adds some niceties.
Requires either the Elite Strap or Elite Strap with Battery, or you could consider one of those remixes with alternative clips for other straps (I have not tested those myself):
Quest 3 Support (Added 2023-10)
The sound you'll get with this mod compared to the stock Quest 3 sound is very much worth it in my opinion. While Quest 3 sounds much better than Quest 2 out of the box, the sound does not compare well to the sound of on-ear headphones like the awesome Koss Porta Pros.
- Added new clip for Quest 3's larger Elite Strap band. There are two clip sizes now:
- The tight model should fit the Elite Strap band as-is without any protection. Untested, please tell me if it fits well.
- The loose model has additional space to add about two layers of duct tape on the strap before installing the clip. I favour this version because adding some tape underneath the clip should protect the plastic strap arms. The plastic-on-plastic clips ended up digging through my previous Quest 2's Elite Strap a bit, so I wanted to remedy that with this version. See photos below.
- Added new pin with Elite Strap with Battery cable guide in addition to the existing headphone cable guide.


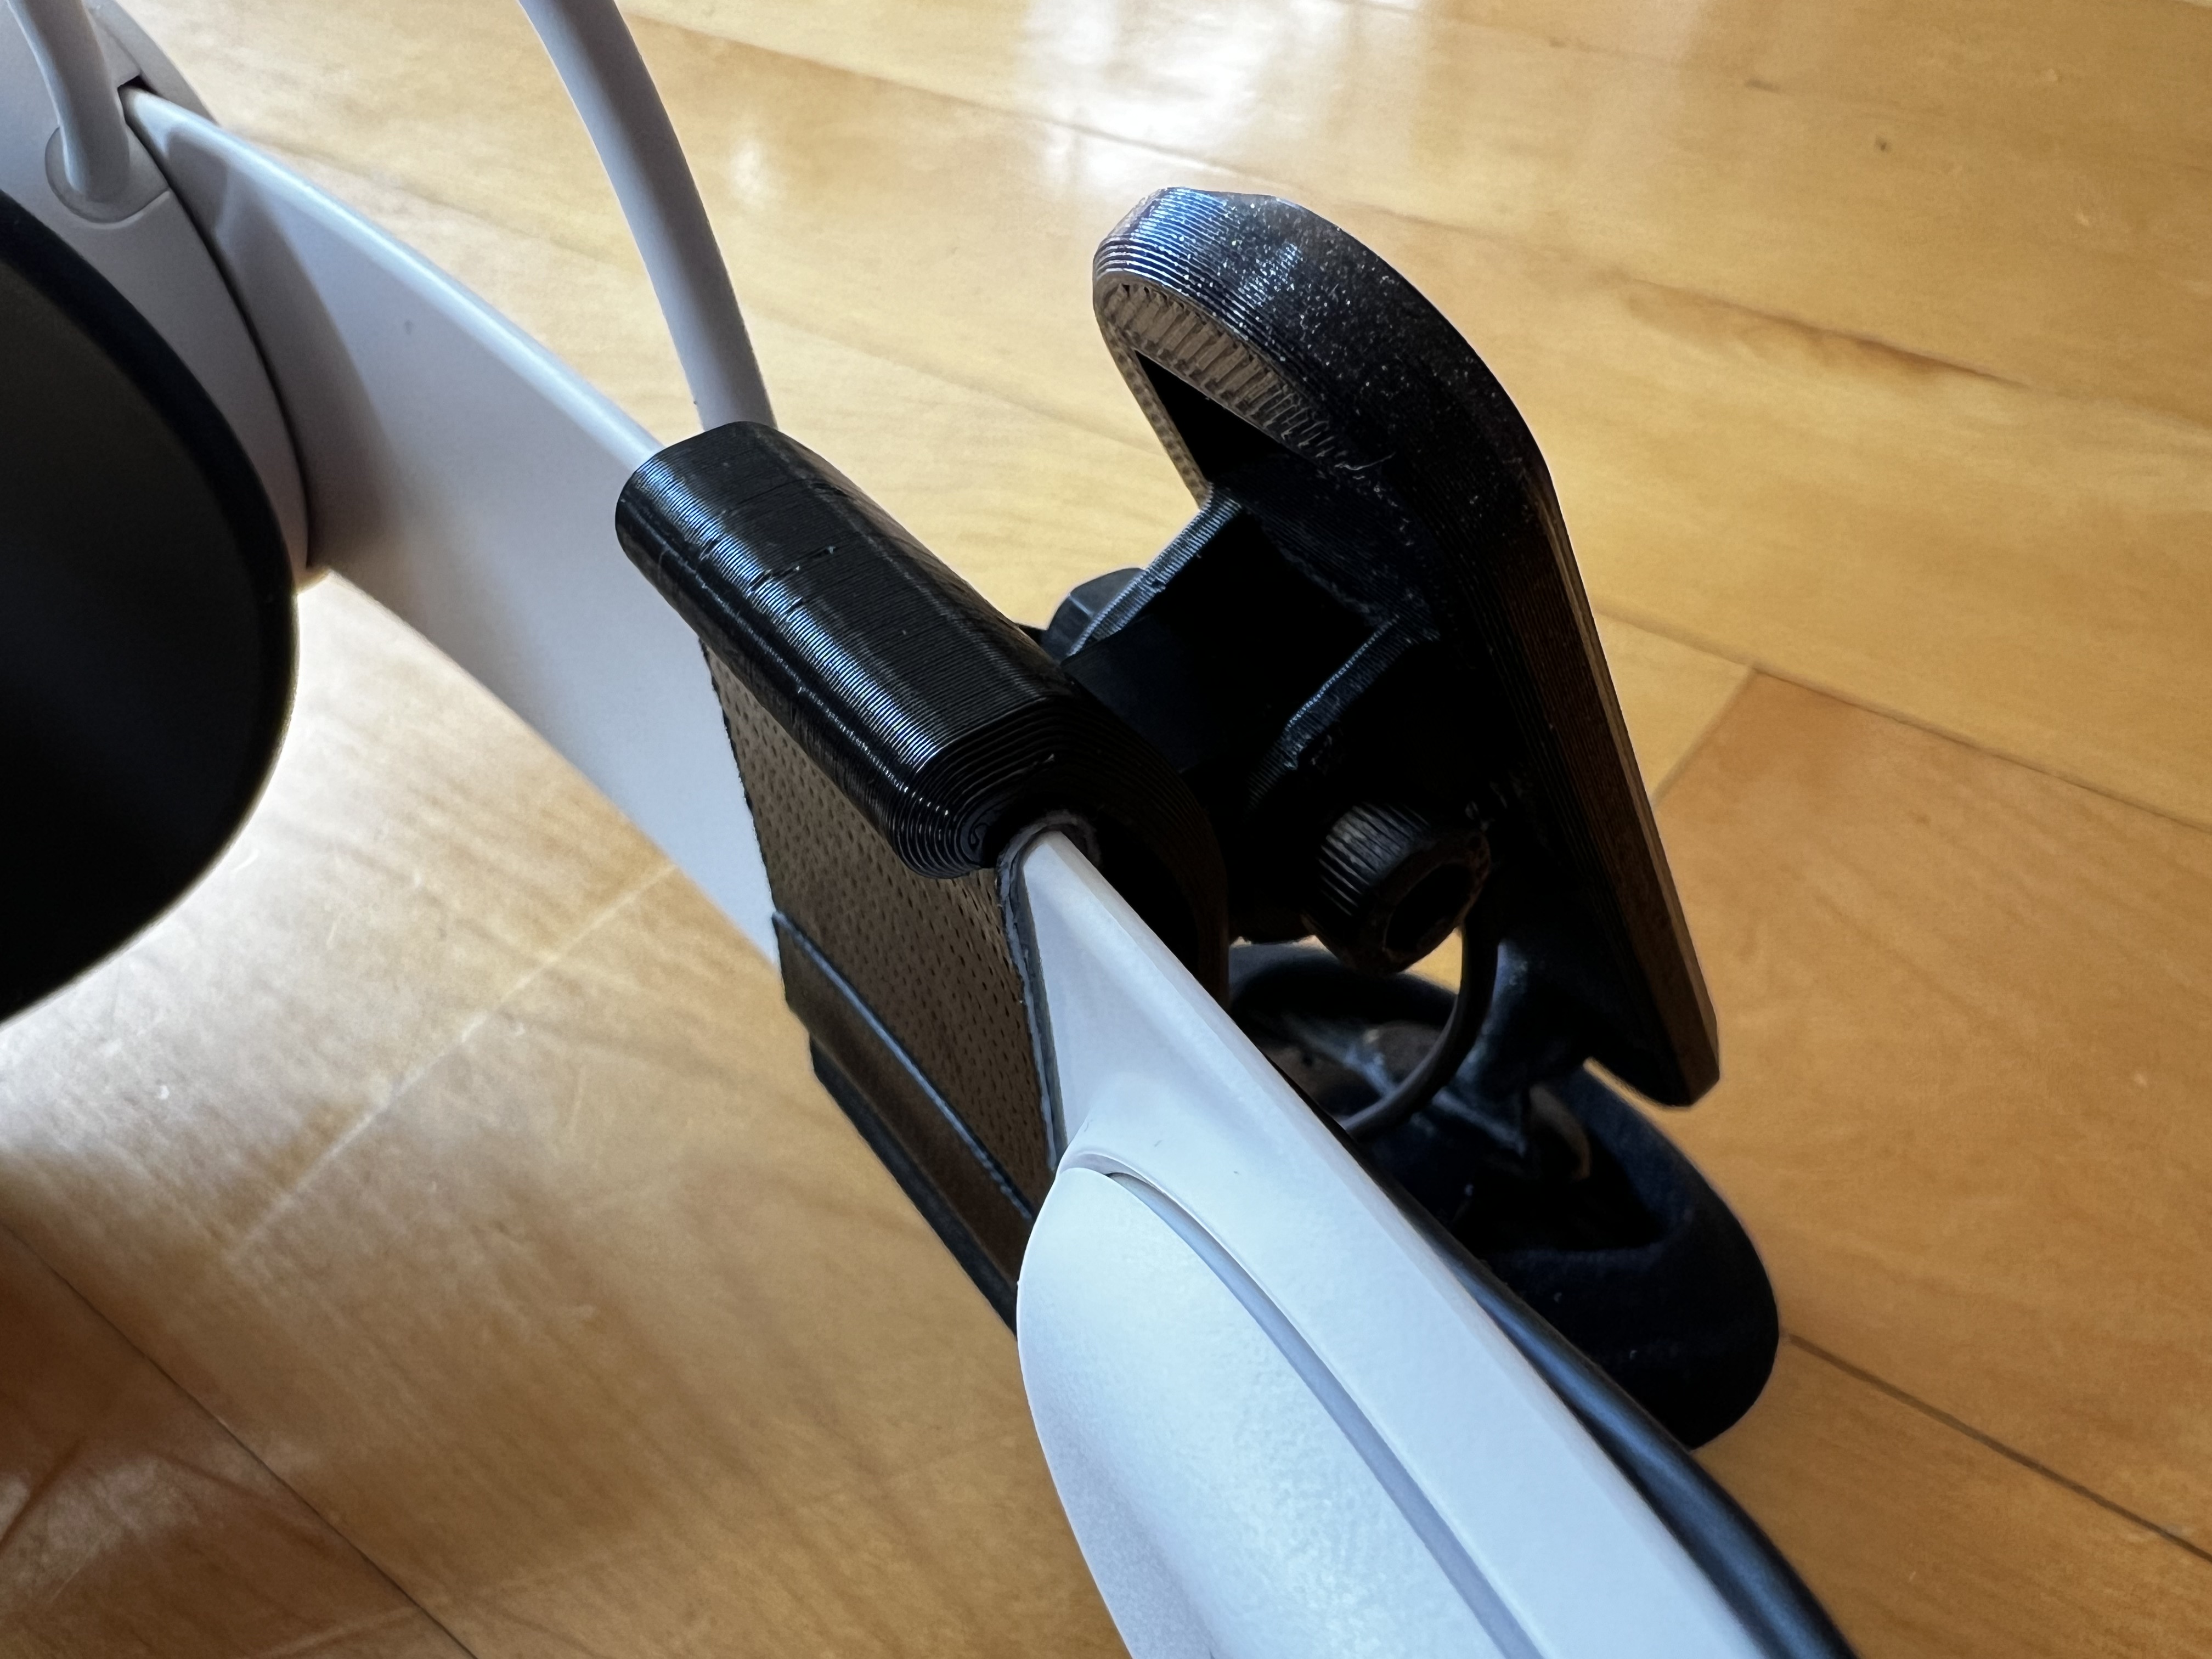
Gripes with the original design
- Too loose (requires frequent re-adjustment to align with your ears properly, especially when rotating your head quickly which can cause the arms to move out of place)
- Unnecessary front-to-back rotational adjustment (causes much flex and too easy to move by accident and you end up with the arms at different angles on each side)
- The arm moves too freely to get some amount of pressure on the ear, which reduces bass response.
- Plasticky noise when moving head (caused by loose parts and too many adjustments)
- The face plate is too easy to move vertically (easy to move by accident)
- The hinge pin is the wrong size and even when sized properly can get looser with time
Enhancements in this remix
- Much sturdier overall (no flex, stays in place once adjusted to your liking)
- The clip holds much better on the head strap (it's mostly like the original, just tighter)
- No plasticky noise caused by loose parts and unnecessary adjustments
- Maintains its position once the arm is lowered and allows a reasonable amount of pressure to be applied on the ear (if wanted)
- No front-to-back rotation (slide the clip on the strap to align with your ears instead)
- The hinge is held together by an M5x20mm screw, which won't loosen over time and fits better.
- Built-in wire management (on the slider and pin)
- Shorter face plate while retaining most of the adjustability. Takes less space when stored flat and looks less like antennas!
Required Materials
The goal here was not a hardware-less print but rather the best possible outcome from a rigidity standpoint. You will need a few (easily-acquirable) things:
- Two M5x20mm screws with nuts (locknuts are best)
- Some thread locker if you have no locknuts
- Superglue (ideal but not absolutely necessary)
- Hobby knife (or similar)
Printing Instructions
- Print at 0.2mm for strength.
- Enable “External perimeters first” for dimensional accuracy.
- I used 15% infill. I don't think more would change much.
- I printed mine with Prusament Galaxy Black (front plates) and filaments.ca EconoFil PLA (other parts, except the pin, see below).
- Printing the pin in PETG is recommended so that the compliant mechanism lasts longer.
Terminology
Just so you know what I'm talking about:

Assembly Instructions
Cleanup the bridge (the face that was printed in midair) on the clip with your hobby knife. The pin is designed for a tight fit and the (even slight) clip bridge droop will prevent the pin from fitting. Remove just enough material so that the pin fits snugly.

Put some superglue on the inside of the fins on the rear of the pin.

Orient the clip and pin properly (see below) and push the pin fully into the clip. Hold it in place for 30-60 seconds for the glue to set.

Attach the slider on the pin using one 20mm M5 screw and nut. Add thread locker on the end of the screw before screwing the nut on. Slightly tighten by hand so that the arm still rotates freely.


Insert the slider into the plate. It's a tight fit and the teeth are deep so that once adjusted to your liking there's no chance it will move by itself.

Attach the Koss Porta Pro driver on the plate. I find it's easier by using a slight twisting motion as demonstrated in the picture. Use two hands and apply even pressure on the whole face of the driver to avoid breaking it. It should require a moderate amount of force to push in.


Then, guide the wire in the slots on the slider and the back of the pin.


Finally, clip the whole thing on your headset by putting the top on first then pushing the bottom part towards the strap until it clicks in place. It should be a tight fit and should not move backwards and forwards easily.

Congrats, you made it!
Now you can either use a wide velcro strap (not pictured) to keep the wire mess in check by strapping it to the headset's side band, or you can cut the wires and solder them to the appropriate size to clean up the wire mess. Personally, I chose to manage the extra wire with some velcro, which keeps the headphones intact and should simplify moving them to another headset when required.
I'd love to see your makes!