
L-Riser for Bambu X1 & P1S with vents and LED
Obliczymy ostateczną cenę na podstawie wybranego pliku. Sprawdzisz ją i zaakceptujesz przed płatnością.
Zapisane na tym urządzeniu.
Top glass riser for Bambu printers. With vents and LED stripe in alu profile. Simple and easy to make, yet elegant.
- Ocena
- 5 / 5
- Polubienia
- 138
- Pobrania
- 678
- Wydruki
- 3
- Wyświetlenia
- 6492
- Oceny
- 3
Aktualizacja u źródła:
Informacje o modelu
- Źródło
- Printables
- Kategoria
- Bambu Lab Parts & Upgrades
- Licencja
- Creative Commons — Attribution — Noncommercial — Share Alike
I needed a riser for the top glass of my P1S printer. I wanted one not too high, with vents and LED light. There's a plenty of such projects on Printables, but I couldn't find one meeting my expectations. So I decided to design another one.

LED stripe in aluminium profile
According to my experience with LED lighting in narrow spaces it is essential to use an aluminium profile. It allows for heat dissipation, that is essential for maintenance-free work of LED stripe, especially one of high power. Furthermore the LED stripe attached with self-adhesive tape to the plastic part will fall off after a few weeks (or days). The tape holds much better to aluminium, and you can screw the profile with screws.
It is possible to use a continues piece of LED stripe (around 130cm), to avoid additional soldering.

The soldering is only necessary at the beginning of the stripe, however it's wise to connect the power to both ends of the strip - it will give more light.

Opening vents
I designed a simple doors for the vents. Thanks to tight dimensions tolerances they are very easy to operate - they stop in any position you want. I expected, that the magnets might be necessary to keep the doors closed, but they are just fine without them. So the nests for 6x2mm magnets remain empty.

Simplicity and precision
The design consists of just seven files (3mf compressed in ZIP). Actually you will need to manufacture more parts, but you just need to manipulate these seven files. I used a good quality PLA for the main construction and TPU for the lining. You will need to print following parts:
- 4 corners - please print “CornerFrontRight” and “CornerRearRight”, and mirror both files for the left side parts,
- 4 pieces of “Span”,
- 4 pieces of “Door”,
- 4 corner linings (TPU) - please print “CarpetFrontRight” and “CarpetRearRight”, and mirror both files for the left side parts,
- 4 pieces of “CarpetSpan” (TPU)
You will also need four pieces of aluminium LED profile (16x7mm), preferably with plastic diffuser (matt). You will need to drill four 2mm holes in each profile, according to the drawing:

After drilling - chamfer the holes. You will use flat 2mm screws to connect the profile to the riser's frame (see the drawing below). The screws heads should not protrude from the bottom of profile, to avoid problems with attaching the LED stripe.

Assembly

Start the assembly from installing the doors in their hinges - push the door until you hear the click.

Connect all parts of the frame with a simple lock. The joint is tight - the vice might help to connect the parts together.
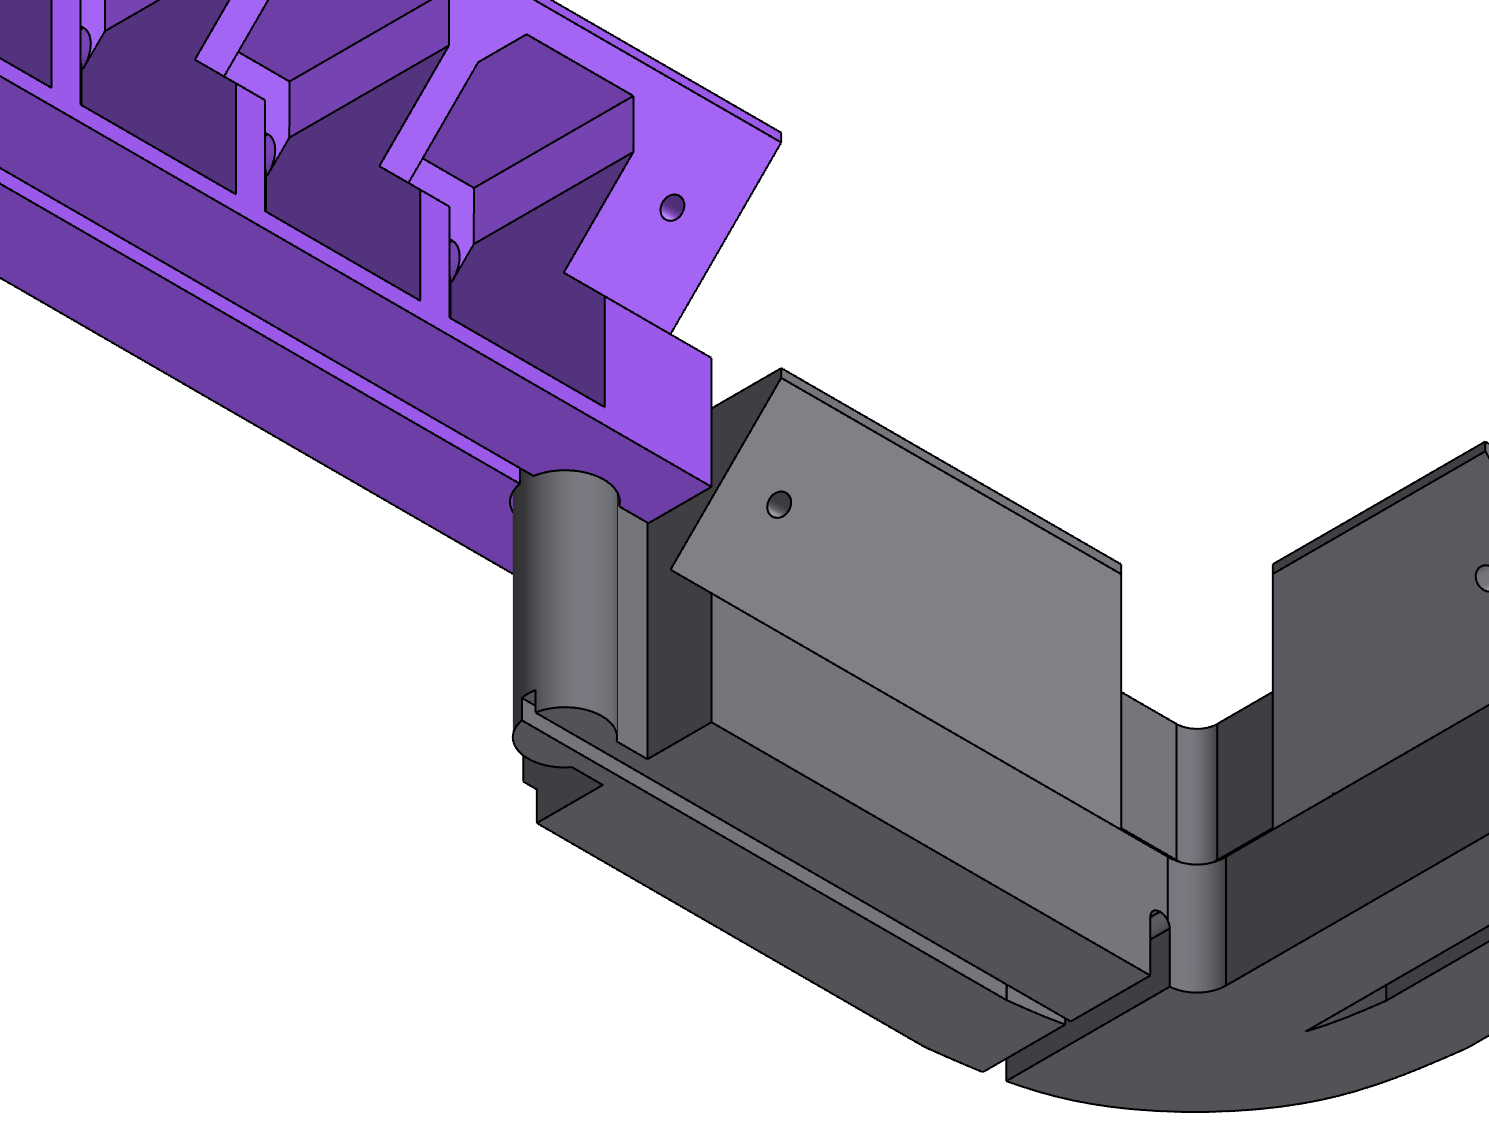
Check, whether the frame match your printer!
Attach the aluminium profiles with 2 -2.5mm screws. Normally using two screws for each profile should be enough.
Prepare your LED strip - if you plan to use one of high power (above 10 watts) - consider adding a dimmer. Clean the inside of the profiles with alcohol and attach the stripe.
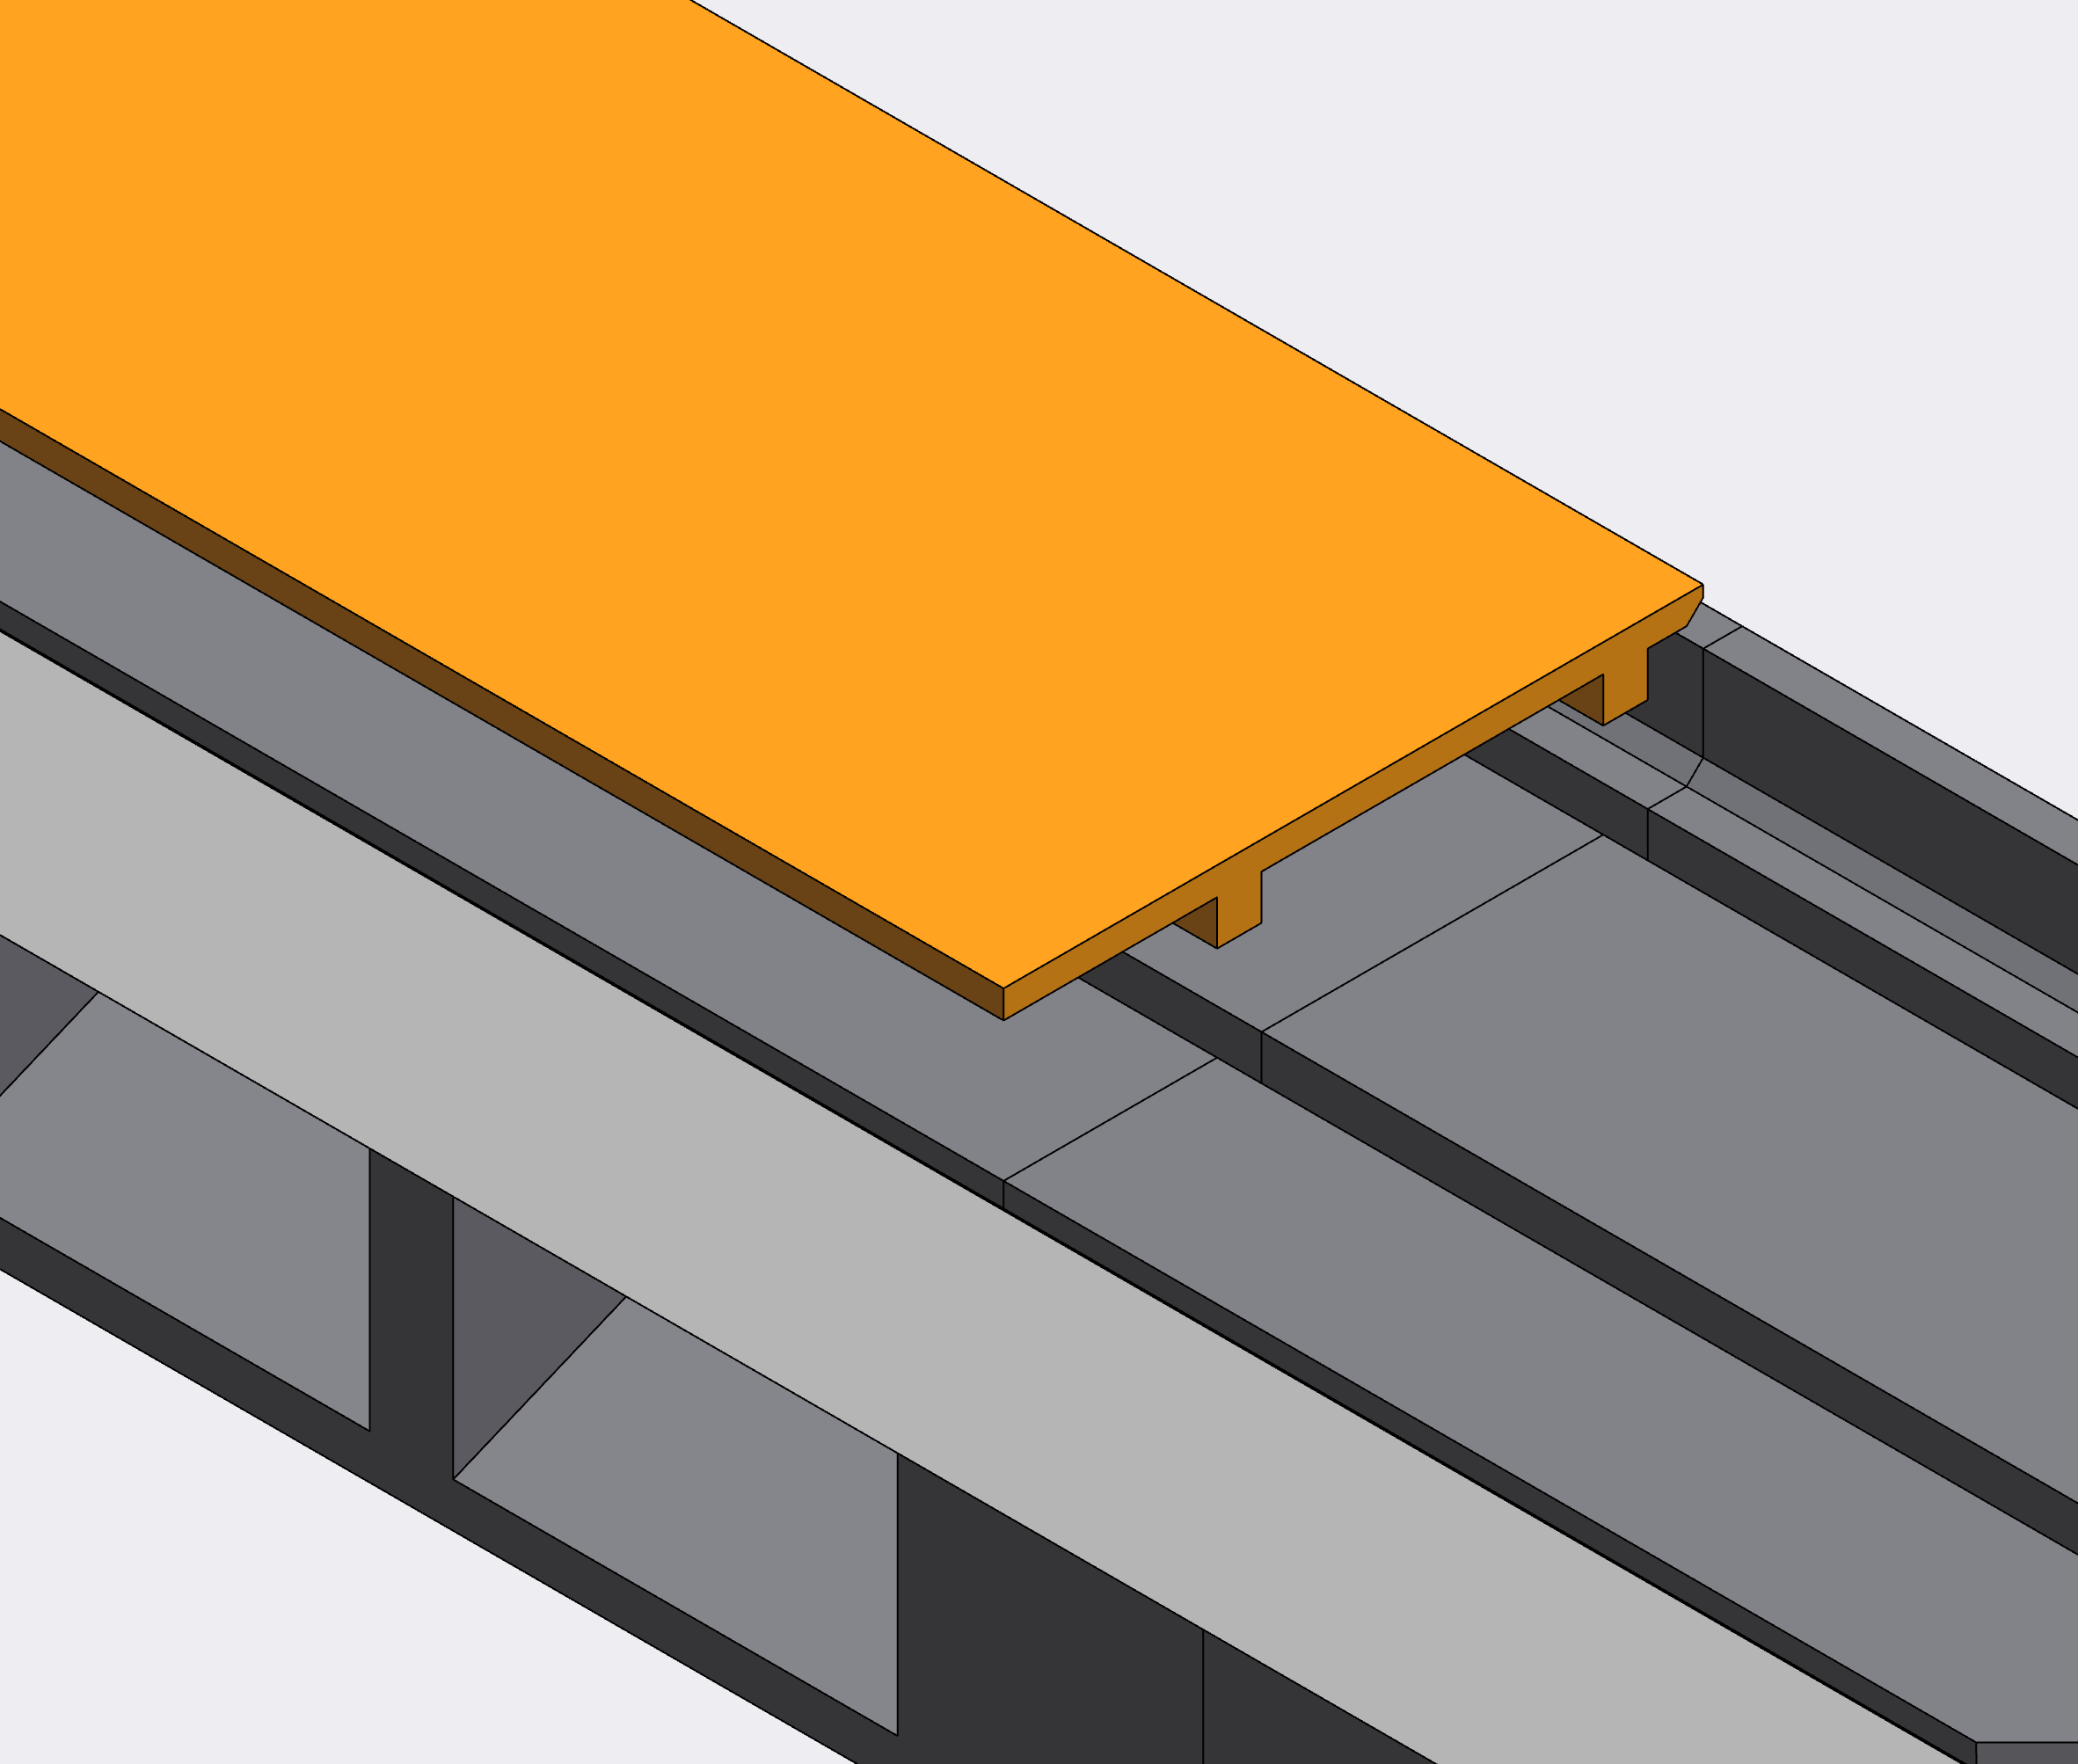
Install the flexible lining to avoid scratching the glass. The “carpets” should match the tiny channels in the frame
That's it!