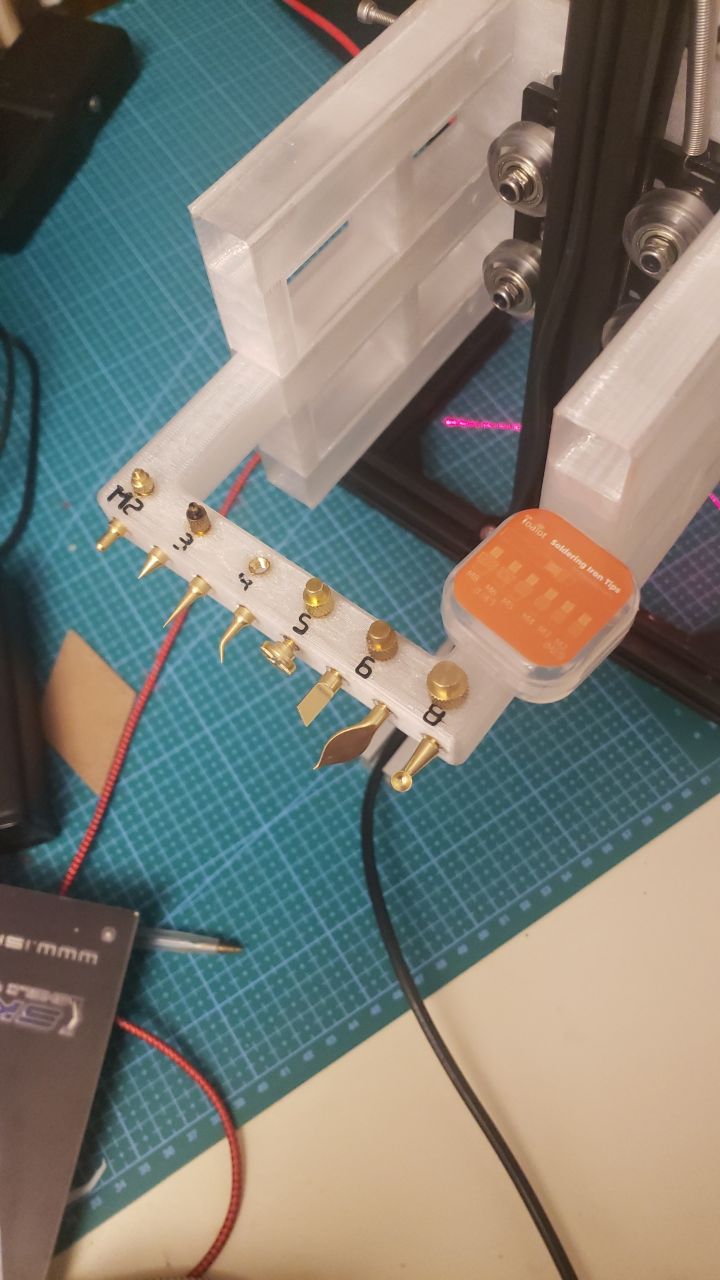
Heat insert press with optional lasers
Obliczymy ostateczną cenę na podstawie wybranego pliku. Sprawdzisz ją i zaakceptujesz przed płatnością.
Zapisane na tym urządzeniu.

Threaded insert press with lasers for positioning
- Ocena
- 0 / 5
- Polubienia
- 22
- Pobrania
- 47
- Wydruki
- 0
- Wyświetlenia
- 1268
- Oceny
- 0
Aktualizacja u źródła:
Informacje o modelu
- Źródło
- Printables
- Kategoria
- Accessories
- Licencja
- Creative Commons — Attribution — Noncommercial — Share Alike
Bellow you will find the list of materials and the assembly instructions.
Bill of materials
Here is the BOM with links:
230gr of Transparent PETG - Geeetech $12 per 1kg spool
5 ⨉ 100mm 2020 Aluminum Profile - $5 per 4pcs
1 ⨉ 300mm 2020 Aluminum Profile - $5
7 ⨉ 2020 aluminum corner fitting - $3 for 20pcs
18 ⨉ 2020 T Sliding Nut - 1$ for 10pcs
1 ⨉ V -gantry plate set special slide plate pulley for 2020 - $6
14 ⨉ M3 Flat Washer DIN 9021 - $3 for 20pcs
5 ⨉ M3 square nuts - $1 for 50pcs
21 ⨉ M3 10mm hex socket head cap allen bolt screw - $1 for 50pcs
10 ⨉ M3 16mm hex socket head cap allen bolt screw - $3 for 50pcs
3 ⨉ Steel dual hook 60mm tension spring - $4 for 10pcs
6 ⨉ M3 heat inserts - $4 per 100pcs
2 ⨉ line lasers module (5V, 12mm diam) - $4.5 for 2
1 ⨉ CJMCU Micro USB Board Power Adapter board 5V - $2
1 ⨉ micro USB cable with magnet - $2
14 ⨉ M4 heat inserts - $3 for 50pcs
I recommend :
1 ⨉ 90W constant temperature electric soldering iron 180~480 - $14
1 ⨉ toaiot M4 Heat insert nut soldering iron tips - $4 per lot
Assembly steps
After getting the materials listed above and printing the parts (0.3 layer height, 250% speed [I have $2 cht nozzle], no supports, PETG or some higher temperature plastic), here are the assembly instructions (please read them all before assembly):
using a 4mm drill, clear the holes for M3 inserts:

using the soldering iron, press each of the 6 threaded insert into its hole. Do not press to much, the insert must not exit into the arm hole

prepare the V -gantry plate, 3 springs, 4 M3 10mm screws and 4 square nuts:

put the gantry on the printed part and manually insert and rotate one screw from below:

manually rotate the screw until is about to get above the gantry:

place a square nut above the screw and rotate it until it catches it

use a finger to help the nut and screw tighten (continue to manually rotate from bellow):
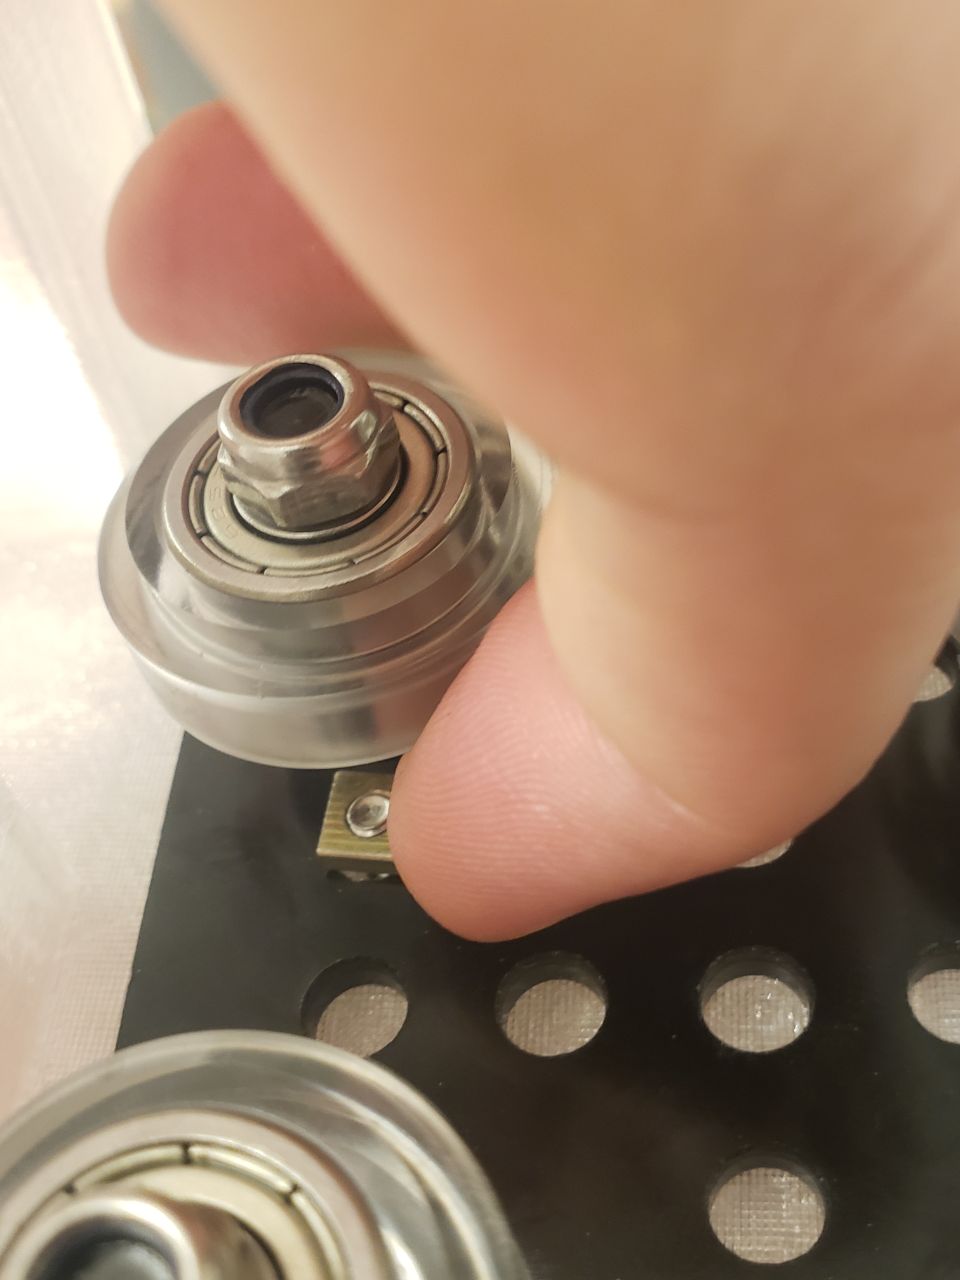
repeat for the other 3 screws:

tighten the screws using an allen key:

construct the aluminium frame, using the five 100mm bars as base (horizontal) and the 300mm (vertical). Each corner fitting uses two T-nuts, two M3 10mm screws and two washers.
To act as stopper you can use one M3 16mm screw and a T-nut. Alternative you put one corner fitting on the front of the vertical bar to act as stopper (just one T-nut and one M3 10mm screw with a washer):


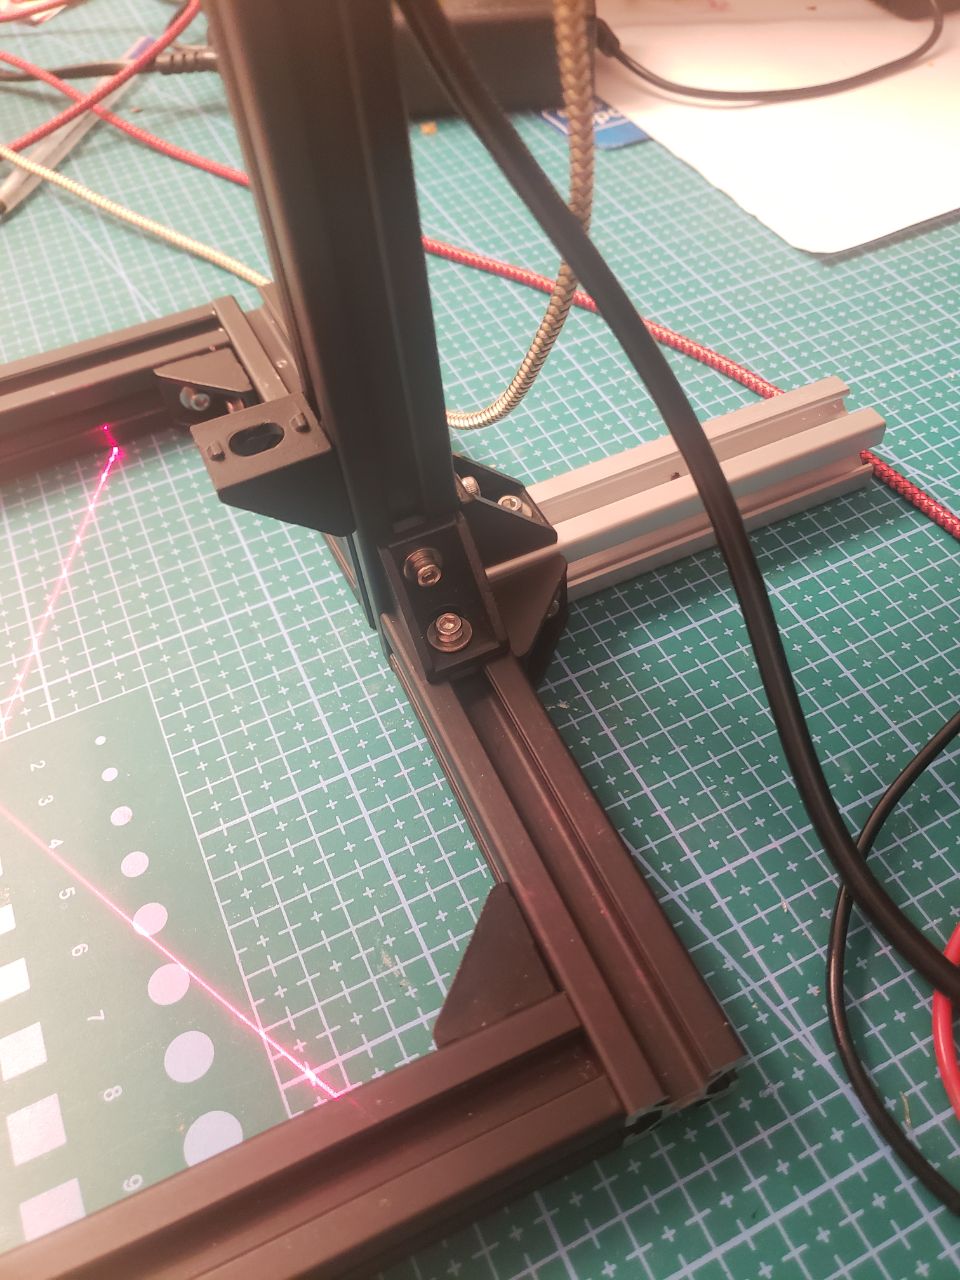
insert the carriage onto the vertical bar

place three M3 10mm screws and three T-nuts at the top of the vertical bar:

put the springs on the m3 top screws:

install the lasers modules on the bottom arm (use a screwdriver if necessary):

insert the wires of the lasers modules into the top channel and drive it inside until it exits in the middle:


cut the excess wires (be careful not to cut too much):
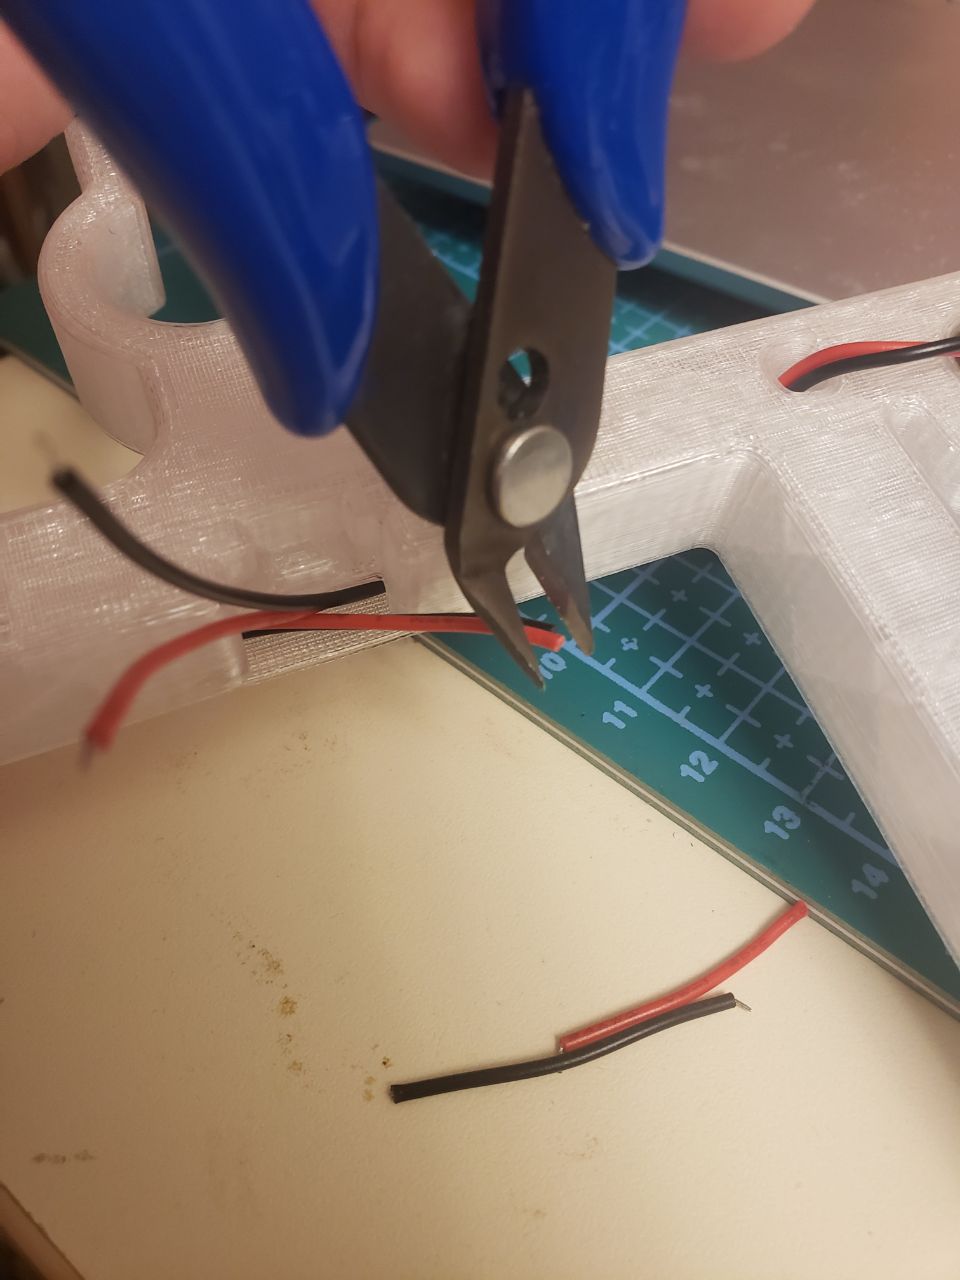
strip the wires and join them by color:
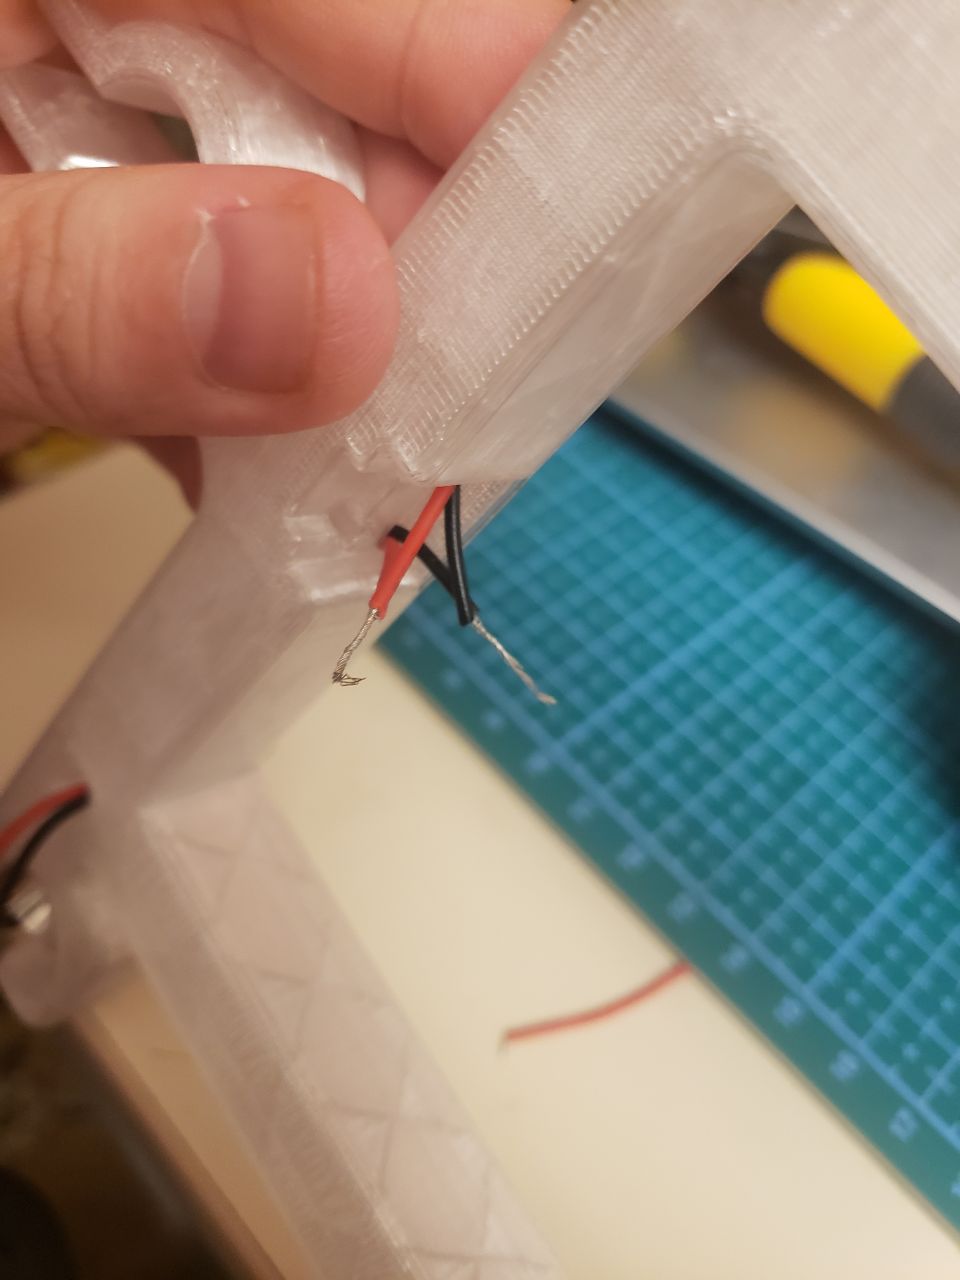
insert the wires into the micro usb module (the black should go to the GND hole):


solder the wire to the usb module and the cut the excess:

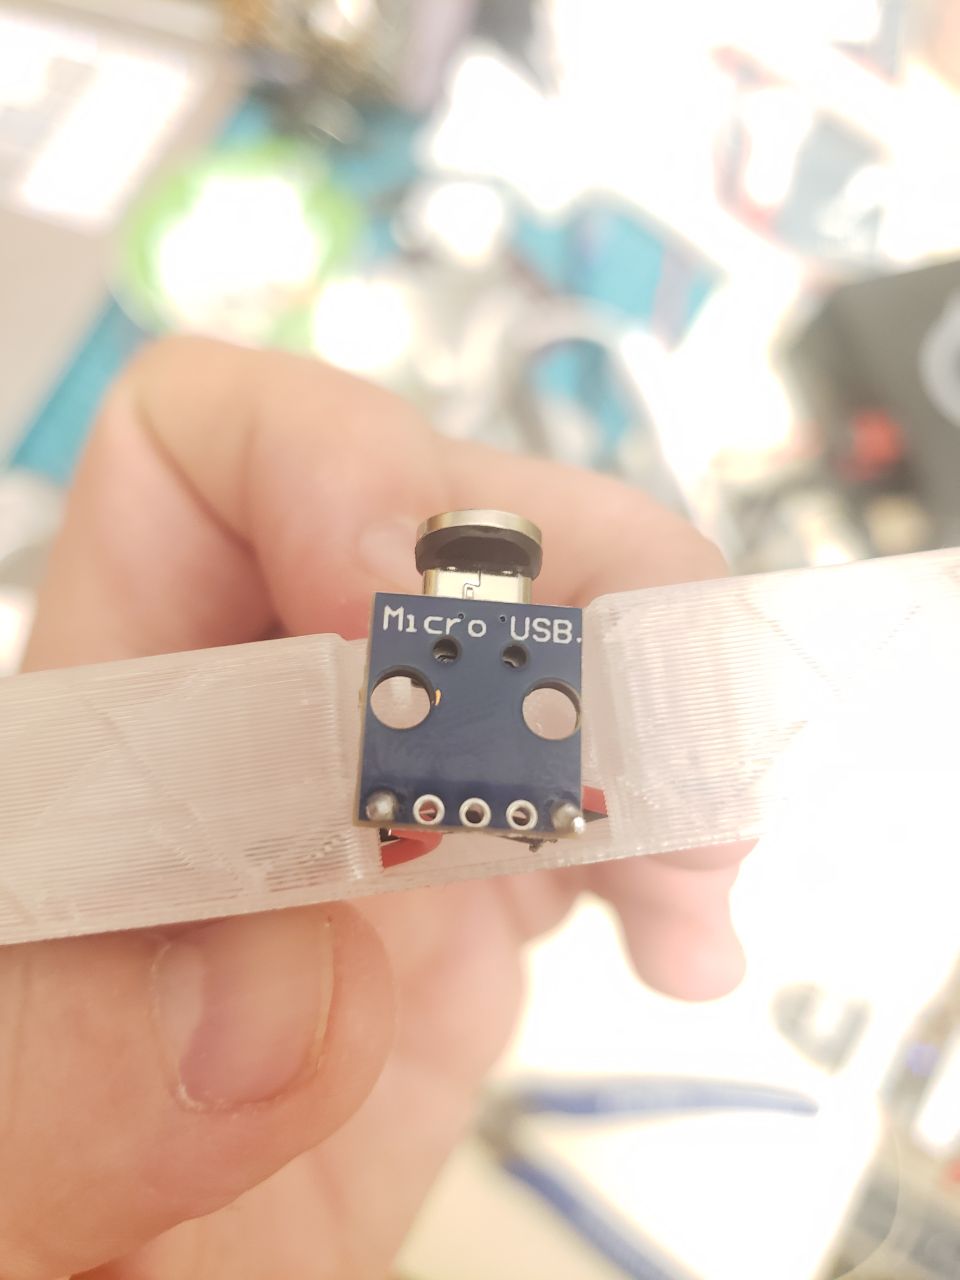
using two M3 16mm screws secure the usb module to the arm:


using a M3 16mm screw and a M3 square nut, secure the soldering iron lower part using the low arm:

secure the top part of the soldering iron using the high arm (you can use a M3 16mm screw and a M3 square nut if needed). The low arm and the high arm need to be aligned.

insert the arms into the carriage and use 4 M3 16mm screws to lock it.
align and focus the laser beams . The lines should run across the soldering iron and intersect where the tip touches the hole where the theaded insert will be pressed:

Result:
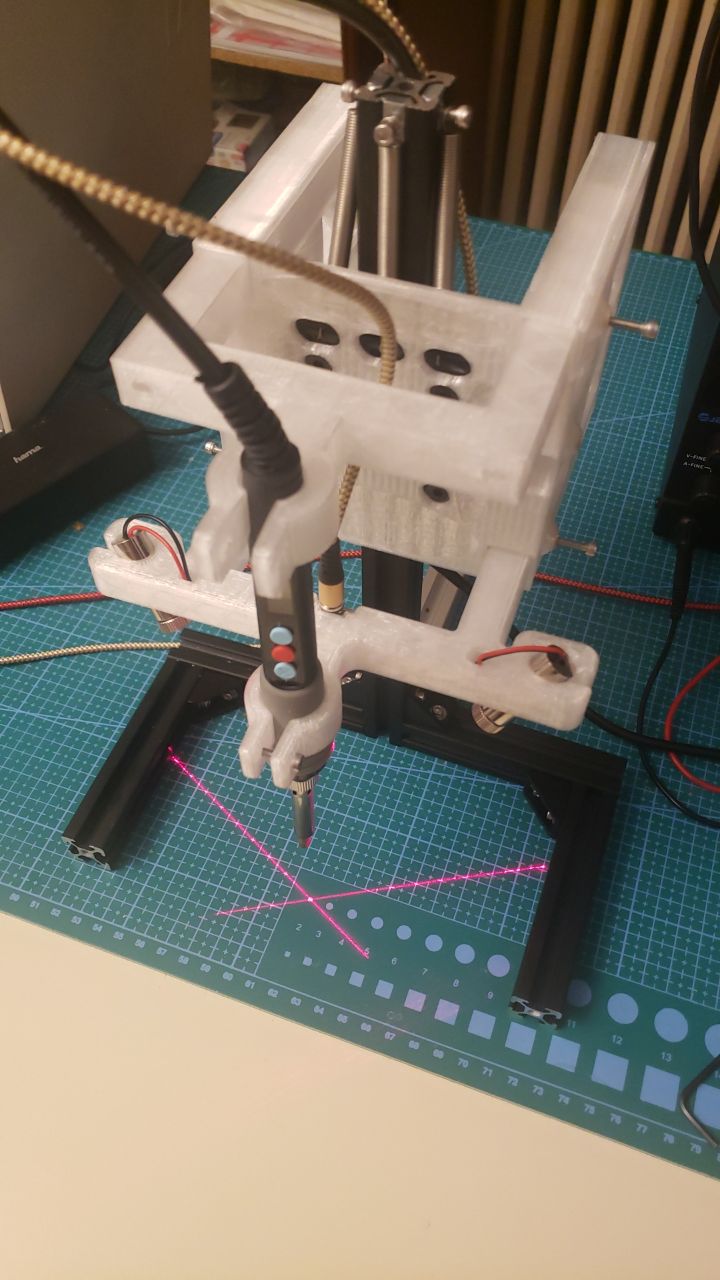
using the the new tool and an M4 heat insert nut, inserts 14 heat insert nuts into the heat insert tip arm: