Oral-B Toothbrush Charging Station with Integrated Waterpik Tip Organizer
Obliczymy ostateczną cenę na podstawie wybranego pliku. Sprawdzisz ją i zaakceptujesz przed płatnością.
Zapisane na tym urządzeniu.

The wall-mounted 3D-printed case for toothbrush chargers saves counter space and hides wires for a cleaner look.
- Ocena
- 0 / 5
- Polubienia
- 29
- Pobrania
- 91
- Wydruki
- 1
- Wyświetlenia
- 1388
- Oceny
- 0
Aktualizacja u źródła:
Informacje o modelu
- Źródło
- Printables
- Kategoria
- Bathroom
- Licencja
- Creative Commons — Attribution
Last edited: 12 December 2023
Assemble your Oral-B Charger Cradle effortlessly by printing one case, two charger plates, and a bottom plate using silver Hatchbox PETG filament. For optimal results, set your 3D printer with a 0.4mm nozzle and a 0.2mm layer height. If you prefer to wall-mount the cradle, be sure to print the wall plate as well. This plate can be firmly attached to drywall using screws, or adhered to tiles using double-sided 3M tape. A PDF file with detailed step-by-step instructions and illustrative photos is included to guide you through the assembly process.
Note: Printing supports are only needed for the wall mount. If you're using screws, you can keep the support in place. If you opt for double-sided foam and don't mind a small gap, leaving the support is also fine. The cradle is designed for easy detachment from the wall, allowing you to unplug and clean it safely and conveniently.
You have the option to use self-tapping screws instead of M3 nuts and screws. While there's a wide variety of self-tapping screws available, I opted for the M3 nuts and screws due to my lack of a diverse stock of the former.
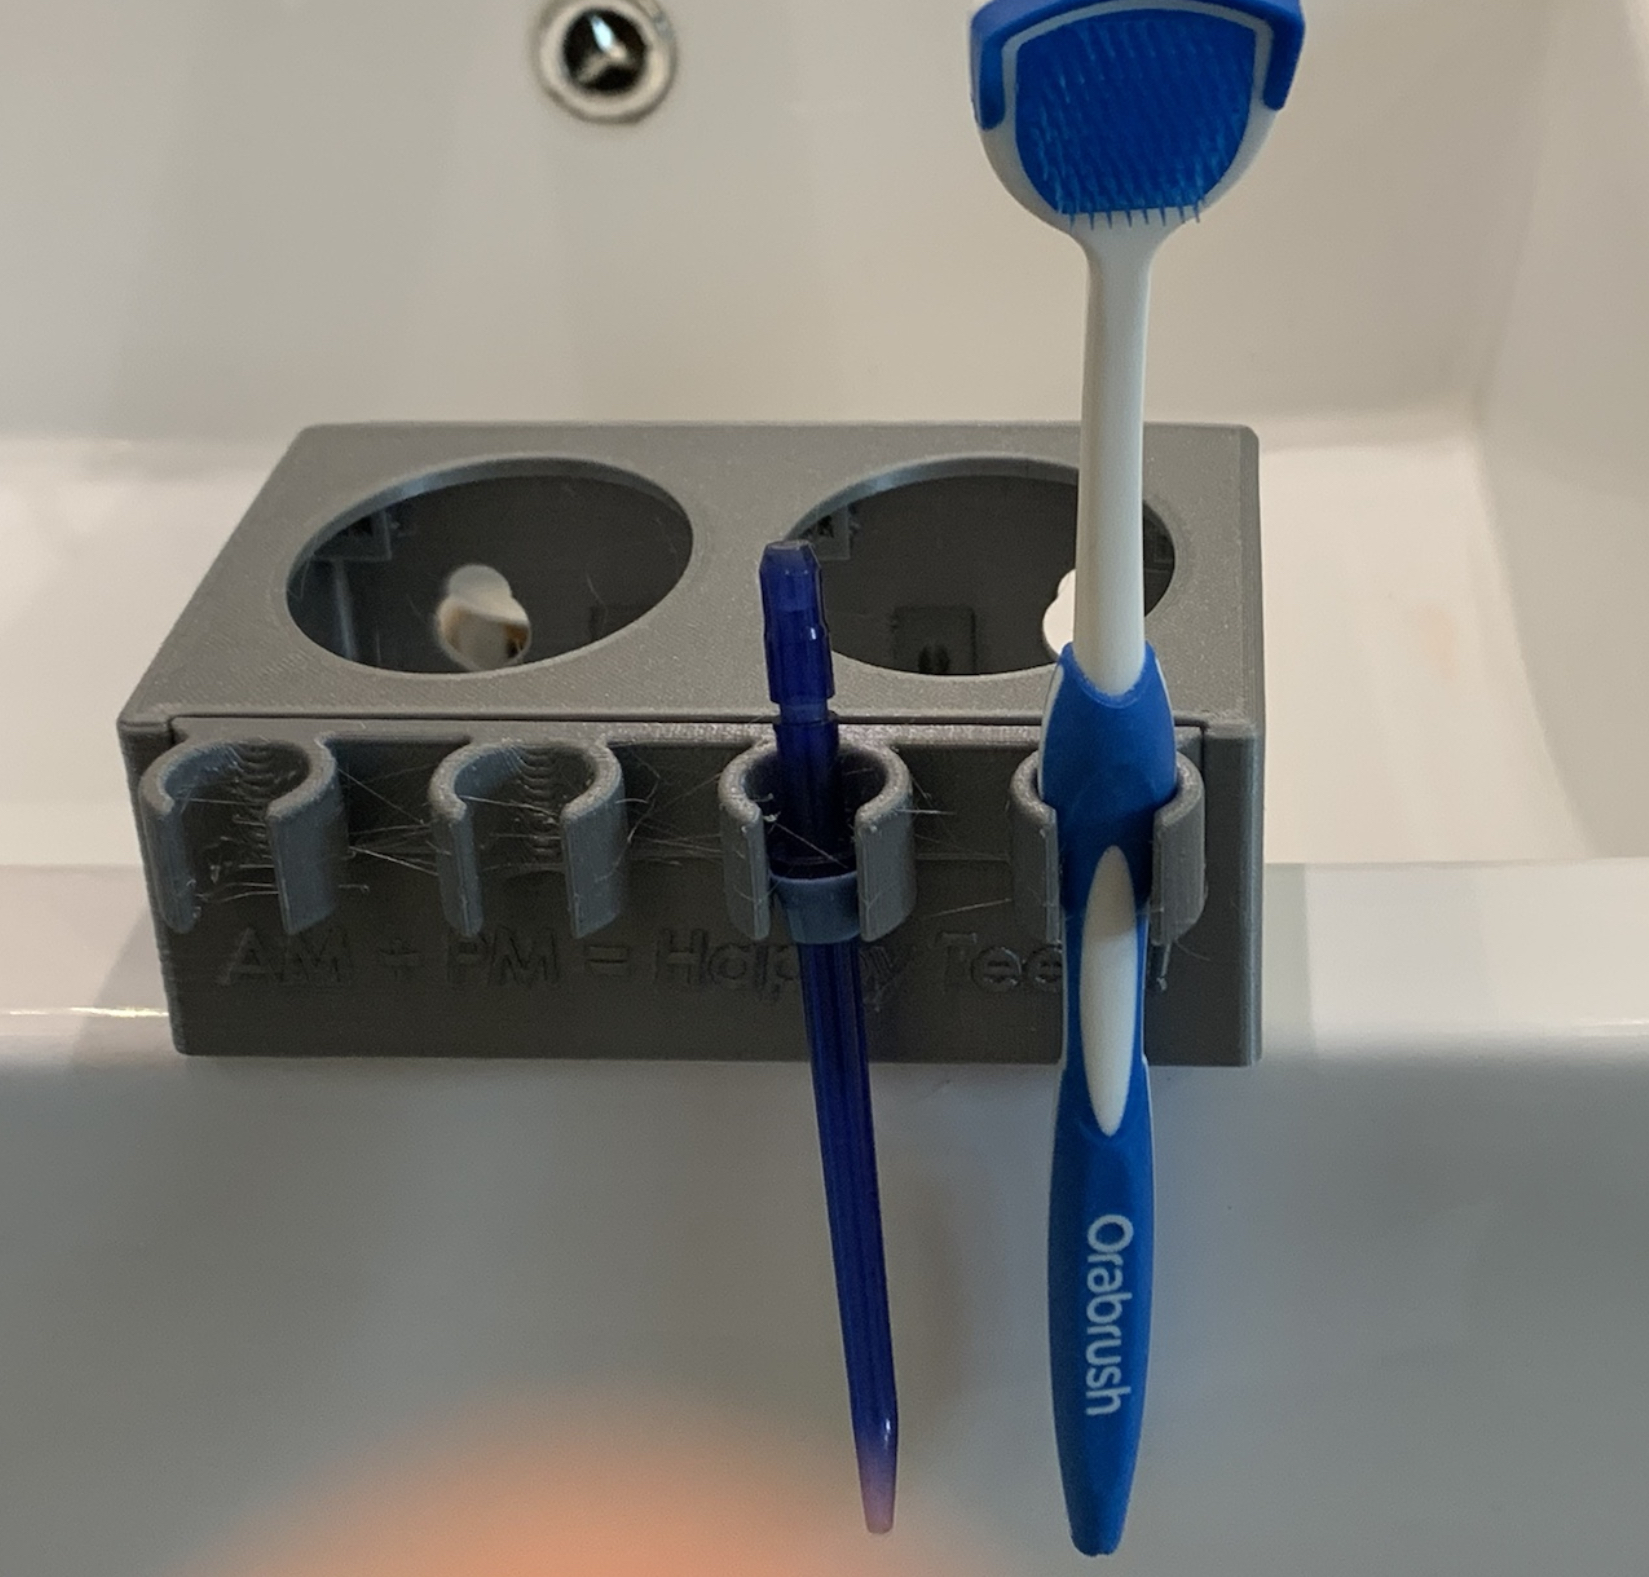
Note: I've created a compact holder for Waterpik attachments, which can be affixed to the caddy using double-sided foam. I plan to modify the design so that the Waterpik attachment can be easily detached and sanitized without needing to remove the entire cradle from the wall.
Edited: I've modified the cradle to include a dovetail slot, allowing it to accommodate inserts for various accessories. This design enables more frequent cleaning of the insert compared to the cradle and offers the flexibility to adapt to new accessories through redesigned inserts.

Edited 12 December 2023:
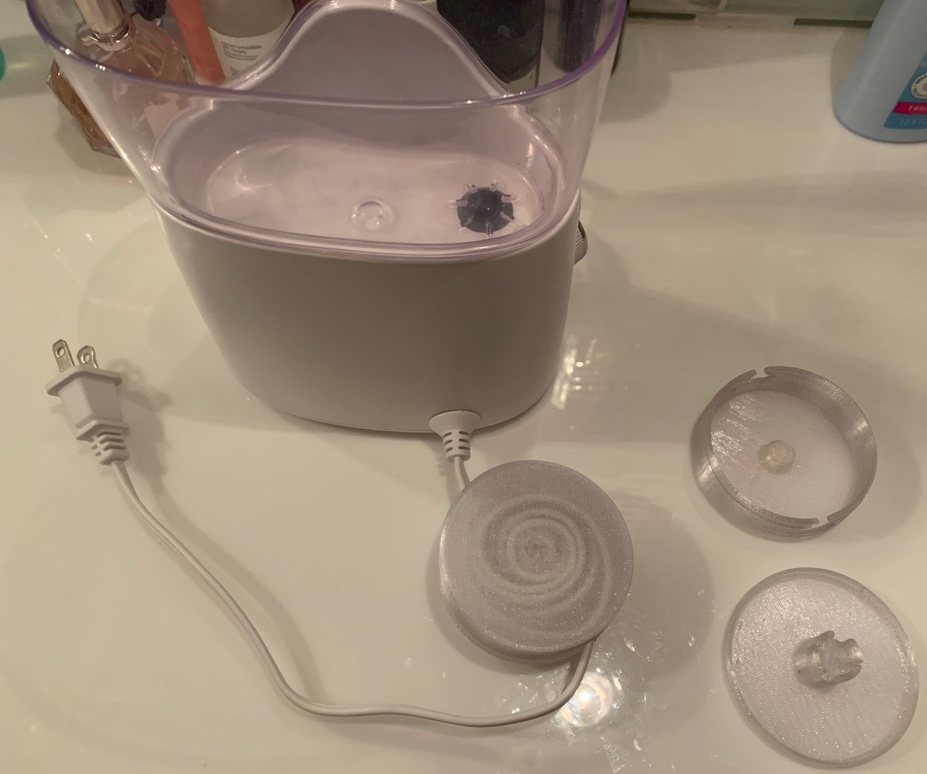
Added Waterpik Wire Winder Box
Since I've already sorted out the charger wires for our toothbrushes, I thought, why not do the same for the flosser? So, I made this two-part 3D-printed box. You just lay the flosser's wire across the bottom part, put the top on, and twist. It reels in the wire, keeping it under control and your space clutter-free. A bit of grease where the parts meet keeps the action smooth.