
1 / 2
Prusa MINI XY squaring tool
Zamów wydruk tego modelu
Obliczymy ostateczną cenę na podstawie wybranego pliku. Sprawdzisz ją i zaakceptujesz przed płatnością.
Zapisane na tym urządzeniu.

A simple tool that can help to easily square the X & Y axis of the Prusa MINI
- Ocena
- 5 / 5
- Polubienia
- 12
- Pobrania
- 60
- Wydruki
- 1
- Wyświetlenia
- 697
- Oceny
- 1
Aktualizacja u źródła:
Informacje o modelu
- Źródło
- Printables
- Kategoria
- Prusa Parts & Upgrades
- Licencja
- Creative Commons — Attribution
SzczegółyPliki (1)Wydruki i komentarze (Wydruki: 1) (Komentarze: 1)Remiksy (0)Kolekcje (17)Powiązane
Some Original Prusa MINI do not have the X & Y axis perpendicular (even the pre-assembled ones). A common solution is to use shims to rotate the X axis, but the problem is to find the correct rotation angle to use. This tool do this automatically:
- Before printing, check that the Z bottom plate is perpendicular to the aluminium extrusion (having the MINI electronic box accolate to the aluminium extrusion like in the default assembly should be enough). Do not skip this step! It is this angle that will be swapped with the skewed angle!
- Print the squaring tool using the correct orientation (important!):
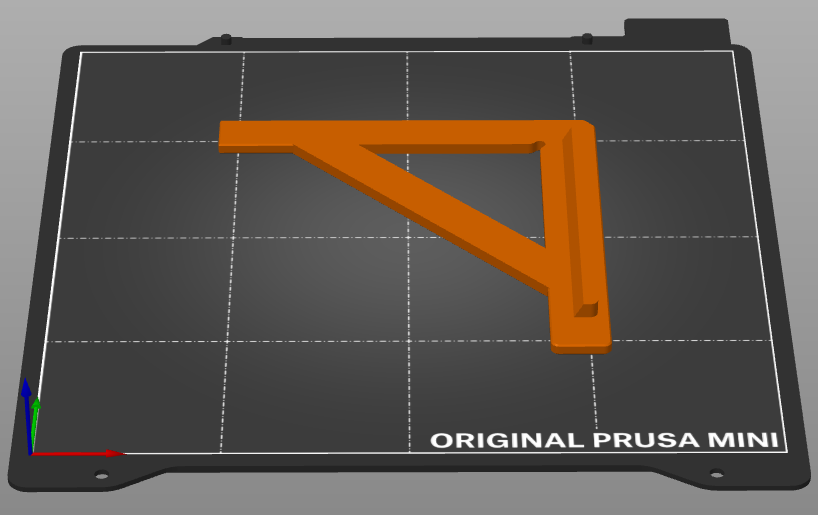
Obviously, the print will not be squared, and the angle will be less than 90°: that's the trick.
- Loosen the 3 screws fixing the electonic box (just enough to rotate the X axis), then turn the printed “square” upside-down (the upper part goes into the extrusion notch) and use it to set the angle of the box:

- Tighten the top screw: the X & Y axis are now squared!
- Add some shims to compensate for the space between the aluminium extrusion and the electronic box, and tighten the two other screws (follow the manual to keep the X & Z axis squared).
- Print a rectangular box for checking: the angles should be perfect!
Happy printing!