
AnkerMake M5 Build Plate Guides
Obliczymy ostateczną cenę na podstawie wybranego pliku. Sprawdzisz ją i zaakceptujesz przed płatnością.
Zapisane na tym urządzeniu.

M5 PEI Positioning Blocks. PEI build plate alignment for the M5 bed.
- Ocena
- 3,667 / 5
- Polubienia
- 115
- Pobrania
- 928
- Wydruki
- 2
- Wyświetlenia
- 3525
- Oceny
- 3
Aktualizacja u źródła:
Informacje o modelu
- Źródło
- Printables
- Kategoria
- Other Printer Parts & Upgrades
- Licencja
- Creative Commons — Attribution — Noncommercial — NoDerivatives
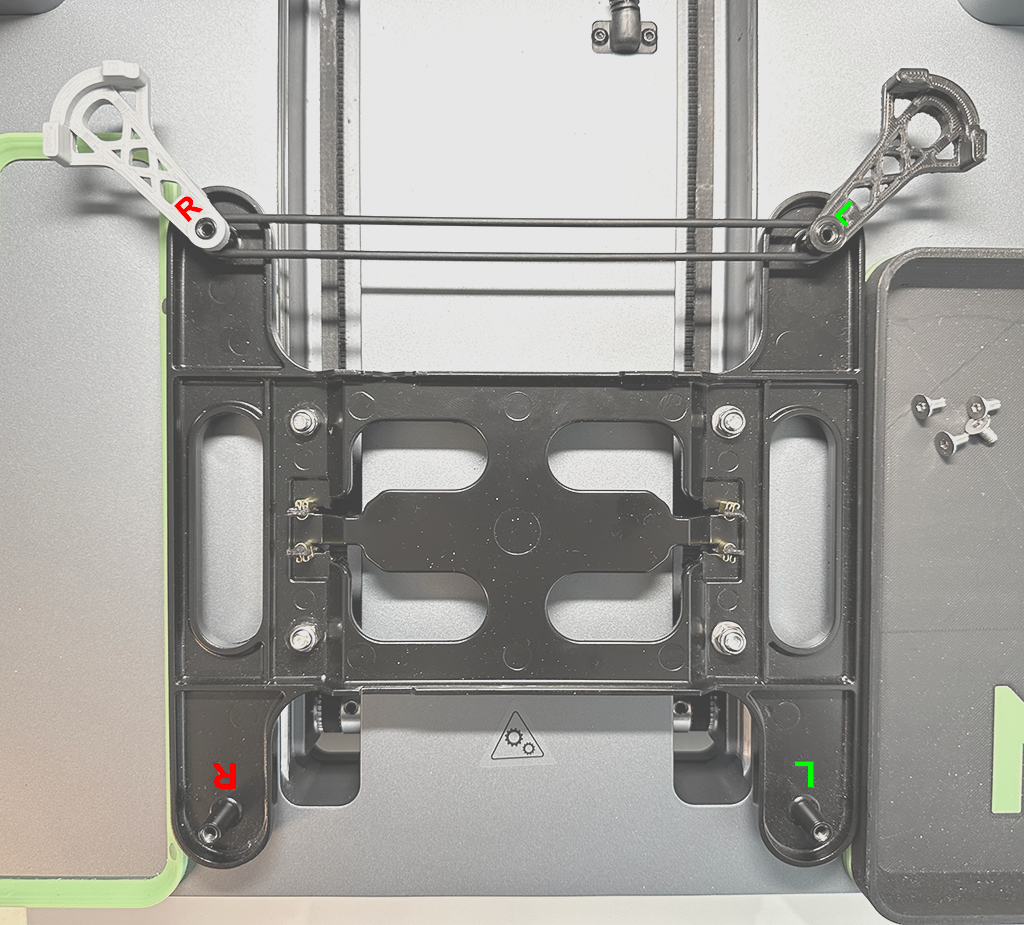
The Build Plate Guides help you place your PEI build plate quickly and aligned on the magnetic print bed.
Compatibilitys
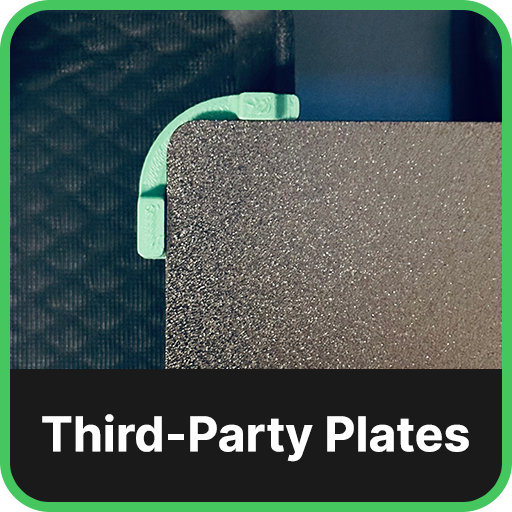 | 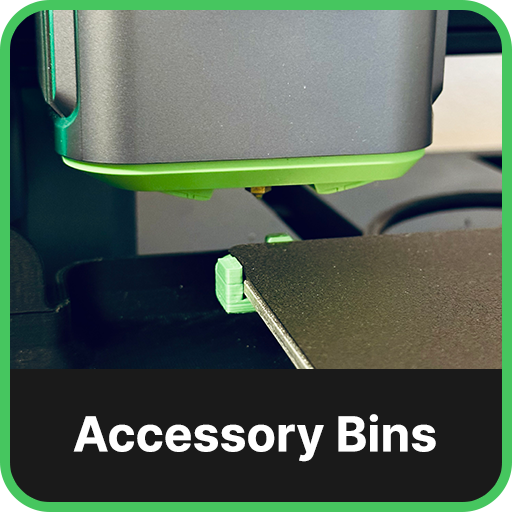 |
| The guides are compatible with any 250x250mm third-party plate. | The guides are compatible with the Accessory Bins for AnkerMake M5 by spiggytech. |
Printing Recommendations
Filament: You can use PLA, PLA+ or PETG.
Make sure your printer is well calibrated.
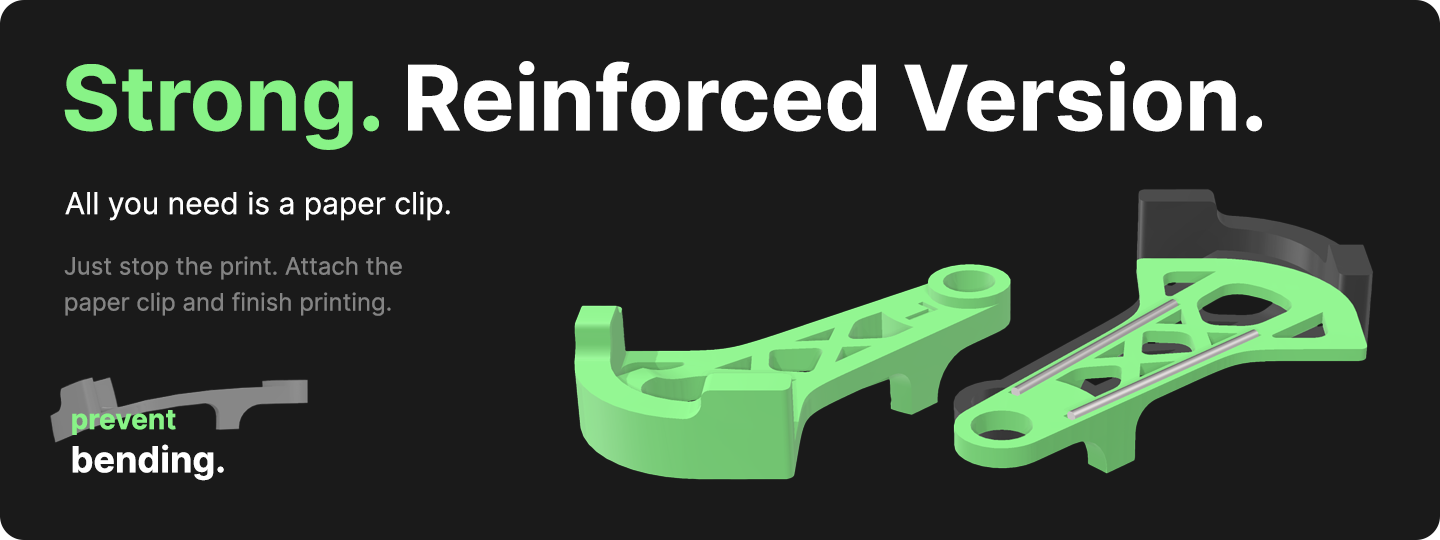
Reinforced Version
Settings
- Resolution (Layer Height): 0.15
- Supports: Yes
- Rafts: Brim
- Infill: 50-70%, Triangles
- Speed: 30-50 mm/s
- Post Processingt: See below
 | You have to pause the print, so you can attach the paper clip. Slice the model and looking for the layer slightly above 180 degrees of the pipe diameter. Mine was at 68. |
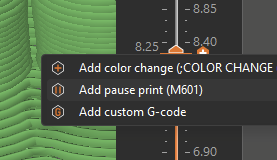 | Prusa Slicer:
|
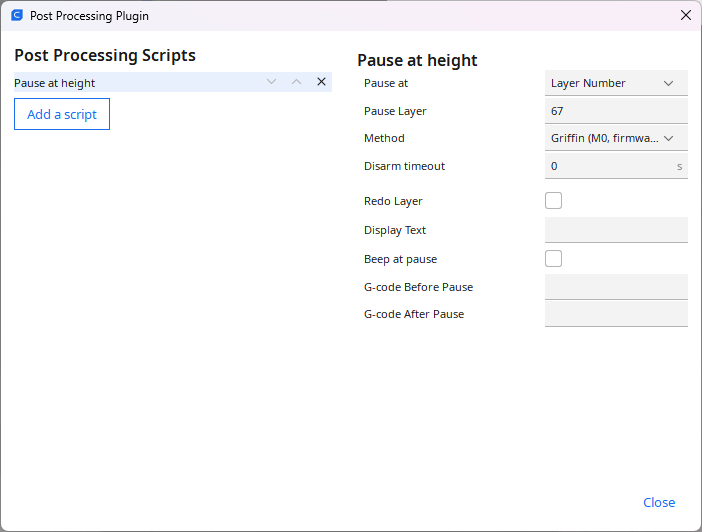 | Cura: Add a Post Processing Script to pause at height. You can do this in the menu under:
|
Prepare
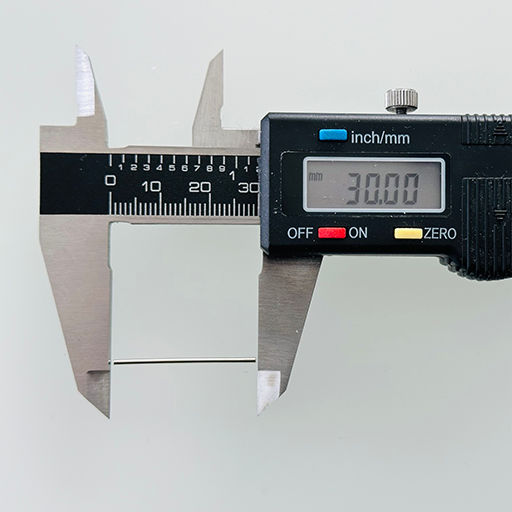 | Cut a paper clip into 2 straight pieces 30 mm long.
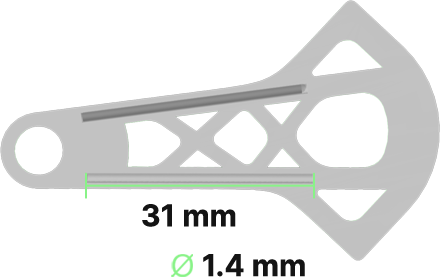 The pipe inside the model is 31 mm long and has a diameter of 1.4 mm.
|
 | When your printer stops, put the two pieces of the paper clip into the half printed pipes and continue printing. Hint: If the pieces fall out while printing, pause the printer manually on the next layer and reinsert them. Make sure the pieces are straight. |
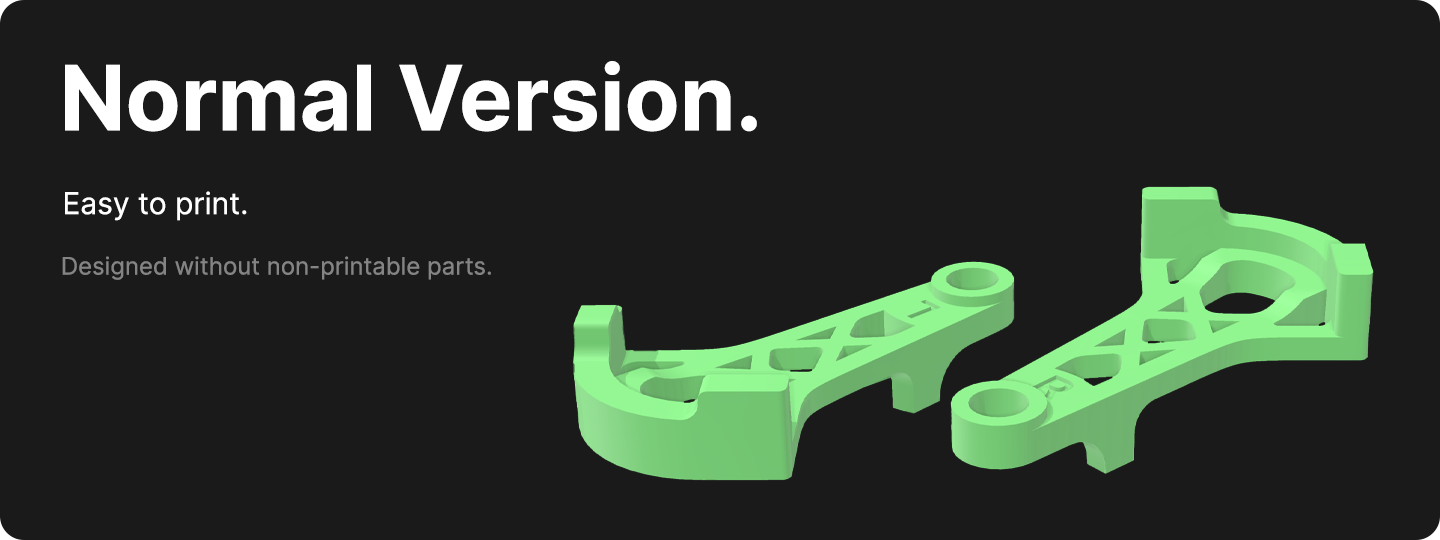
Normal Version
Settings
Same as above, without Post Processing Script.
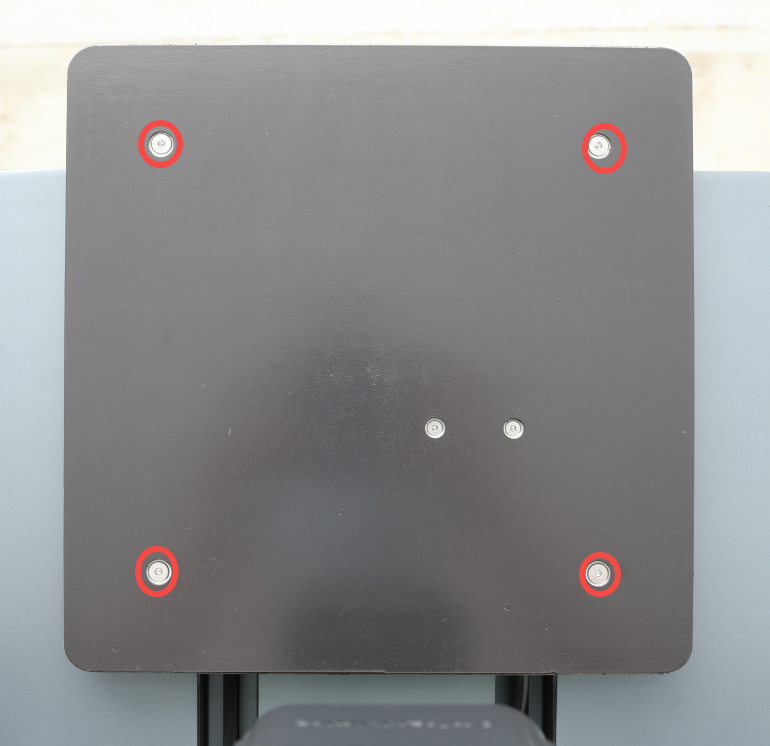
How to place the Build Plate Guides for the M5 Printer
 |
|
 |
|
 |
|
-----
Update
v.1.2 (08.06.2024)
- Markings (Left, Right) changed
The markings are now similar to the Ankermake support bracket.