
Snowflake Ferris Wheel
Obliczymy ostateczną cenę na podstawie wybranego pliku. Sprawdzisz ją i zaakceptujesz przed płatnością.
Zapisane na tym urządzeniu.
Informacje o modelu
- Źródło
- Printables
- Kategoria
- Winter & Christmas & New Year's
- Licencja
- Creative Commons — Attribution — Noncommercial — NoDerivatives
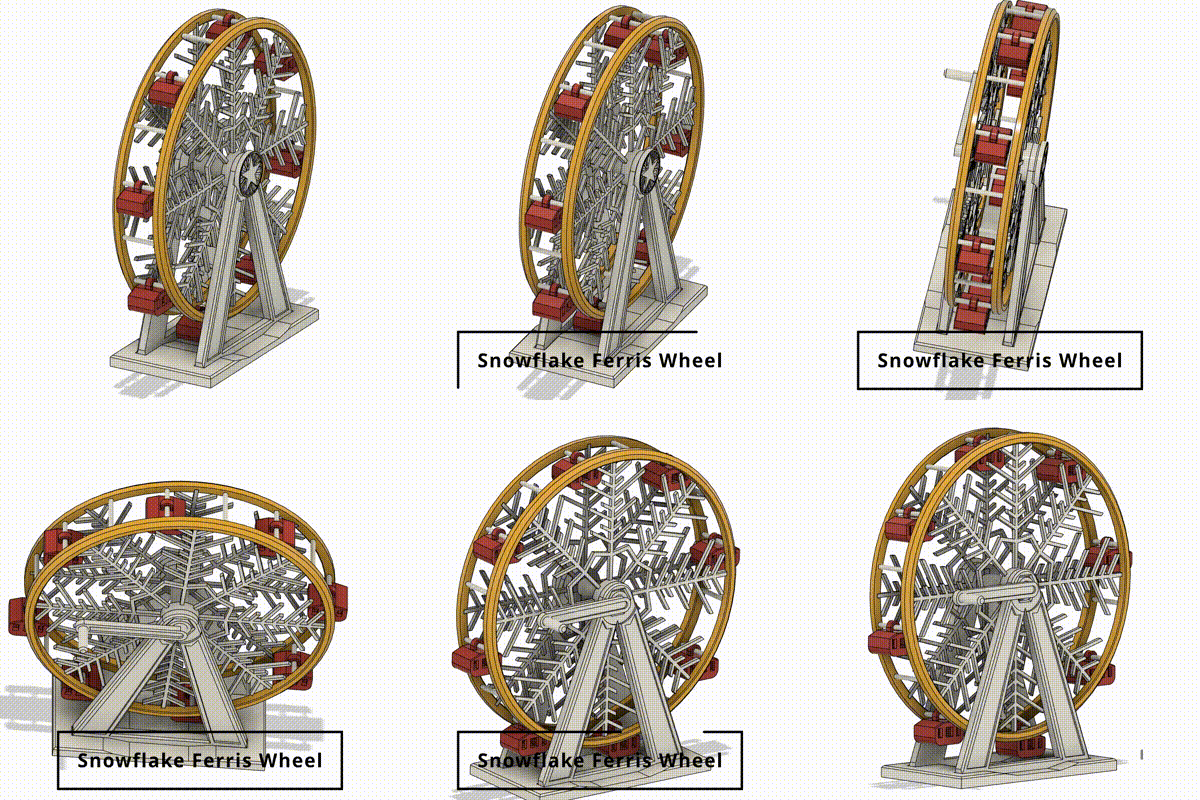
Printing Tips:
I printed this model with PLA on a modified Ender 5 S1 with 0.2mm layer height and an 0.4mm nozzle.
It is best to have a decently calibrated printer, pieces should either friction fit or you might need a tiny bit of glue to hold everything together.
The biggest object is the outer ring measuring only 160x160mm, so it is possible to print the whole model on a smaller machine (Prusa Mini for example).
I used Prusaslicer's filament changing to do bicolor pieces (no MMU).
Some pieces require support, but most pieces doesn't (see section below). All pieces are already oriented in the STL files and with the right amount (except for the ring and snowflake being too big to fit 2 copy of them on most printers).
It took me around a day to print and assemble the wheel, printing at a low speed.
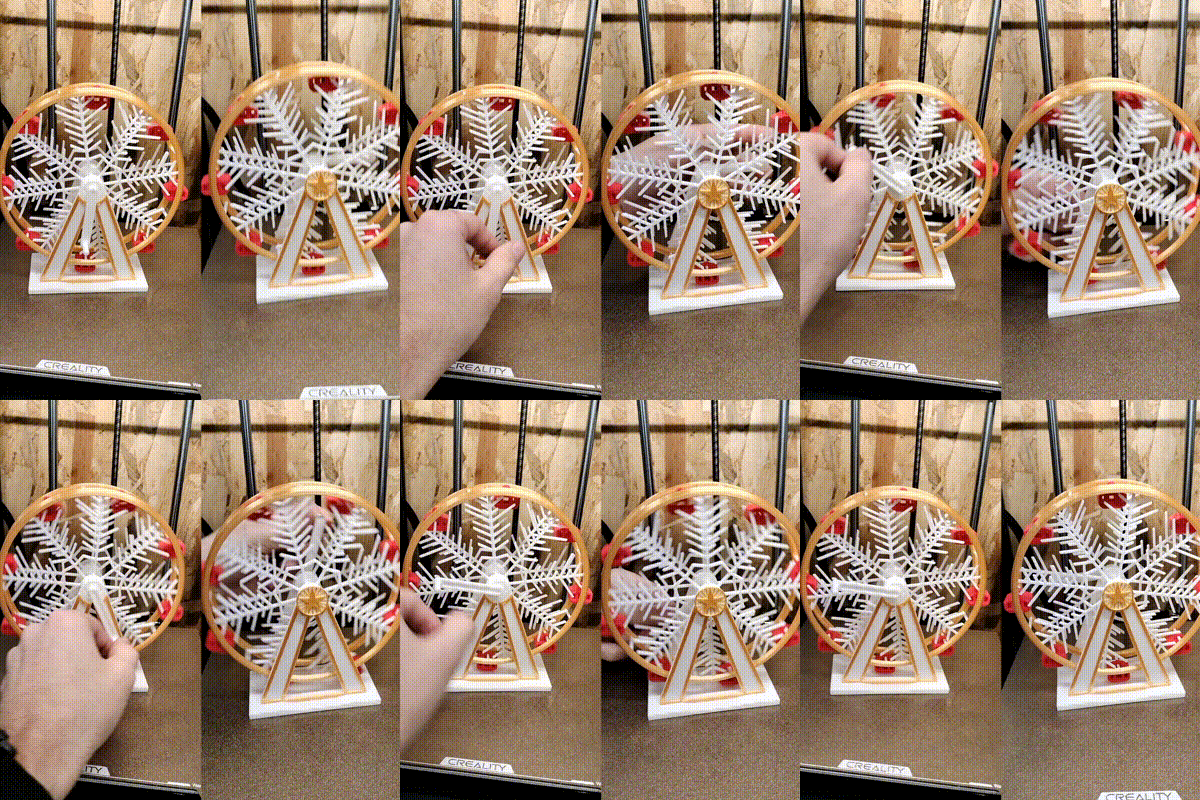
Assembly:
The assembly is pretty straight forward, although you need to be carefull with the rods as they are 3D printed and a bit fragile. If they happen to break, either use super glue or reprint them, it shouldn't take too long (I could have gone with steel rods but I wanted the model to be fully 3D printed).
Here are the recommended settings for each print:
| STL File | Support | Border | Bicolor |
| Base | No | No | No |
| Cabs | No | No | No |
| Core | Yes | No | No |
| Cover | Yes | No | Yes |
| Feet | No | No | Yes |
| Handle | Yes | No | No |
| Ring | No | No | No |
| Rods | No | Yes | No |
| Snowflake | No | No | No |
I have made this little GIF to help with the assembly process. Make sure not to forget the cabs before putting the two wheels together.

Steps:
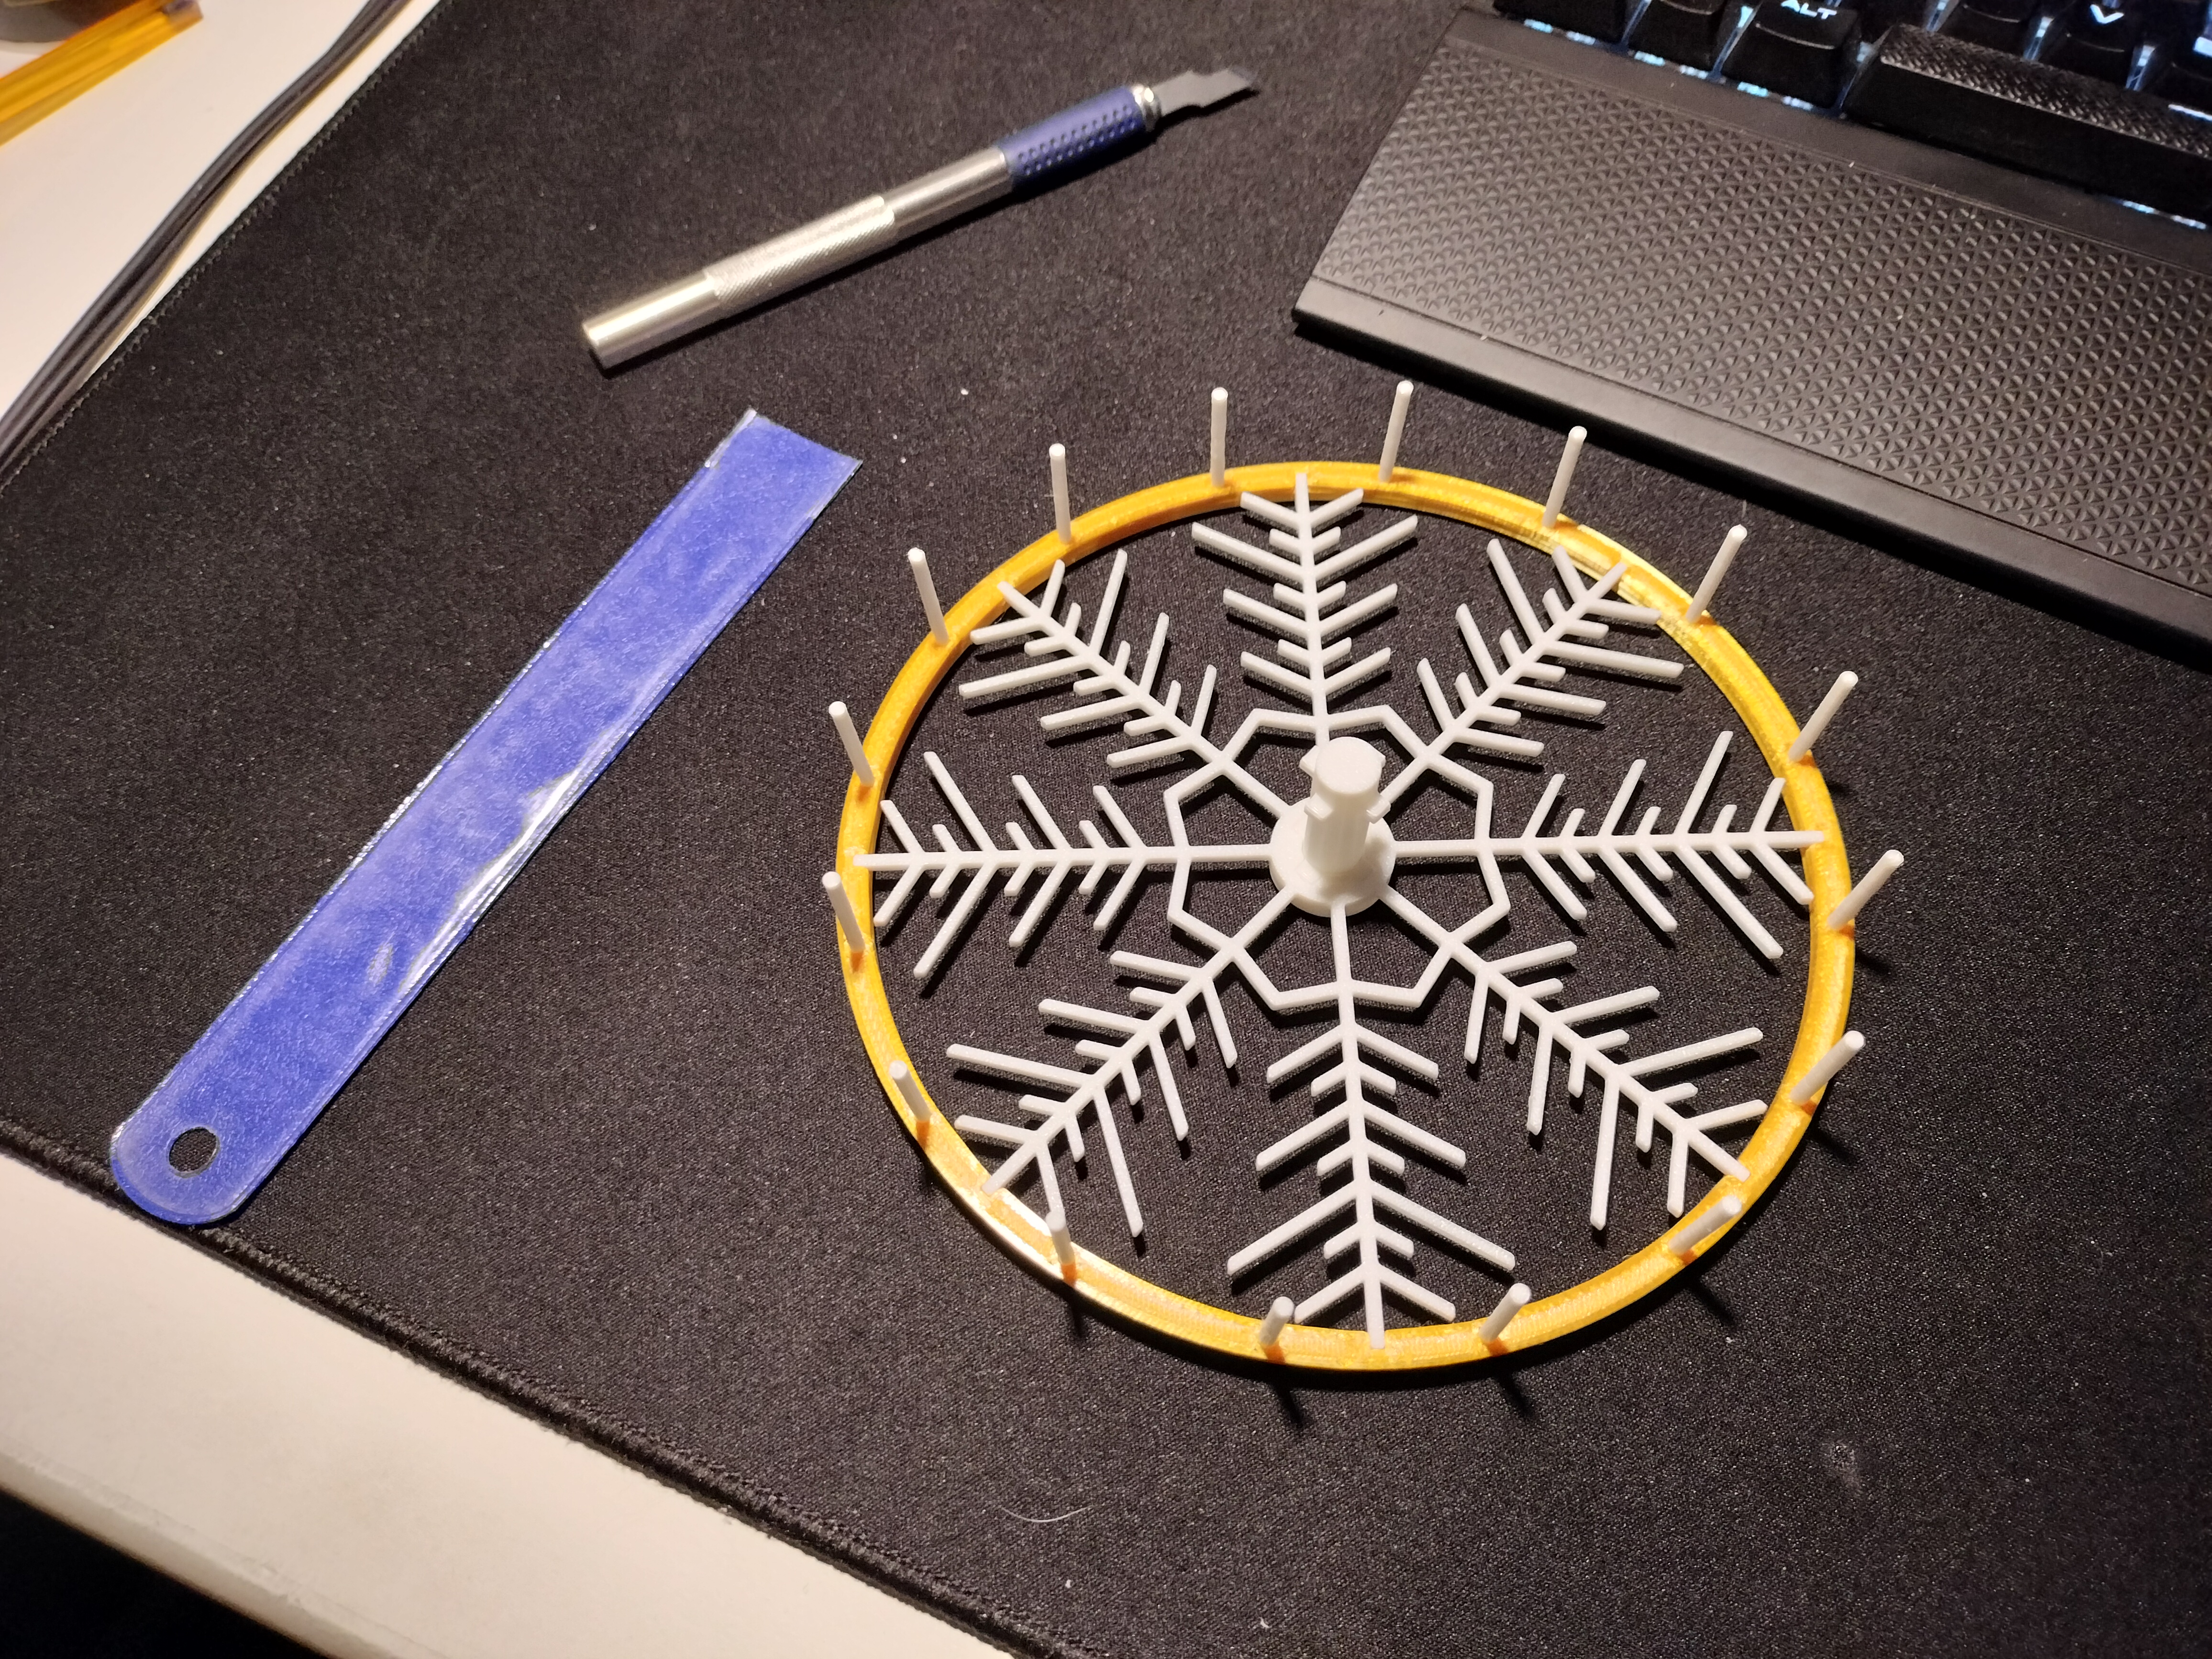
- Assemble a ring, a snowflake, the 16 rods and the shaft together
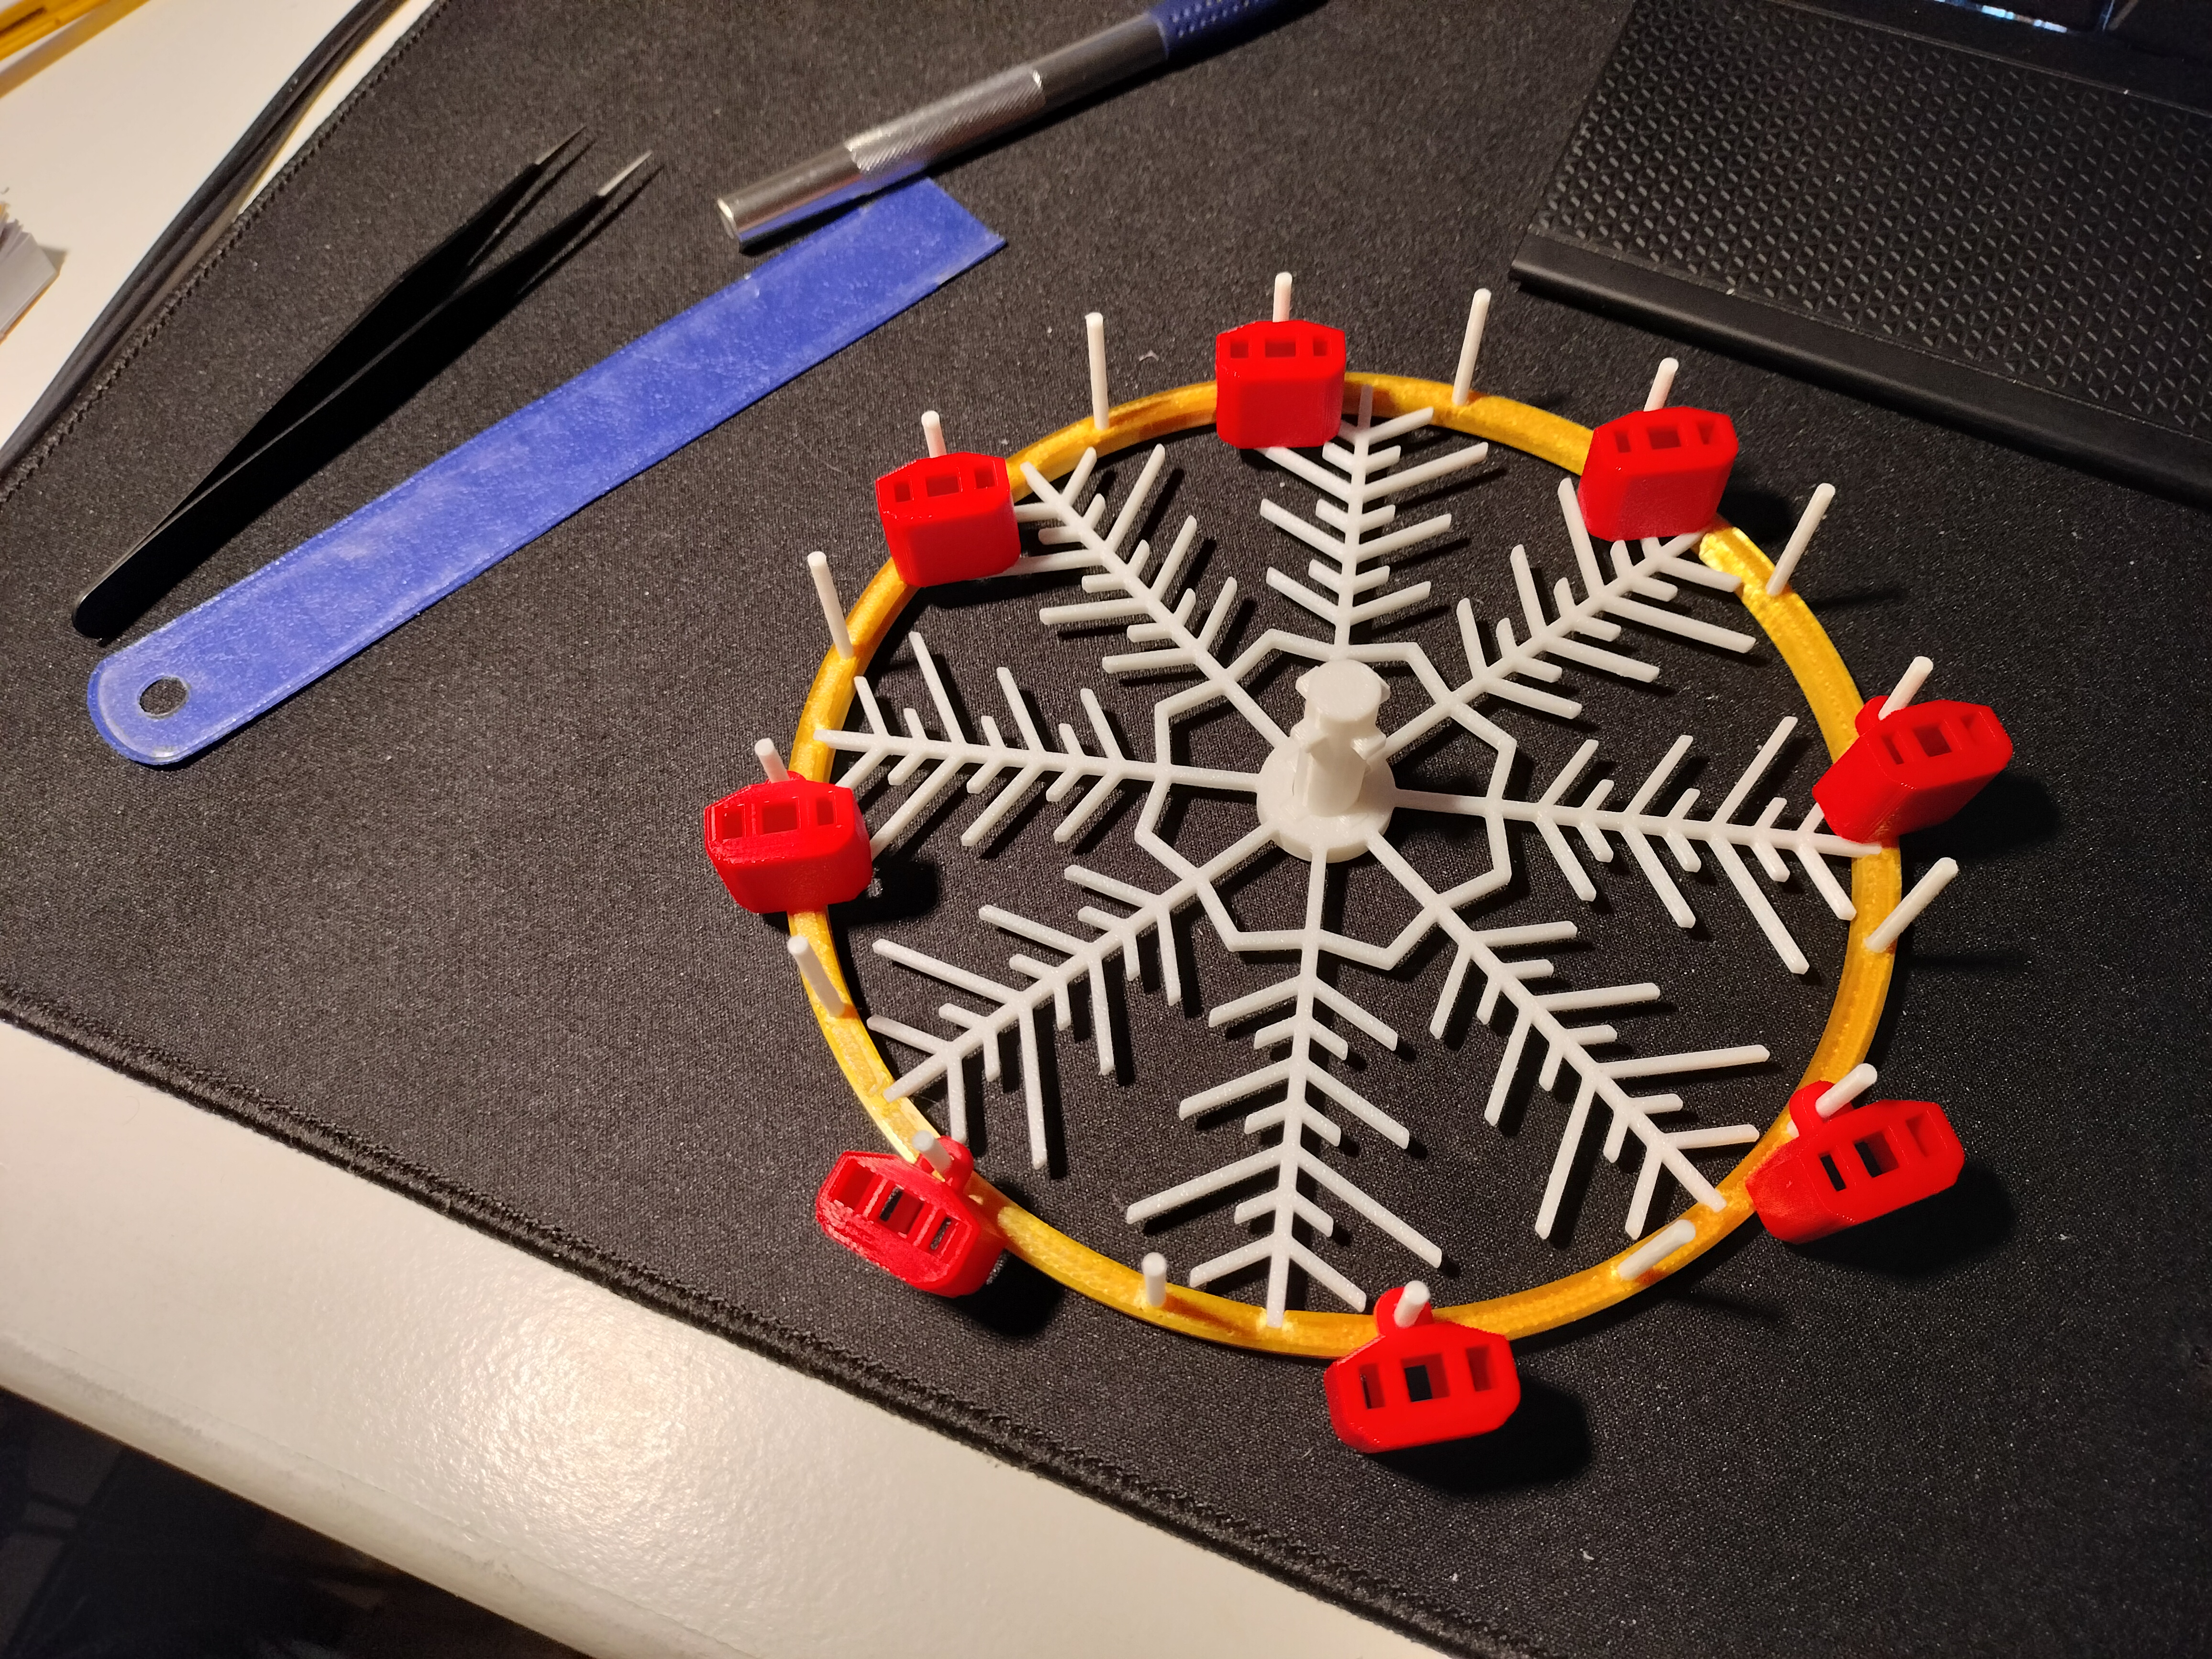
- Add the 8 cabs, one every two rods
- Put the second snowflake with the second ring together, and assemble it with the previous assembly, finishing the wheel
- Add the feet on both sides, and secure them with the cover and the handle (pay attention to the orientation of the star on the cover)
- Put the whole assembly (both feet) into the base
Additional assembly pictures:
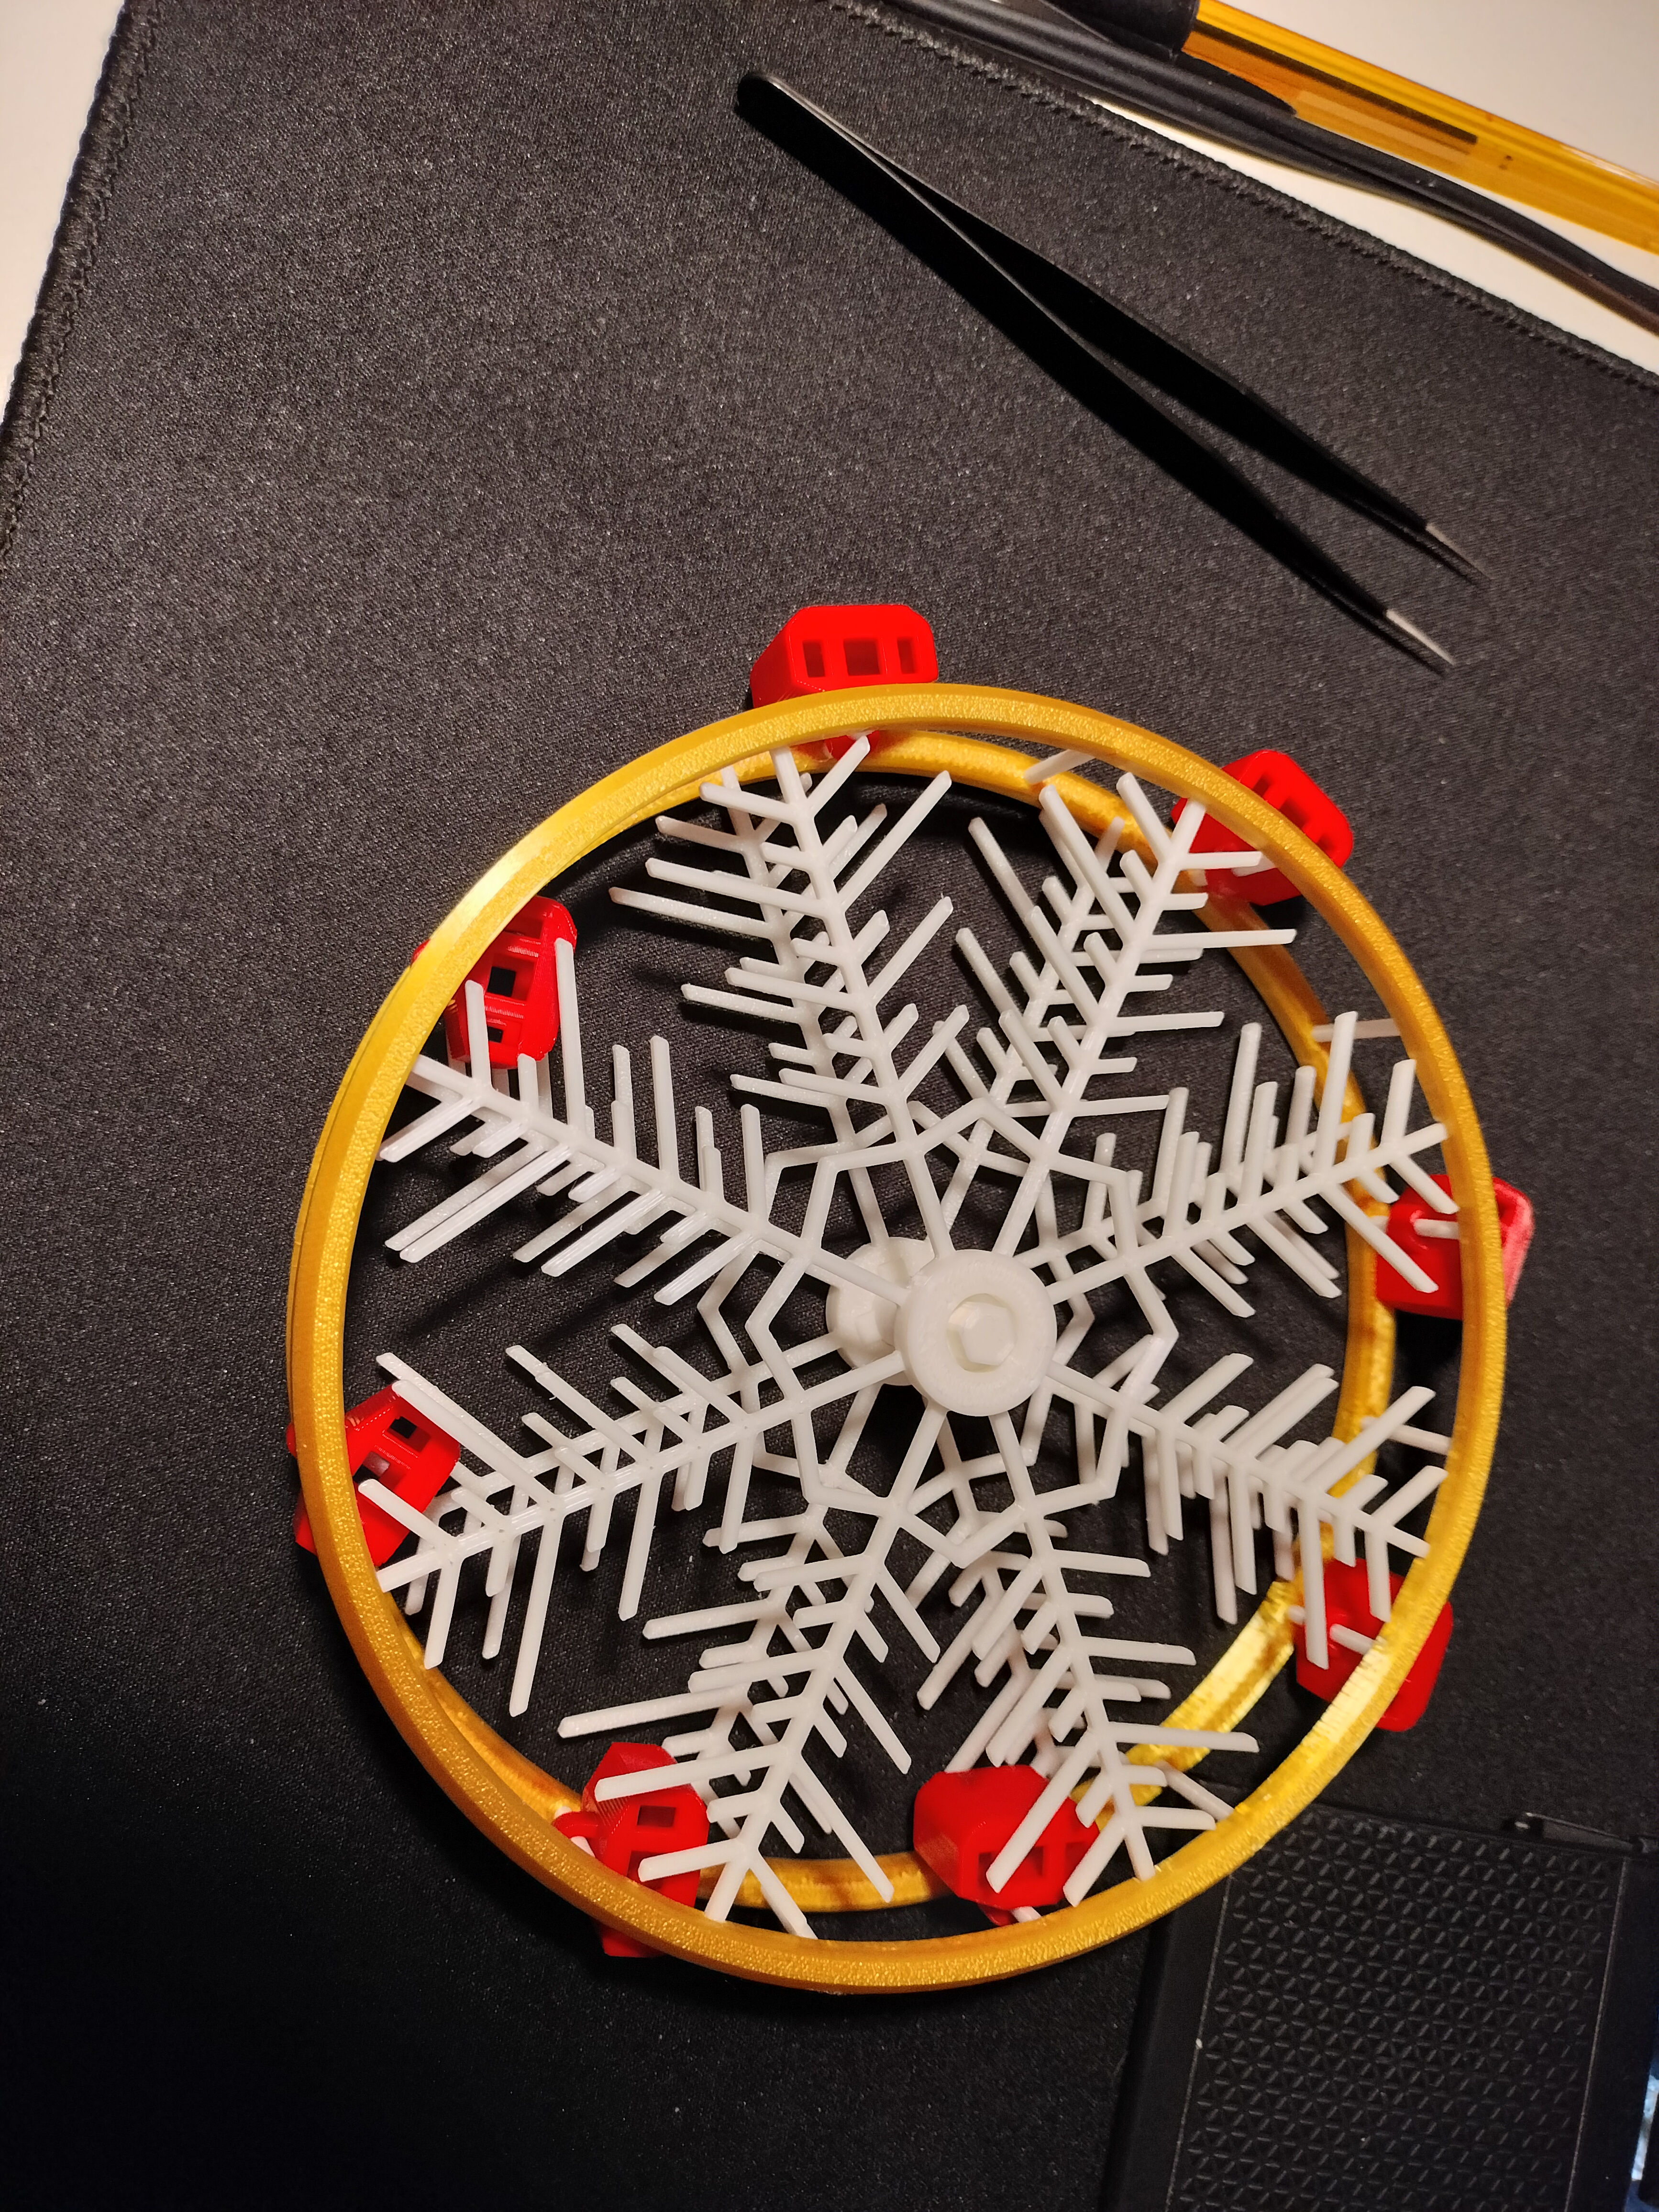
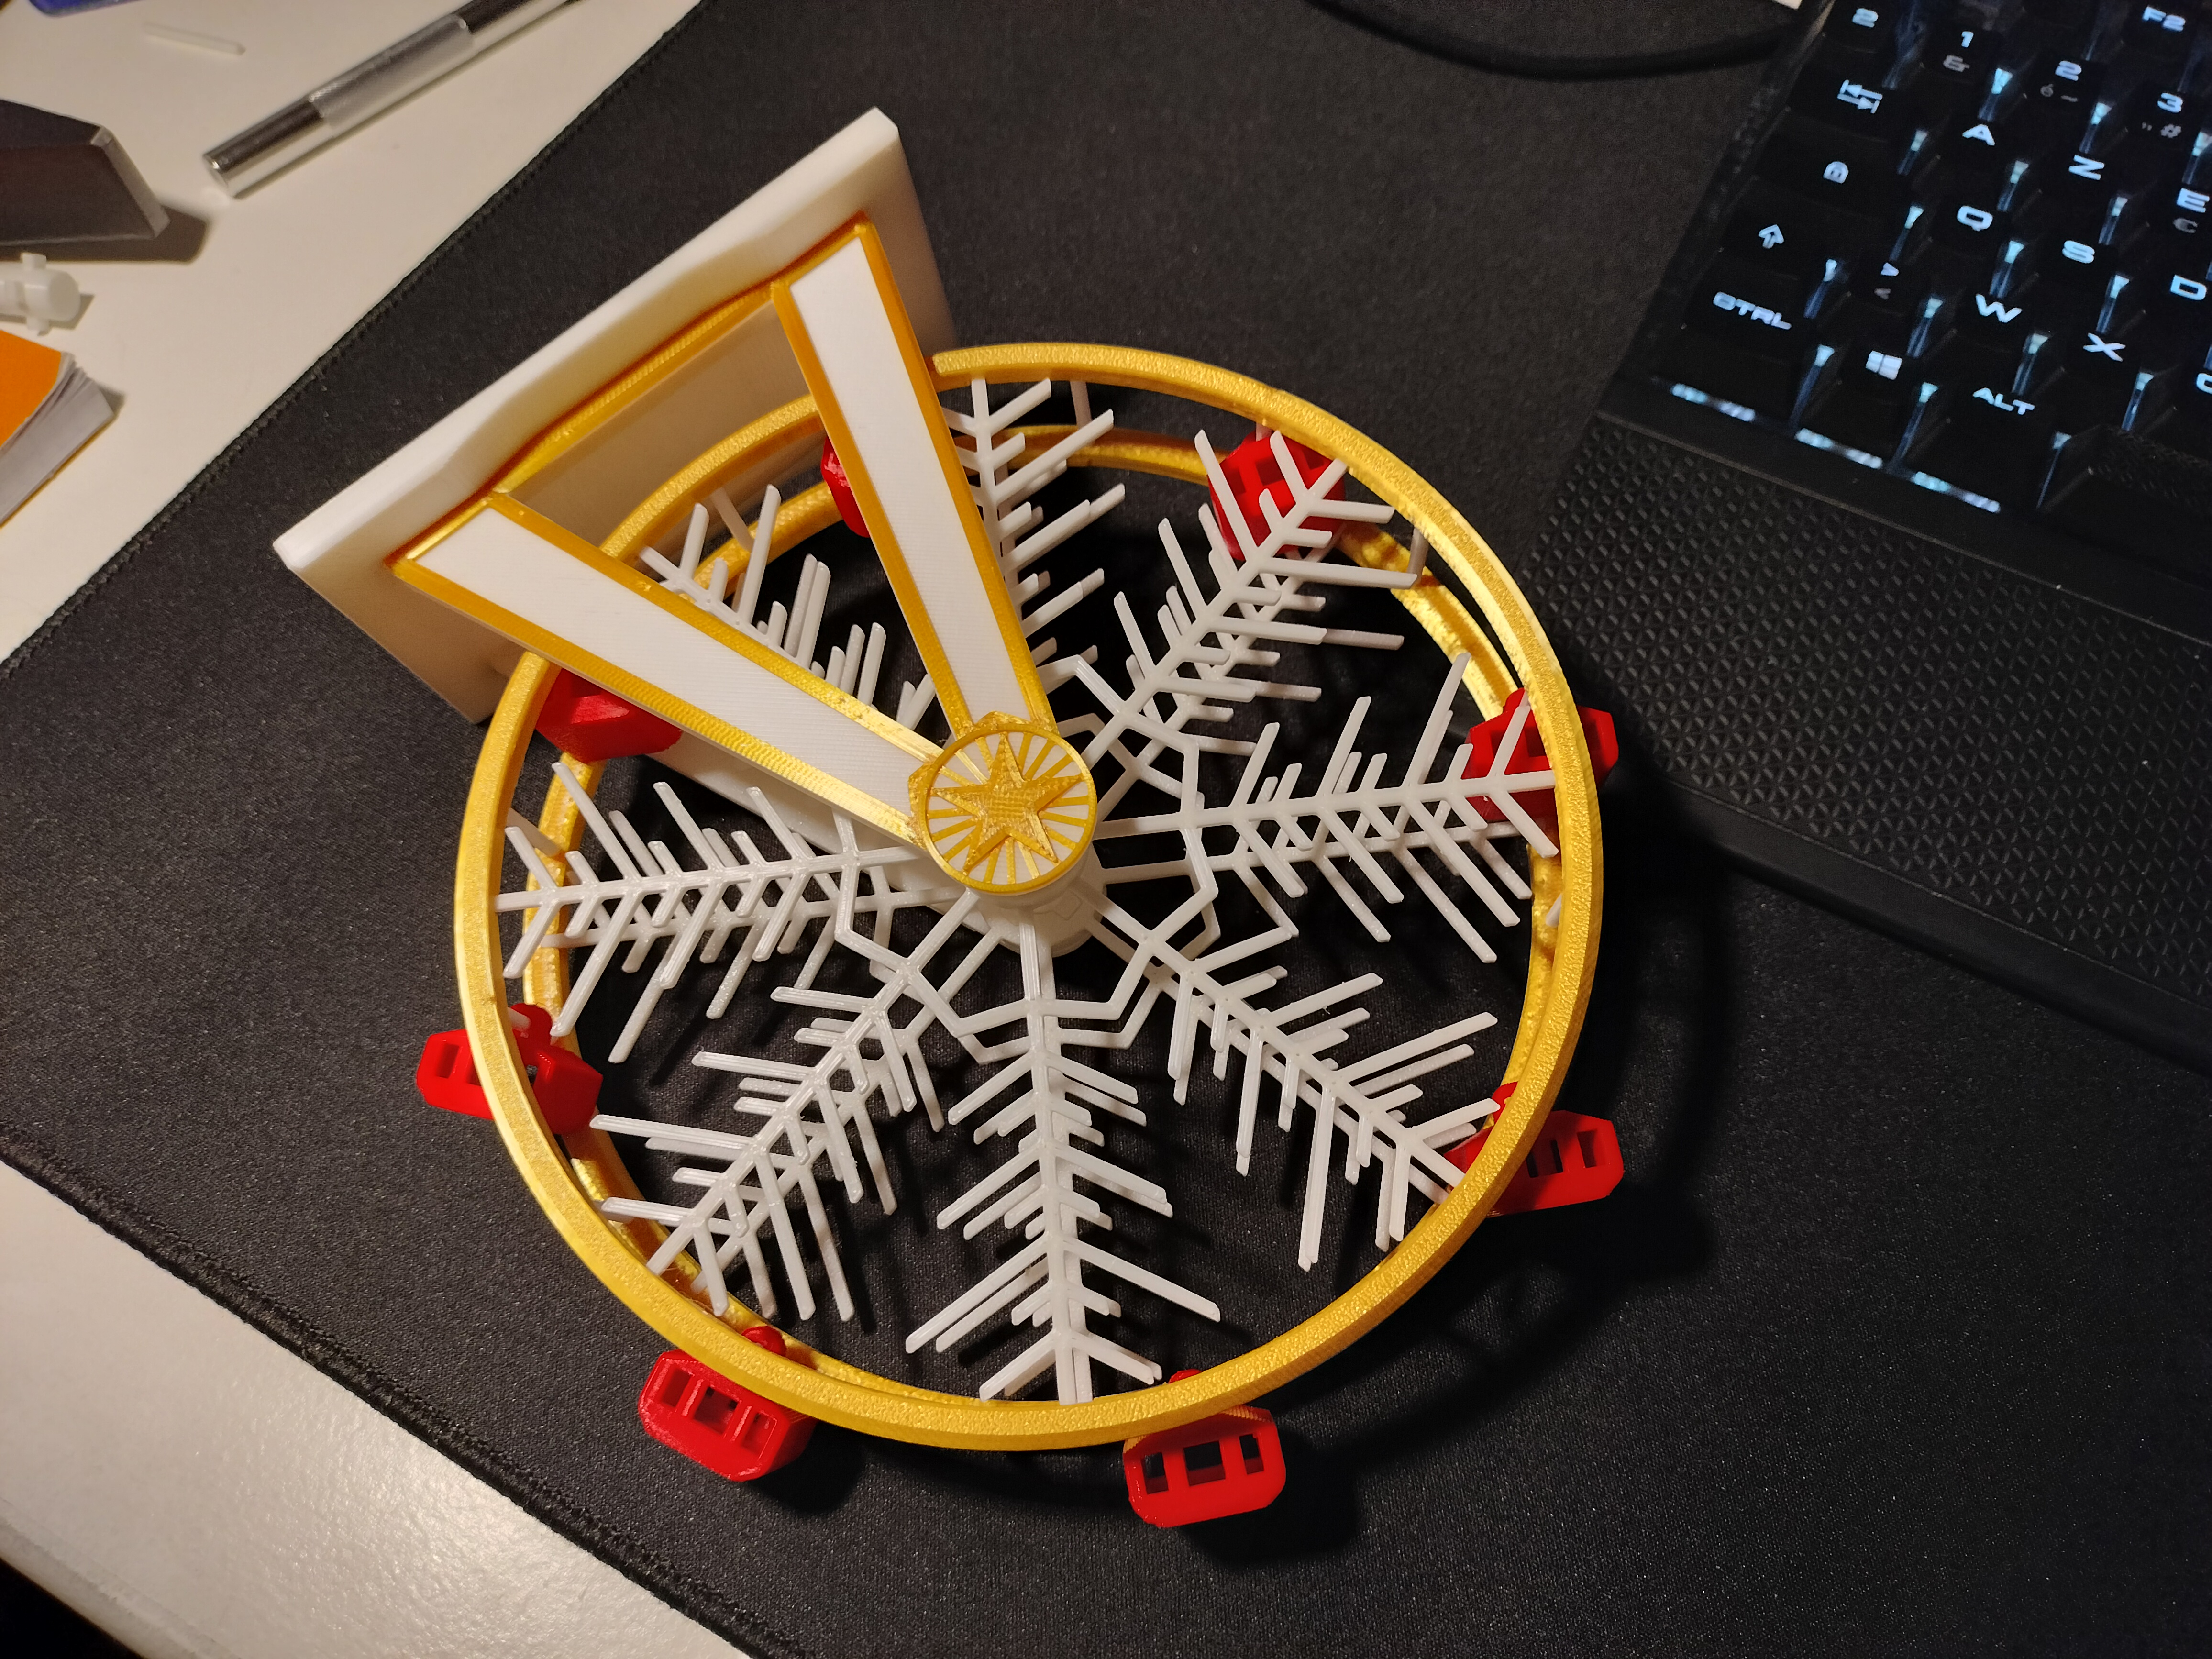
Obviously this model is not perfect, as it's the first one I share, so please feel free to make feedback, I'd love to improve the model based on your suggestions.