
Customizable Rolodex for Instax Polaroid photographs
Obliczymy ostateczną cenę na podstawie wybranego pliku. Sprawdzisz ją i zaakceptujesz przed płatnością.
Zapisane na tym urządzeniu.

A Rolodex for Instax photographs with click-lock rotating action. Customizable to any size photographs.
- Ocena
- 5 / 5
- Polubienia
- 61
- Wydruki
- 1
- Wyświetlenia
- 2148
- Oceny
- 1
Aktualizacja u źródła:
Informacje o modelu
- Źródło
- Printables
- Kategoria
- Organizers
- Licencja
- Standard Digital File License
A Rolodex for photographs?
A client wanted a Rolodex that works with Instax Mini Polaroid photographs. I started with 3D Printy's OpenSCAD design, but I didn't realize that this would become a much bigger project than expected, requiring redesign of every part. The client thought I should sell the design, and 3D Printy also encouraged me. So here it is.
This design accommodates four different Instax-compatible frames:
- Instax Mini in portrait orientation
- Instax Square
- Instax Wide in landscape orientation
- Wide frame for two Instax Mini side by side

Additionally, because two frames are always visible on the Rolodex (the front of the upper frame and the back of the lower frame), two photographs can be placed back-to-back inside a frame, so each frame holds two photographs, while the double-Mini frame holds four photographs.
Choosing your configuration
The STL files have suffixes _mini (narrowest), _square (medium), and _wide (widest).
- A stand made for Instax Mini photographs can hold only Mini frames.
- A stand made for Instax Square photographs can hold both Square and Mini frames.
- A stand made for Instax Wide photograph can hold all frames including the double Mini frames.
There is also a “custom” frame setting in the OpenSCAD file that lets you customize the frame to different size photographs, if you want to do this.
The STL files for the stand legs and knobs are the same for all configurations.
The illustrations here show only the Mini (narrowest) stand.
Customizing
This Rolodex model accommodates all Instax format photographs. It can easily be customized to other photograph sizes. Customizing requires OpenSCAD, a free open-source CAD program that runs on Windows, MacOS, and Linux. You don't need to know CAD to use it. You simply adjust the parameters in the Customizer window and generate new STL files.
If you would rather I customize this for a different photo size, please contact me after purchase and I'm happy to do it at no additional cost.
Printing
You need to print:
- 1 axle set (STL includes 2 bushings) for the frame size you want
- 2 wheels for the frame size you want
- 1 brace set (STL includes 2 braces) for the frame size you want
- 2 knobs
- 2 stand ends
- 24 - 36 frames of the sizes you want
Print with any material or settings. PLA works fine. The frames were designed to be printed at 0.2 mm layer height. No supports are needed for any of the parts.
On a Prusa MK3S, at least 36 hours of non-contiguous printing time is needed to print all the parts. The most time consuming portion is printing the frames. Three Mini frames (two parts per frame) can fit on a 250×210 mm buid plate, as shown below. Printing 3 frames like this takes about 3 hours.

Assembly
Leg assembly
Assemble each side of the leg.
- Slide the flat wheel onto the axle and push it all the way until it stops.
- Slide the bushing onto the axle after the wheel.
- Lubricate the leg bearing ratchet teeth with wax by rubbing a crayon or candle on them.
- Insert the axle all the way into the leg bearing as shown.
- Align the knob hole with the axle profile, and rotate it until the ratchet teeth on the bearing allow the knob to slide in.
- Press the knob and axle firmly together until you hear a snap.
- Repeat these steps for the other leg.

Attach the cross braces.
- Align the slots on the cross brace with the slots at the bottom of the legs.
- When properly assembled, the cross brace should be recessed about 3 mm past the leg slot, as shown.
- The fit should be snug enough to prevent wobbling. Gluing is optional but not necessary.


Picture frame assembly
Each frame consists of two pieces that snap together.
If it is difficult to slide the inner piece into the rails of the outer piece, especially if you see the inner piece bending, then use a flat file to shave off some of the bottom surface of all three edges of the inner piece until it slides easily up to the nubs.

The nubs on the inner piece snap into detents in the outer piece. Firmly slide the pieces the rest of the way together until they snap.

Final assembly
- Snap each picture frame onto the wheels.
- Each wheel has six segments that prevent the frames from sliding to the bottom if the Rolodex is sparsely filled.
- Install roughly the same number of frames into each wheel segment. Be sure each side of a frame is in the same segment! Crossing to another segment can cause the frame to detach while you rotate the Rolodex.

24 frames (four per wheel segment) can hold 48 pictures, each frame holding two back-to-back. The wheels can easily fit 36 frames (six per segment), for a total of 72 pictures.
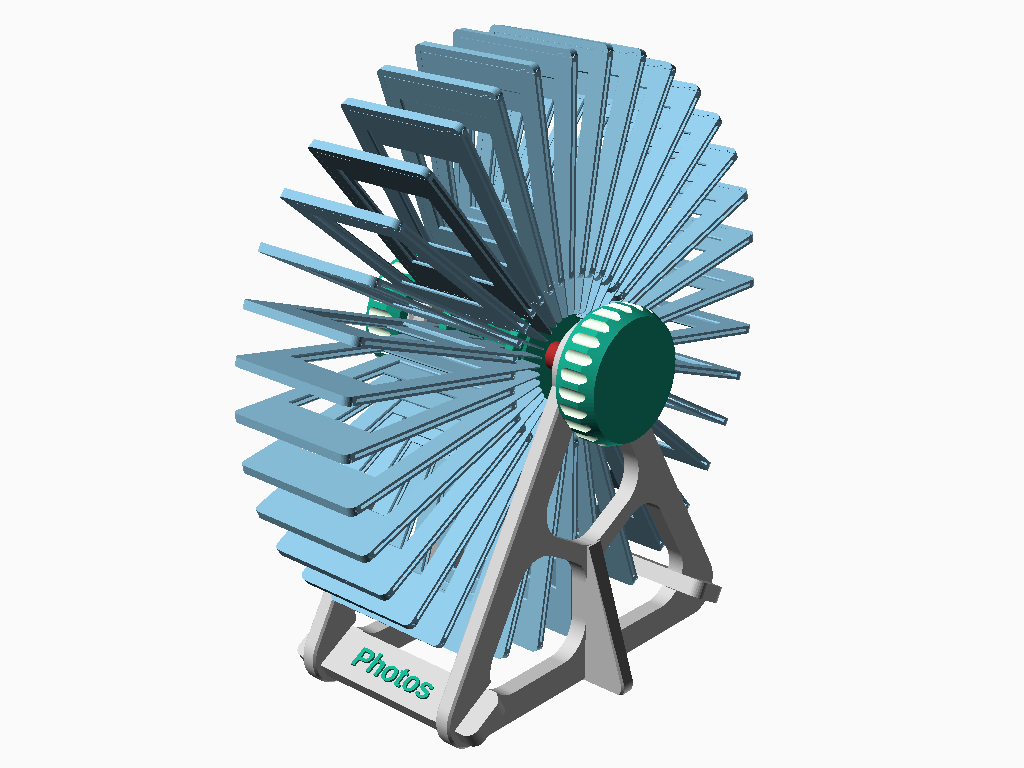
Seven frames per segment would require 42 frames, which can hold 84 pictures.
If you use the double-Mini frames, the capacity is doubled; seven frames would hold 168 pictures.
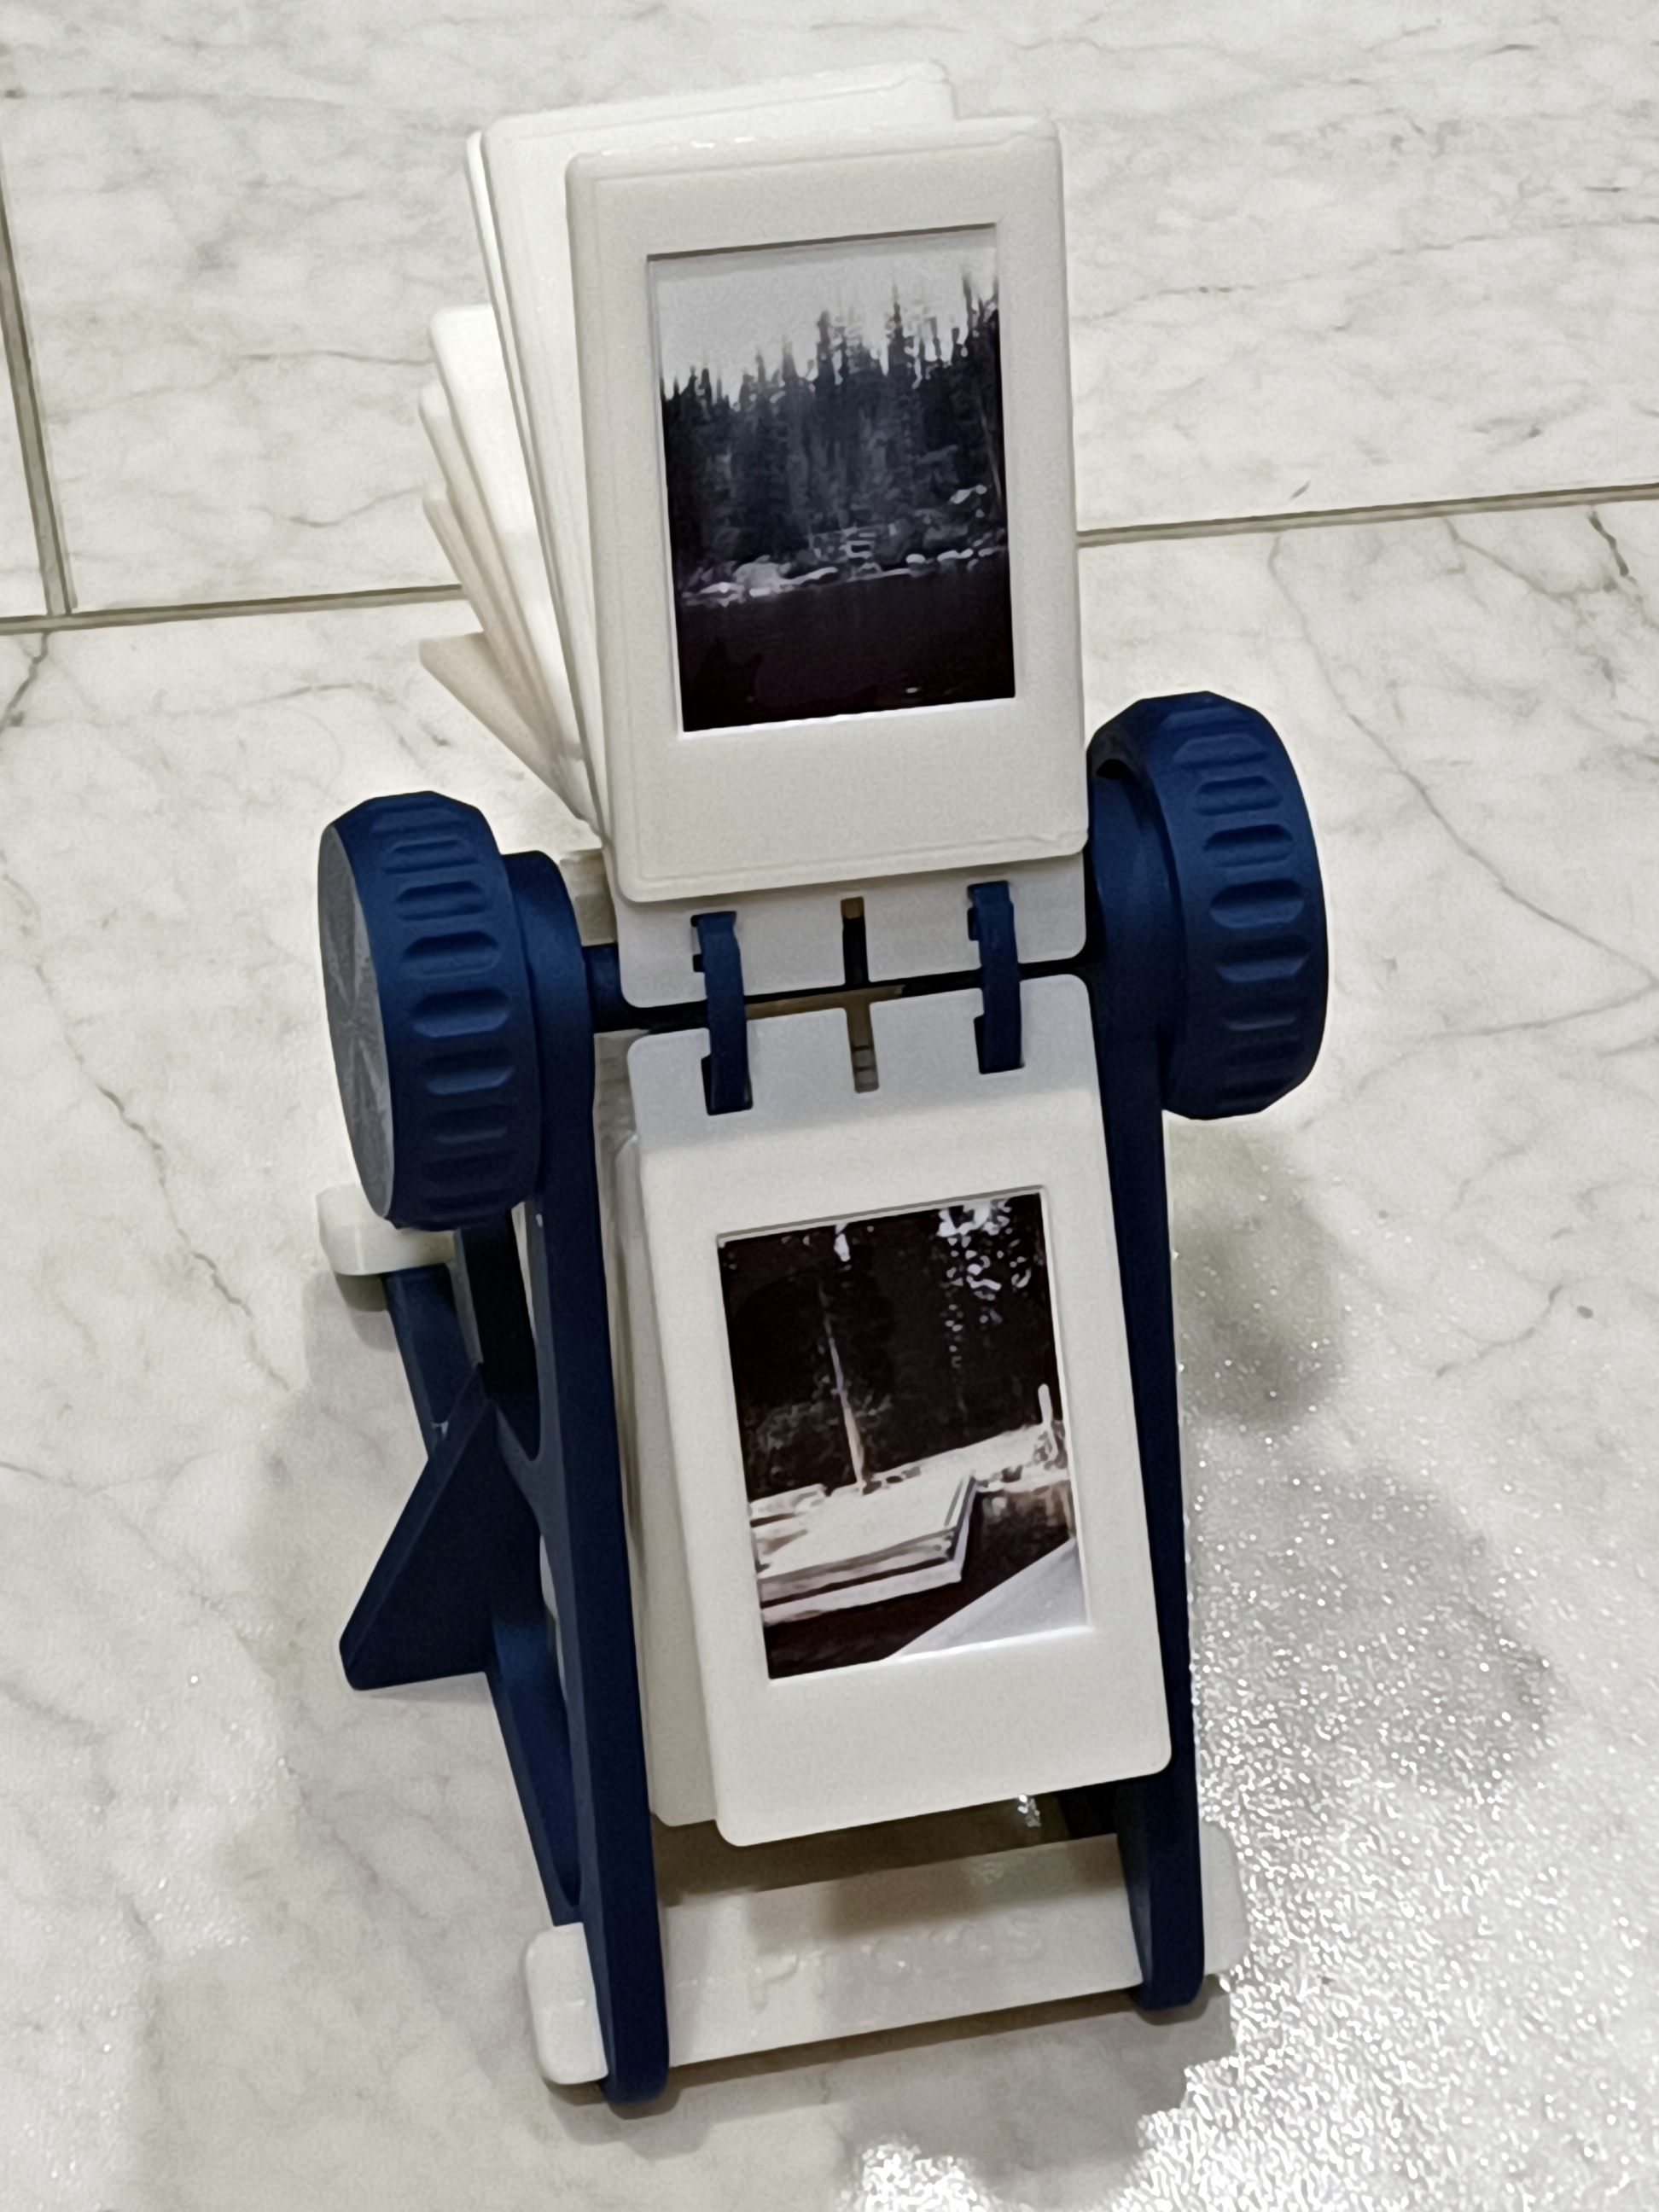
Insert pictures into the frames. Two pictures are visible at once (top frame and bottom frame). The frames are designed so that the large border of the Instax Mini photograph is oriented down regardless of whether the frame is at the top or bottom of the view, as shown:
Engineering challenges
The first big challenge was designing a printable picture frame using minimal plastic. After many iterations trying to print a structurally sound one-piece frame, I got only one successful print (out of many attempts) that required too much post-processing to remove supports. I gave up on that and started work on a two-piece snap-together frame that could hold two pictures back-to-back, so the Rolodex could show two at once. Each frame takes about an hour to print on a Prusa i3 MK3S. I printed over 30 of them.
The second big challenge was the presentation. The axle and hub were originally designed with friction stops, but sheer weight of the frames caused them to flop into an orientation always facing up, not forward. Eventually I worked out a pawl-and-spring ratchet mechanism integrated into the knobs, which required more iterations of printing the stand before I got the pawl tooth shape correct for symmetrical resistance in both rotation directions. Something about the geometry of the design prohibits a symmetric pawl tooth.