
LabPower - Lab bench power supply
Obliczymy ostateczną cenę na podstawie wybranego pliku. Sprawdzisz ją i zaakceptujesz przed płatnością.
Zapisane na tym urządzeniu.
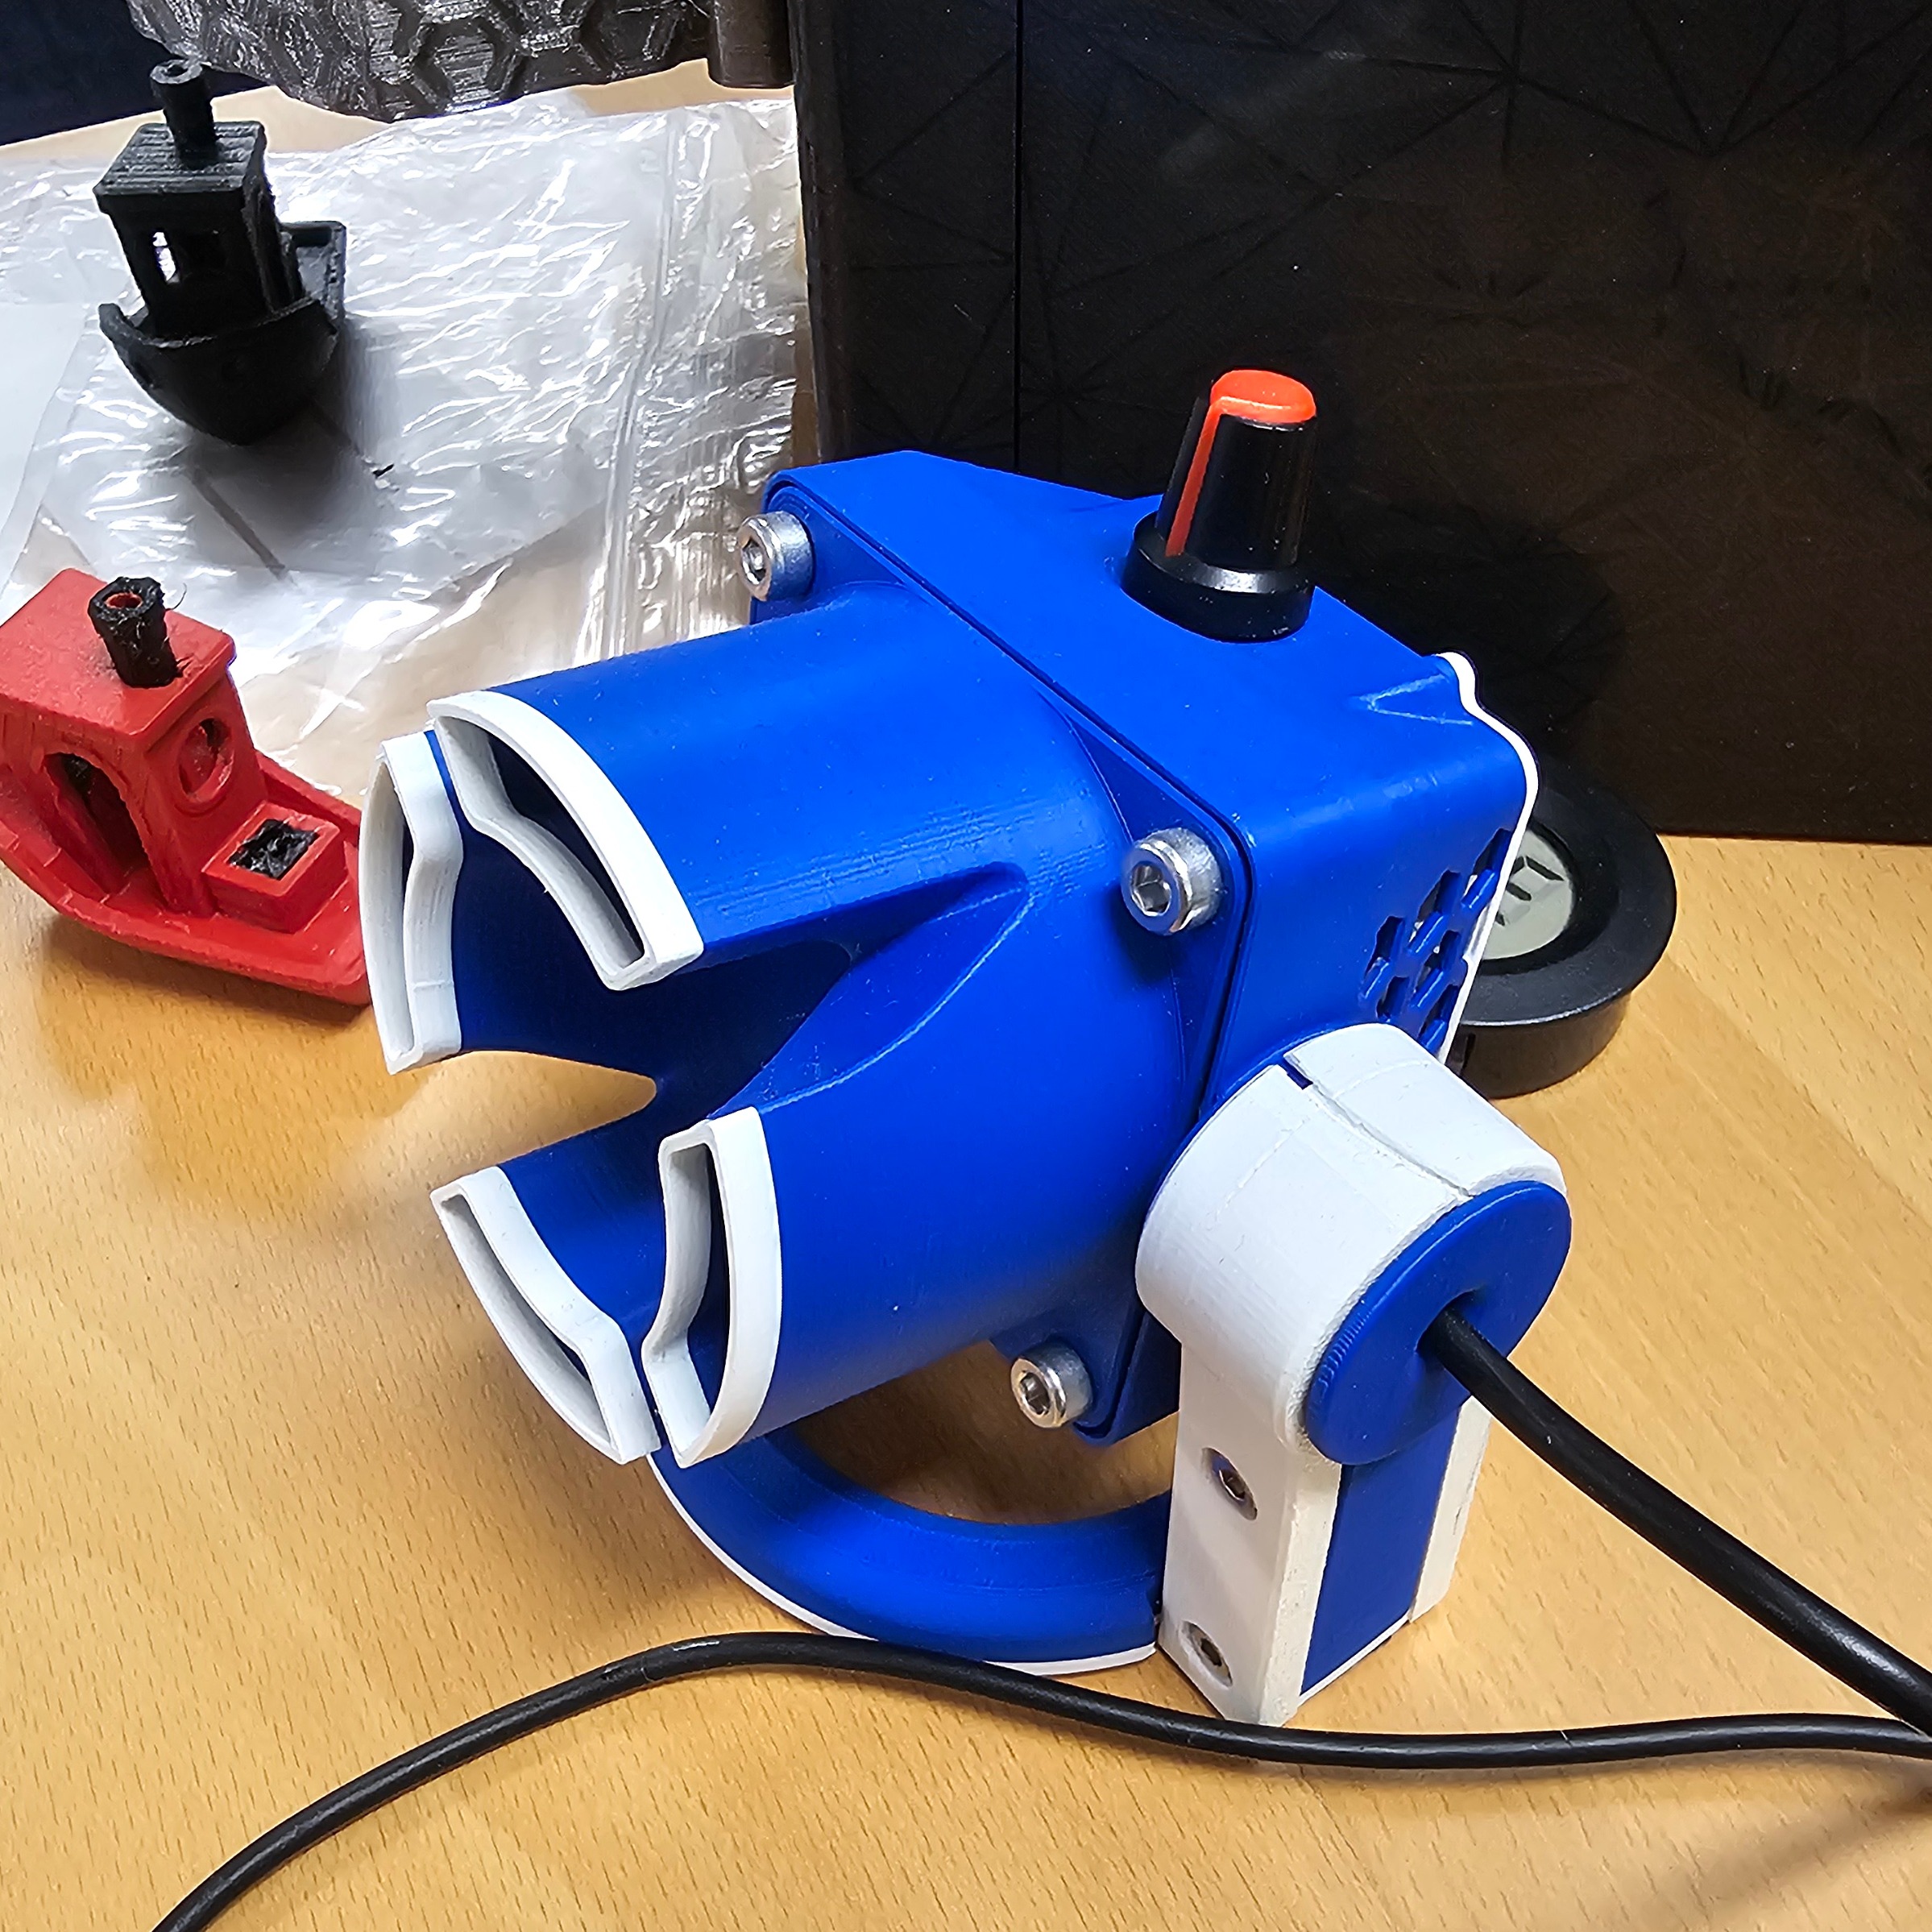
Lab bench power supply based on https://www.thingiverse.com/thing:3831773. But more compact and less features.
- Ocena
- 5 / 5
- Polubienia
- 95
- Pobrania
- 365
- Wydruki
- 4
- Wyświetlenia
- 4059
- Oceny
- 3
Aktualizacja u źródła:
Informacje o modelu
- Źródło
- Printables
- Kategoria
- Electronics
- Licencja
- Creative Commons — Attribution — Noncommercial
Lab bench power supply based on https://www.thingiverse.com/thing:3831773
But since I didn't need all the features and I wanted a different design, less features but even more compact!
Bill of materials in pdf format
Pack and go available in SW2019 format
STEP available
Power supply hole pattern may be different, I adjusted it after making mine. I dremeled the PCB to fit.
https://www.ebay.com/itm/DC-DC-Buck-Step-down-5V-36V-to-3-3V-6V-9V-12V-24V-5A-Converter-Voltage-Regulator/272834659085?ssPageName=STRK%3AMEBIDX%3AIT&\_trksid=p2057872.m2749.l2648 Stuck down with double sided tape
2020-01-19 Update:
Added individual STL files, thanks rpt007
Print Settings
Printer Brand:
Prusa
Printer:
I3 MK3S
Rafts:
No
Supports:
No
Resolution:
0.2
Infill:
whatever
Filament:
Prusament PETG light grey and orange
Notes:
.3mf available
See print bed layout for orientation
Post-Printing
This is at your own risc. Some electrical experience advised.
See pictures for assembly. and plan your assembly accordingly. I am too lazy to make an complete step by step guide .
Connect powercord to powersupply via the switch. Dont forget the strain the relief.
connect buck converter and lab regulator to powersupply
adjust output voltage of buck converter to less than the max rated voltage of the fan (12V in this one). disconnect from outlet.
connect fan to buck converter.
Keep wires as short as possible.
Category: Electronics