
WIP: K1 max hinges 180° detachable
Obliczymy ostateczną cenę na podstawie wybranego pliku. Sprawdzisz ją i zaakceptujesz przed płatnością.
Zapisane na tym urządzeniu.
A set of hinges that allow the K1 max door to be easily removable and opens up to 180°. Still in prototype phase.
- Ocena
- 4 / 5
- Polubienia
- 54
- Pobrania
- 252
- Wydruki
- 2
- Wyświetlenia
- 2334
- Oceny
- 1
Aktualizacja u źródła:
Informacje o modelu
- Źródło
- Printables
- Kategoria
- Creality Parts & Upgrades
- Licencja
- Creative Commons — Attribution — Noncommercial — Share Alike
This part is a bit work in progress, tough it's fully functional on my K1 max.
Inspiration:
I've fully designed these hinges myself from the ground up but I did take some inspiration from @Alex_cf_Siu's hinge design and it's remixes by @EricFeliciano & @RIBsfit. I only noticed today on Creality Cloud there is a very similar design by LTek.
Prototype'ish
I'd consider this part somewhat of a prototype. I've designed it with fairly tight tolerances yet my printer isn't fully calibrated yet. Any feedback on fitment is welcome. I would suggest checking hole sizes for the heated inserts and bolts. I've designed them around the hardware I had laying around which might be too tight or loose for the hardware you use.
Hardware used:
| Total | Per hinge | Size | Type | Use |
| 4x | 2x | M3 x 16mm | Hex bolt (SHCS) | Hinge pins |
| 4x | 2x | M3 x 8mm | Hex bolt (SHCS) | Frame attachment |
| 4x | 2x | M3 x 3 x 5 | Heated insert | Hinge pins fixing |
| 4x | 2x | M3 x 4 x 5 | Heated insert | Door attachment |
(Heated inserts: 3&4 is length, 5 is outer diameter. Model should be easy enough to adjust to different size inserts.)
Assembly instructions:
- I used a m3 bolt to ream out the holes the hinge-bolts slide in and out off (not the ones they're fixed in), in both the brackets and the door plates. If it's very tight you can screw the bolt in a little bit with a long hex key and pull it out straight every few mm with some pliers. This leaves a nice hole the bolt can slide in and out off easily with barely any play at all.
- The holes where the hinge-bolts are fixed into are designed to be tight. I used a little bit of heat to make the bolt cap fit tight while threading in the bolt.
- The heat inserts for the fixed bolts should be aligned well with the rest of the hole so the hinge-pins/bolts sit straight.
- Make sure the heated inserts sit flush with the face they're inserted in.
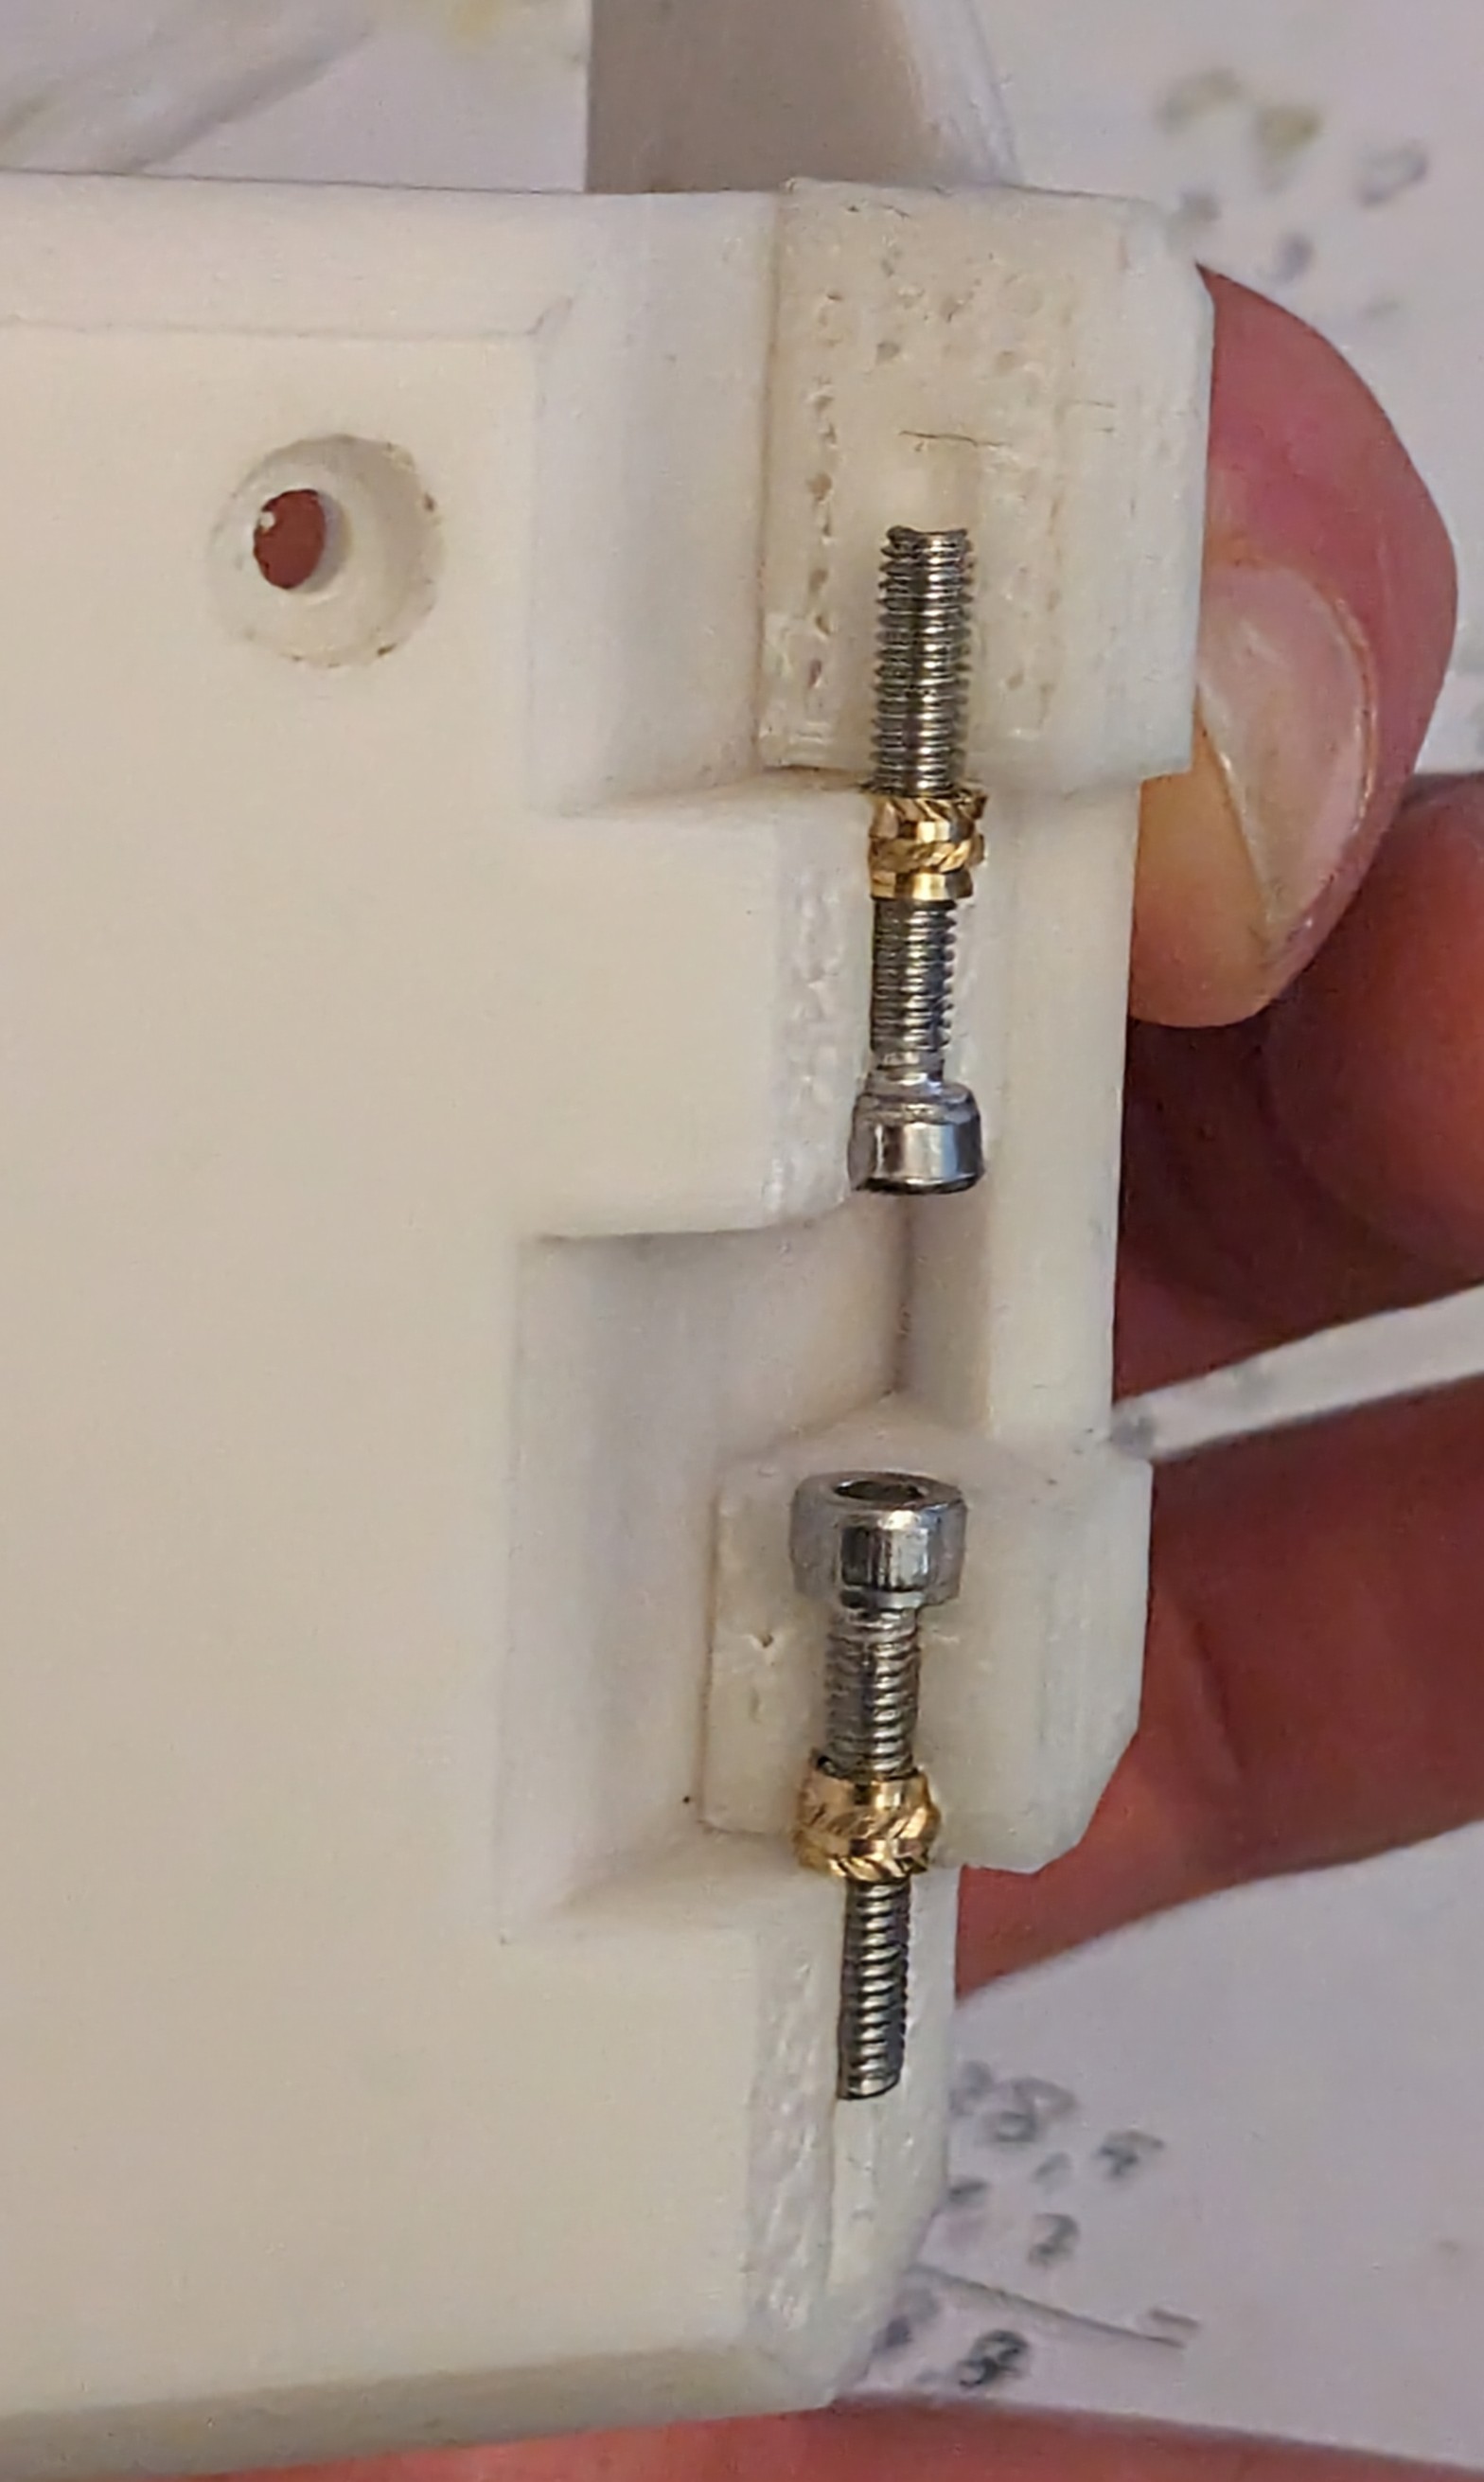
Is it absolutely necessary for these bolts to be fitted so tightly and make assembly somewhat difficult? No Idea, it felt more sturdy to me this way but go ahead and modify the part to your liking and let me know how it works out!
Suggestions for modifications/remixing:
- Use nuts instead of heat inserts.
- Use smooth pins instead of bolts for the hinge pins.
- Add a mounting point for the brackets to the front of the printer's frame, this should make the hinges much more resistant to sagging (Thanks to TianZi on the D3vil Design Discord for the idea).
- I intentionally differentiated the length of hinge-pins/bolts sticking out every so slightly. This way you should in theory only need to align one pin on the top and one pin on the bottom hinge at the same time when attaching the door. Aligning all four pins at the same time would be a pain. It might have been even easier if I had also differentiated between the top and bottom hinge so you only need to align one pin at a time. However, if anyone wants to make this modification, pay attention all the mating surfaces still line up with the door fully seated.
- Instead of the above, just add a bit more chamfer to these holes.
I might make some of these modifications myself at some point. But they're not very high on my priority list. In the long run I might replace the entire door with a thicker piece of polycarbonate and have it seal properly on all sides. (For this I also plan to move the touch screen to the top of the printer to a riser.)
Printing settings I used, they might not be optimal:
PLA, 40% cubic infill, use enough walls for heated inserts, I printed at 0.1mm layer height, 0.2 might be fine too. I'm still a novice if you hadn't realized it yet. The parts might benefit from a fiber filled filament to prevent sagging over time although I have no idea that's even an issue at all.