
Better Home Assistant Yellow Enclosure with wall mount and variable front inlay
Obliczymy ostateczną cenę na podstawie wybranego pliku. Sprawdzisz ją i zaakceptujesz przed płatnością.
Zapisane na tym urządzeniu.

Home Assistant Yellow enclosure with venting slots, modifiable front cover inlay, and wall mount option.
- Ocena
- 5 / 5
- Polubienia
- 9
- Pobrania
- 93
- Wydruki
- 2
- Wyświetlenia
- 1173
- Oceny
- 3
Aktualizacja u źródła:
Informacje o modelu
- Źródło
- Printables
- Kategoria
- Electronics
- Licencja
- Creative Commons — Attribution — Noncommercial — Share Alike
I like the Home Assistant Yellow board, but the enclosure is not functional. It lacks venting holes, making the compute module and the M.2 SSD sweat. Moreover, the PoE circuit adds heat to the closed chamber.
Therefore, I've remixed the original case, thankfully provided here on Printables.com, to include a few critical changes. I've listed those changes in the “difference section” and want to highlight a few things here.
- The wall mount is designed to be symmetrical on two axes. This lets you decide how to orient the Yellow assembly by 90º increments.
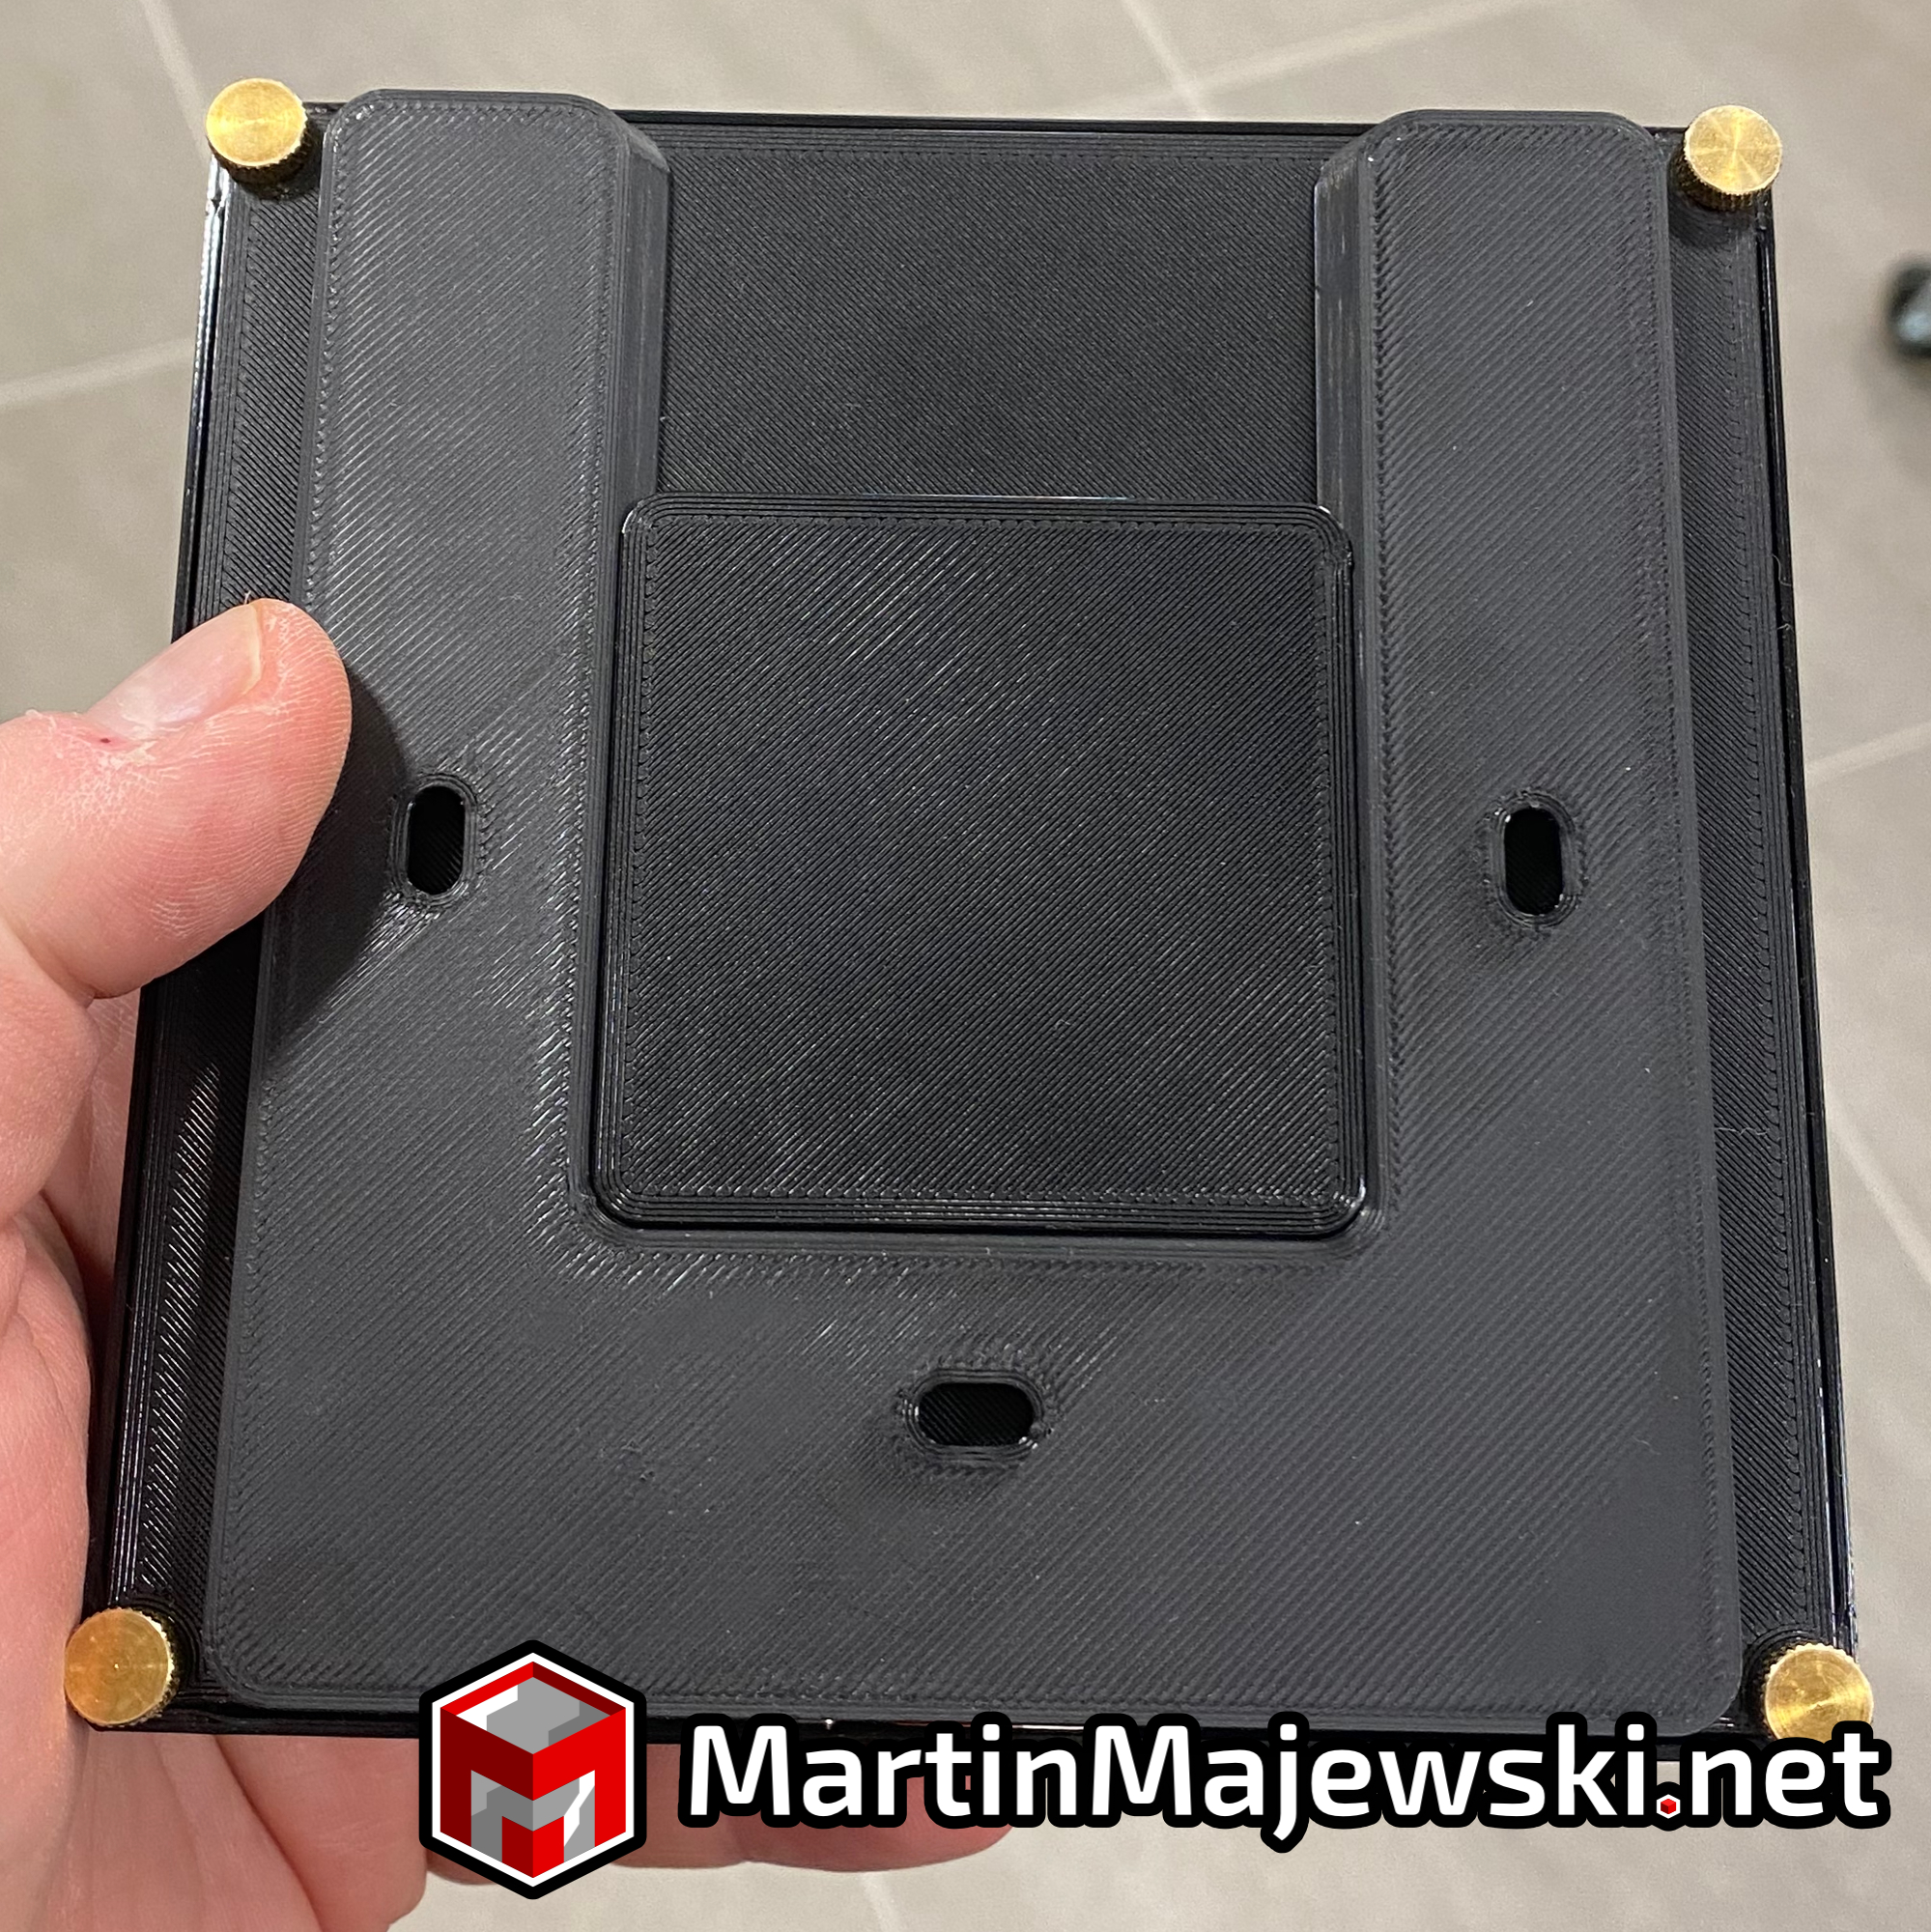
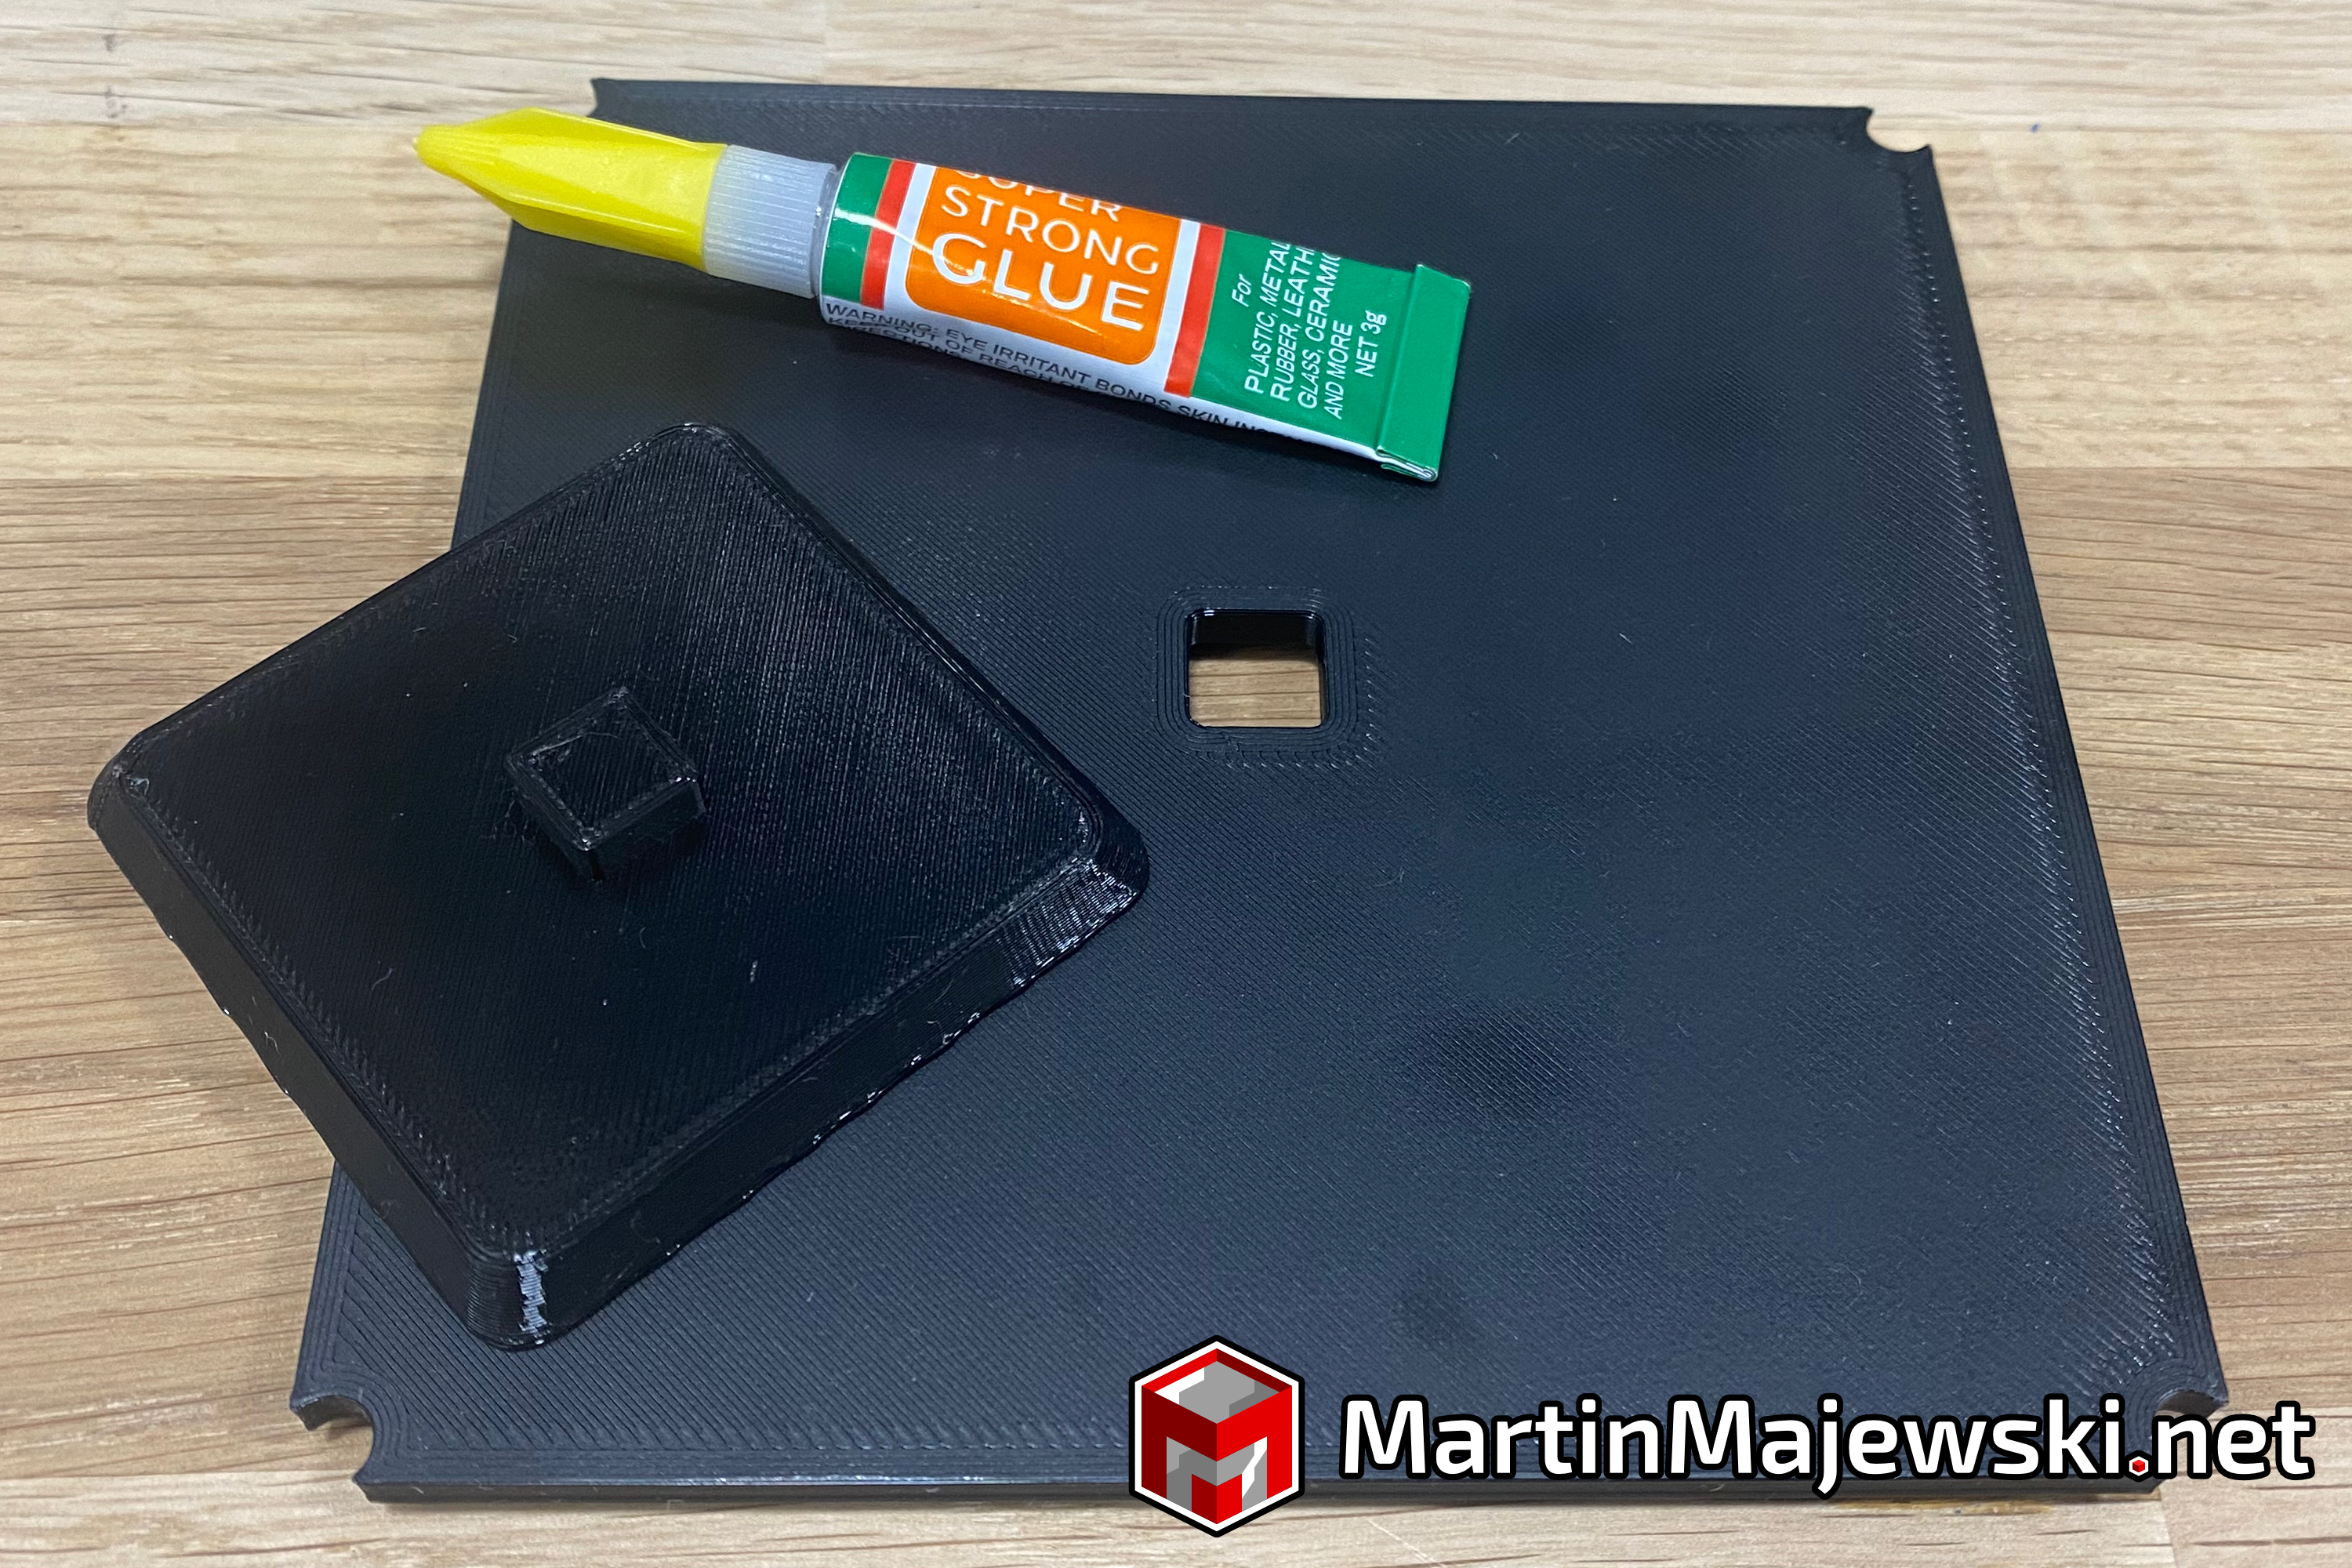
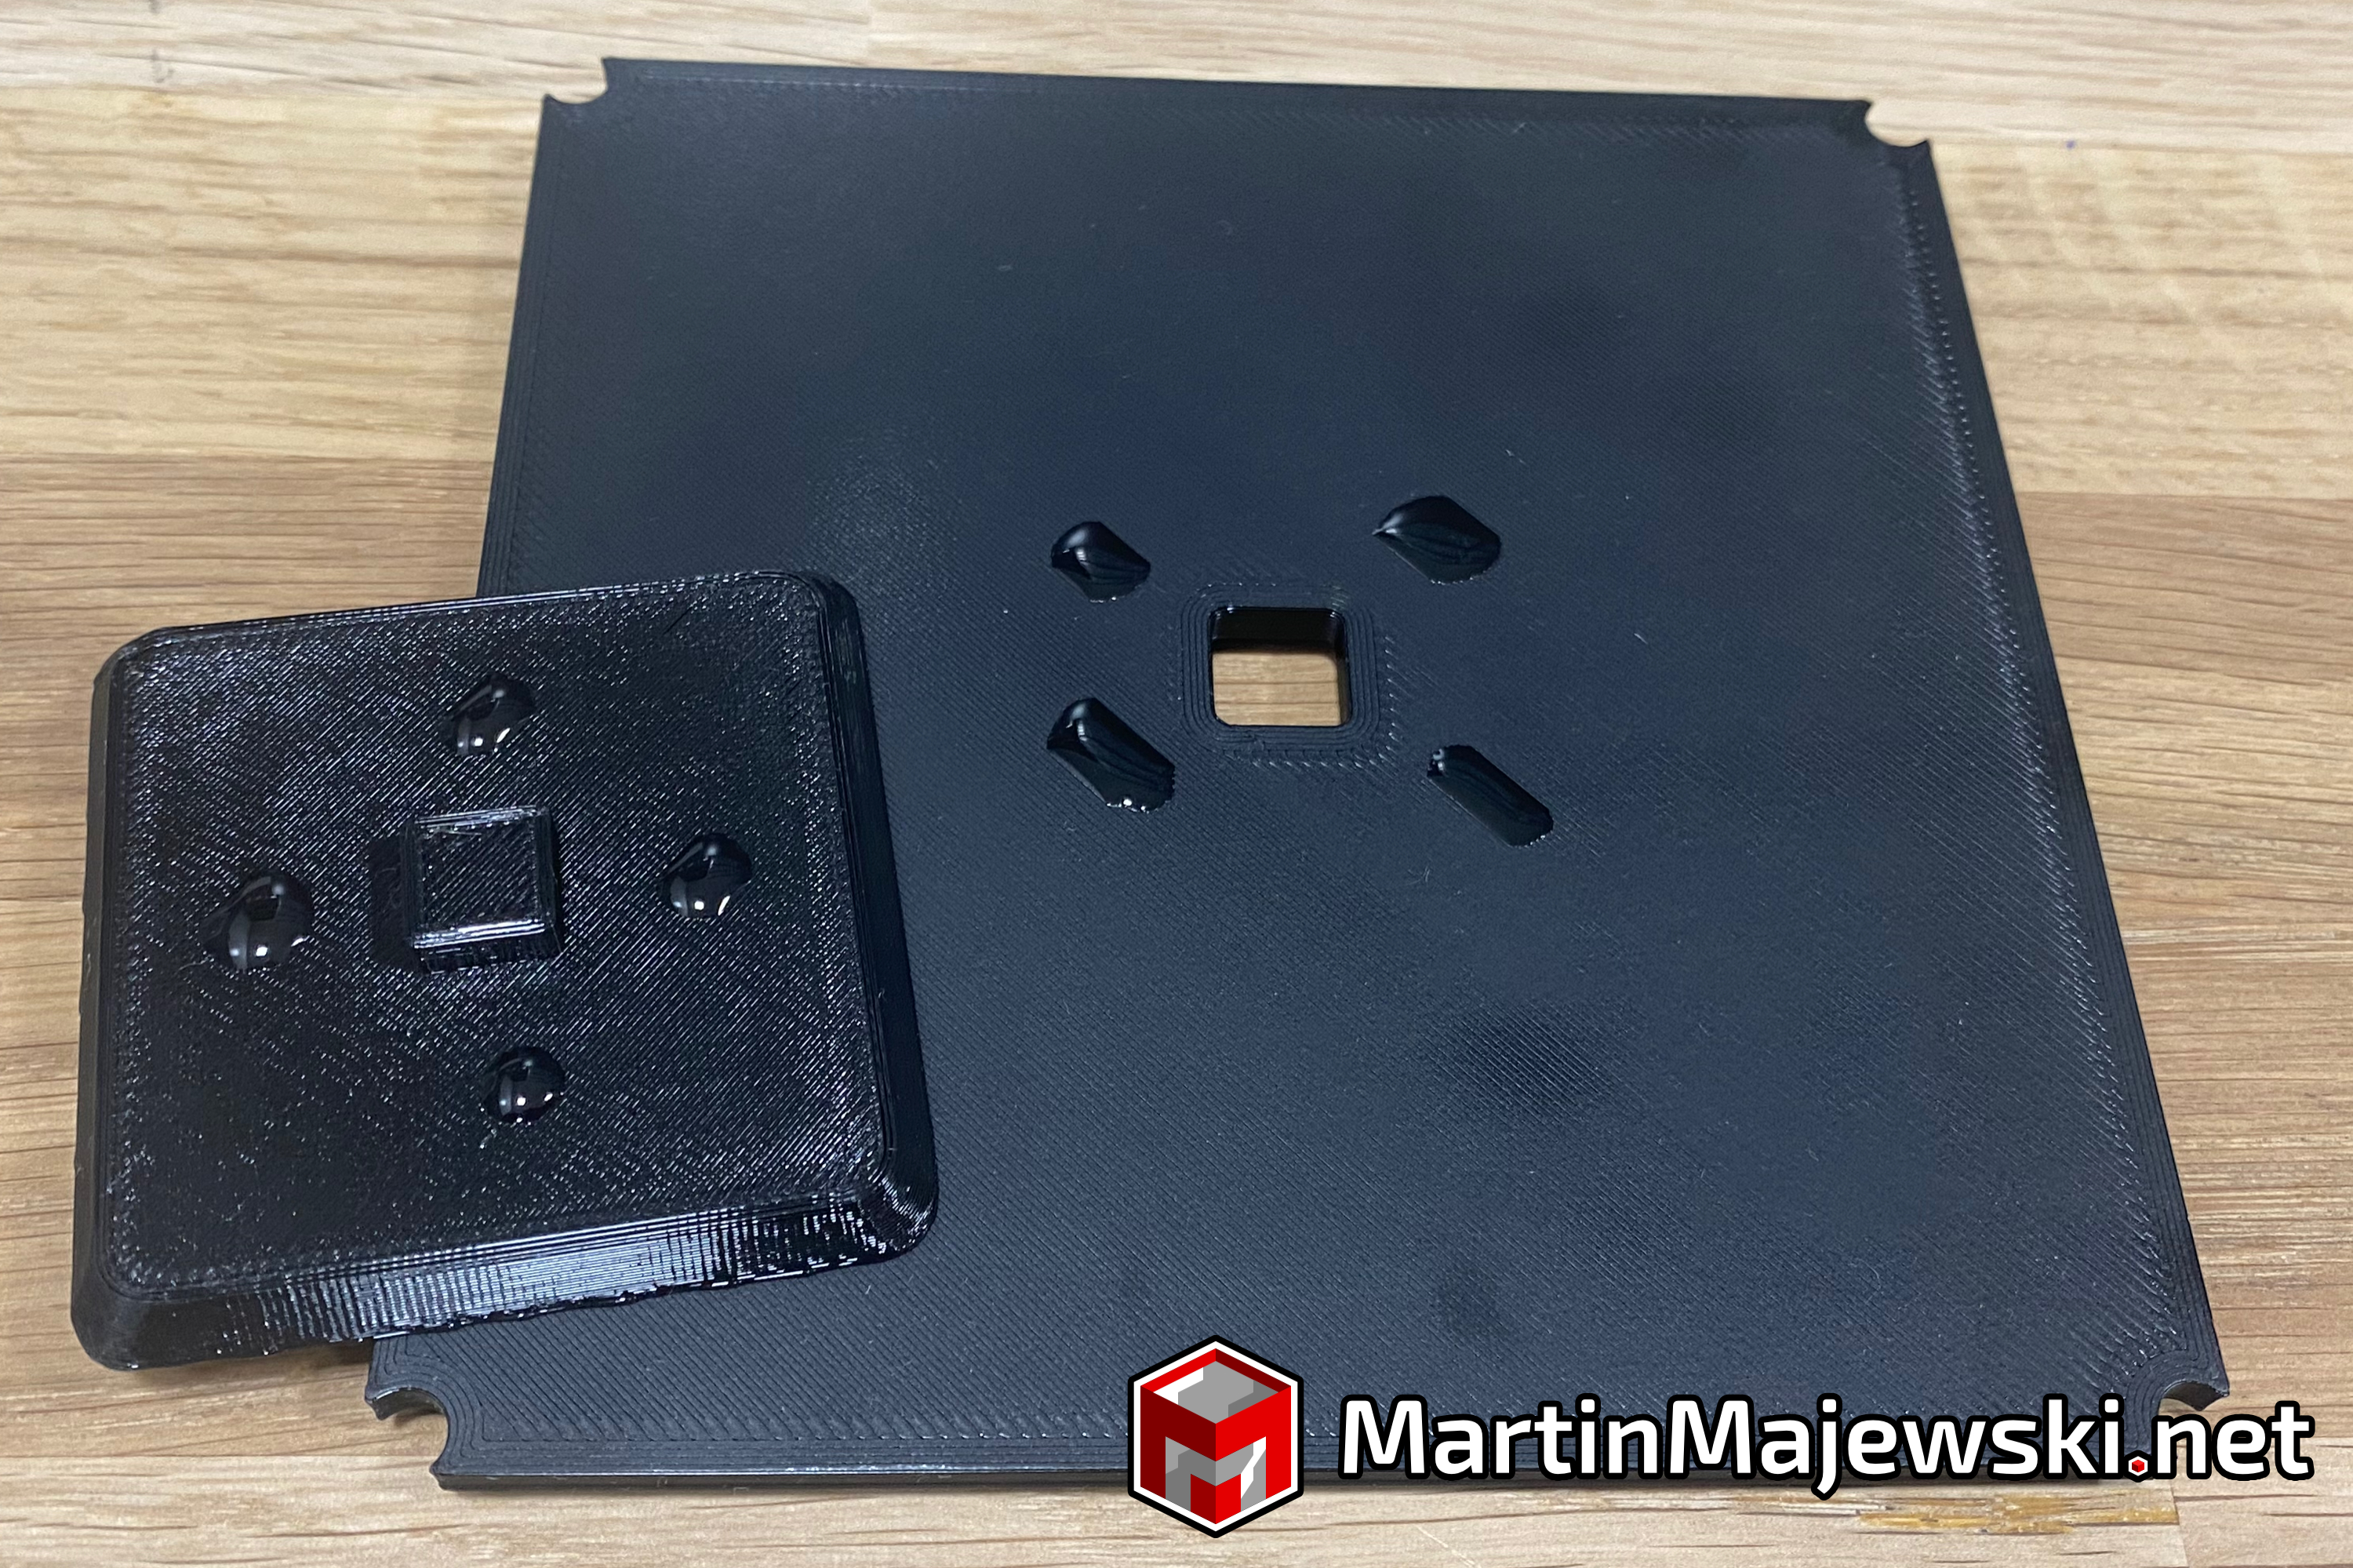
- It would be best to glue the adapter bracket onto the backplate to assemble the wall mount. Just use a few drops of super glue. You can use the wall mount plate as a guide to orient the adapter parallel to the edges. You might also use some clamps to put some pressure on the adapter plate and prevent it from moving until the glue is cured.

- The Inlay has a basic design with no bells and whistles. However, you can modify it to your liking, use fancy slicer settings (like I did; see pictures), or leave it in this bare surface finish to achieve a clean, closed look. The venting slots will provide enough air circulation, surely more than in the original design.

- As for print settings, I think you should use organic supports. They are easy to remove and leave no stains on the print.

- The inlay has some minor clearance to fit into the top enclosure easily. However, this also means you will have to use some drops of glue to set it in place for good.

- Unfortunately, the original design was not ideally exported to fit a 0.2mm layer height. I made minor adjustments to compensate for this.
- Oh, and btw., the wall mount assembly fits the original top enclosure, too!

Additional Support Information
Please consider following me if you like my work:
And if you feel like buying me a coffee to stay productive and creative, you can do so by sending me a tip via Printables or PayPal:
Or feel free to use one of the following affiliate links below - without additional or hidden costs for you, of course!
Generic Affiliate Links
Thank you very much, and happy printing,
Martin