
Ninja's Geeetech i3x heatbed cable saver
Obliczymy ostateczną cenę na podstawie wybranego pliku. Sprawdzisz ją i zaakceptujesz przed płatnością.
Zapisane na tym urządzeniu.
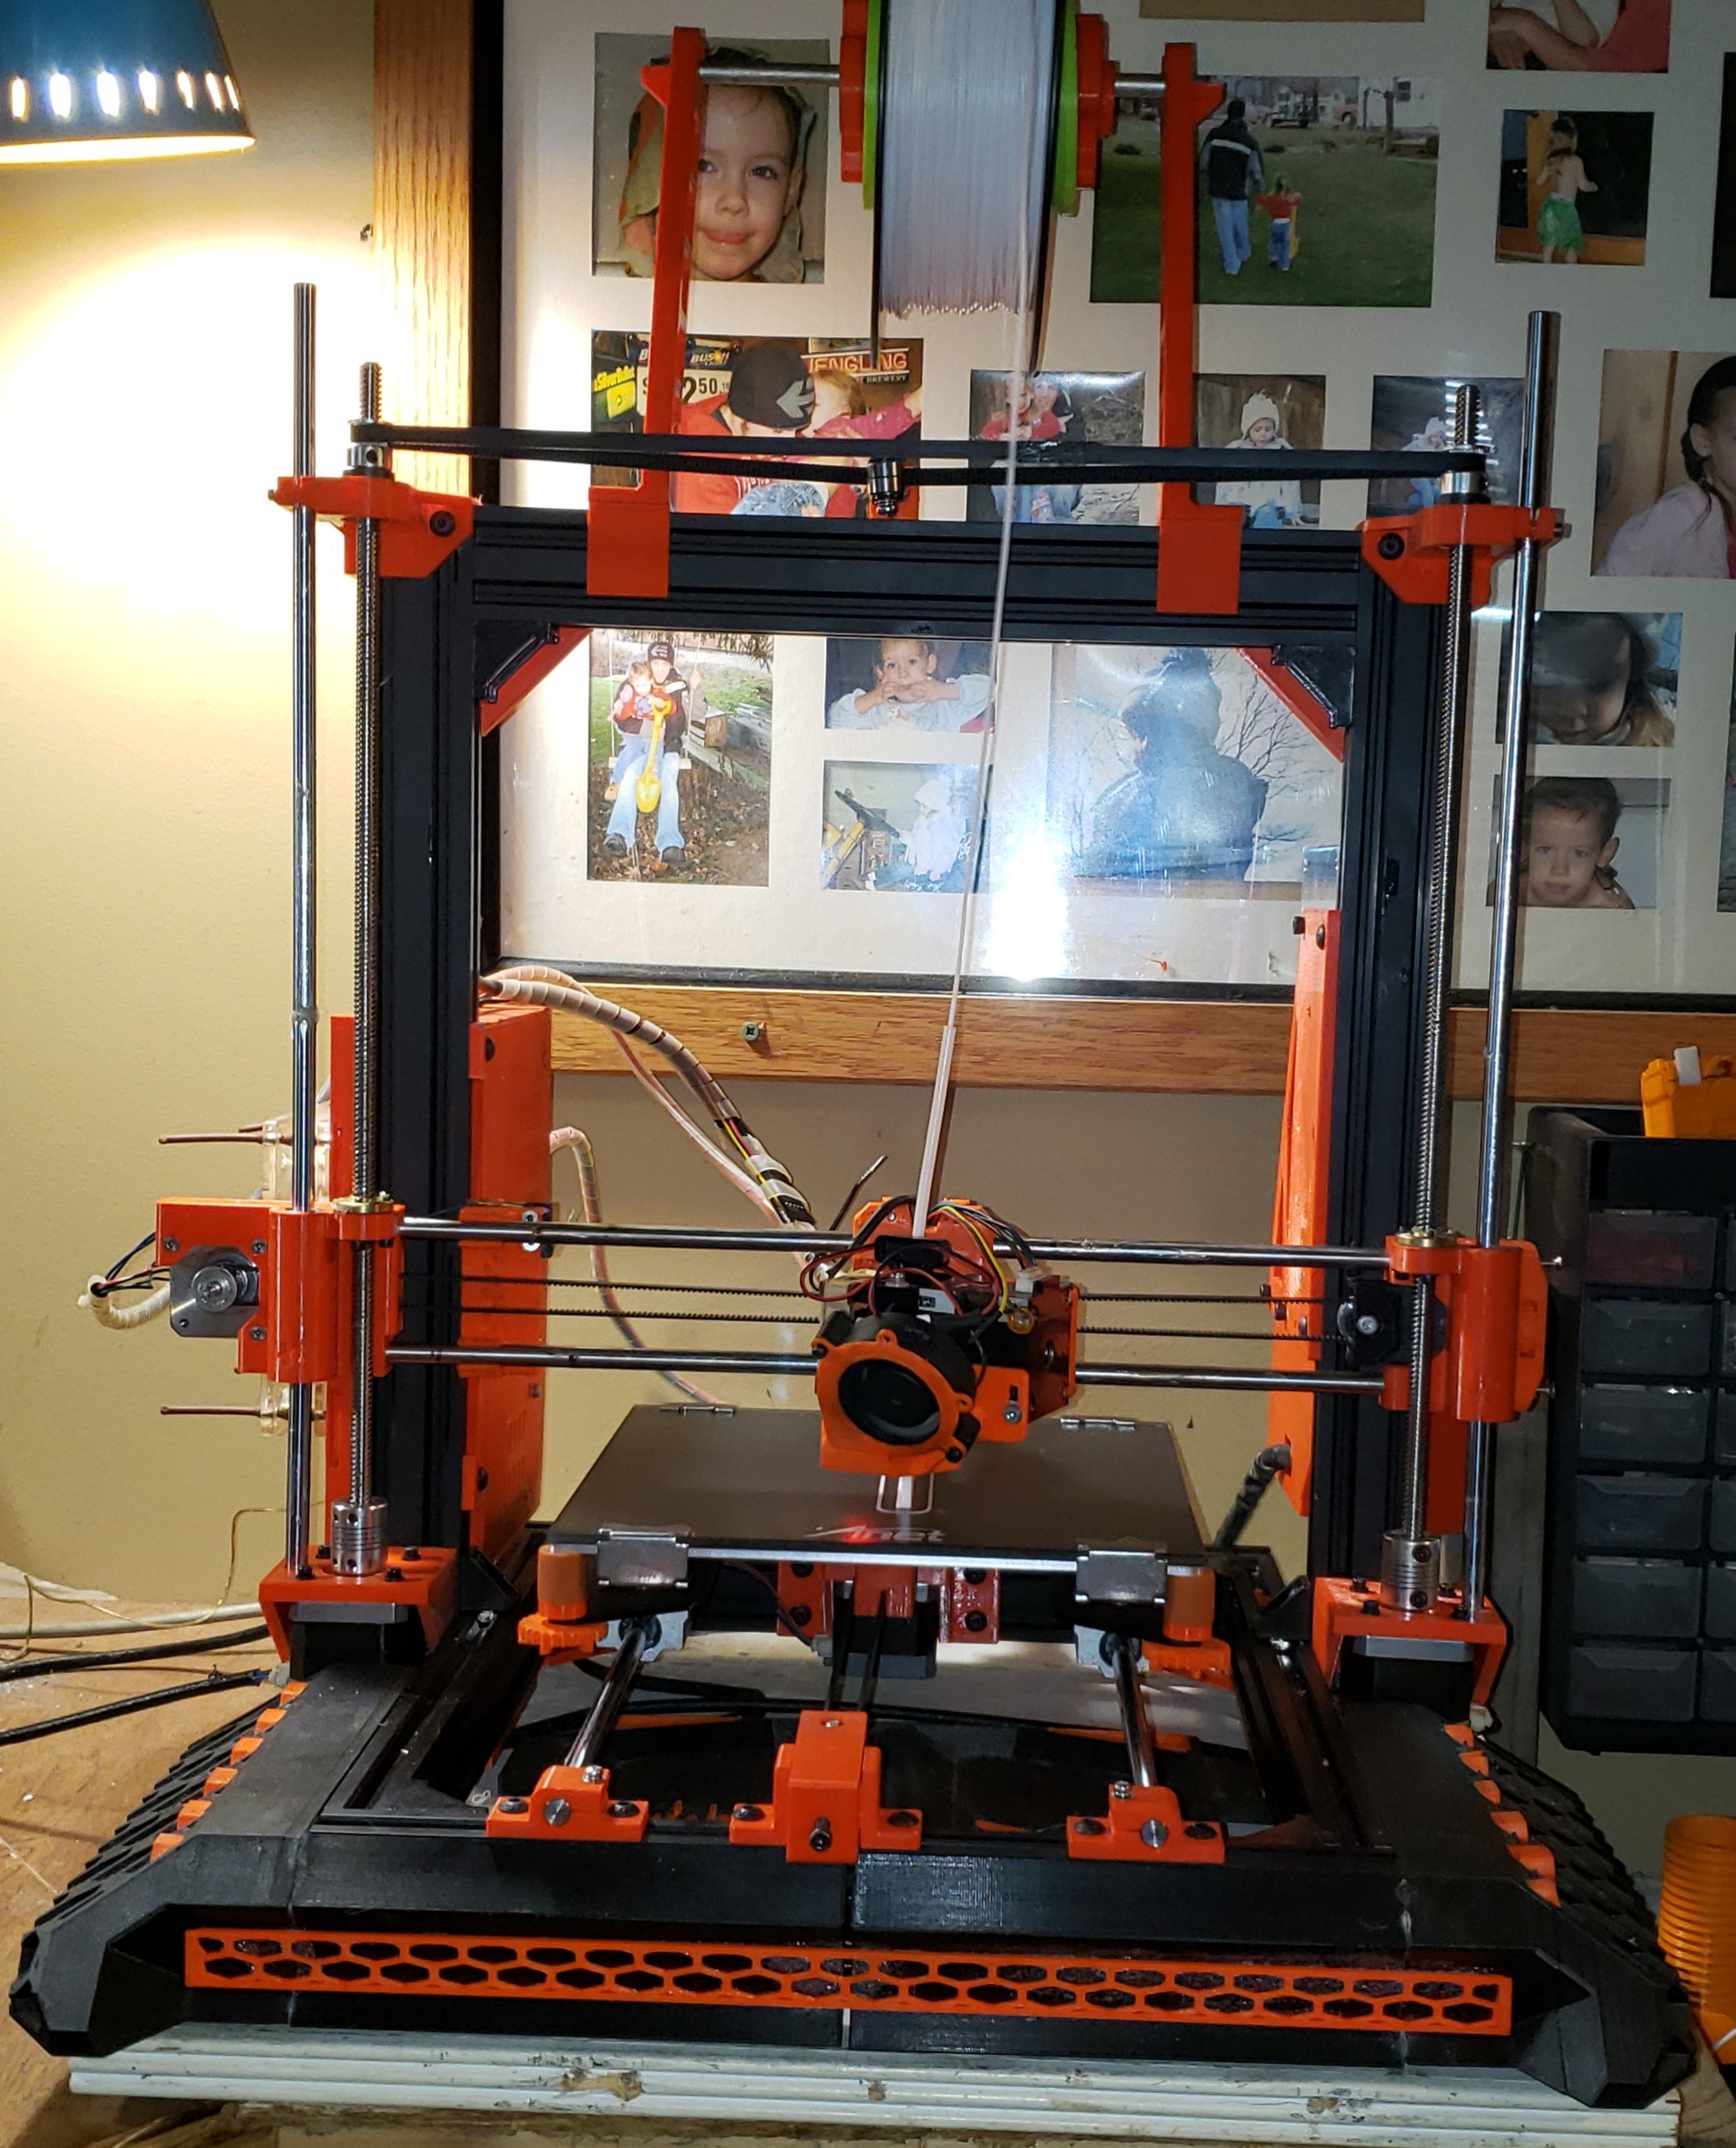
I created this using Tinker CAD when I noticed my heat bed cable kept getting pinched while homing. It's nothing fancy…
- Ocena
- 0 / 5
- Polubienia
- 2
- Pobrania
- 13
- Wydruki
- 0
- Wyświetlenia
- 199
- Oceny
- 0
Aktualizacja u źródła:
Informacje o modelu
- Źródło
- Printables
- Kategoria
- Accessories
- Licencja
- Creative Commons — Attribution — Share Alike
I created this using Tinker CAD when I noticed my heat bed cable kept getting pinched while homing. It's nothing fancy but it keeps my cable up. There are 2 parts. One is a bracket that you must pull the heat bed off of the gantry to fasten using two m3 x 16mm bolts and two nut and lock washers. I used 16mm length and I was just able to get the nut on and tighten it, it was a tight fight. Then there is an additional wedge mount that angles the cable slightly, I used a small zip tie around the whole thing.
Print Settings
Printer Brand:
Prusa
Printer:
Prusa Clone
No
Supports:
No
.2mm
Infill:
90 infill
Filament:
[
prusament petg Petg ](http://www.amazon.com/s?url=search-alias&field-keywords=prusament+petg+Petg&tag=thingiverse09-20) Prusa Orange
Notes:
I just picked a profile to print, looks like it has 5 parameters and 90 infill stars. I'm sure this is overkill.
This was my test piece. I had to run a drill bit through the holes and it just cleared the bolts holding the gantry bushings. In my uploaded design I enlarged the holes slightly and shaved a little off the back.

Removed heat bed to fasted to the gantry, you'll need two m3x16mm bolts, two lock washers and nuts. They just fit but they can't be too long or you will hit the smooth rods.

This is just a wedge with a little groove in the middle to angle the cable a bit. I fastened mine with 1 small zip tie.
How I Designed ThisI used my digital calipers, a piece of paper and pencil. I measured the distance of the bolt holes and gave extra room for more support. Due to the stop switch sticking up high, I had to make it thicker for the cutout to allow room for the switch. I just guessed at the length of the extrusion for the cable to strap to, and used my imagination when I made the wedge.
Category: 3D Printer Accessories