
Turnable Nespresso Tower
Obliczymy ostateczną cenę na podstawie wybranego pliku. Sprawdzisz ją i zaakceptujesz przed płatnością.
Orientacyjna cena wydruku pliku
2,82 € – 3,45 € netto (bez VAT)
Dla pliku: Socket-Nespresso Tower_0.2mm_PLA_MK3S_3h6m.gcode
To wstępna wycena jednego pliku. Dokładną cenę poznasz przed zamówieniem.
Plik i założenia wyceny
Plik użyty do wyceny
Średnia wycena orientacyjna: 3,14 € netto (środek widełek).
- Masa podana przez autora
- 40 g
- Czas druku podany przez autora
- 3,1 godz.
- Materiał u źródła
- PLA
- Materiał wyceny
- PLA
- Drukarka wyceny
- Bambu Lab P1S - 0.4 nozzle
- Proces wyceny
- 0.20mm Standard
Orientacyjna wycena wyłącznie wybranego pliku, oparta na masie i czasie druku podanych przez autora. Warianty plików nie są sumowane. Ostateczna cena zostanie obliczona po analizie pliku.
Zapisane na tym urządzeniu.
Turnable Nespresso Tower in two versions to store 42 or 60 capsules
- Ocena
- 5 / 5
- Polubienia
- 159
- Pobrania
- 835
- Wydruki
- 13
- Wyświetlenia
- 5265
- Oceny
- 10
Aktualizacja u źródła:
Informacje o modelu
- Źródło
- Printables
- Kategoria
- Kitchen
- Licencja
- Creative Commons — Attribution — Noncommercial — Share Alike
Turnable Nespresso Tower in two versions:
Standard Version to store 42 capsules
Extended Version to store 60 capsules
Optional Covers
There are a few different covers you can choose:
- blank cover
- with text: Coffee Time
- with coffee cup
- 3 Versions with compartements for sugar bags and stirrer/spoons
All needed parts can be printed.
You just need some glue for assembling.
Printing
Filament: PLA
Layer high: 0.2 mm
Infill: 15-20%
Supports: Only the Connector #1 needs supports, all other parts are printed without.
Assembling
1.) Glue Connector #1 to the flat side of the Bearing-Top.
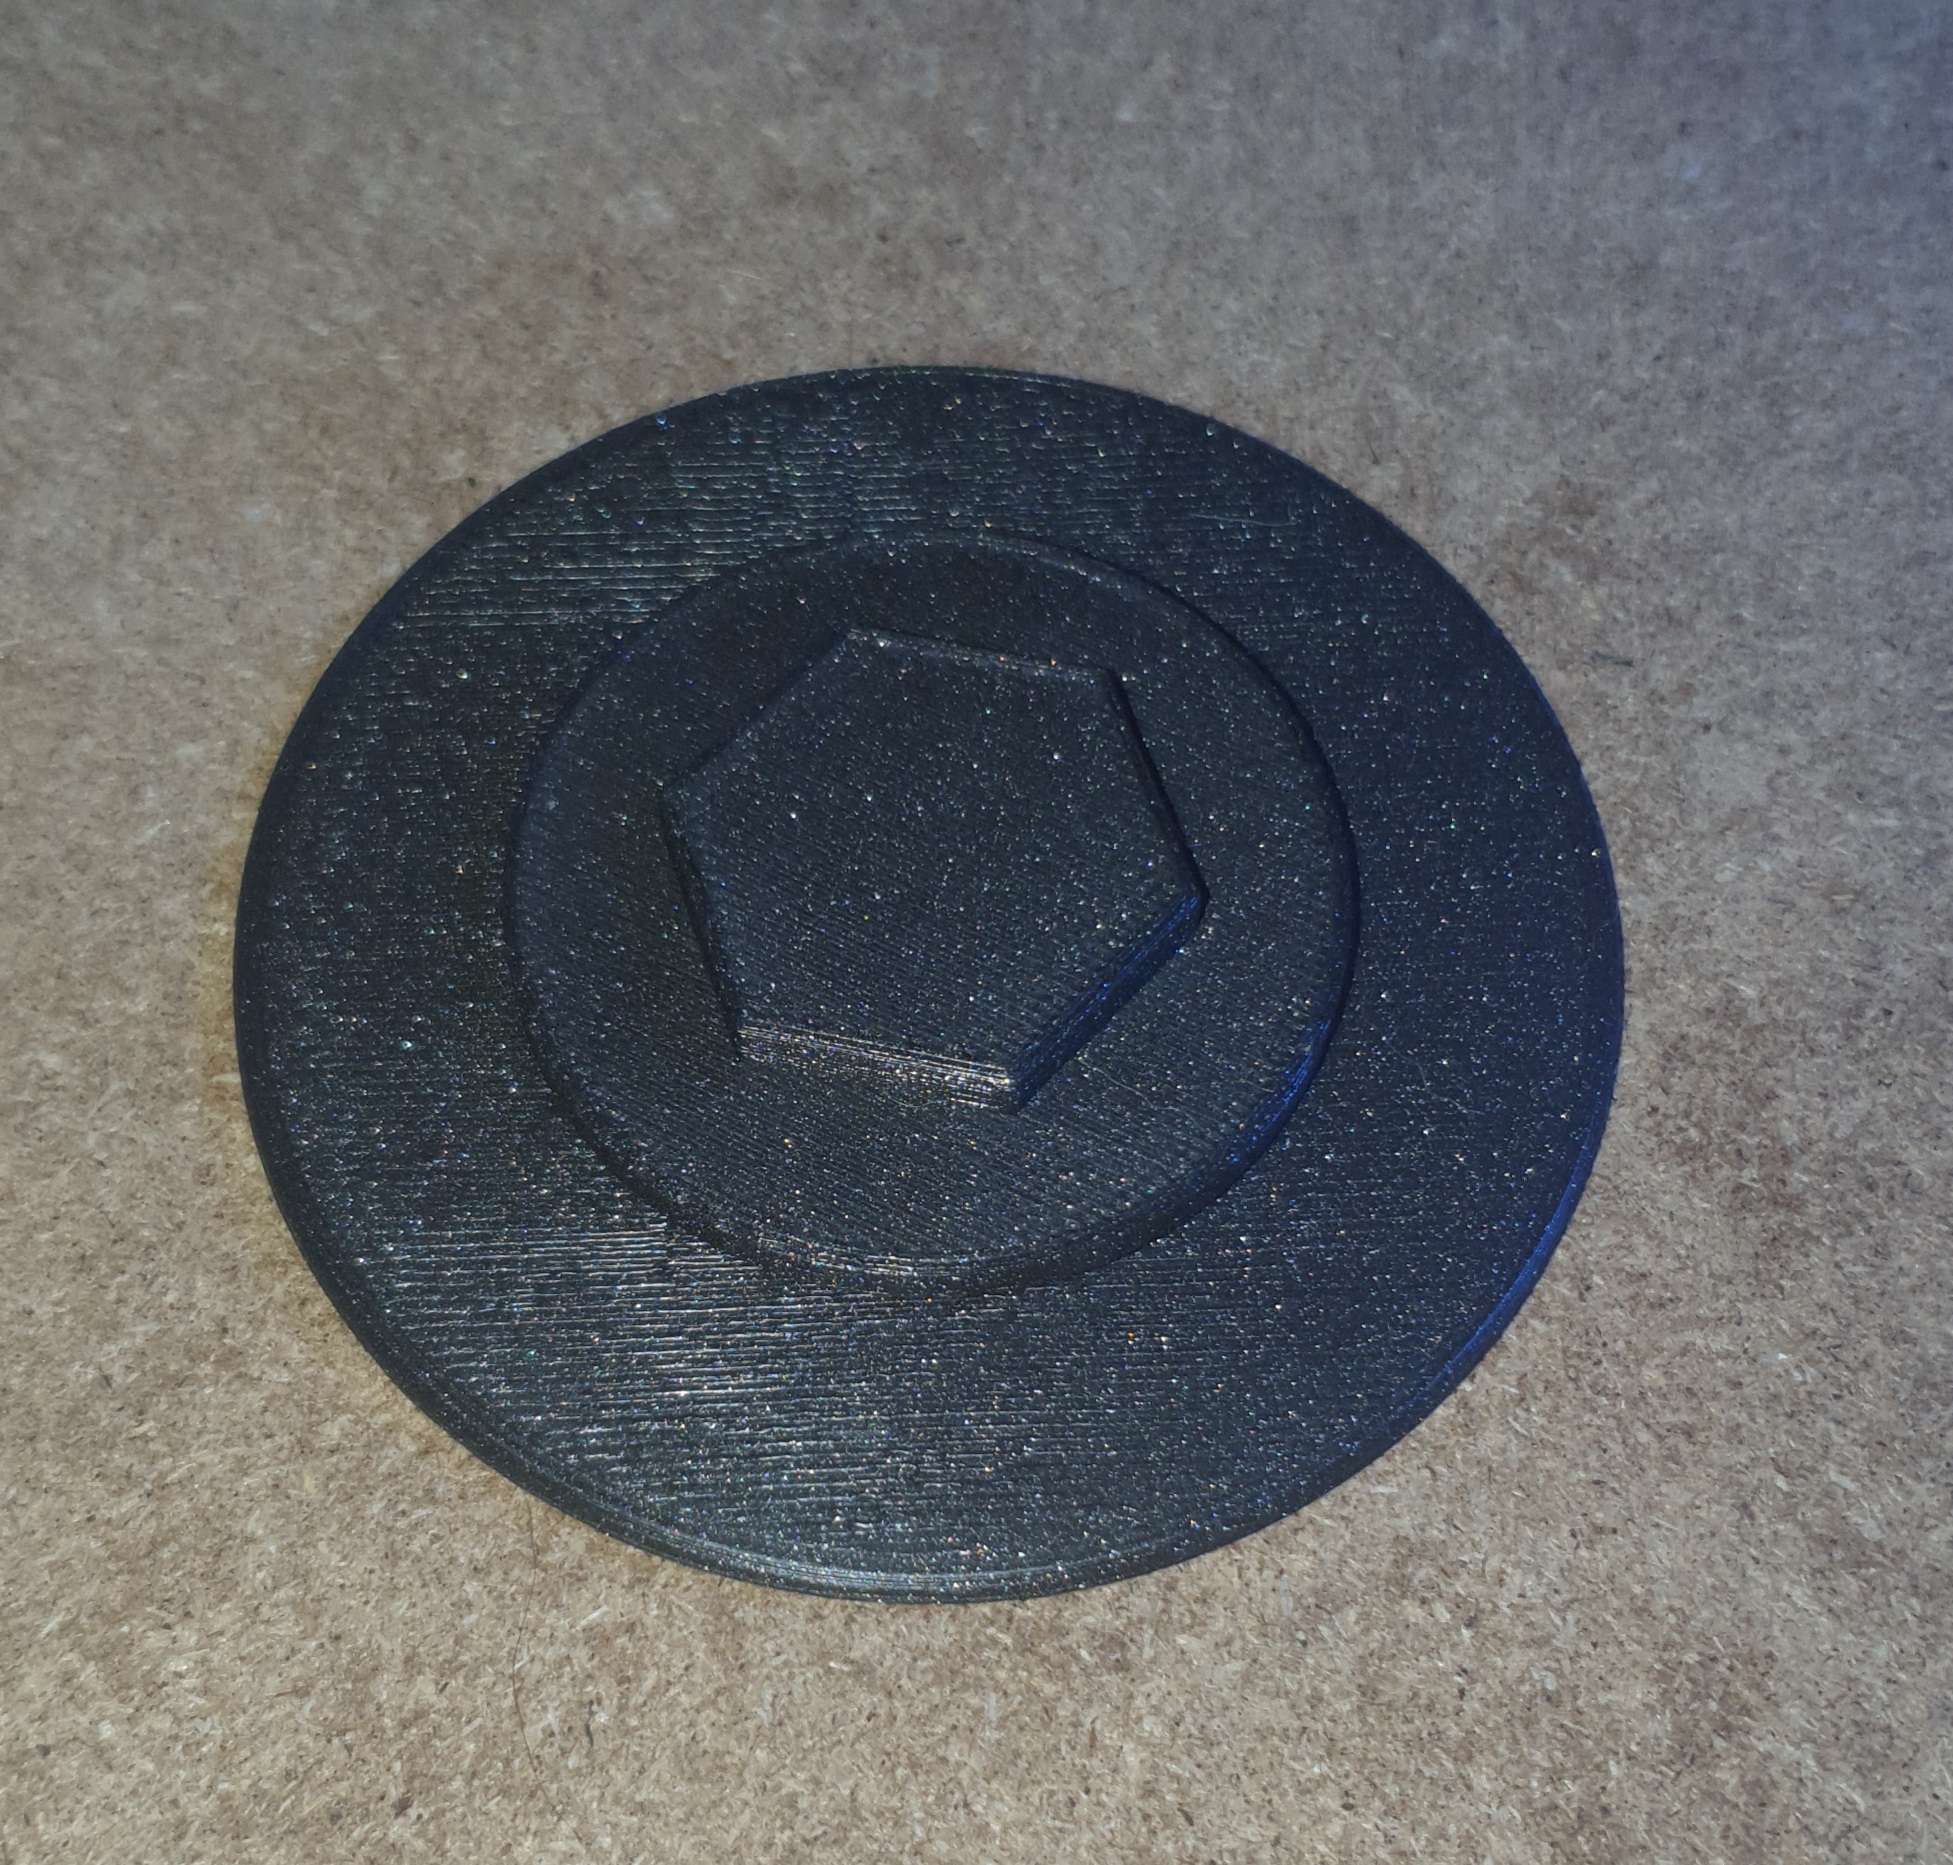
2.) Place the Bearing-Rolls on the Bearing-Bottom.
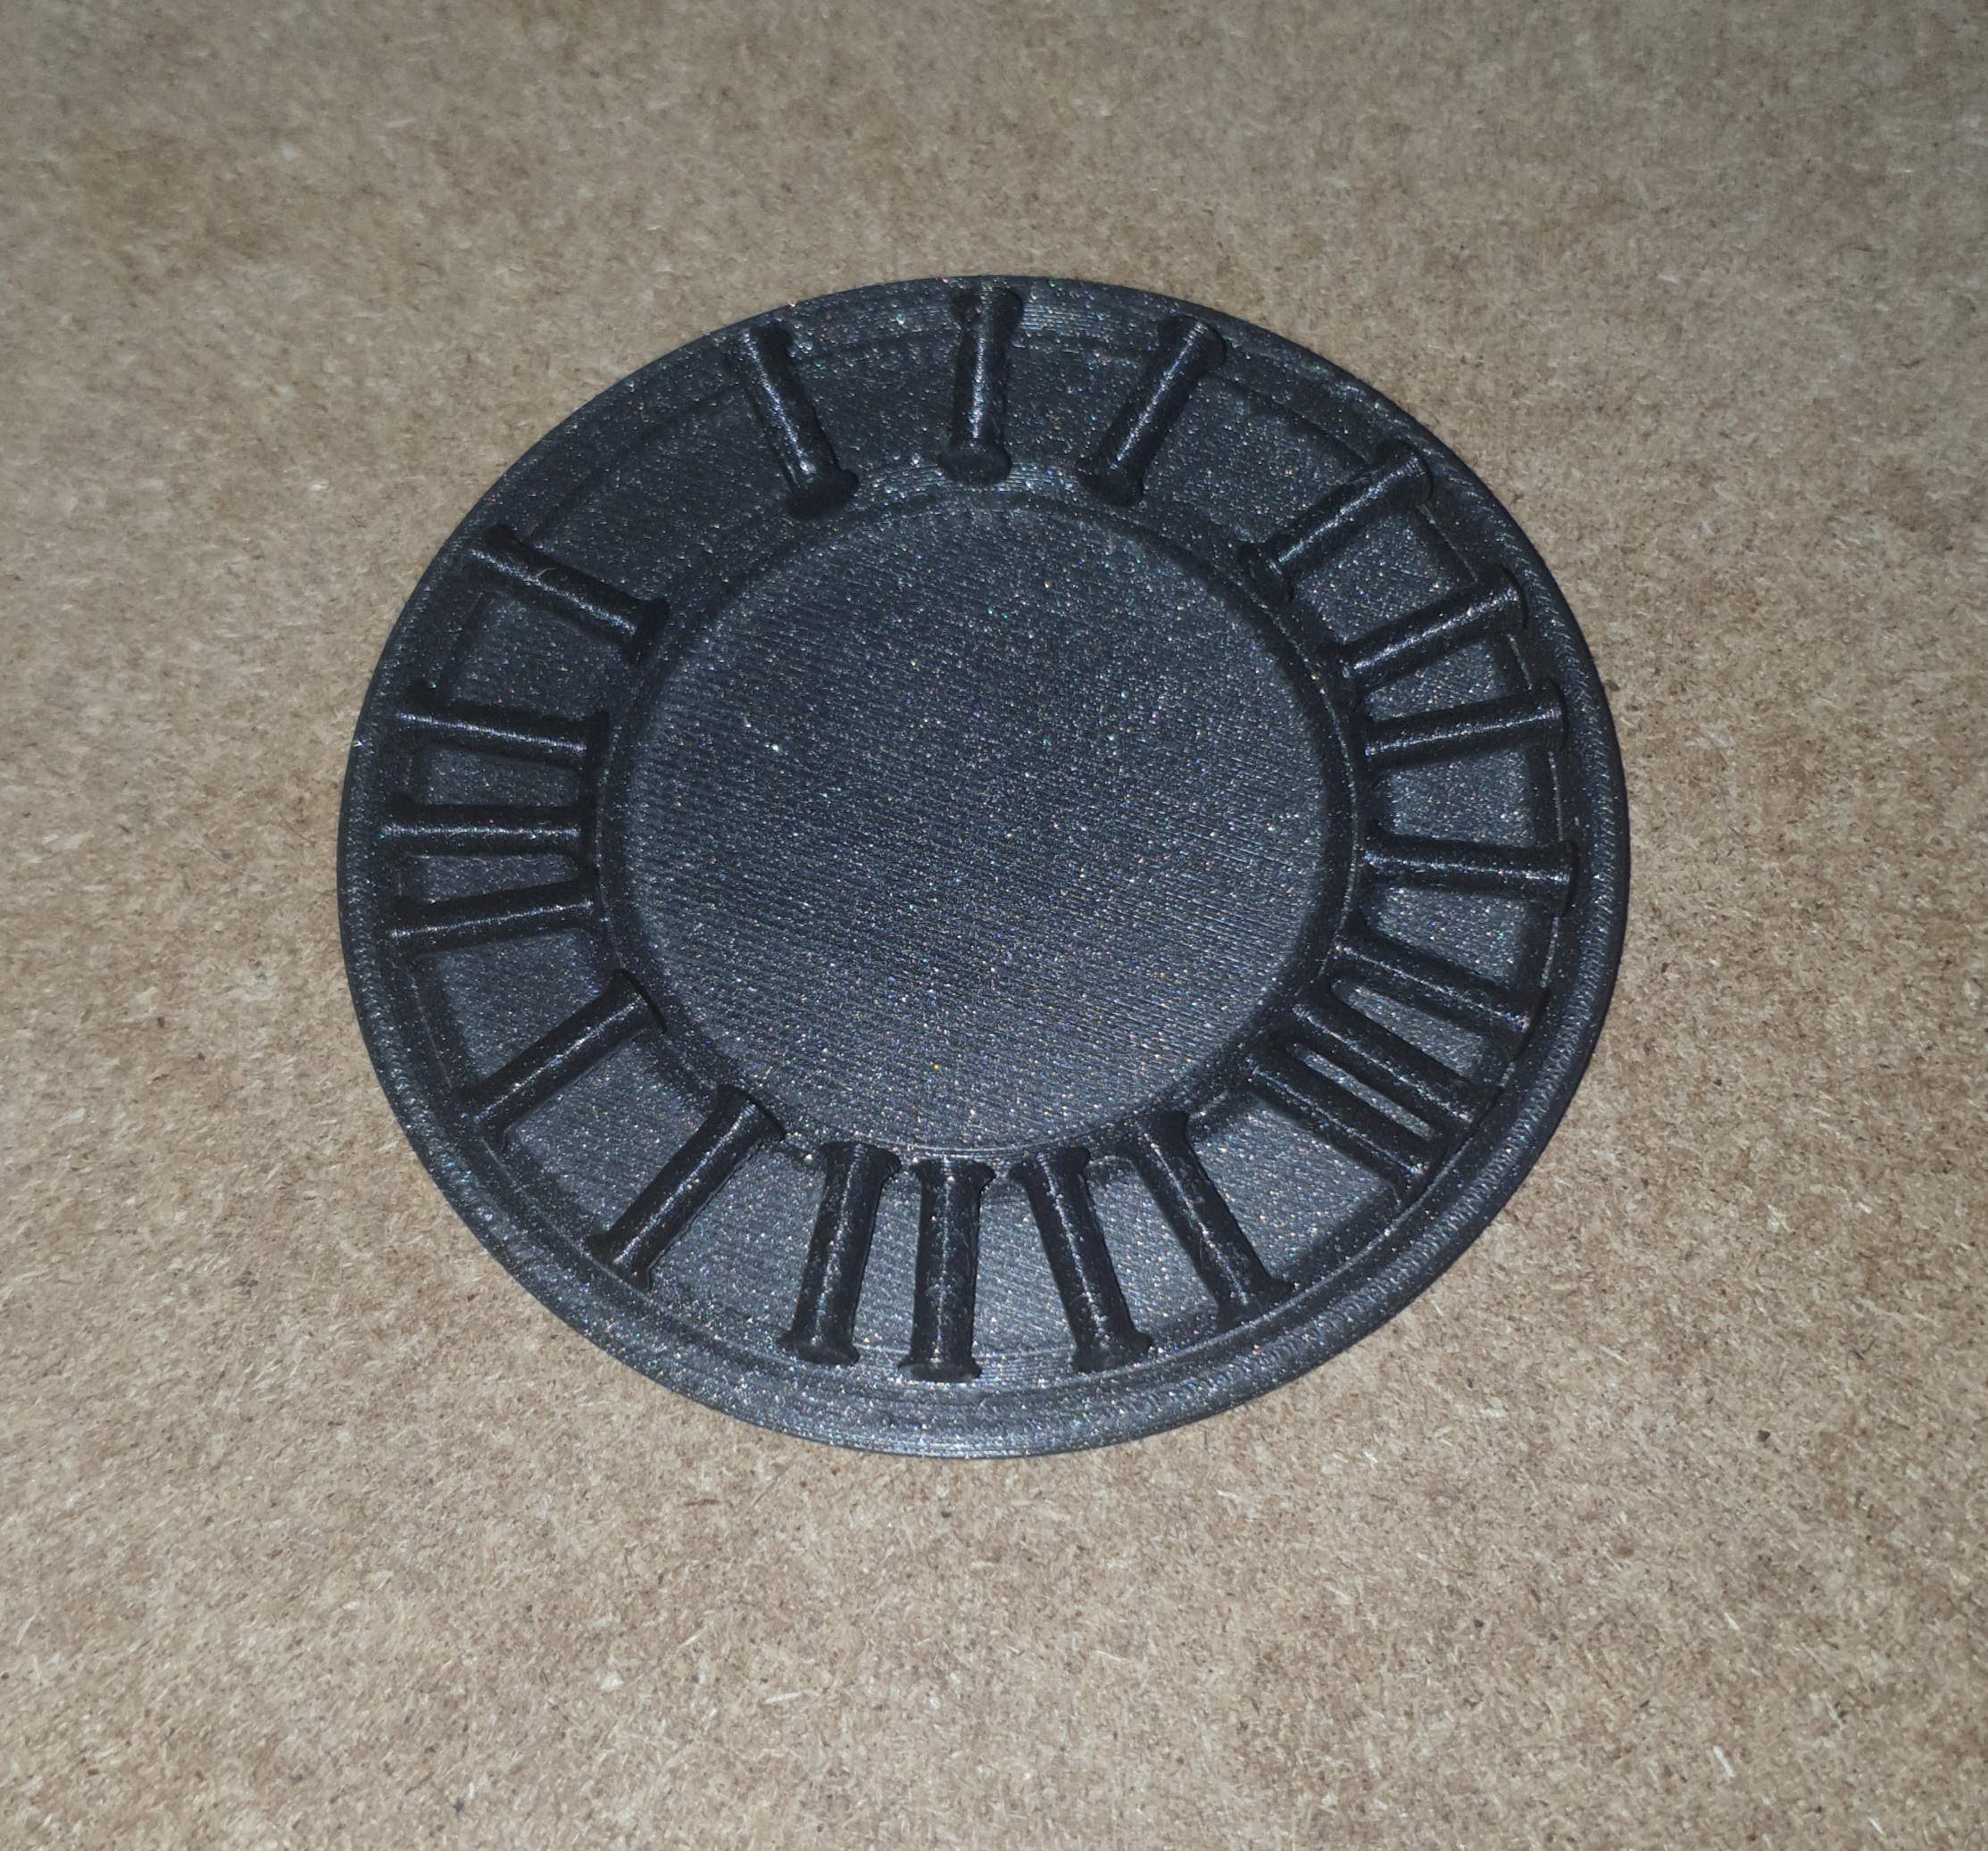
3.) Put Bearing-Top on the rolls and check if it turns nicely.
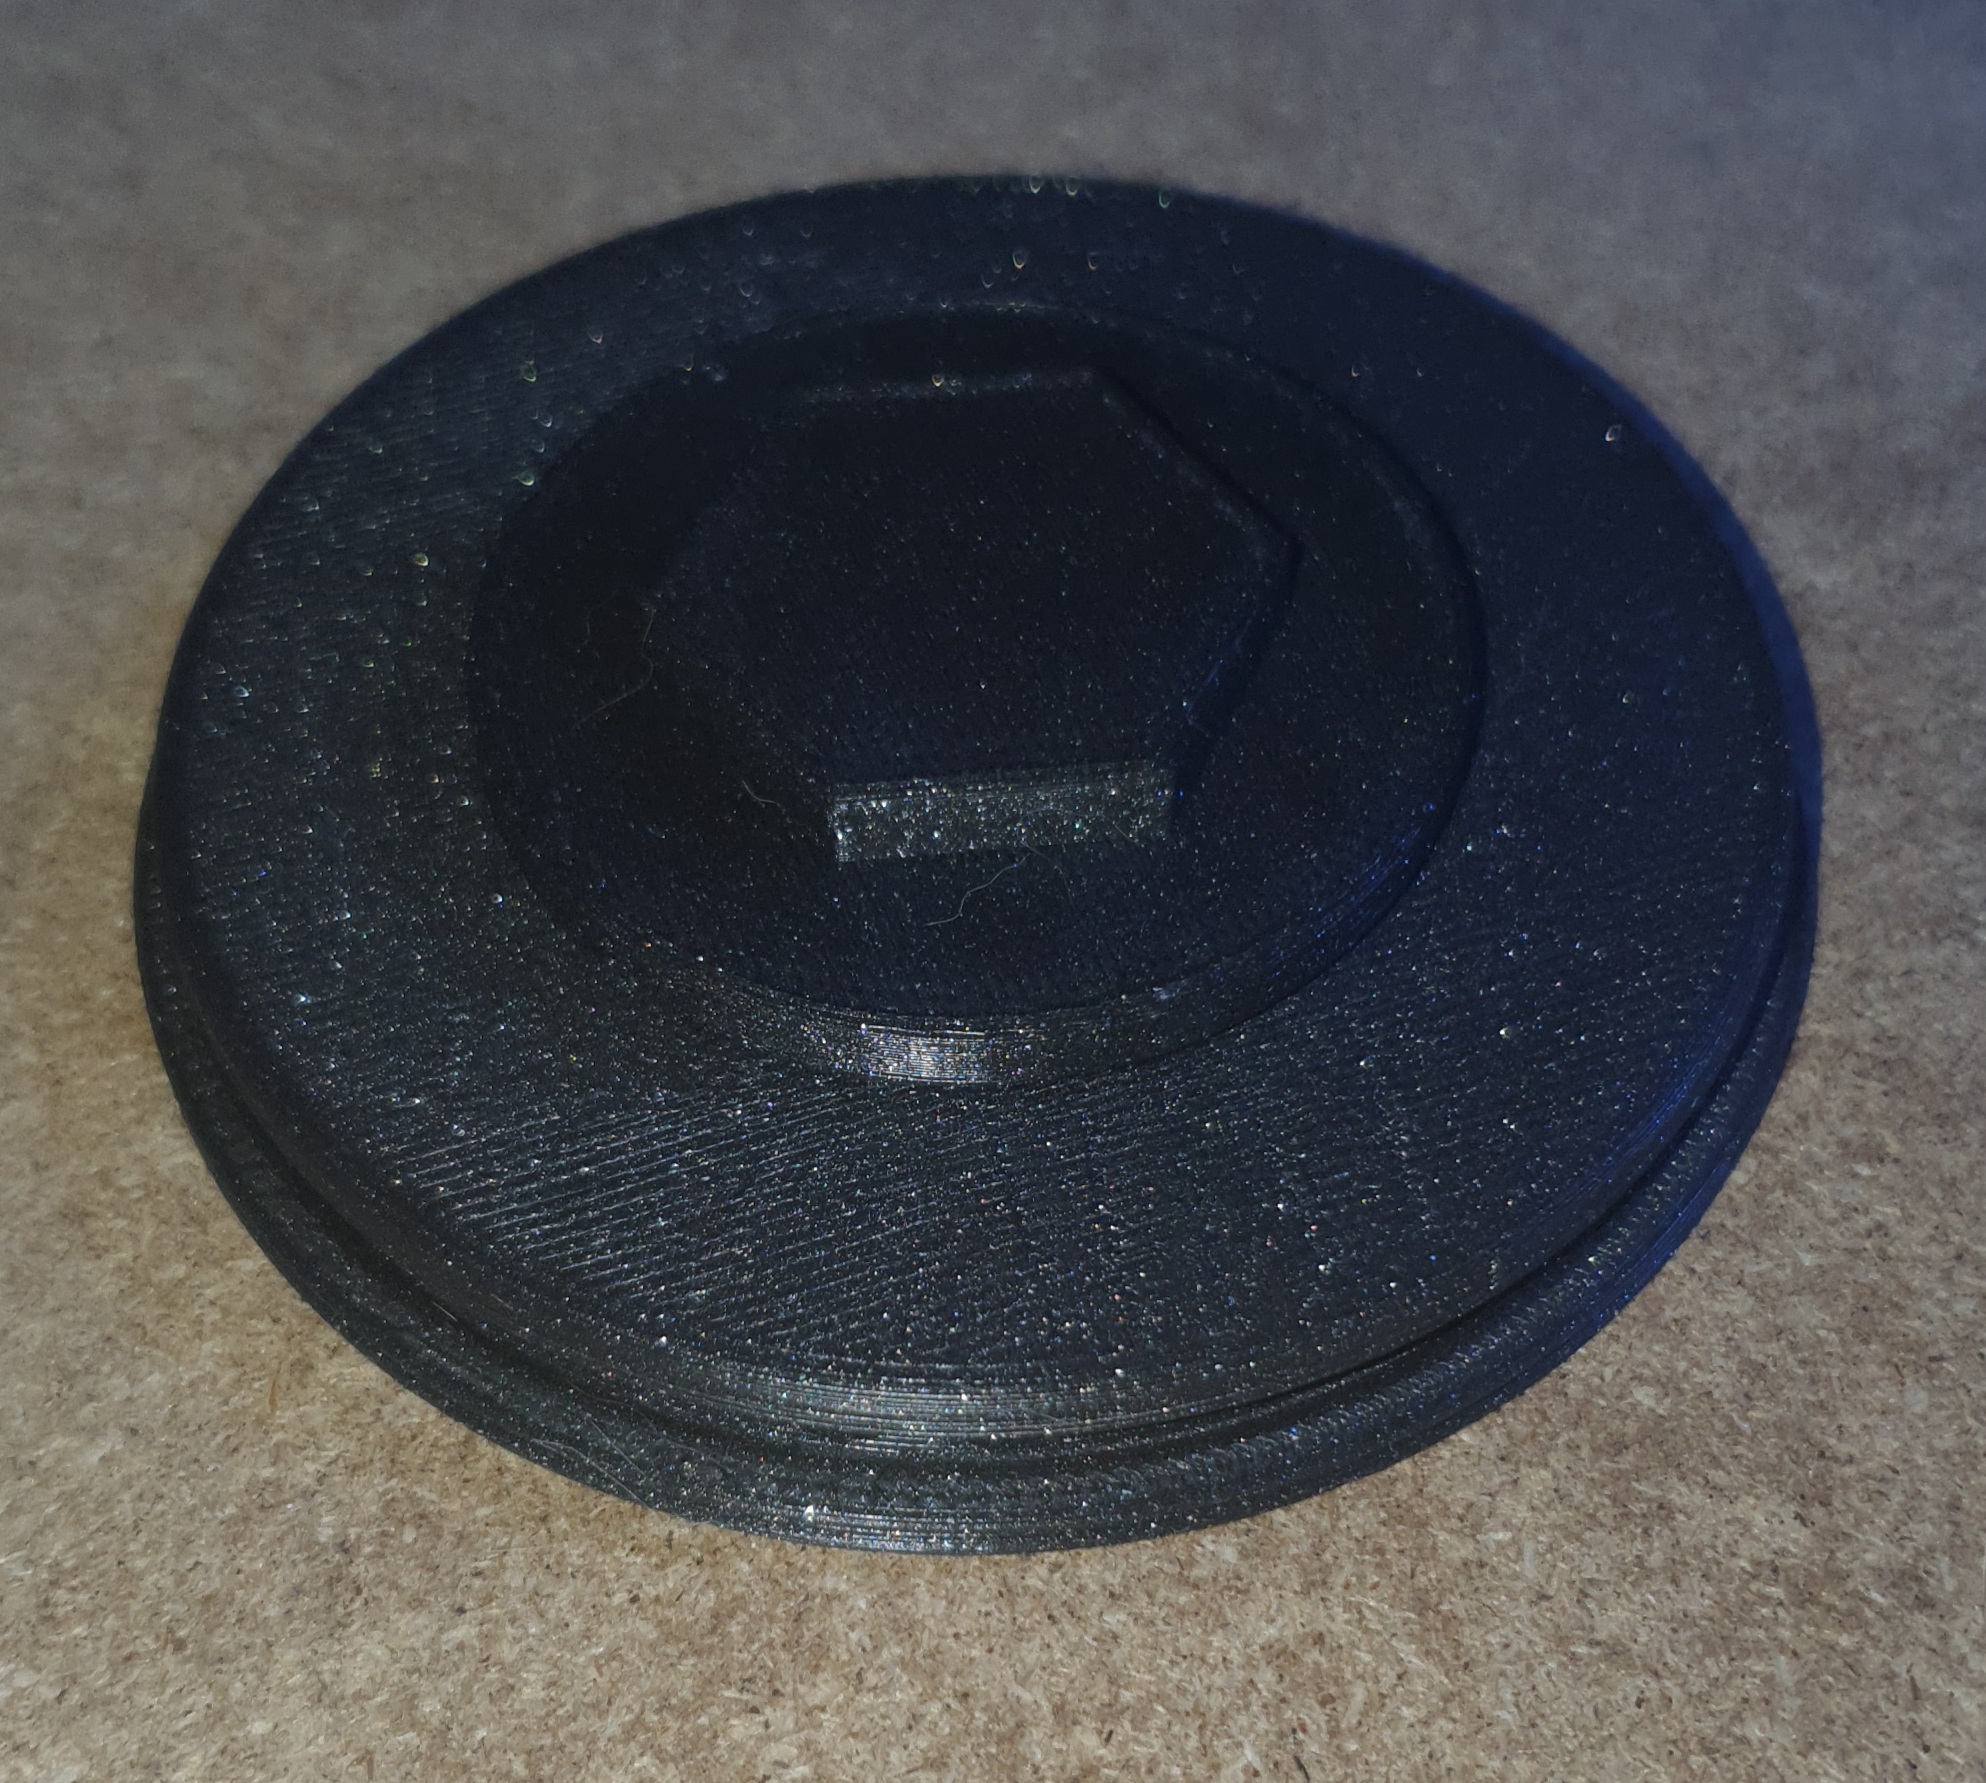
4.) Put the Bearing-Ring on and press down flat and gently until it clicks. Done.
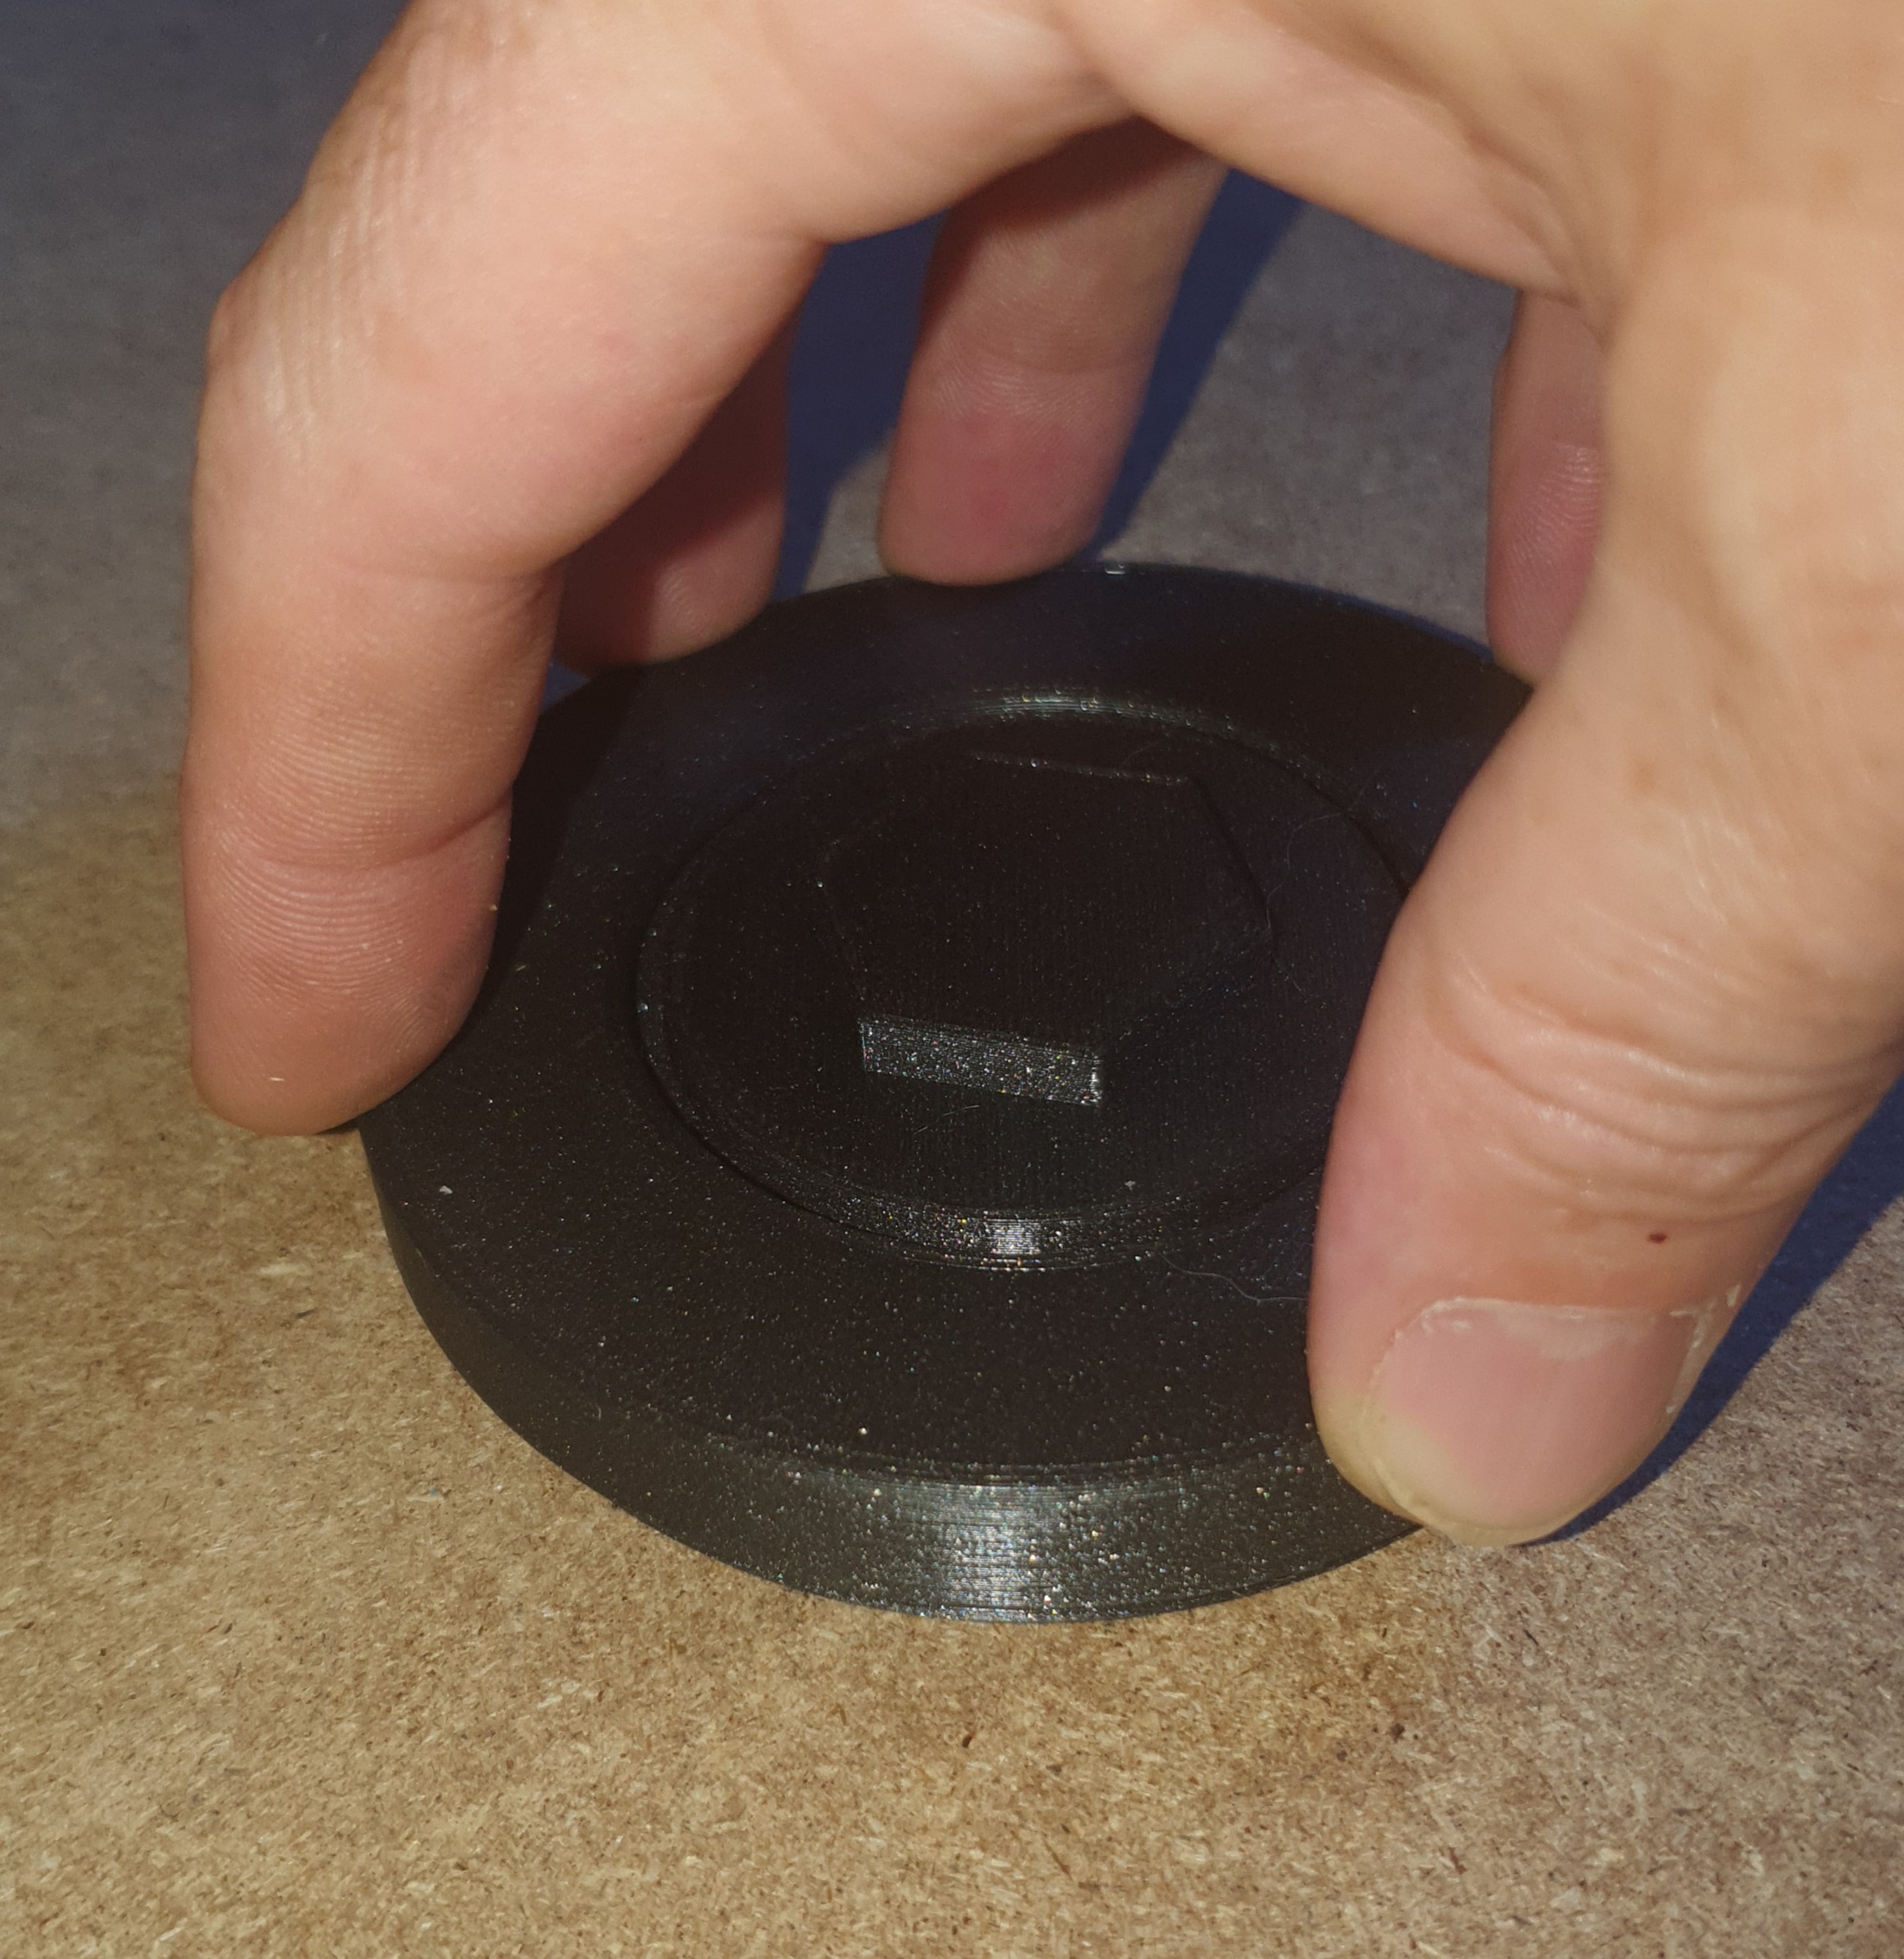
5.) Now glue Connector #2 to the Base. Press down completely.
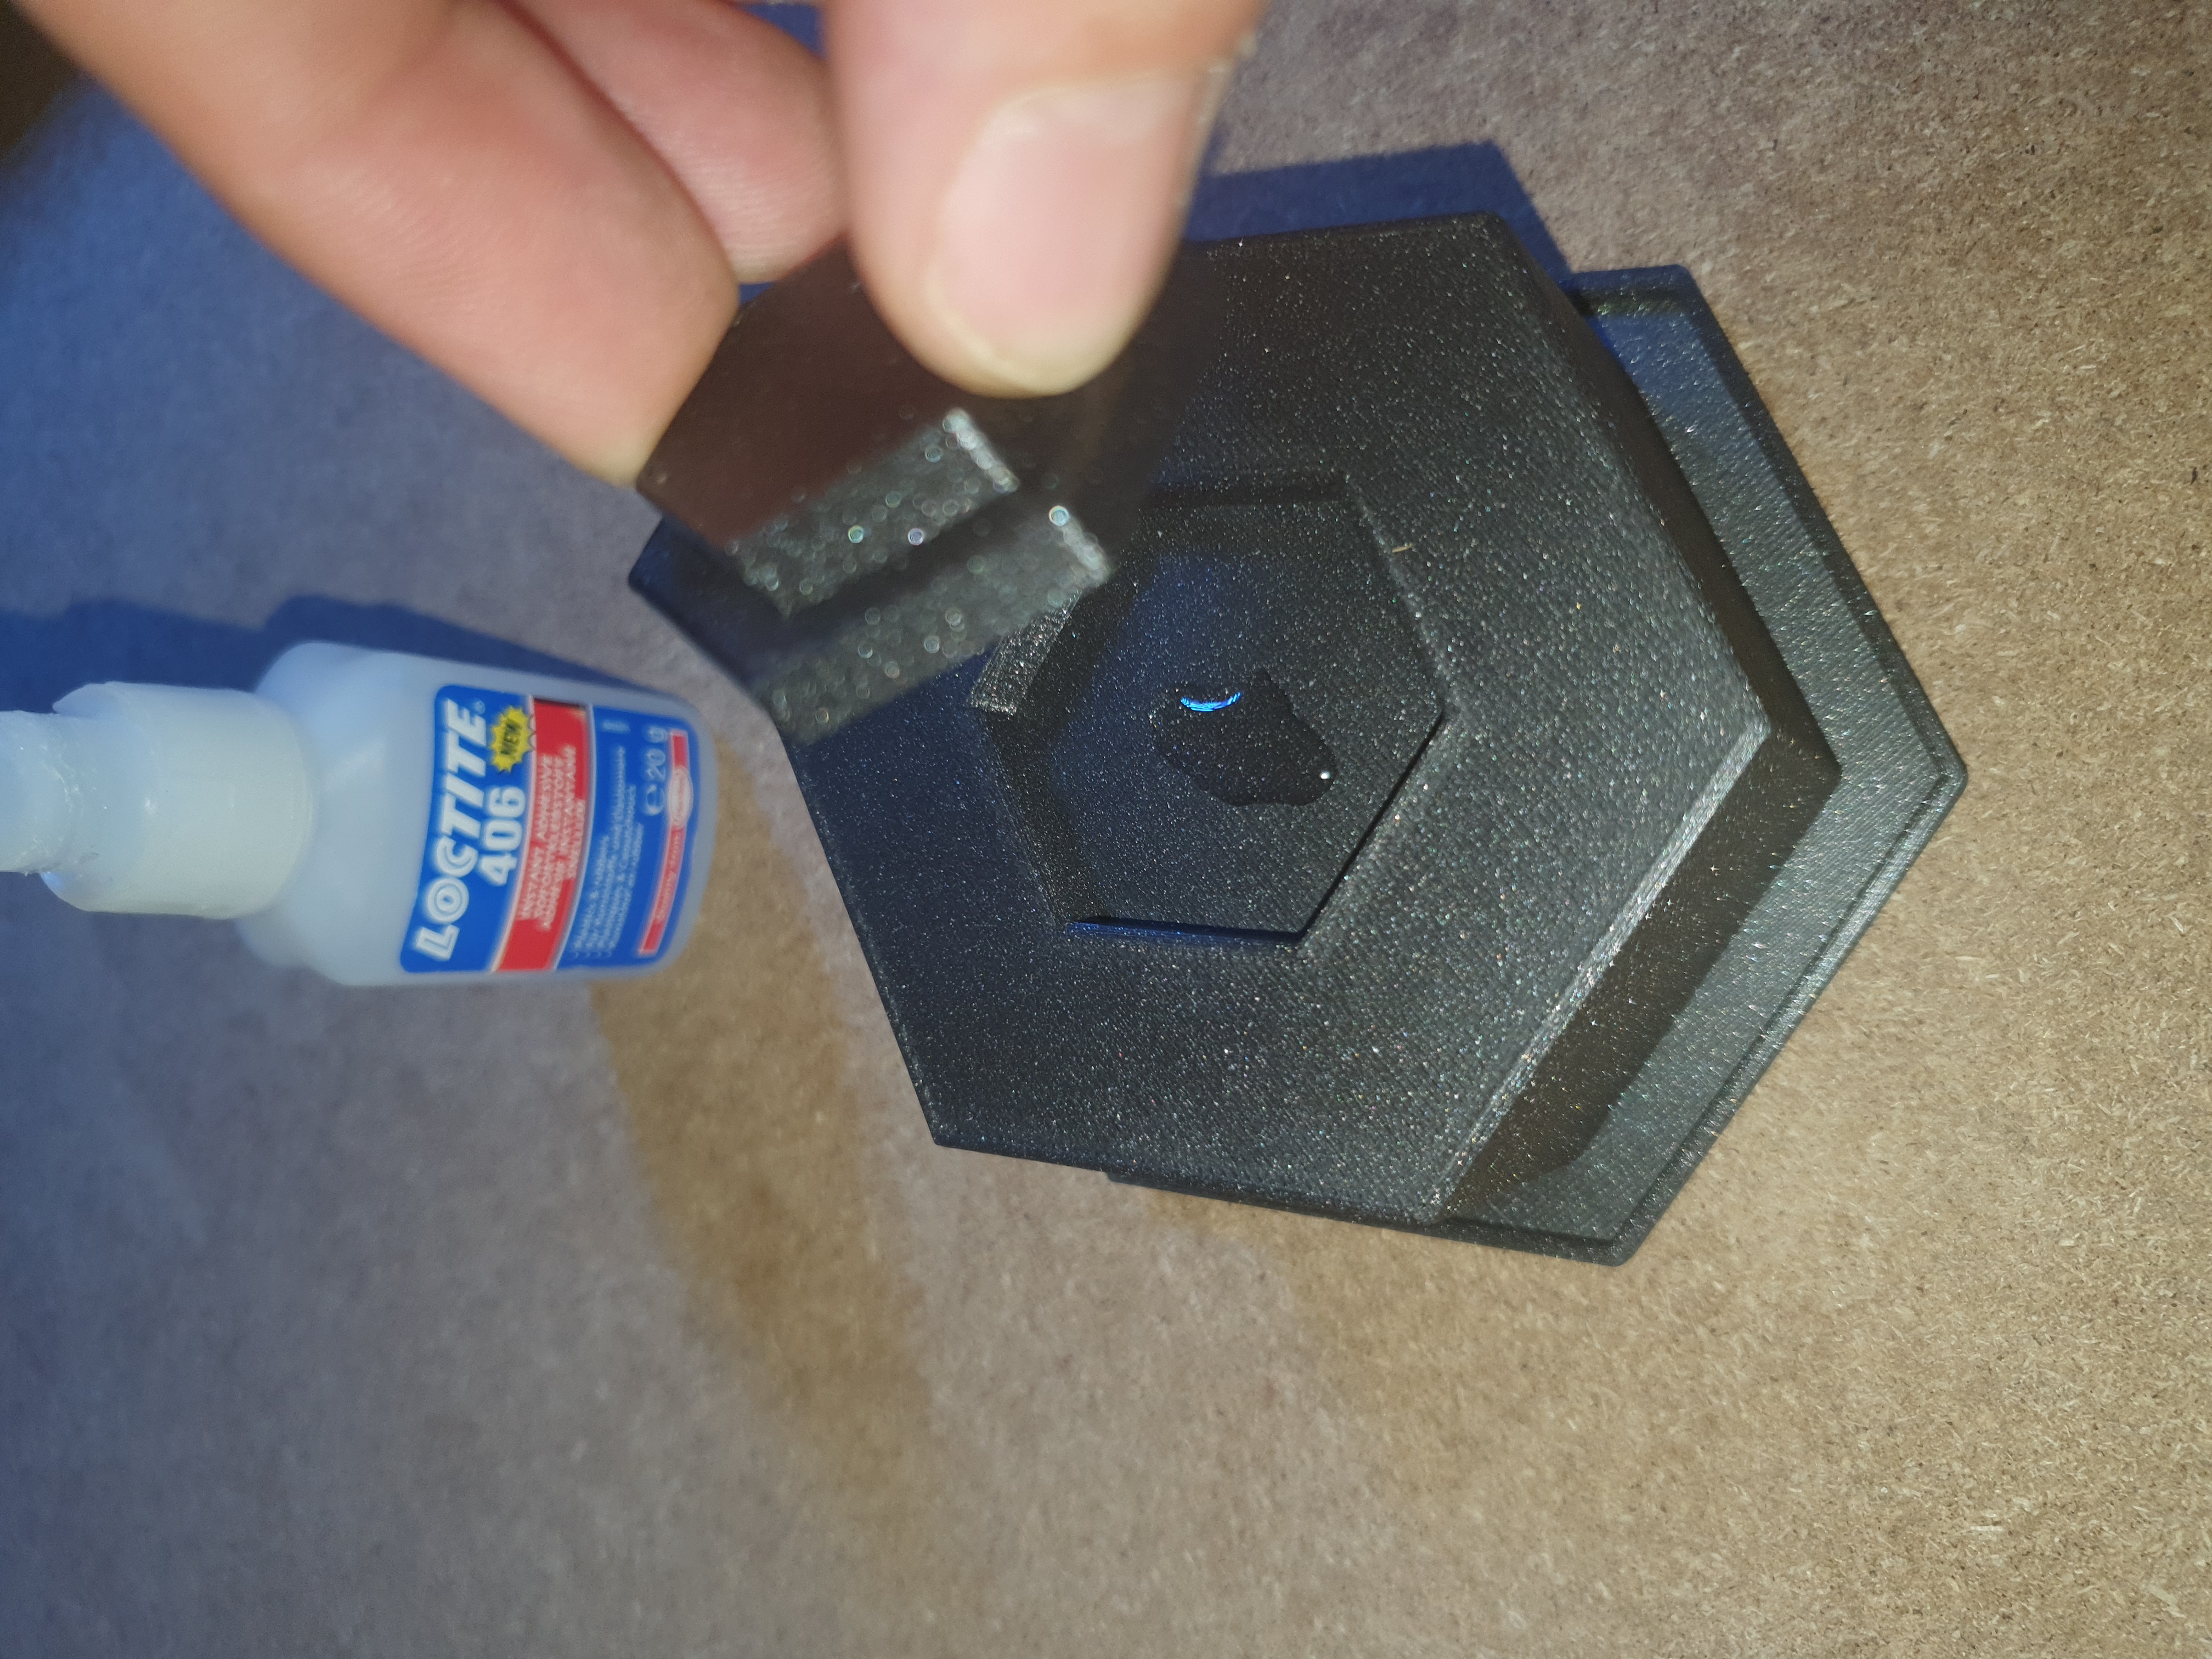
6.) Add glue to the Base and put the Main-Body on.
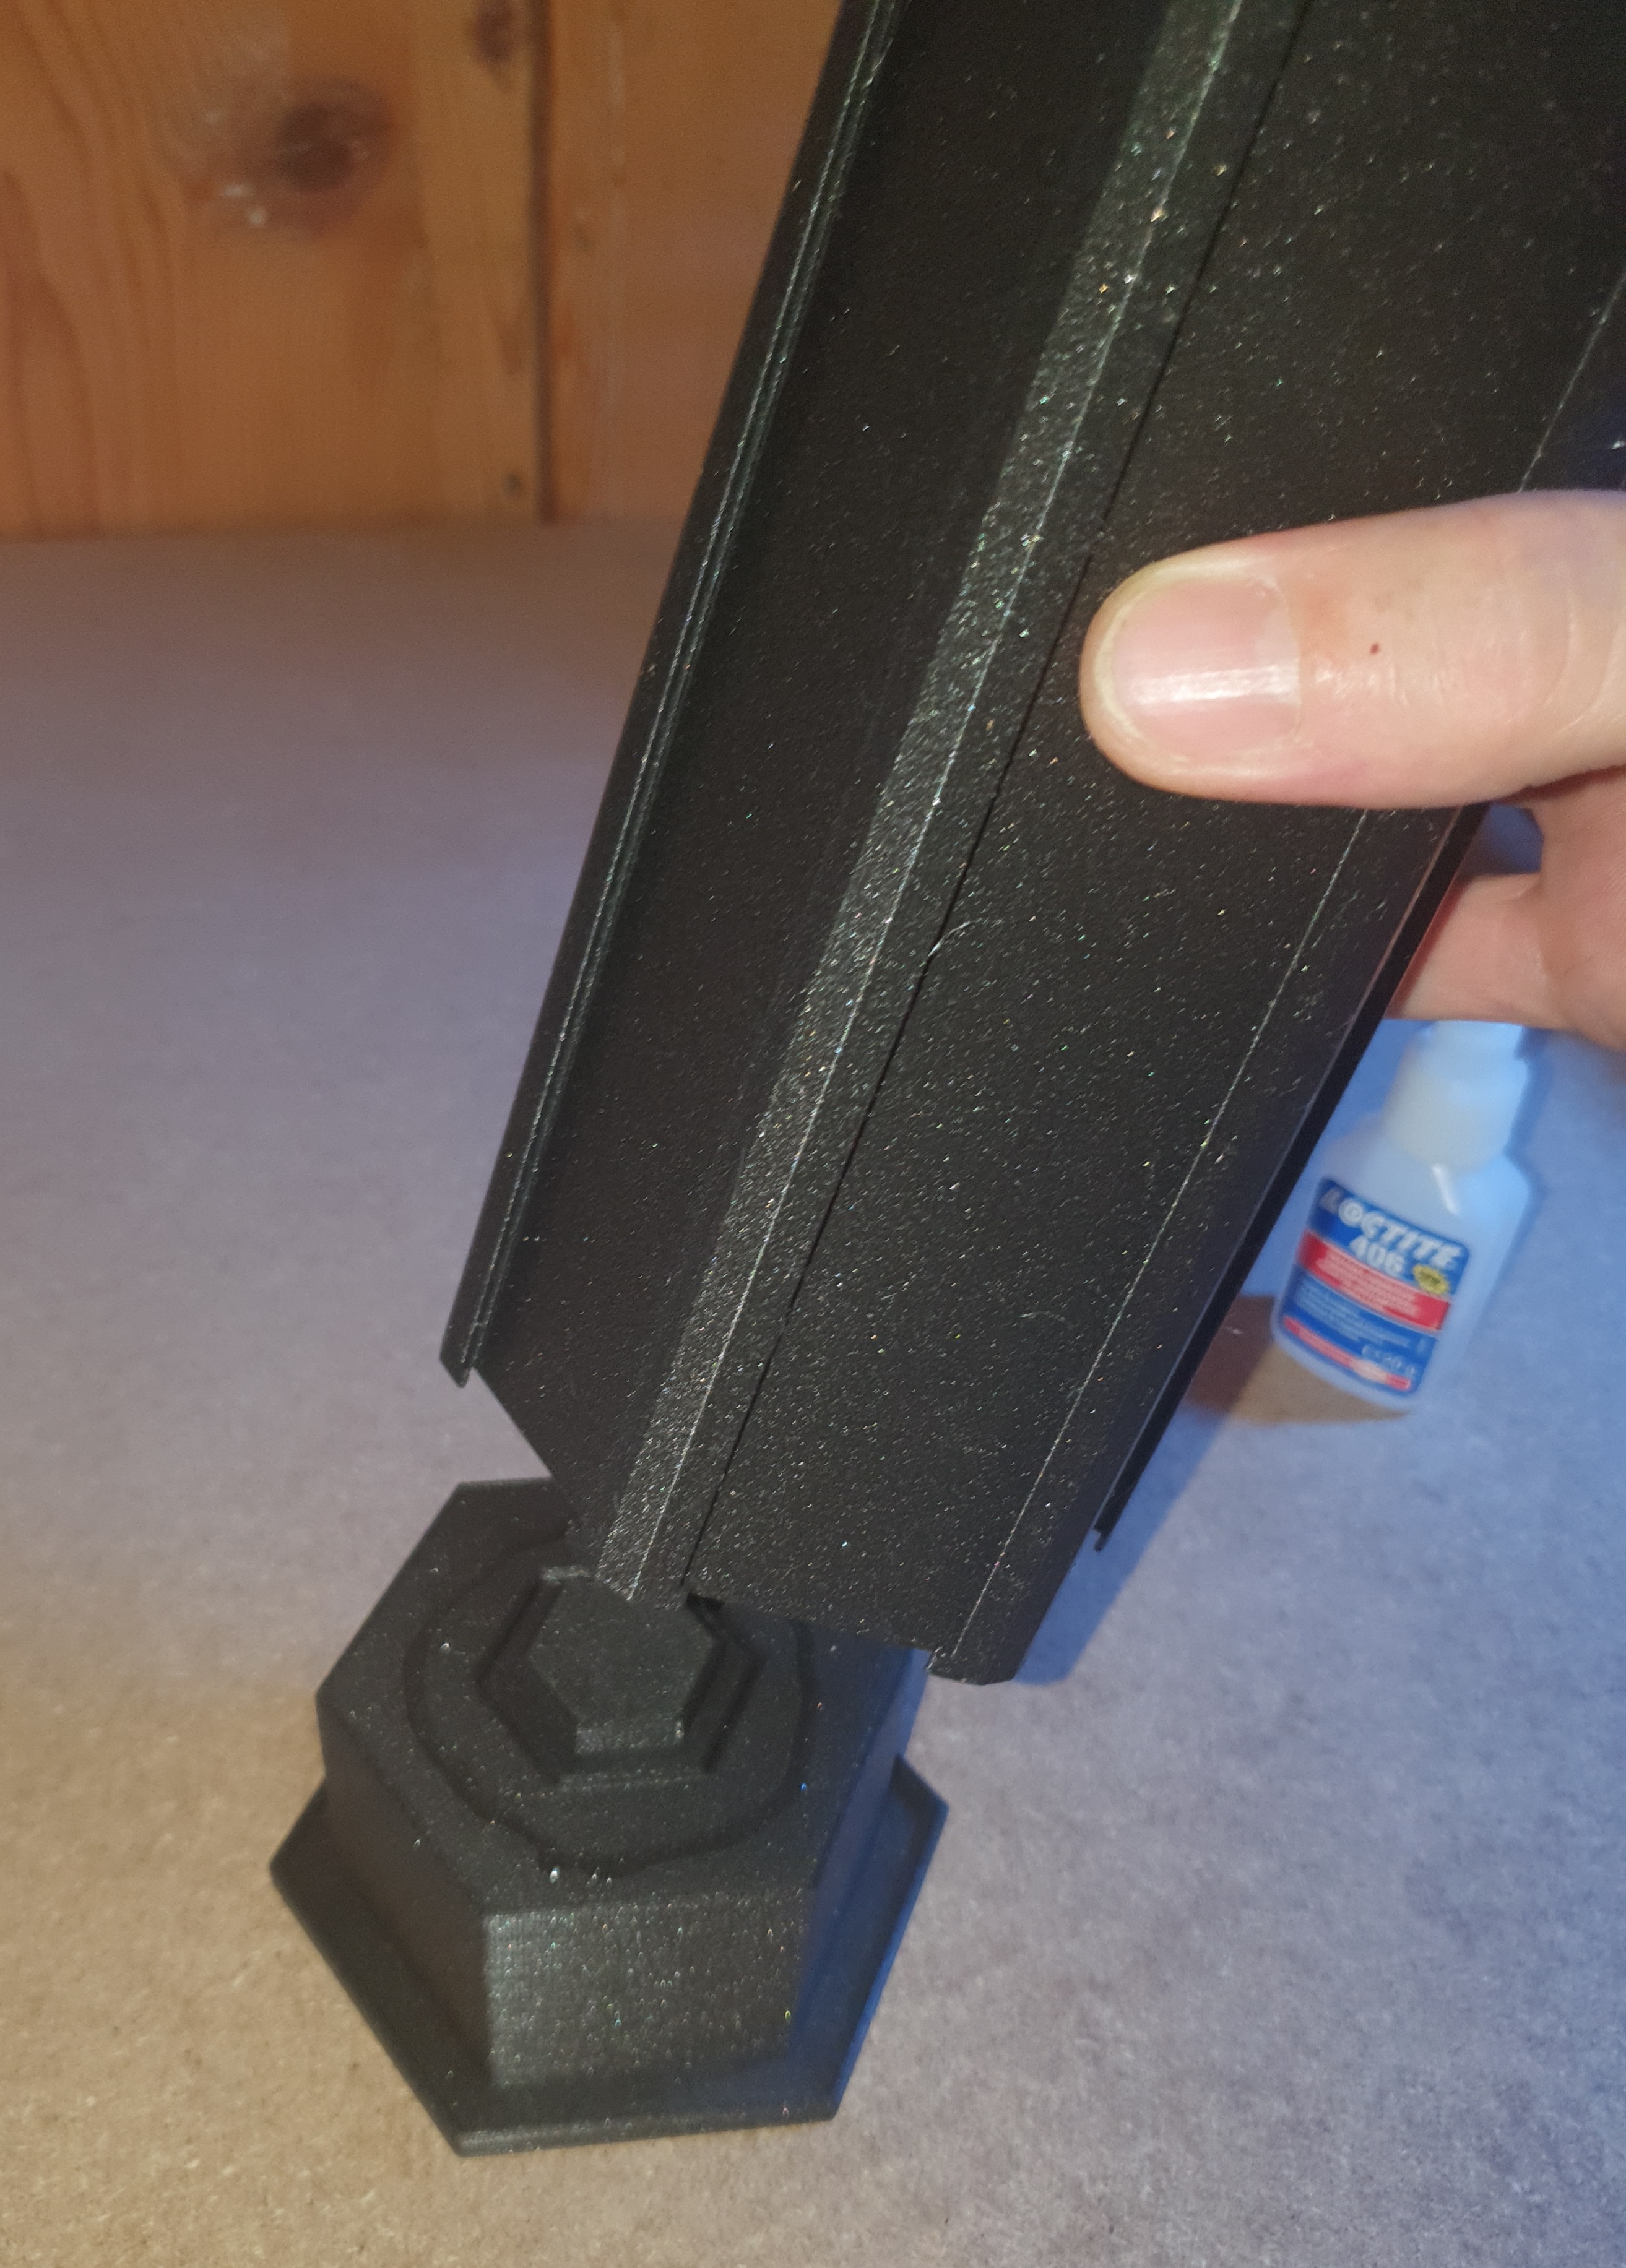
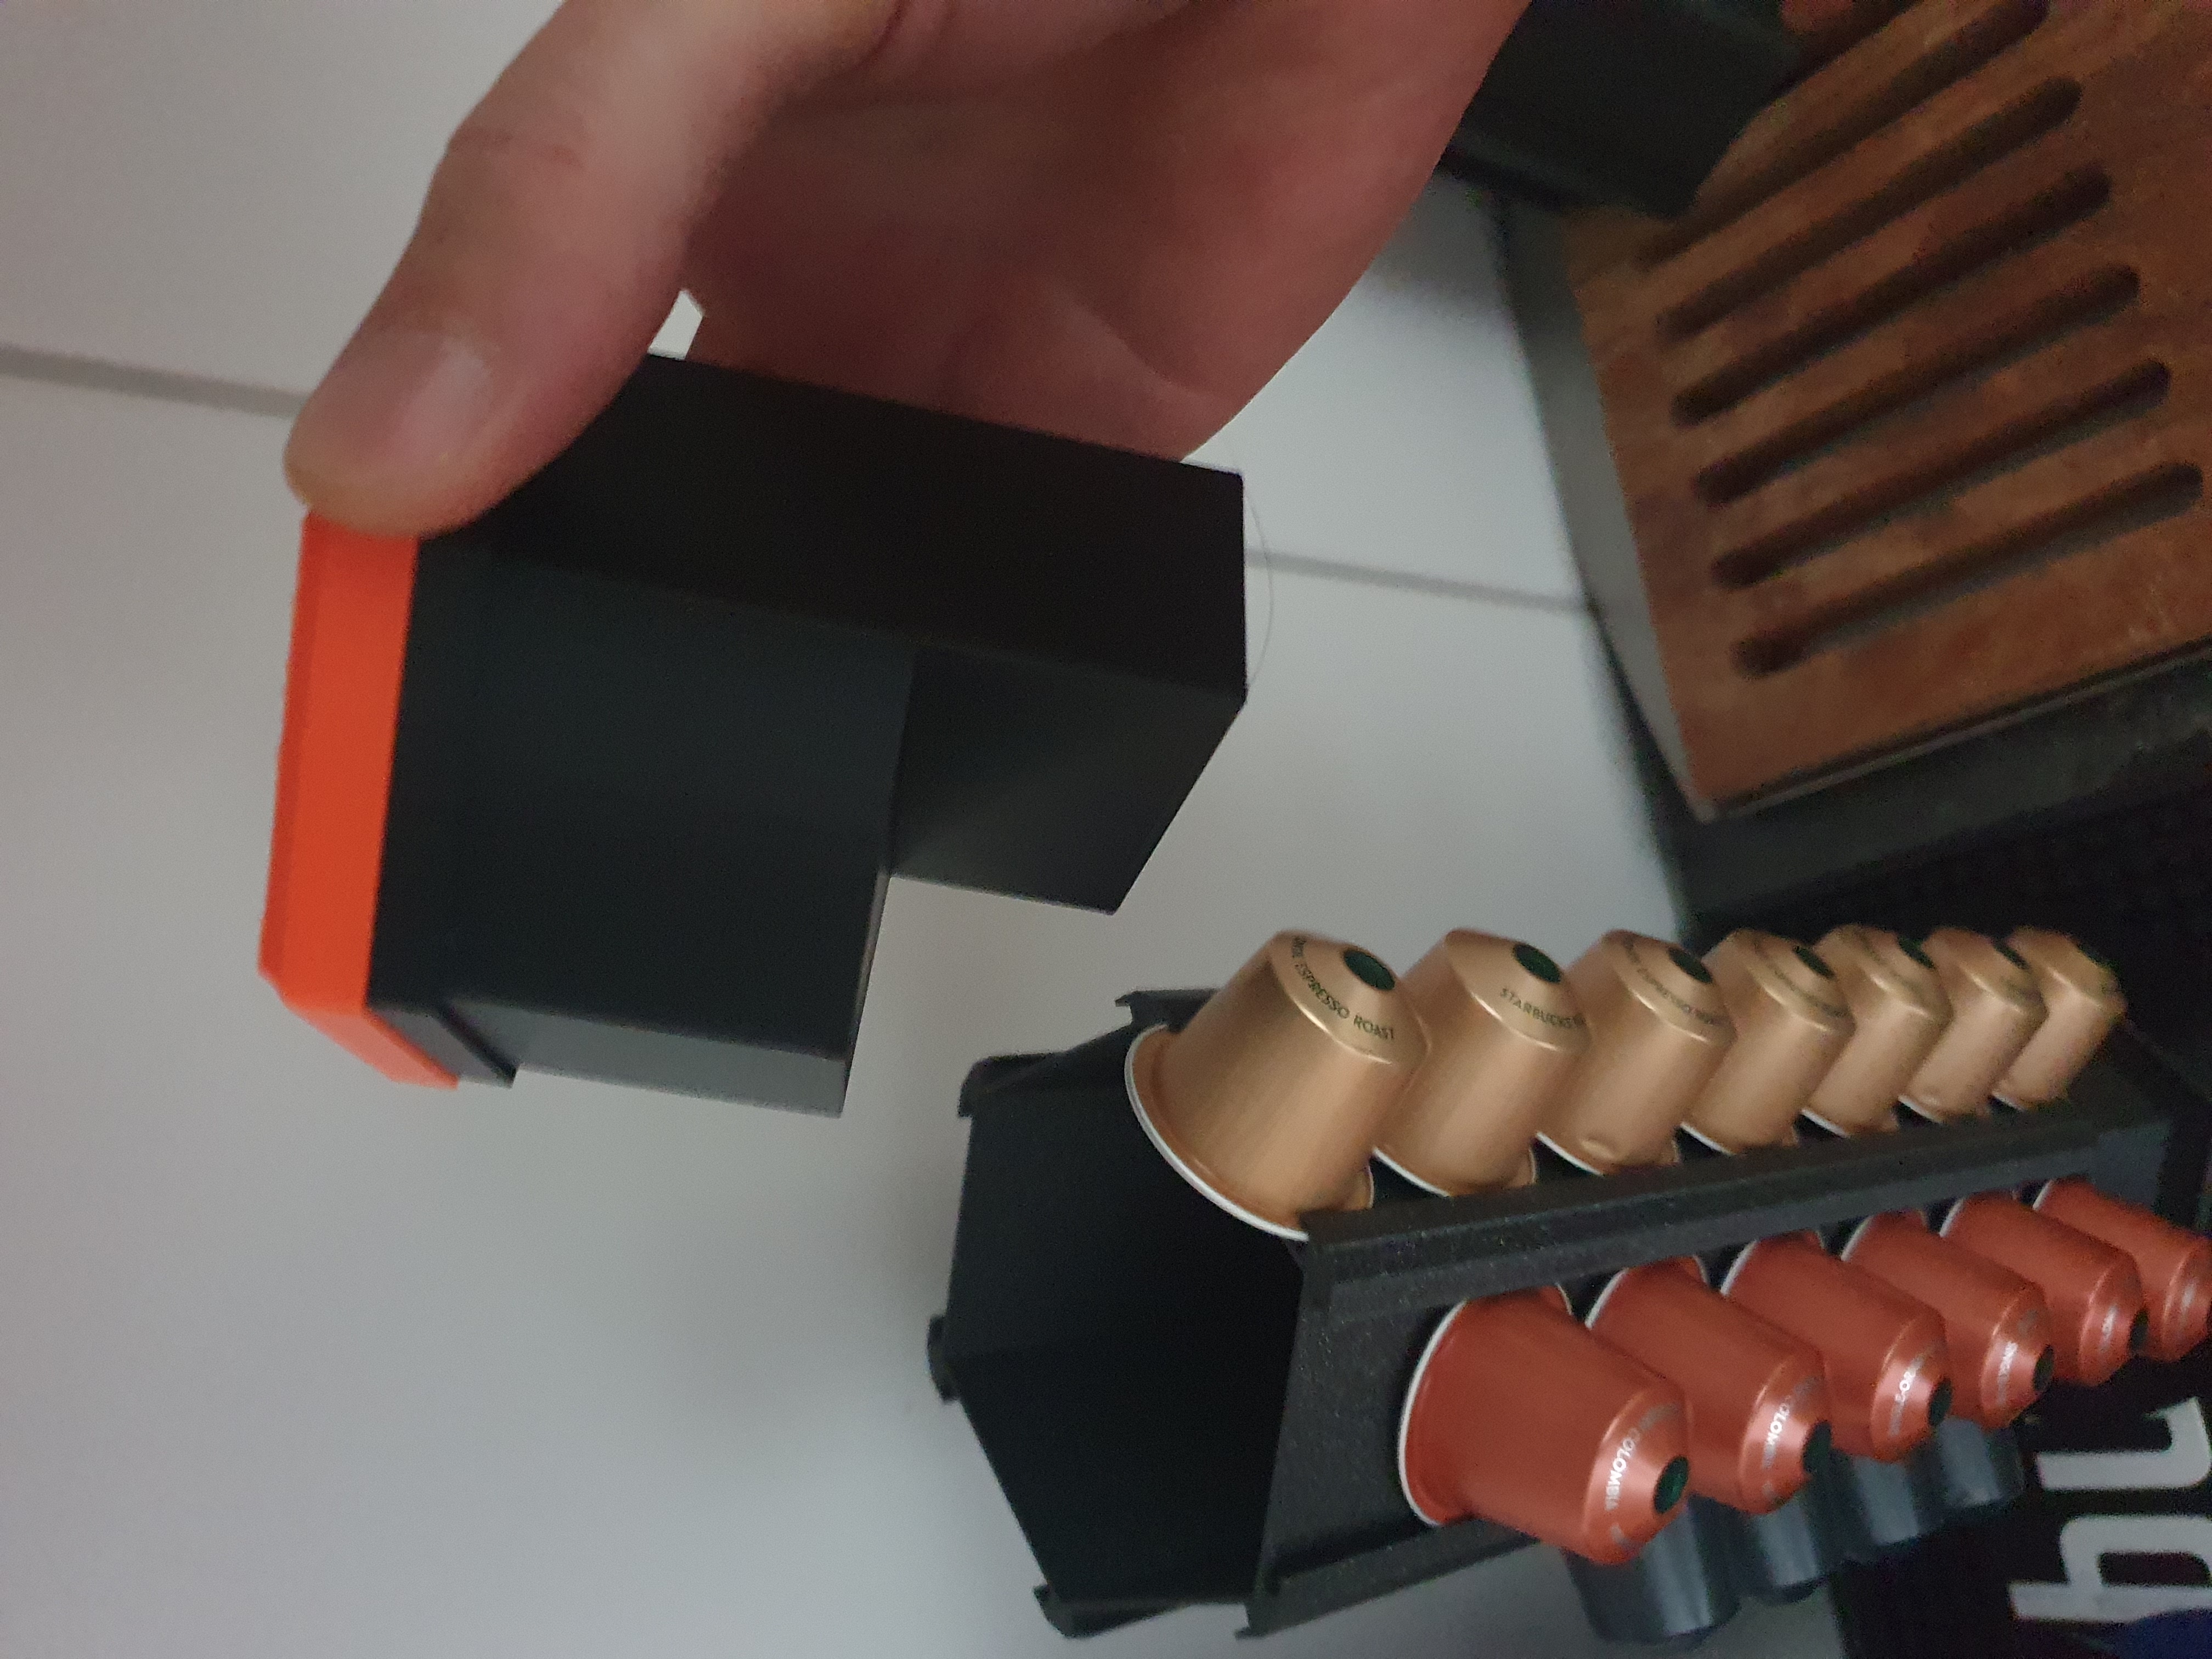
7.) For Extended Version glue now the Body-Extension to the Main-Body.
8.) Put the cover in without glueing, so it's still changeable.
9.) Last step is to glue the Tower to the Bearing. Put some glue to the flat of the connector, take care you don't use too much glue! Put on the tower and press down gently a few seconds, to ensure it's glued really flat together.
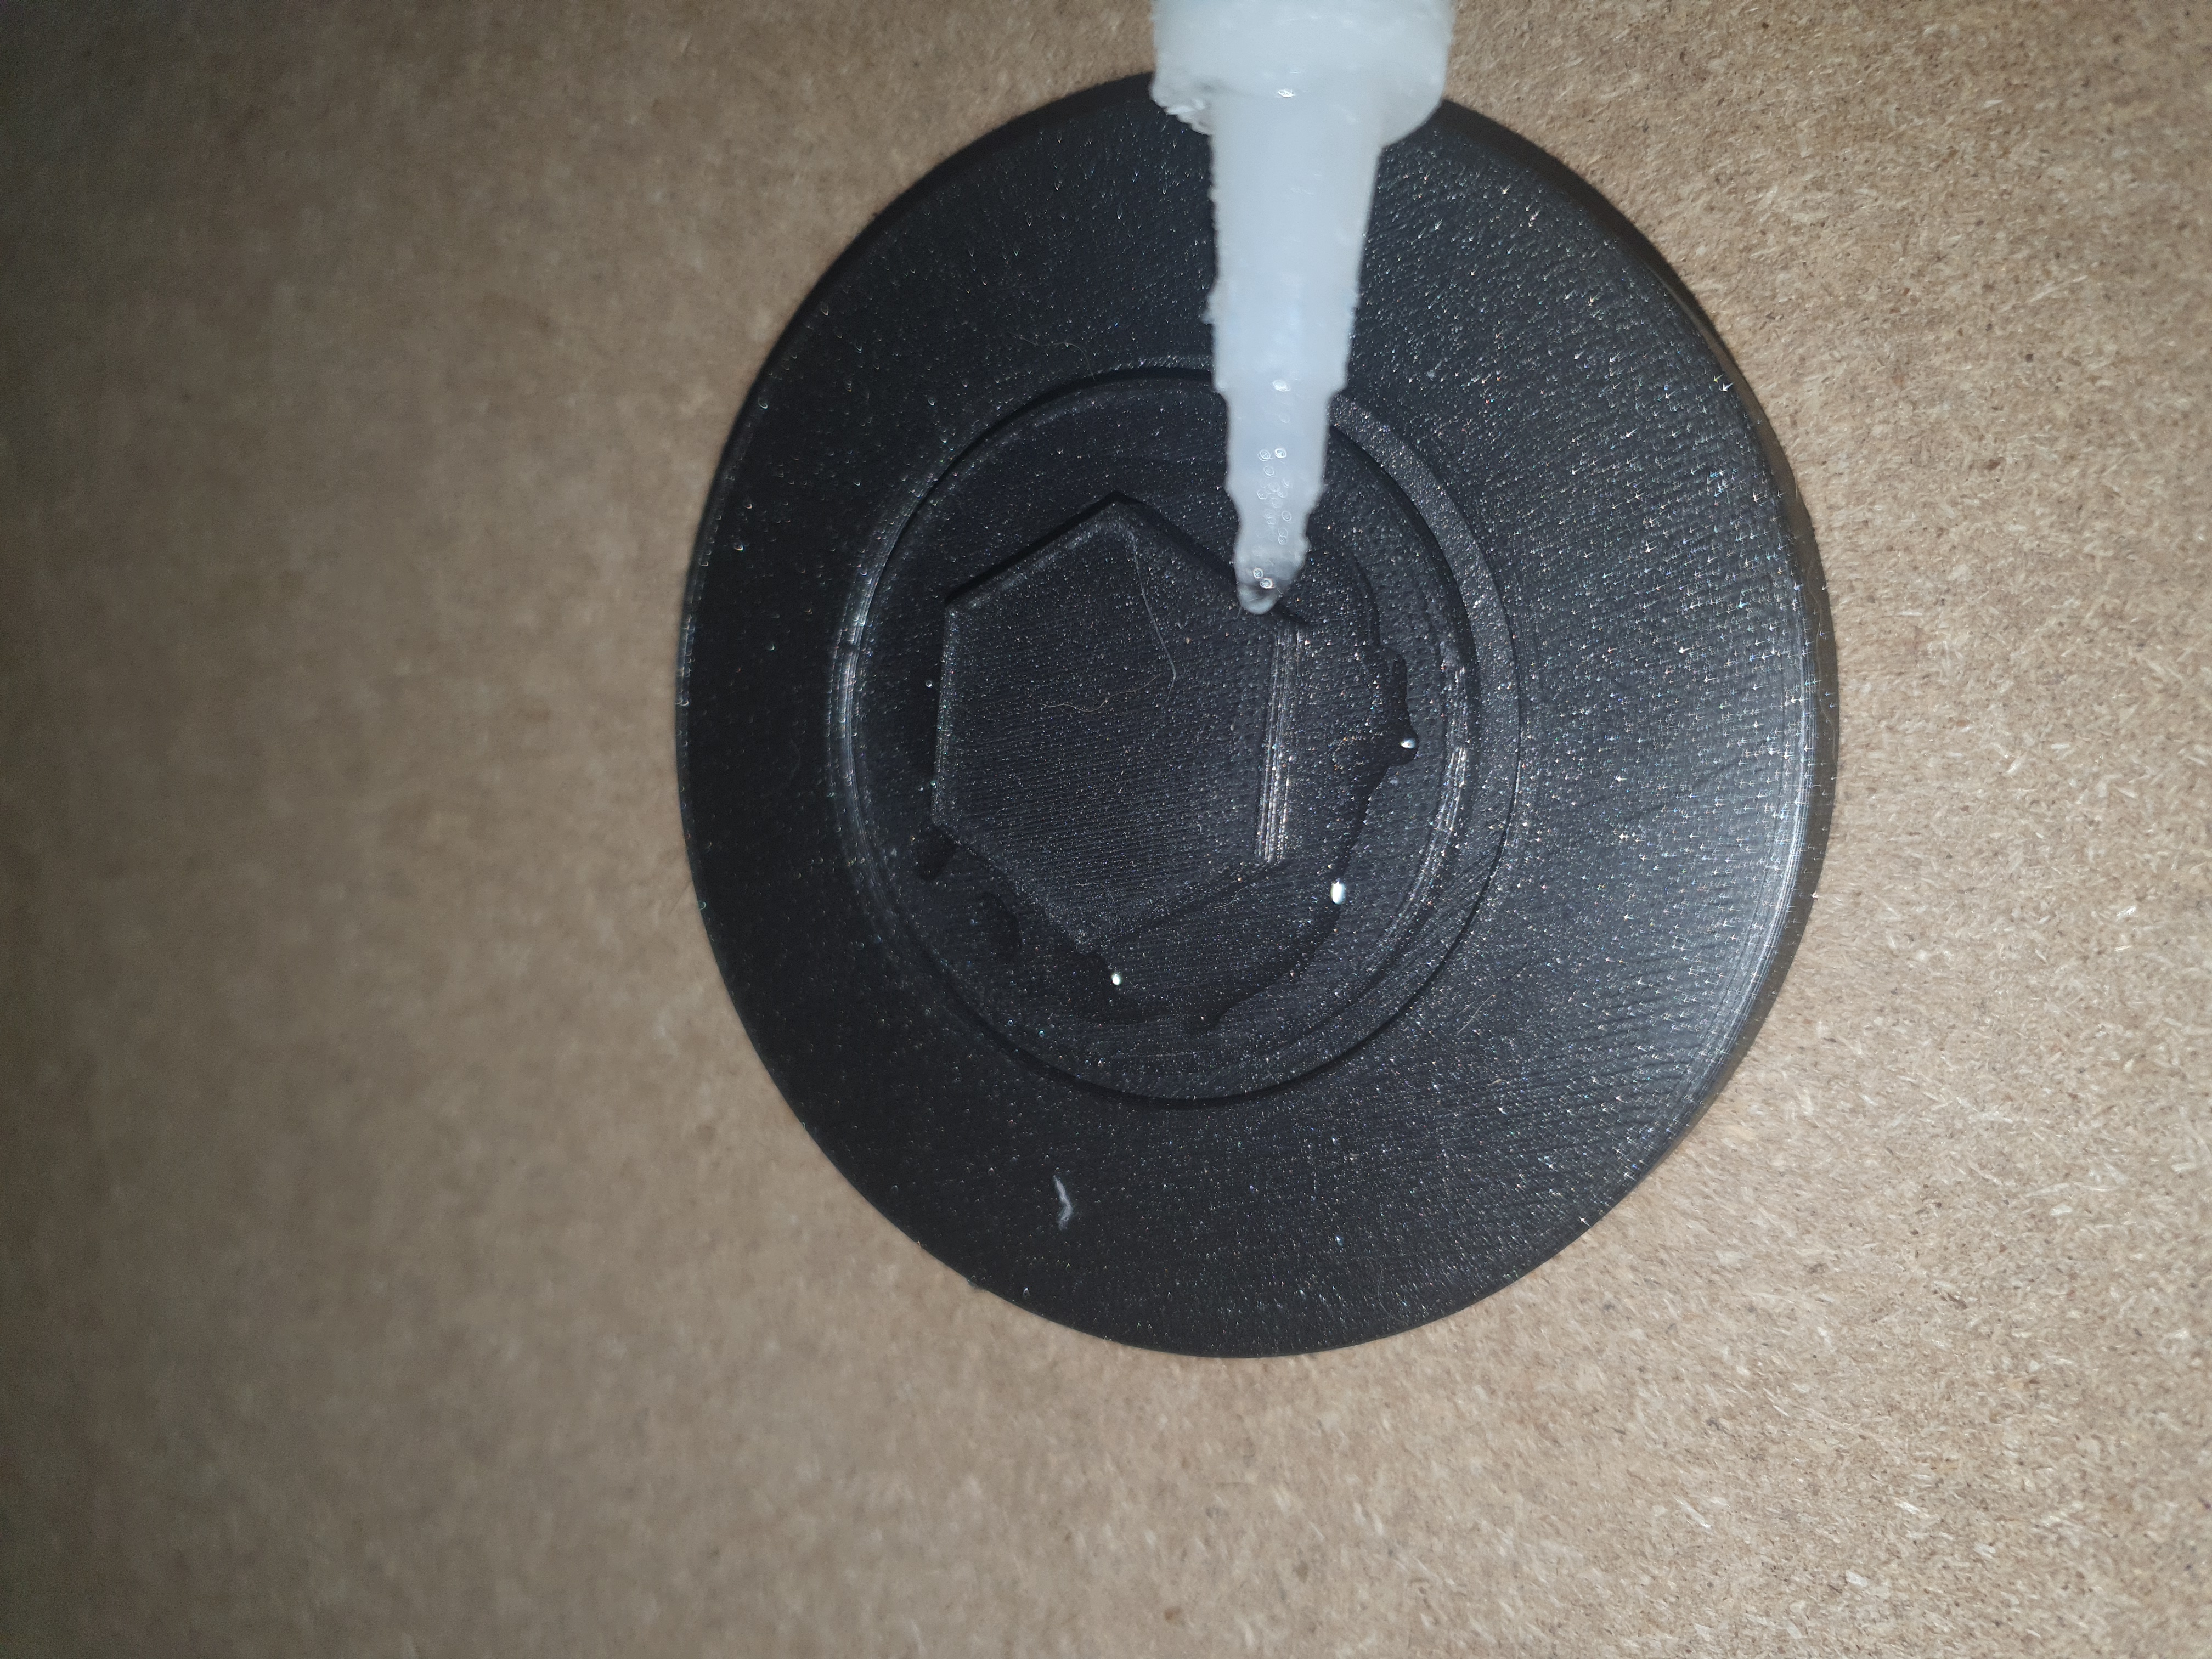
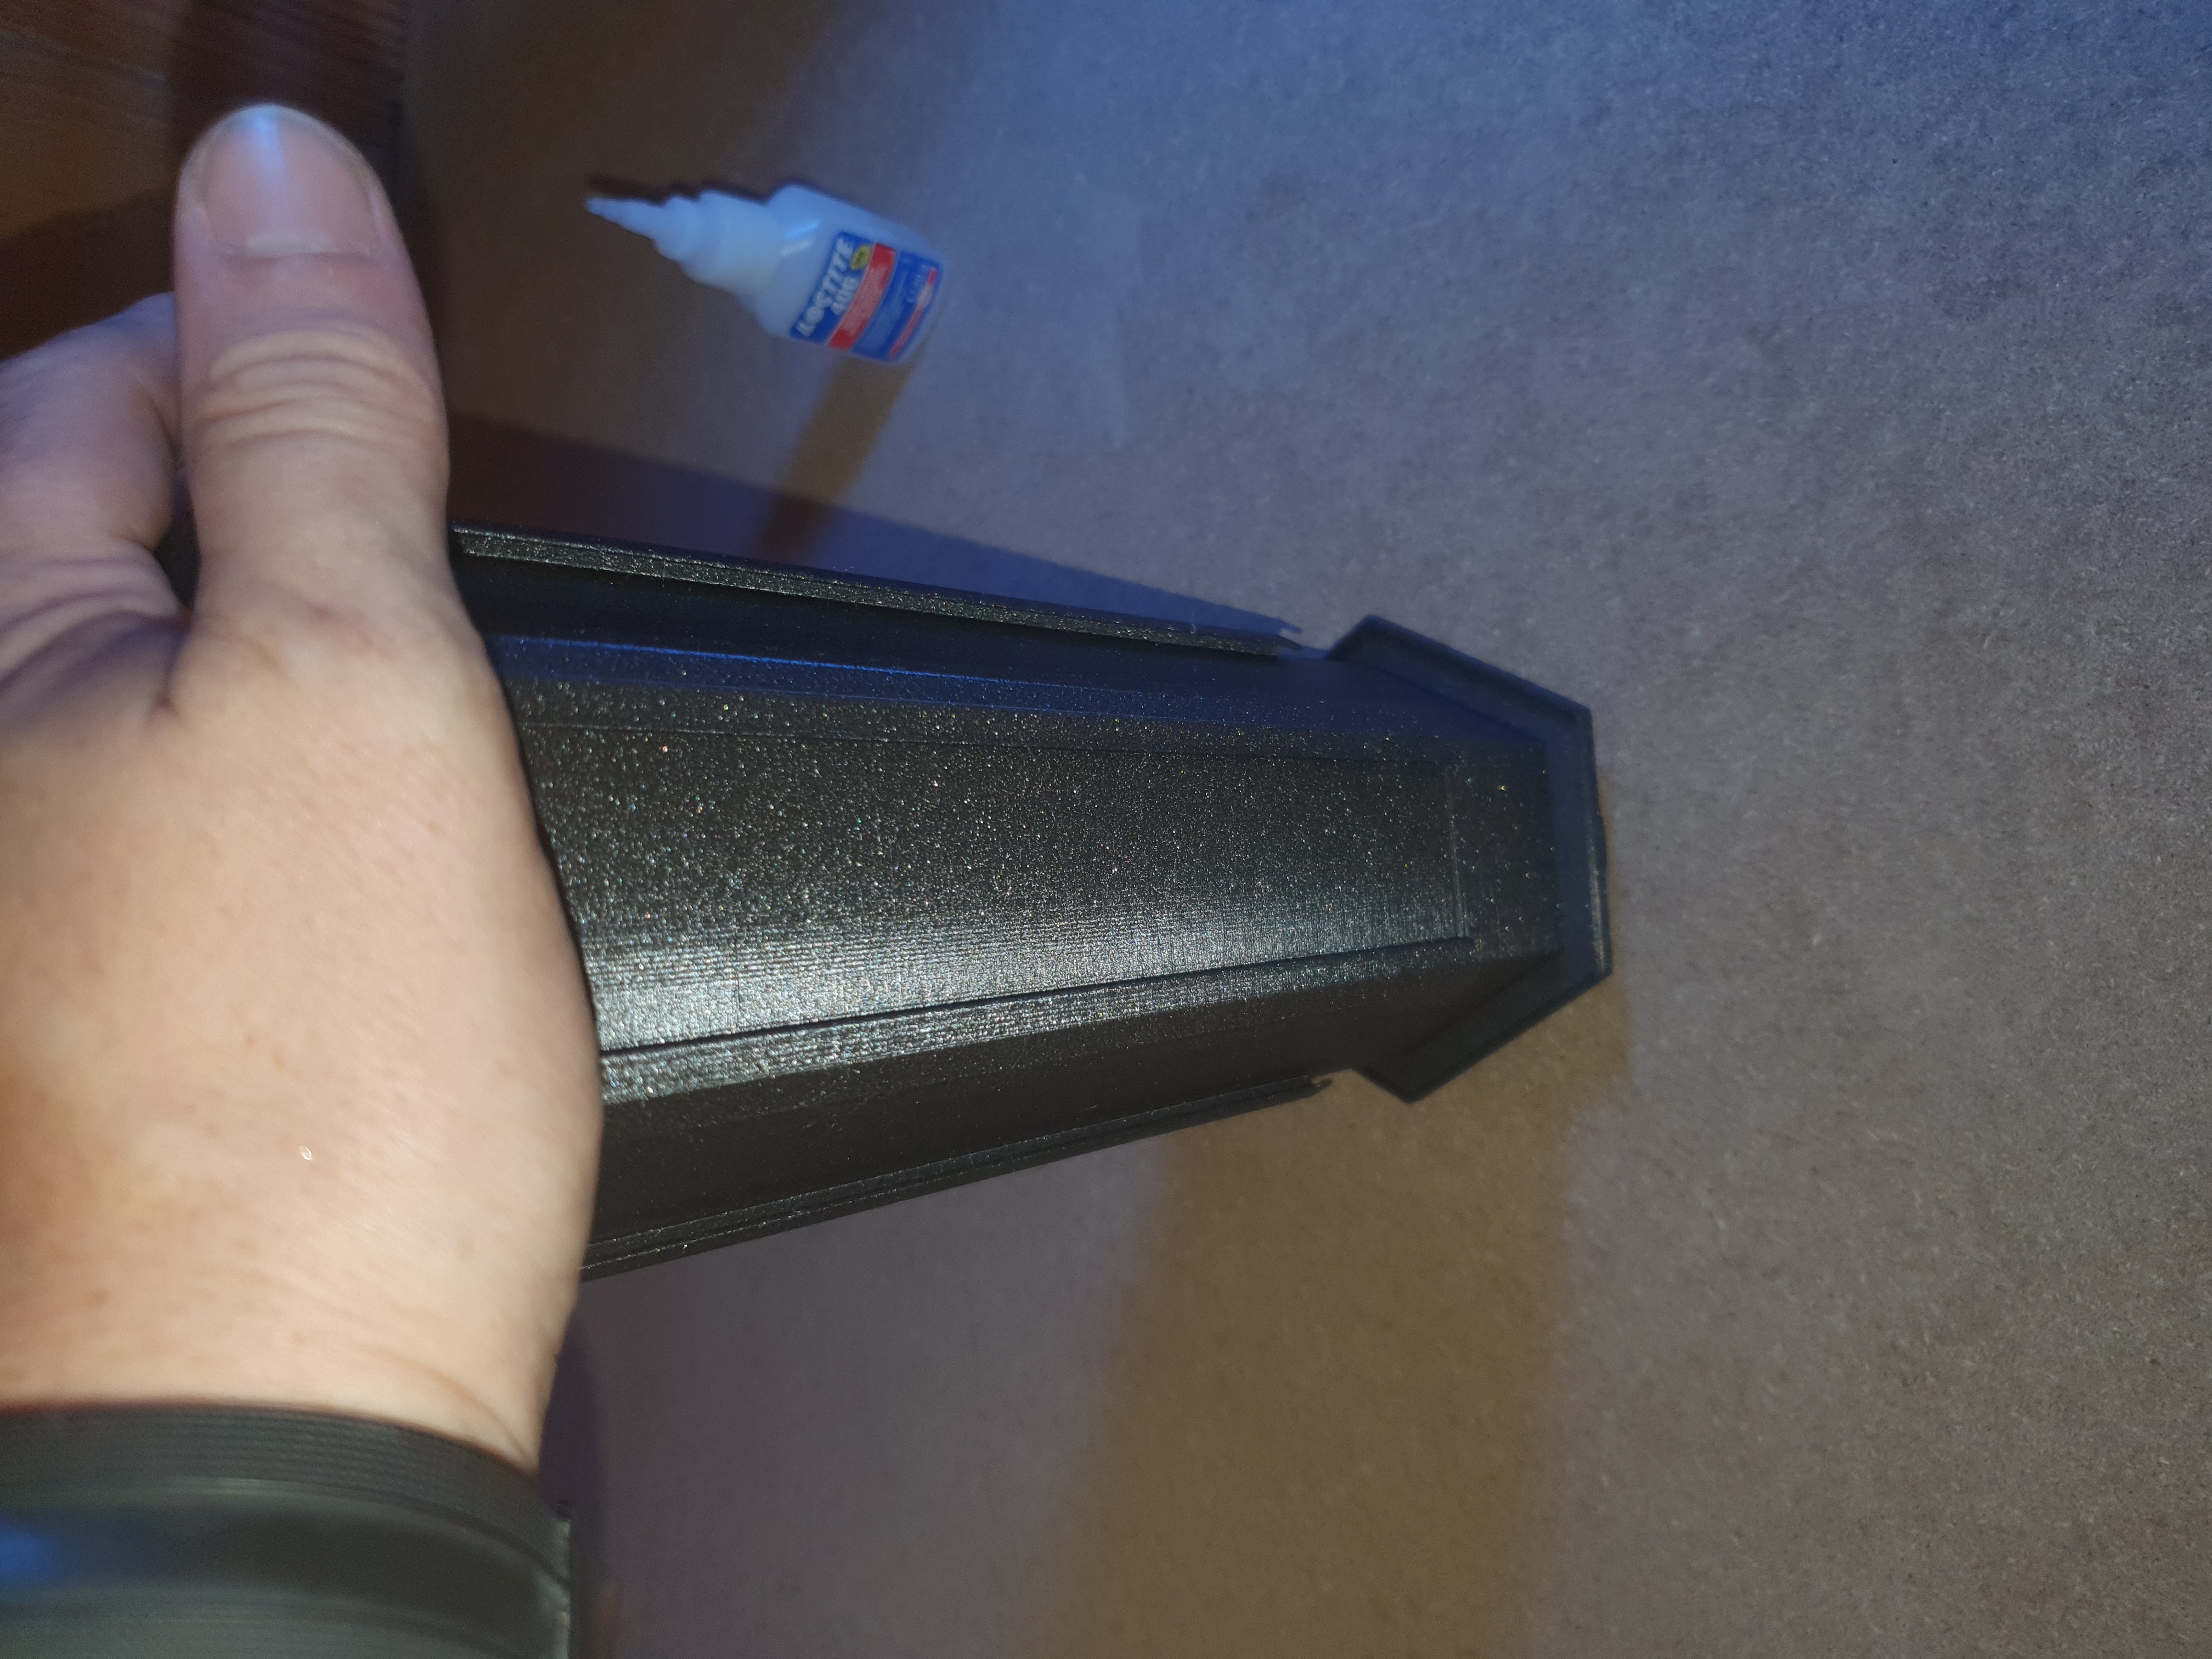
Put the tower in the socket and you're ready to go!
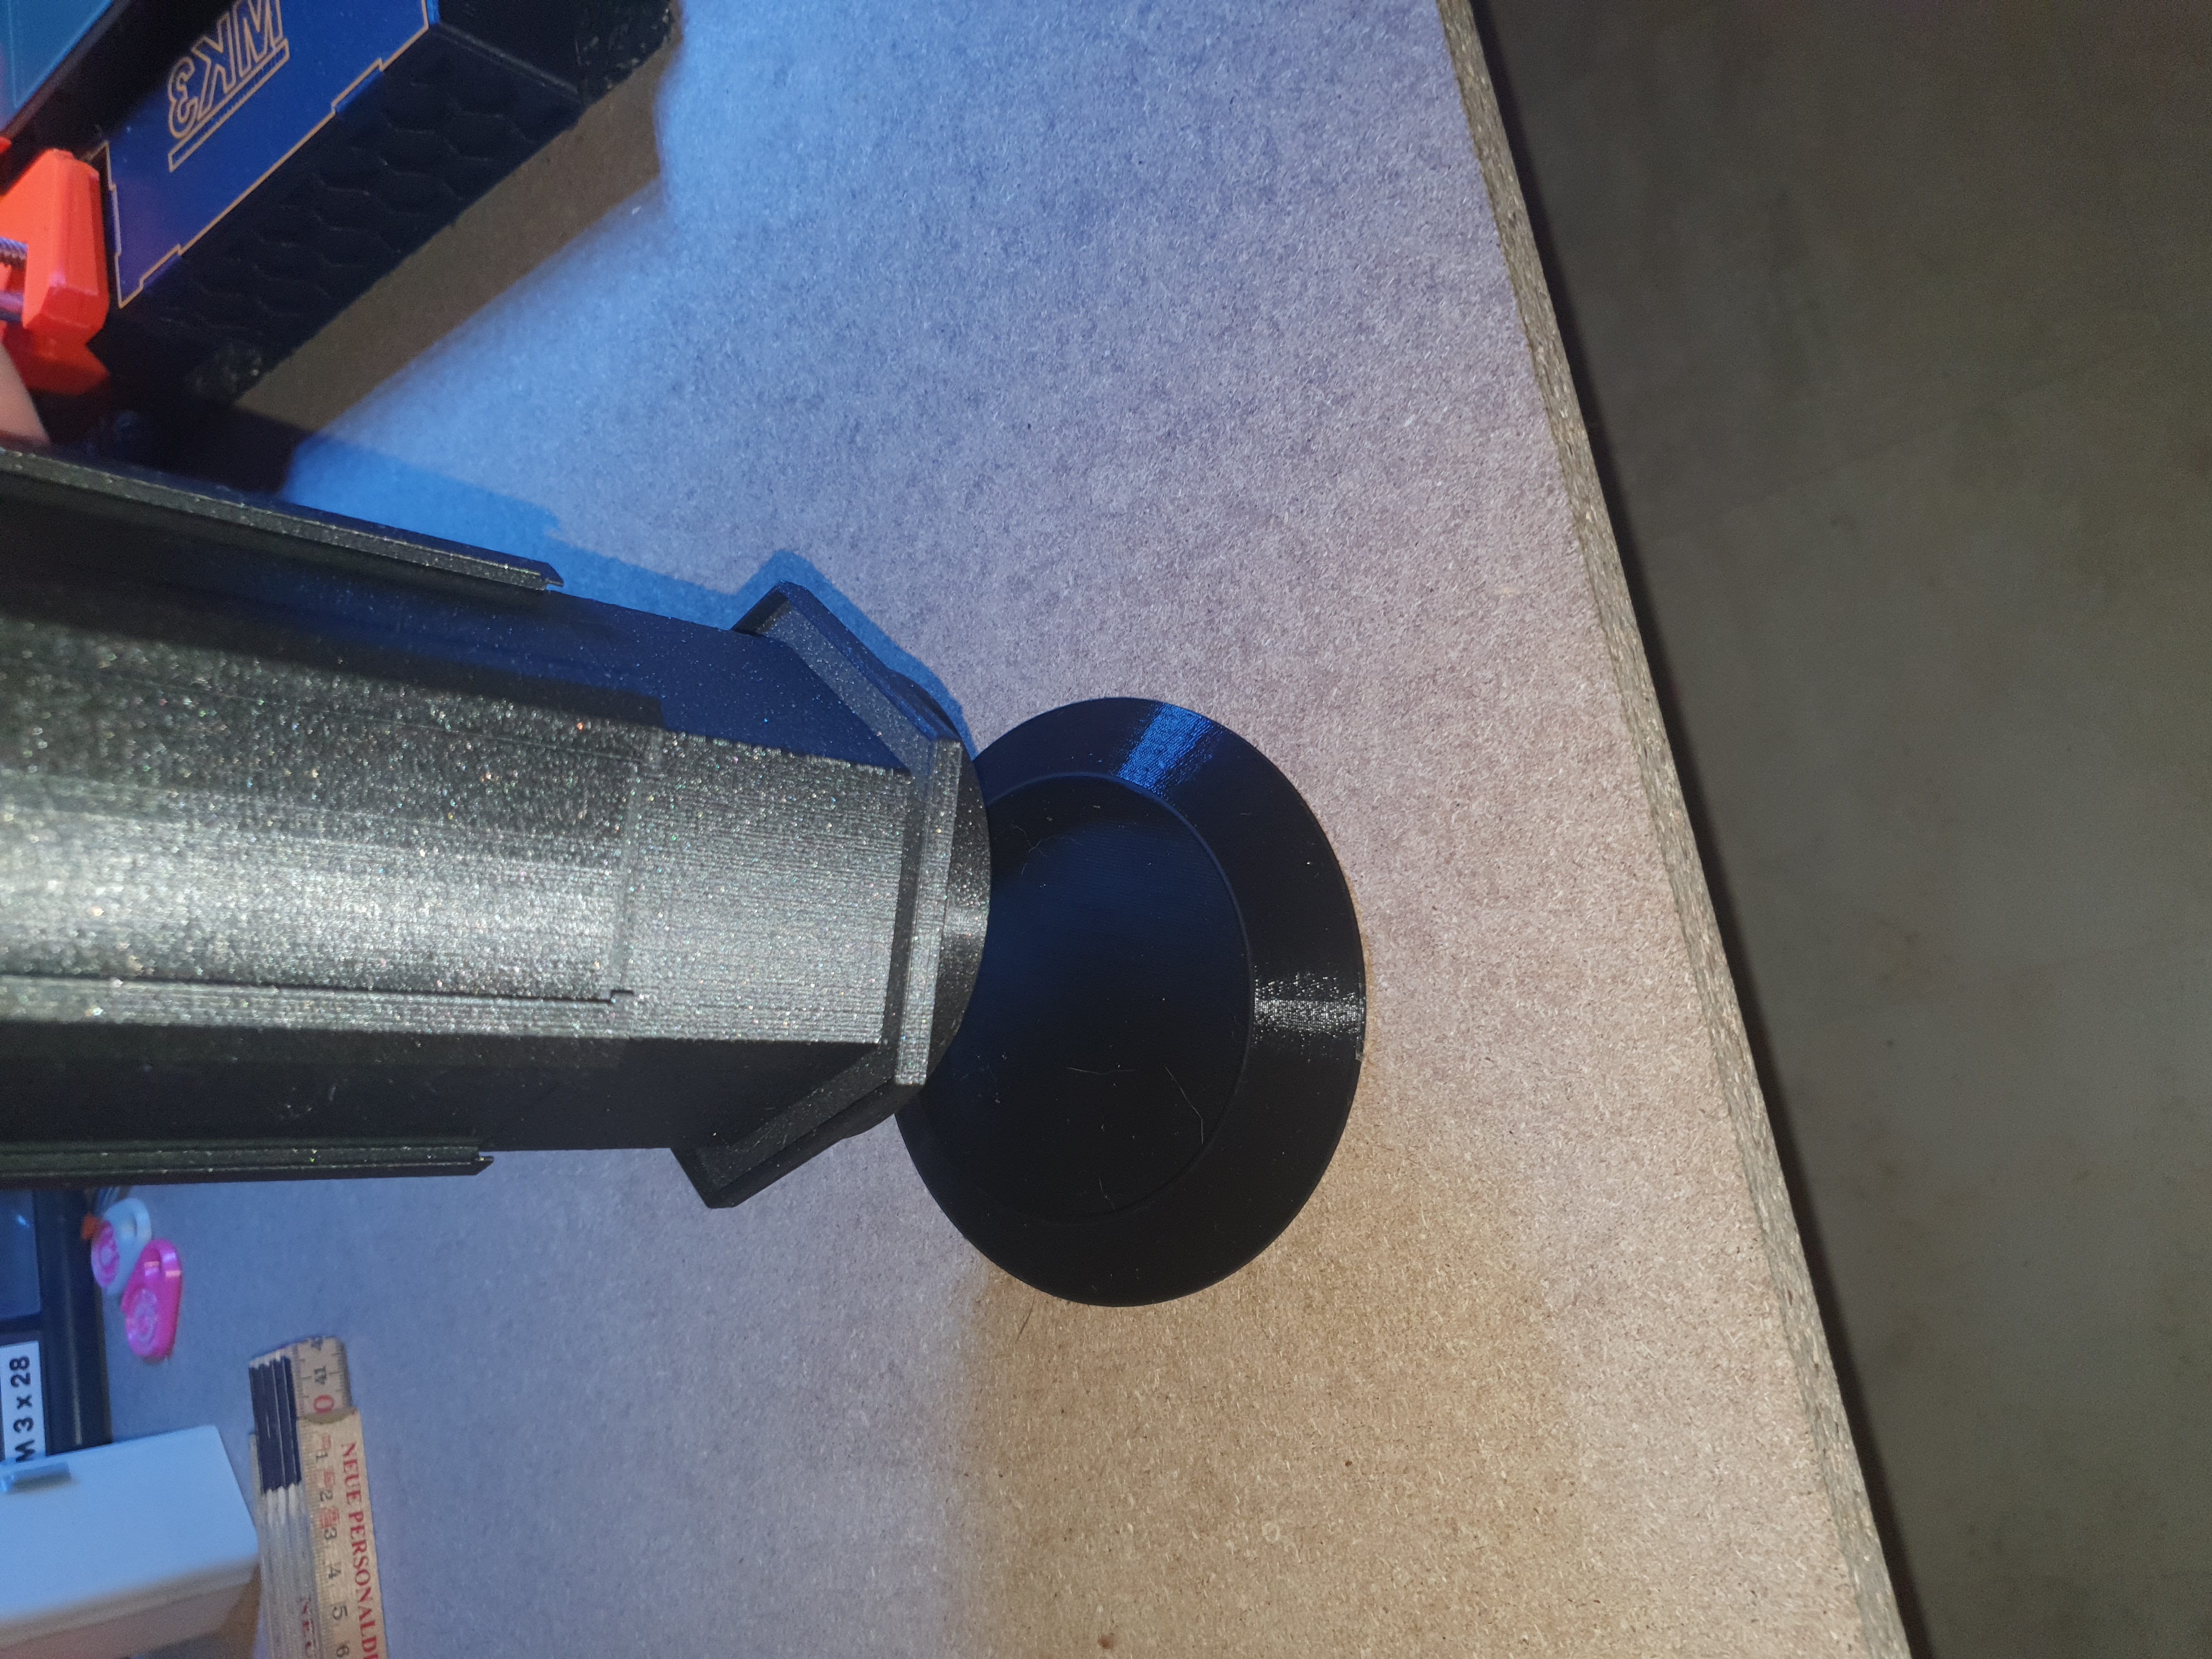
Happy printing and enjoy your coffee!☕