
Electric Turbo Fan Model with Functional Reverse Thrusting
Obliczymy ostateczną cenę na podstawie wybranego pliku. Sprawdzisz ją i zaakceptujesz przed płatnością.
Zapisane na tym urządzeniu.

3D Print the most popular Electric Turbo Fan Model with Functional Reverse Thrusting!
- Ocena
- 5 / 5
- Polubienia
- 951
- Wydruki
- 4
- Wyświetlenia
- 34 062
- Oceny
- 6
Aktualizacja u źródła:
Informacje o modelu
- Źródło
- Printables
- Kategoria
- Engineering
- Licencja
- Standard Digital File License
Print your own Electric Turbo Fan Model with Functional Reverse Thrusting!
Utilising a brushless motor for the 130mm bypass fan and a MG996R Servo to operate the reverse thrust function. Controlled by an Arduino NANO.
Ideal for educational purposes in Aviation Engineering, resembling a commercial Rolls Royce Trent 1000 Turbo Fan.
How does it work?
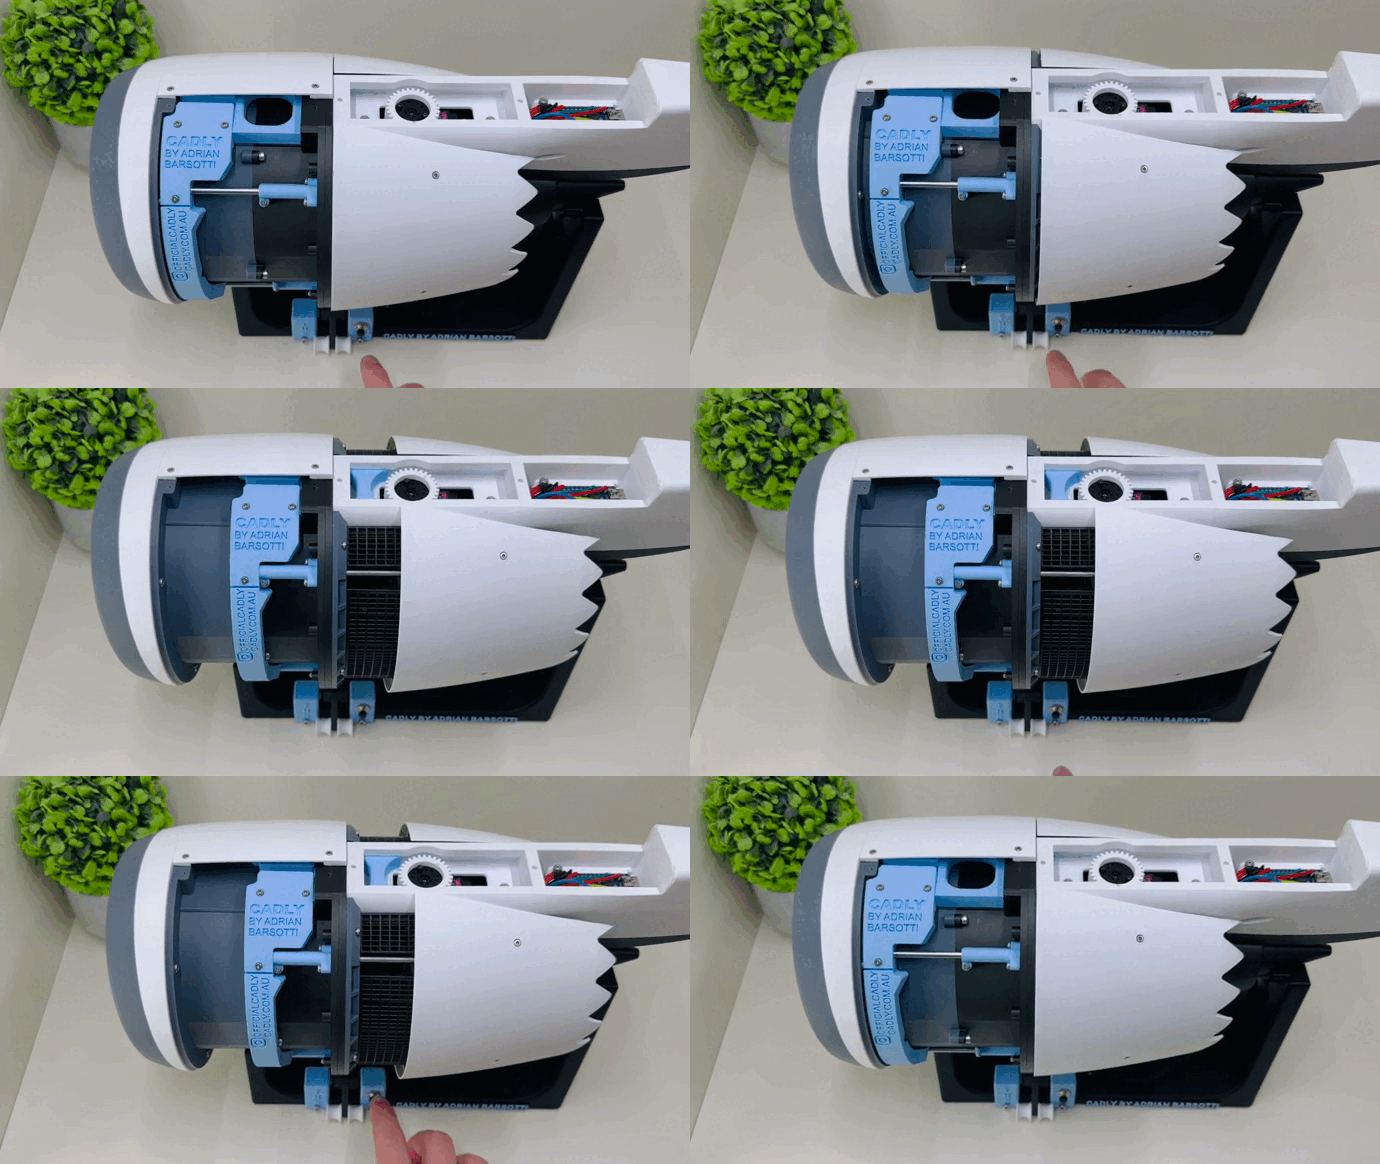
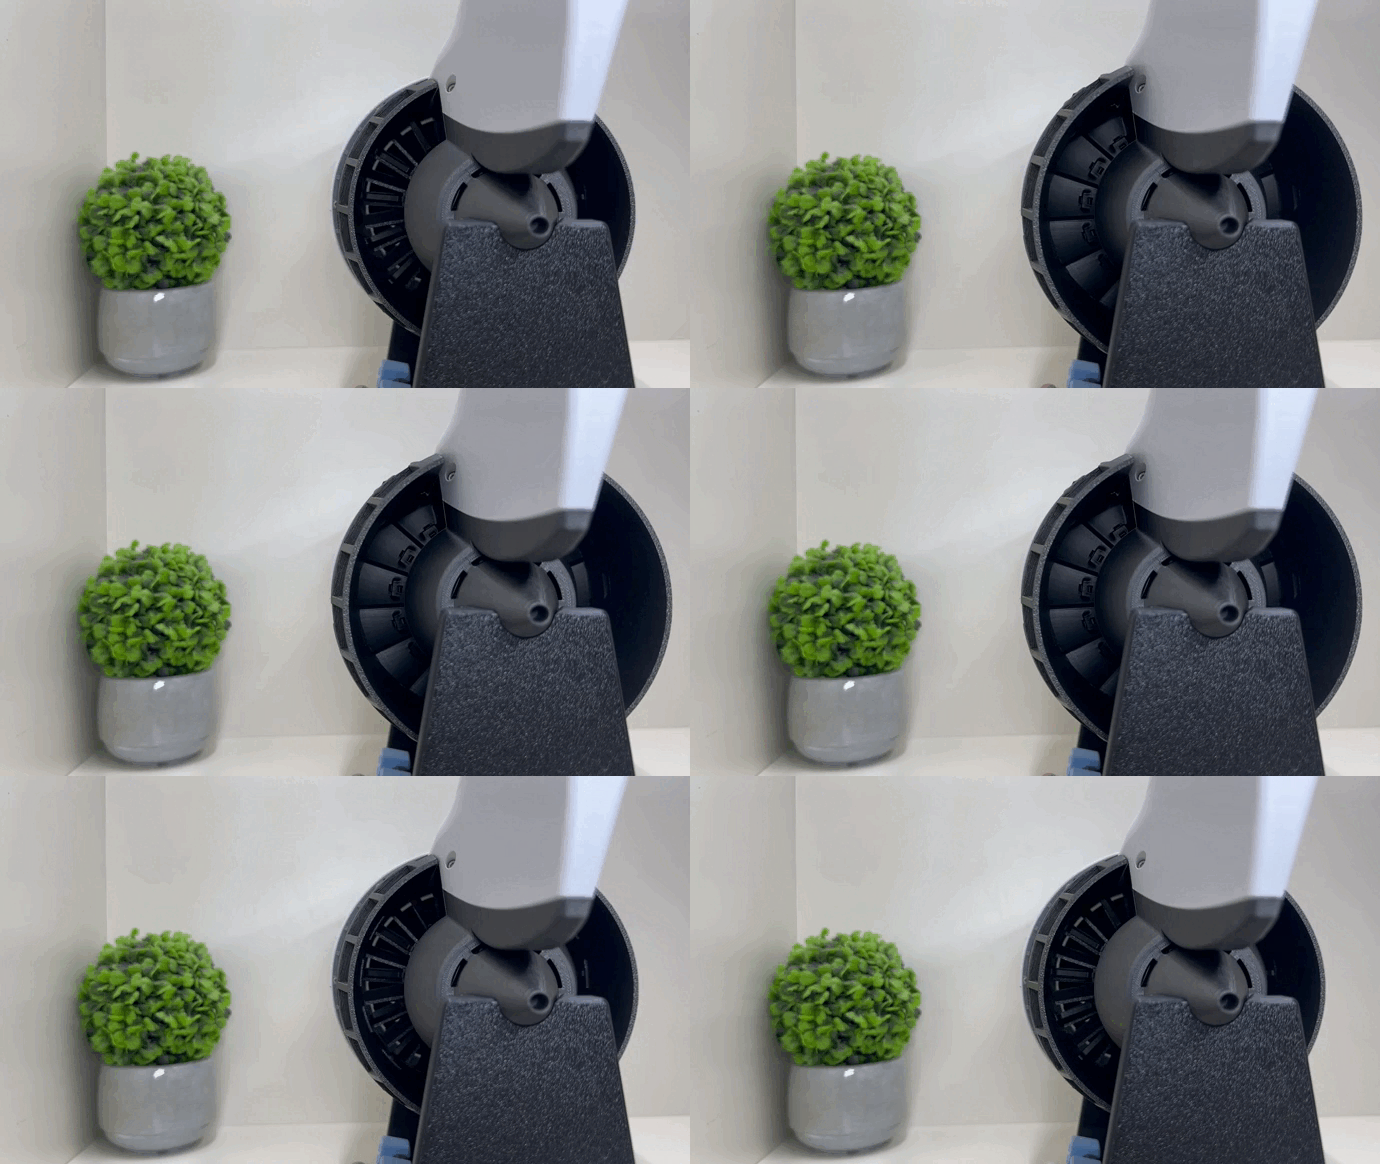
Using a MG996R Servo, the Reverse Thrust Actuator is functional by opening and closing the internal blocker doors redirecting the thrust in the opposite direction!
What's Included when Purchased:
In-depth step-by-step Instruction Manual
Hardware List
Parts List with Print Settings
Arduino Code
Printer & Material Requirements:
A Printer with build plate 250x210x200mm or larger
PLA
All parts can be printed without the need of a MMU!
Hardware Required:
Click on the links below for the recommended hardware used for this build!
Hardware | Quantity |
52 | |
57 | |
2 | |
4 | |
1 | |
1 | |
1 | |
1 | |
1 | |
3536 Brushless Motor with 25mm Hole Spacing - Usually Includes an M6 threaded Attachment with nut (Shown Below). This is used to mount the 130mm Fan! 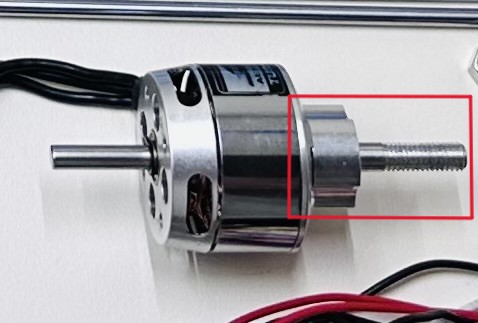
Parts 46. & 47. have 19mm x 16mm hole spacing for other brushless motor options - See Instruction manual for more information! | 1 |
1 | |
2 | |
1 | |
JST Male and Female Connectors 3x Pairs of 3-Pin & 1x Pair of 2-Pin |
|
22awg Wire (Approx. 500mm from potentiometer to the Arduino) |
|
Tools Required:
Hex Screwdrivers
Soldering Iron
Sandpaper
Pliers
Super Glue