
RAMMSTEIN LED LOGO LIGHT
Obliczymy ostateczną cenę na podstawie wybranego pliku. Sprawdzisz ją i zaakceptujesz przed płatnością.
Zapisane na tym urządzeniu.
Informacje o modelu
- Źródło
- Printables
- Kategoria
- Wall-mounted
- Licencja
- Creative Commons — Attribution — Share Alike
About printing:
Everything is printed in PLA.
The parts printed in clear PLA are snug fitted in the “INLAY_FRONT”, and secured with super glue. The complete front has sufficient tension so that it does not need to be glued.
The “LED_WALL” is secured with the M3 bolts, and serves to separate the red light from the white. To put everything together, look at the pictures it's easy.
A little explanation about the use of the LEDs:
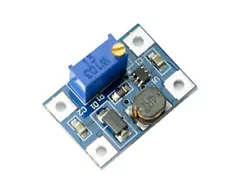
Because I wanted to use my current 5V power supply I used the step-UP to be able to place several LEDs in series (and avoid the use of series resistors) NOTE: Vf_max red led = 2.1 V, Vf_max white led = 3.8V. I had a good result with 5 white LEDs in series and 7 red LEDs in series at a voltage of +/- 11.8 V. So 4 circuits for the white LEDs and 2 circuits for the red LEDs. You'll have to experience this yourself, but measure the voltage across a single LED and make sure you don't exceed the max. Vf
What do you need:
straw hat led 5mm
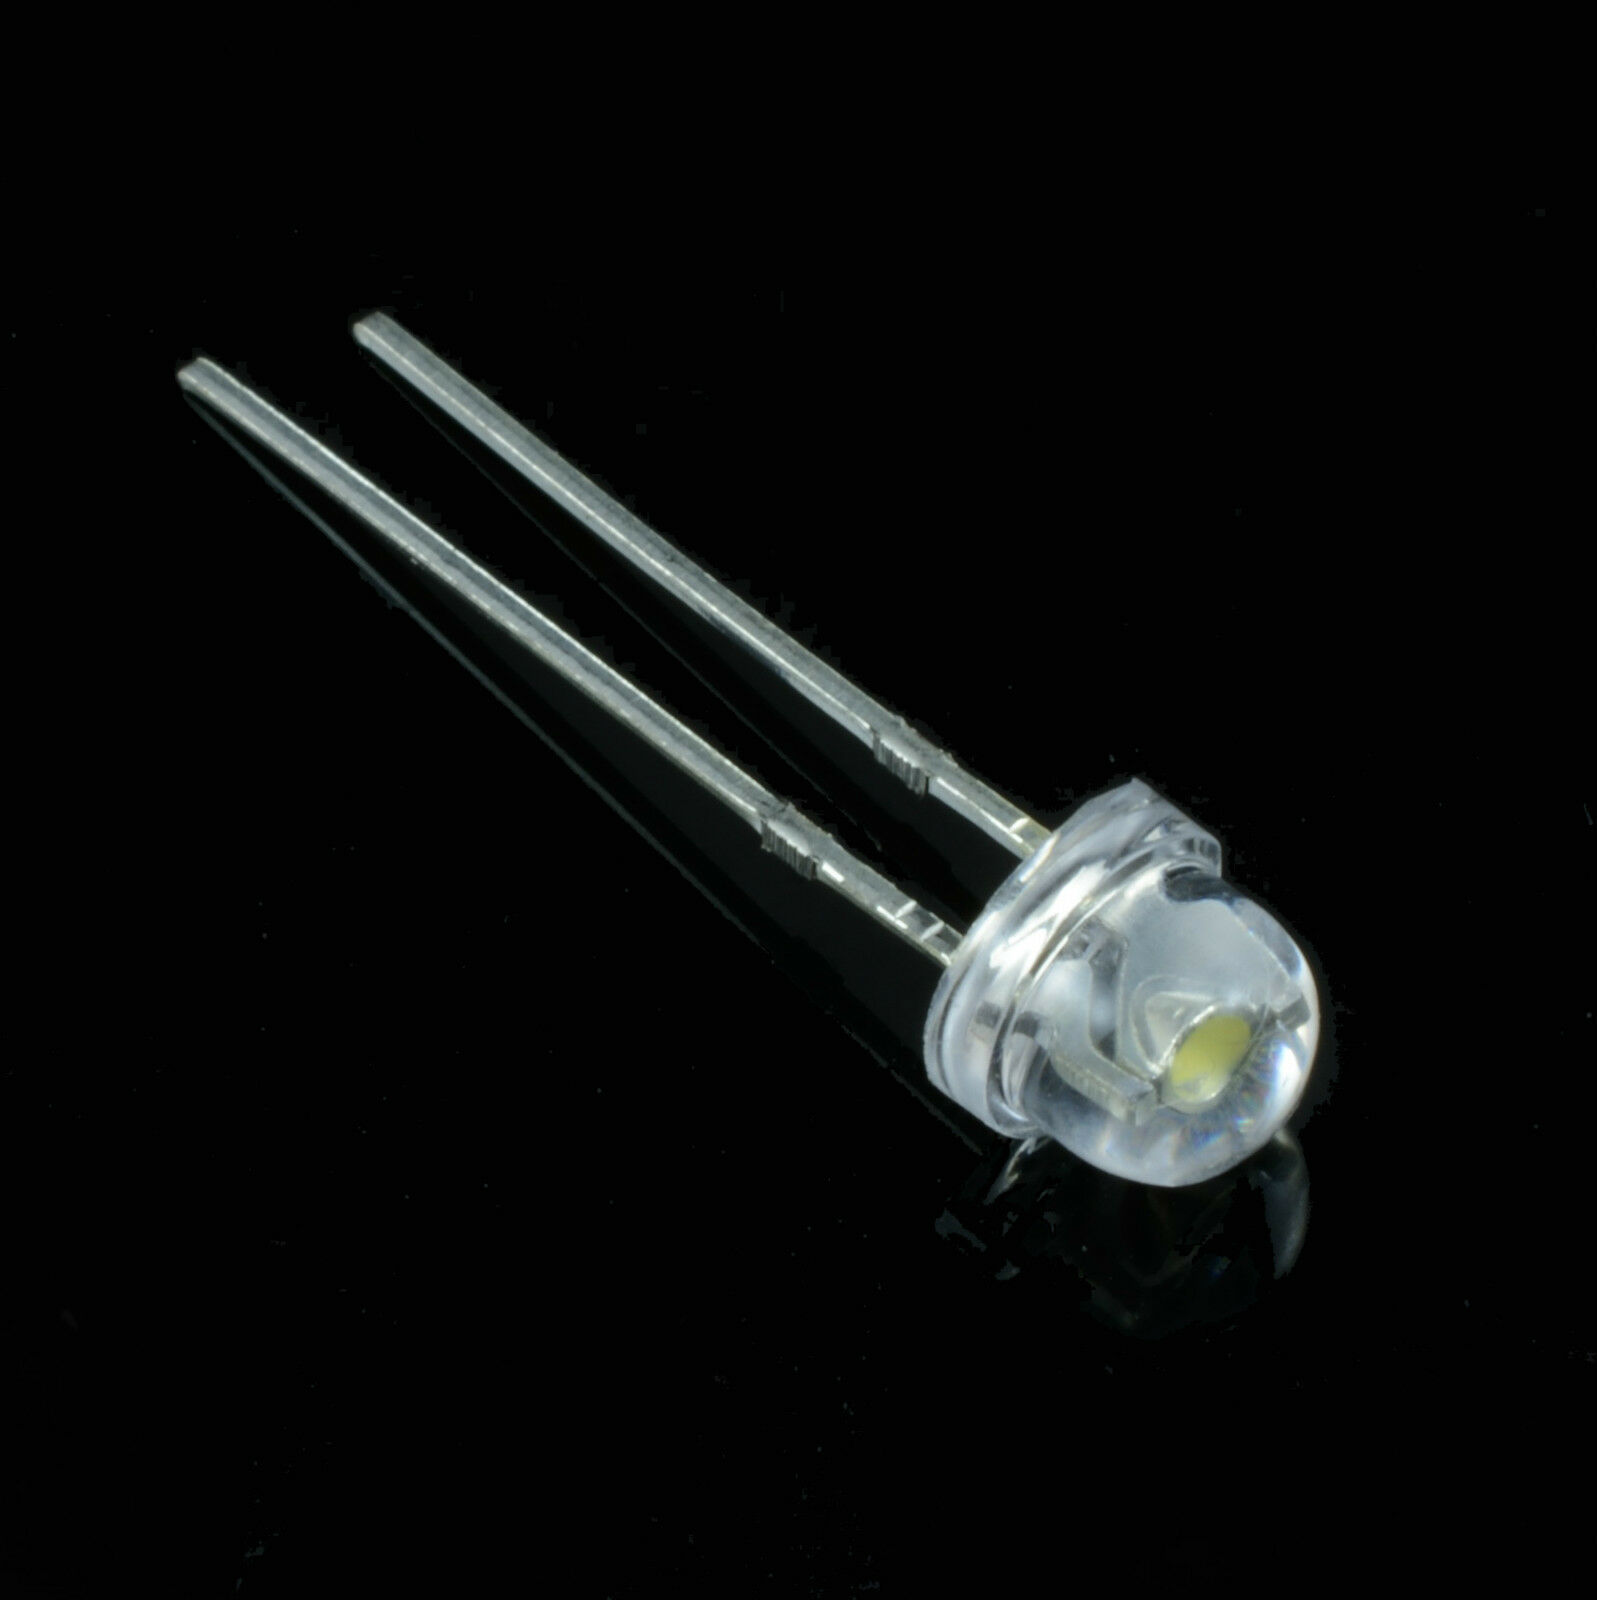
RED: 14x
WHITE: 20x
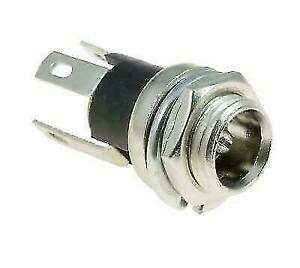
DC Power Supply Adapter Metal Jack Socket: 5.5mm X 2.1mm
DC-DC step-UP converter SX1308
(or series resistors if you don't want to use the step-UP)
M3 bolts and nuts: 4x M3x10
2.9mm self tapping screws: 8x 2.9x9.5 // 8x 2.9x12.7

super glue / hot glue
1 meter single (thin) wire for electronics
Power Supply adapter (300mA or higher...)