
Seeed Grove High Current Relay Case
Obliczymy ostateczną cenę na podstawie wybranego pliku. Sprawdzisz ją i zaakceptujesz przed płatnością.
Zapisane na tym urządzeniu.

A selection of cases to protect your XAIO accessory
- Ocena
- 5 / 5
- Polubienia
- 8
- Pobrania
- 46
- Wydruki
- 1
- Wyświetlenia
- 359
- Oceny
- 1
Aktualizacja u źródła:
Informacje o modelu
- Źródło
- Printables
- Kategoria
- Electronics
- Licencja
- Creative Commons — Attribution
🟩 🟦 🟦 🟪 🟥 🟧 🟨
I needed a relay to control a low voltage light and had this component sitting about, and its much nicer with these things in enclosures so I made this!
There is a screw mount, a 12mm pipe mount (yes its weird, I needed this one!) and a basic case available. The screw mount option has 5mm holes for the screws to go through.
If you are using this in ESPHome here is an example where I am using it to control LED lighting. Your pin will likely differ.
output:
- platform: gpio
pin: GPIO8
id: l1light:
- platform: binary
name: "LED Lighting"
output: l1
Required For Assembly
6x M2x6 screws
3x M2 washers
6x M2 Ruthex/CNC Kitchen inserts (plus 4 if using the 12mm pipe mount)
Soldering iron
(12mm pipe mount option only) extra 4x M2x8 screws + 4x M2 washers
Due to the depth and position of the M2 inserts in this build it may be easier to use the normal soldering iron tip rather than the proper Ruthex/CNC Kitchen insert tools for the inserts in the bottom of the case.
Do not remix this and put screws or magnets in the bottom. This relay may be potentially running a high voltage. Also magnets may interfere with this mechanical relay.
Assembly
Install all six M2 inserts into the holes in the main body of the case. | 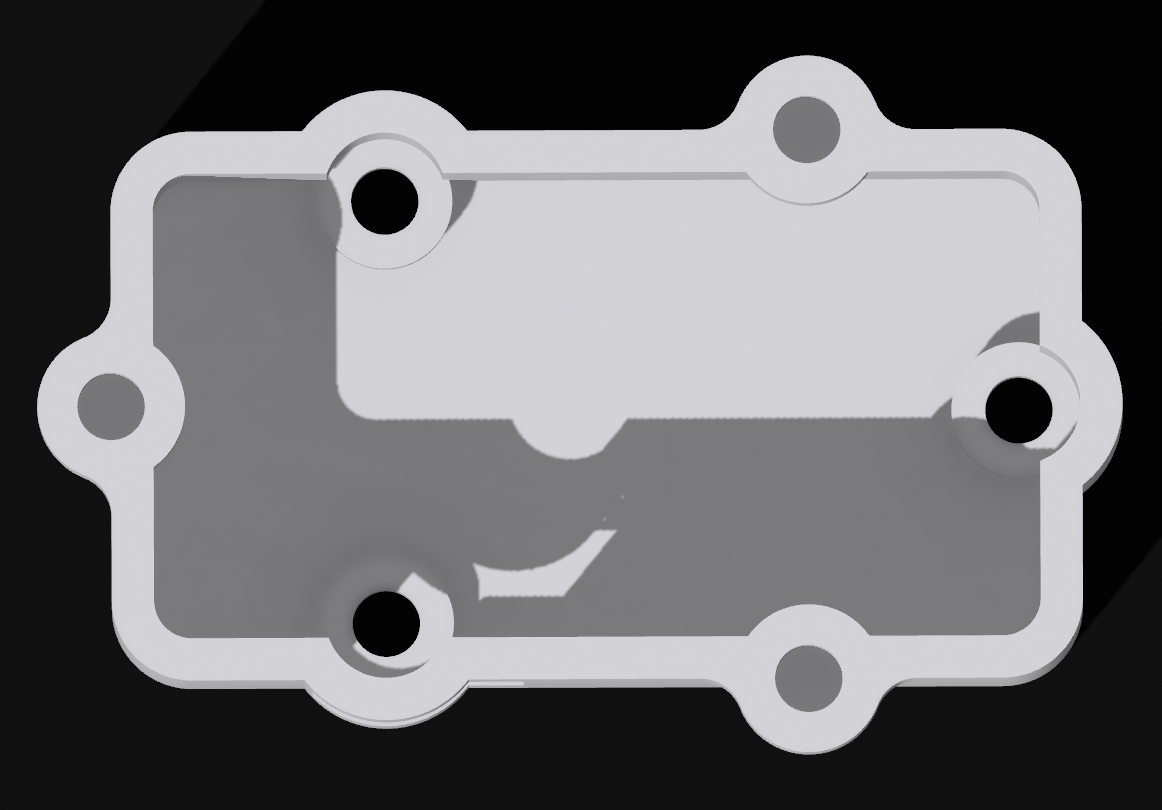 |
If you are using the 12mm pipe mount option install two M2 inserts in either end. |  |
Insert the board in the bottom of the case (note the modelled board pictured does not match it at all). Secure the board with 3 of the M2x6 screws. Do not use washers, and be careful to not do up the screws too tightly. Plug the grove cable into the board now. | 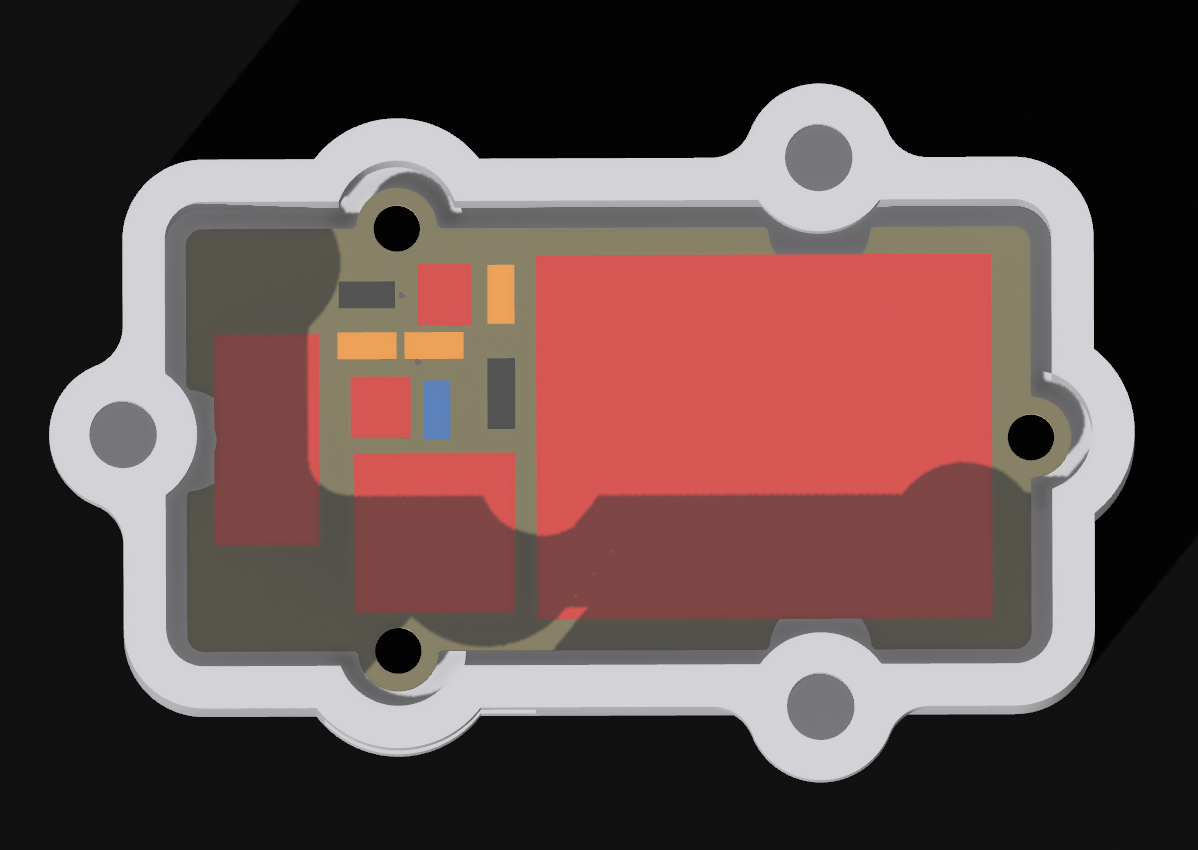 |
Thread the cable through the hole in the lid. |  |
Attach the lid and secure it with four M2x6 screws and washers. | 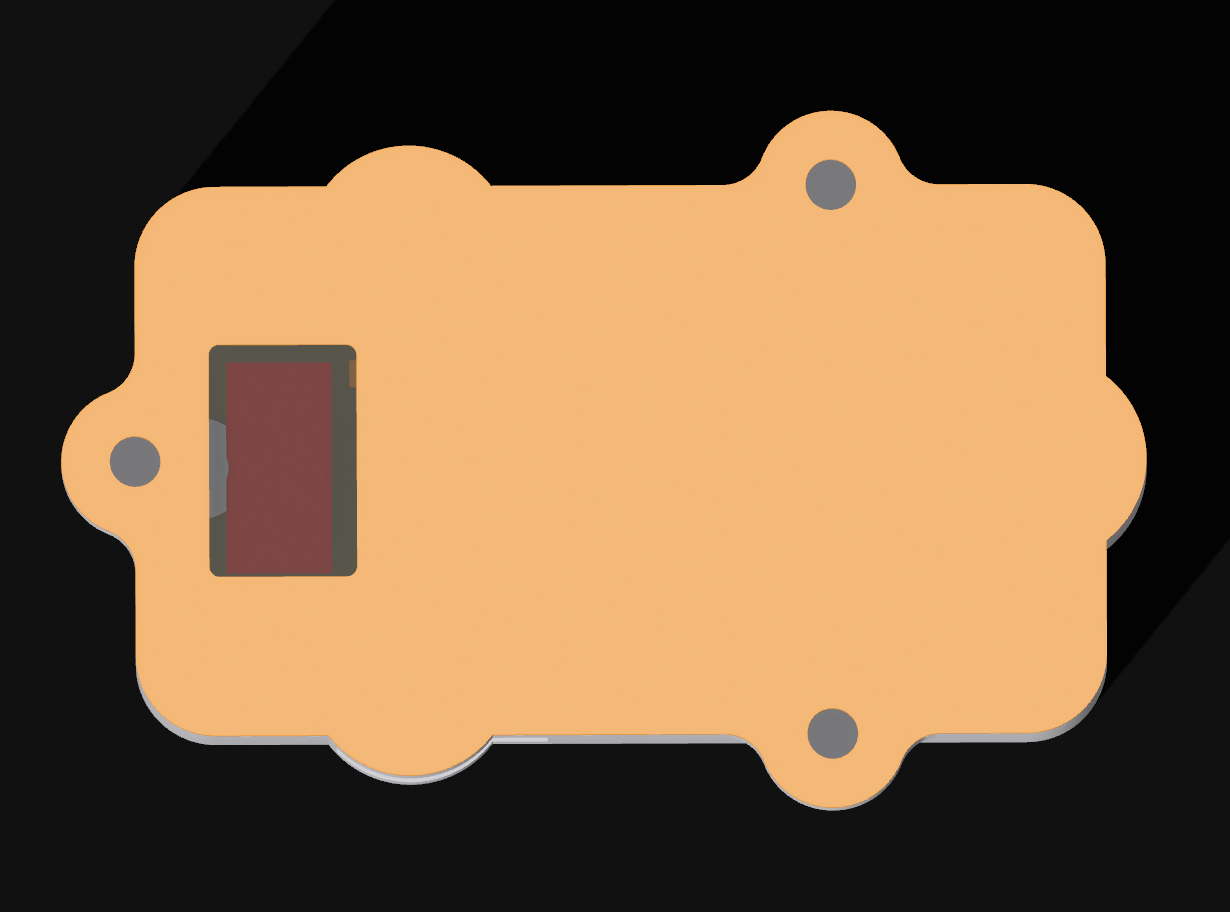 |
If you are using the 12mm pipe option, secure the clips on the end (which also serve for cable management) with the M2x8 screws and washers. Congratulations, you are done! |  |
If you like my designs or find them useful it would be great if you can support me by joining my club on Printables for at least a month, which gives you access to various extra models for the duration of membership. Another alternative is to buy me a coffee using the button below. Thank you!

🟩 🟦 🟦 🟪 🟥 🟧 🟨