
Seeed Grove I2C Thermocouple Amplifier (MCP9600) Case
Obliczymy ostateczną cenę na podstawie wybranego pliku. Sprawdzisz ją i zaakceptujesz przed płatnością.
Zapisane na tym urządzeniu.

A selection of cases to secure your grove accessory.
- Ocena
- 0 / 5
- Polubienia
- 5
- Pobrania
- 33
- Wydruki
- 0
- Wyświetlenia
- 284
- Oceny
- 0
Aktualizacja u źródła:
Informacje o modelu
- Źródło
- Printables
- Kategoria
- Electronics
- Licencja
- Creative Commons — Attribution
I needed to measure temperature in an enclosure as part of an alerting system and I chose this component as it is grove/ESPHome compatible and made this enclosure for it.
There is a screw mount, a 12mm pipe mount (yes its weird, I needed this one!), a magnetic mount and a basic case available.
The screw mount option has 5mm holes for the screws to go through and the magnetic mount uses 8x2mm disc magnets.
If you are using this in ESPHome I have found that I need to disable i2c scanning for it to work (your pins may be different than this example) and set it to 100kHz:
i2c:
 frequency: 100kHz
 scan: false
 sda: GPIO5
 scl: GPIO6
The rest of the device configuration is as follows, change for your own update interval:
sensor:
 - platform: mcp9600
   hot_junction:
     name: "Thermocouple Temperature"
   cold_junction:
     name: "Ambient Temperature"
   thermocouple_type: K
   address: 0x60
   update_interval: 60s
Required For Assembly
- 6x M2x6 screws and washers
- (12mm pipe option) 4x M2x8 screws and washers
- 6x M2 Ruthex/CNC Kitchen inserts (extra 4 for 12mm pipe option)
- Soldering iron
- Seeed Grove I2C Thermocouple Amplifier (MCP9600) - note if you are buying this the board does not include the thermocouple, it is sold separately.
Due to the depth and position of the M2 inserts in this build it may be easier to use the normal soldering iron tip rather than the proper Ruthex/CNC Kitchen insert tools for the inserts in the bottom of the case.
Assembly
| Install 6 M2 inserts into the holes in the main body as pictured. |  |
| If using the 12mm pipe option, install two M2 inserts in either end. |  |
| If using the magnet option, put a small dab of glue in the bottom of each indent in the case and push in the magnets. |  |
| If using the screw mount option, screw it onto its final destination now. Use a washer to spread the load. |  |
Insert the PCB into the main body. Secure it with two M2x6 screws in the holes on opposing sides. It's OK to use washers here as there is nothing on the board nearby. | 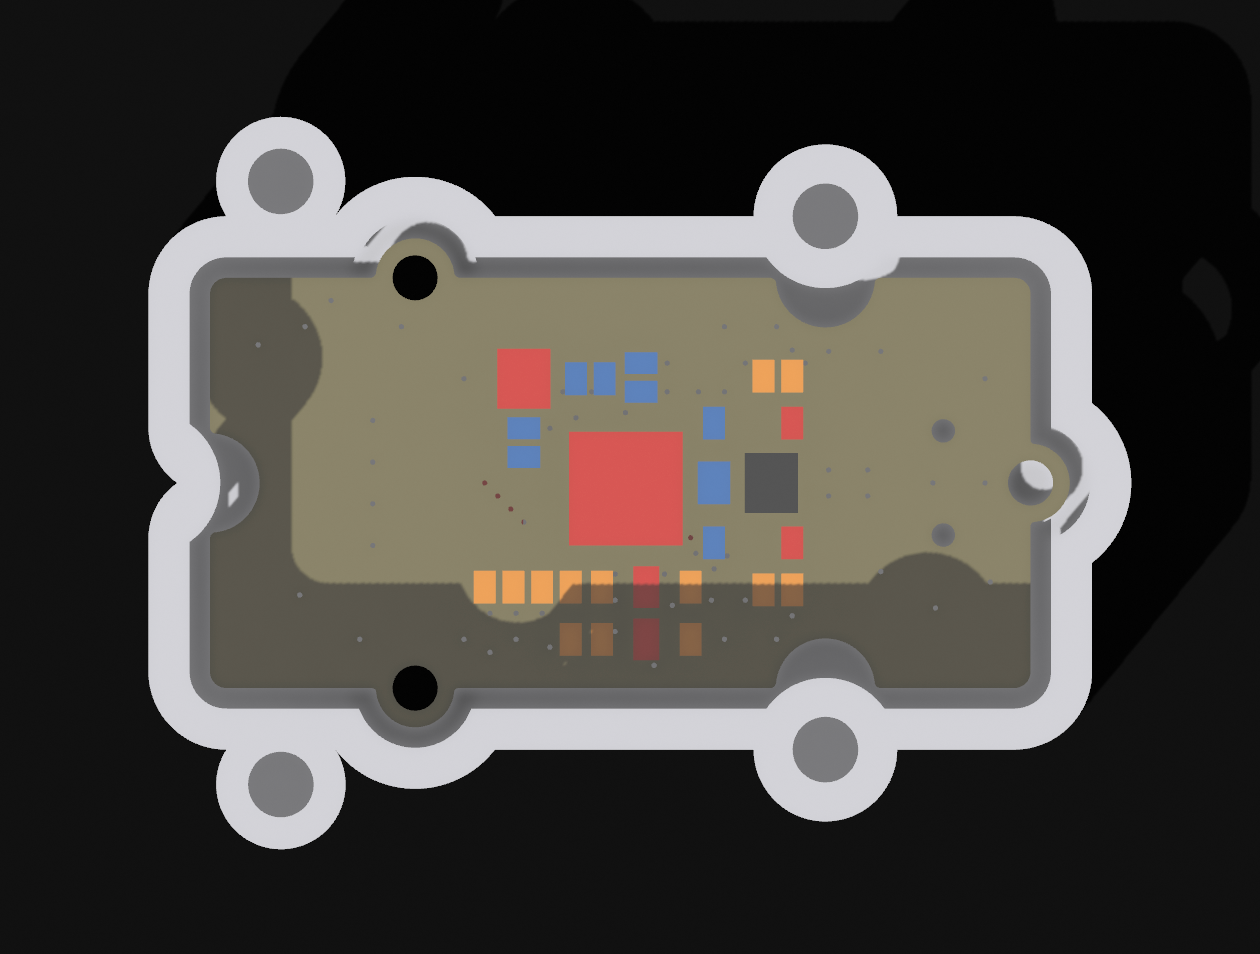 |
| Attach the lid with four M2x6 screws and washers. |  |
If you are using the 12mm pipe mount option attach them at either end with the M2x8 screws and washers. The hoop over the top is for cable management. Congratulations, you are done! |  |