
Golf - Golf Ball Stencil - Holder - Ball Buddy Pro - Hinged & embedded/covered magnet slots
Obliczymy ostateczną cenę na podstawie wybranego pliku. Sprawdzisz ją i zaakceptujesz przed płatnością.
Zapisane na tym urządzeniu.

Ball Buddy Pro - Hinged golf ball stencil holder with embedded magnets + lanyard hole.
- Ocena
- 5 / 5
- Polubienia
- 45
- Pobrania
- 449
- Wydruki
- 1
- Wyświetlenia
- 2813
- Oceny
- 1
Aktualizacja u źródła:
Informacje o modelu
- Źródło
- Printables
- Kategoria
- Outdoor Sports
- Licencja
- Creative Commons — Attribution — Noncommercial
The ball Buddy pro model requires a multi-filament printer for the living flex hinge. A fun ball marking tool that allows for interchangeable stencils. Consists of two ball holder halves connected with a flex hinge (requires a flex filament). When the two halves come together they are magnetically held in place using 8 6mm x 2mm magnets. Into each of the two halves different stencil inserts can be interchanged (see below links for different stencils).
Usage
Does not work well for oversized golf balls (eg. Callaway Supersoft Max)
Recommend to use a fine and/or ultrafine Sharpie marker pen for insert stencil imagery.
Can be used with the following marker friendly stencil inserts.
Can be used with the following stencil template that can be downloaded and allow for end user to create their own fun stencils.
Below is a photo of the majority of stencils (Grey resin SLA printed) that work with the Golf ball stencil holder.
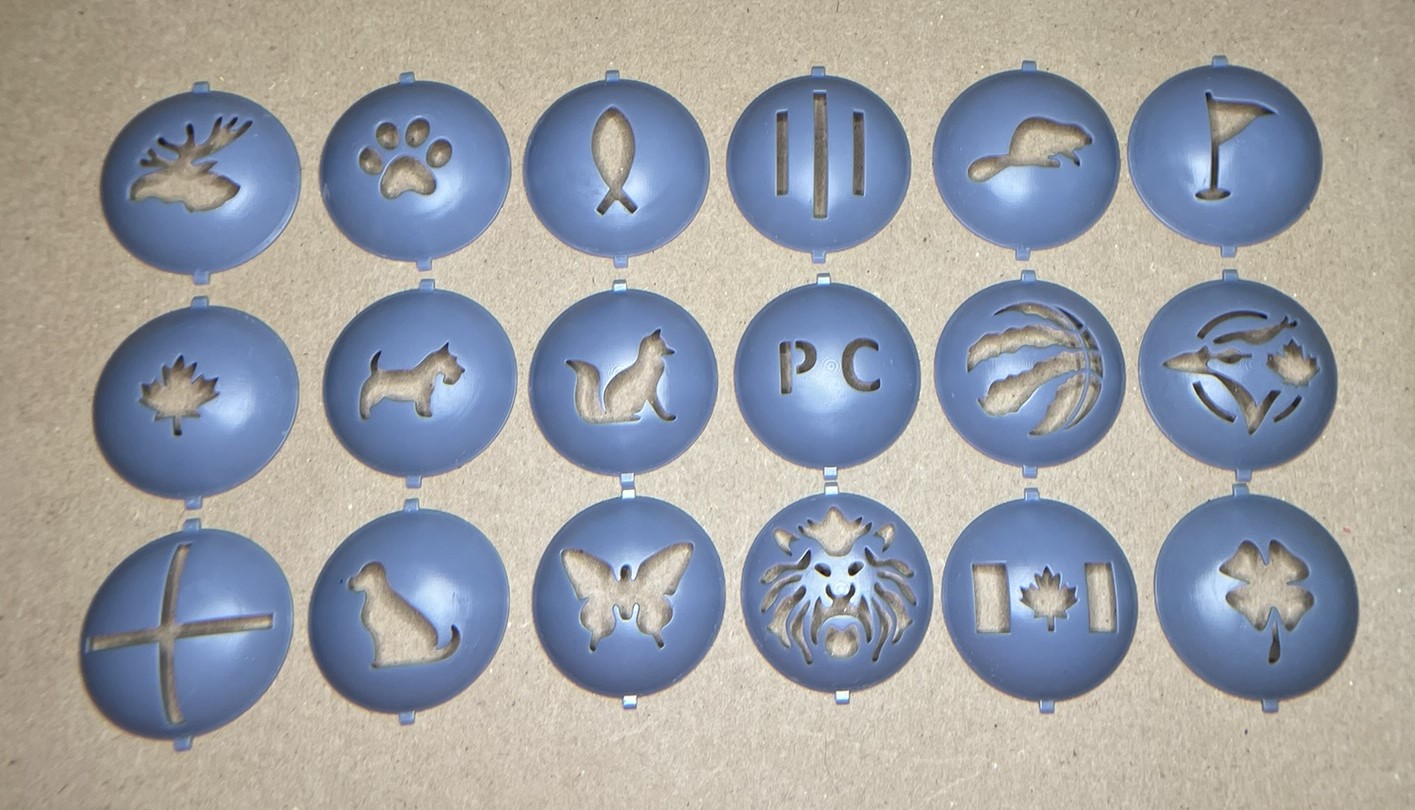
Create your own stencil logo inserts using the stencil template that can be downloaded.
Assembly
8 6mm x 2mm magnets (available at Amazon.ca) need to be placed into preset holes during the pause in printing. I recommend marking the sides of the magnets with a sharpie marker to aid when placing the magnets into the slots so that they have the correct orientation to attract instead of repelling when the two halves are brought together.
optional lanyard (not part of the model) can be attached via the holes in the handle.
Printing Tips
Multi-filament FDM printer (eg PRUSA XL dual head) with the golf ball holder printed in PETG/PLA or ABS and the flex hinge printed in a flex filament (eg. TPU).
Requires a pause print at layer 16 (2.4mm) to allow magnets to be inserted.
Place model in slicer on print bed with inside of holder facing down (as per image)
Use painted snug supports (see image - blue) for TPU hinge and PLA/ABS/PETG ball marker holder underside wings.
Using PETG print settings it is recommended you add a modifier over TPU print area (see image - yellow zone) to slow speed of TPU print (20mm/s) versus PETG print area.
Recommend 0.2mm layer height, 2 perimeters with 10% infill for non TPU areas.
TPU areas set layer height to 0.1mm from 1.6mm to 2mm model height
Print file included is for PRUSA XL includes pause print, painted supports, print speed modifier for TPU, Version ID (text embossed on inside edge) and is set for PETG and TPU.
Support
If you are interested in the Anycubic Photon M5s Pro SLA printer (I use this one for the inserts) or other Anycubic printers and want to learn more please go to Anycubic Store. For $20 off use this CPMTPFIZJP coupon code at the Anycubic Store.