
Intestine Baalism Maker Coin
Obliczymy ostateczną cenę na podstawie wybranego pliku. Sprawdzisz ją i zaakceptujesz przed płatnością.
Zapisane na tym urządzeniu.

Maker Coin for testing filament and showing your love for a great Melodeath band 6 cm tall 6 cm wide 1.25 cm thick
- Ocena
- 0 / 5
- Polubienia
- 2
- Pobrania
- 16
- Wydruki
- 0
- Wyświetlenia
- 199
- Oceny
- 0
Aktualizacja u źródła:
Informacje o modelu
- Źródło
- Printables
- Kategoria
- Test Models
- Licencja
- Creative Commons — Attribution — Noncommercial
Summary: This maker coin is in the shape of a buzz-saw for extra brutality along with the “Intestine Baalism” logo.
Problem Statement: All coins must be made from an initial revolve resulting in a coin that is 6cm in diameter and 1.25cm in thickness.
- Must not require ANY supports, (no supports).
- Should be gear-esque in nature.
- NO moving parts, (no gyroscopes, fidget spinners, etc.)
- Must slope downwards towards the center in some fashion.
Design Choices:
The first choice I had to make was to figure out how to make the coin in the shape of a saw. I used this picture for reference.
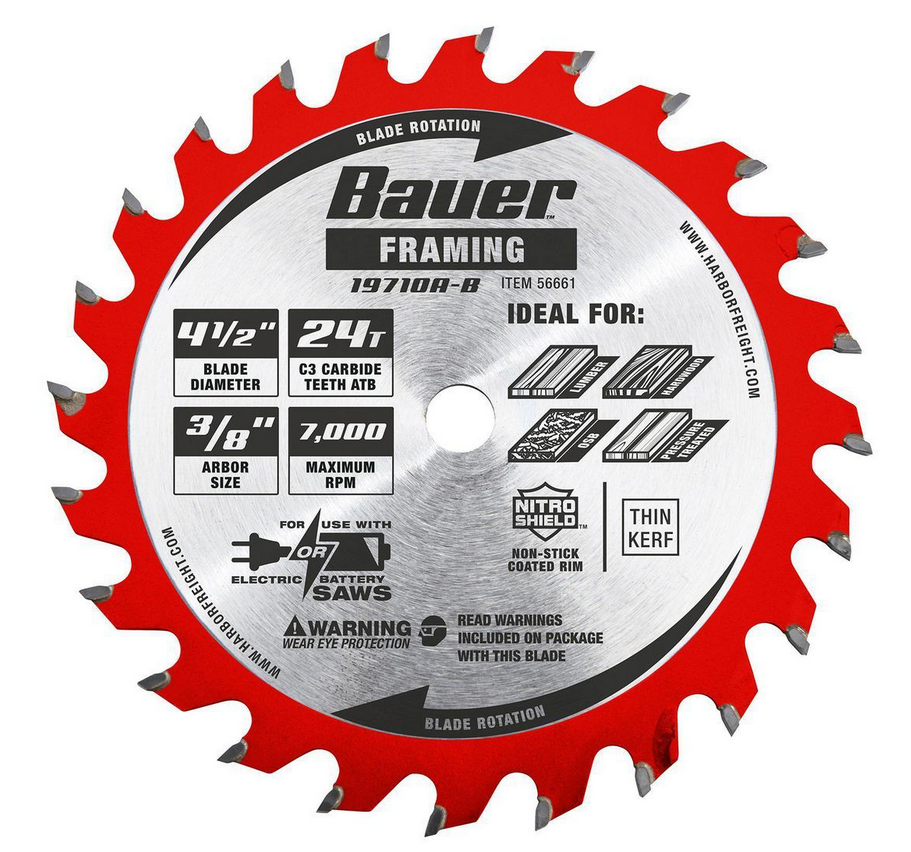
What I decided to do was to make the outline of each gap between the saws and make it cut extrude and circular pattern it. Unfortunately I could not insert the image itself and sketch around it because the coin is not a flat surface. So I instead eyeballed the shape of the saws and drew those in, followed by cut extruding and circular patterning them.
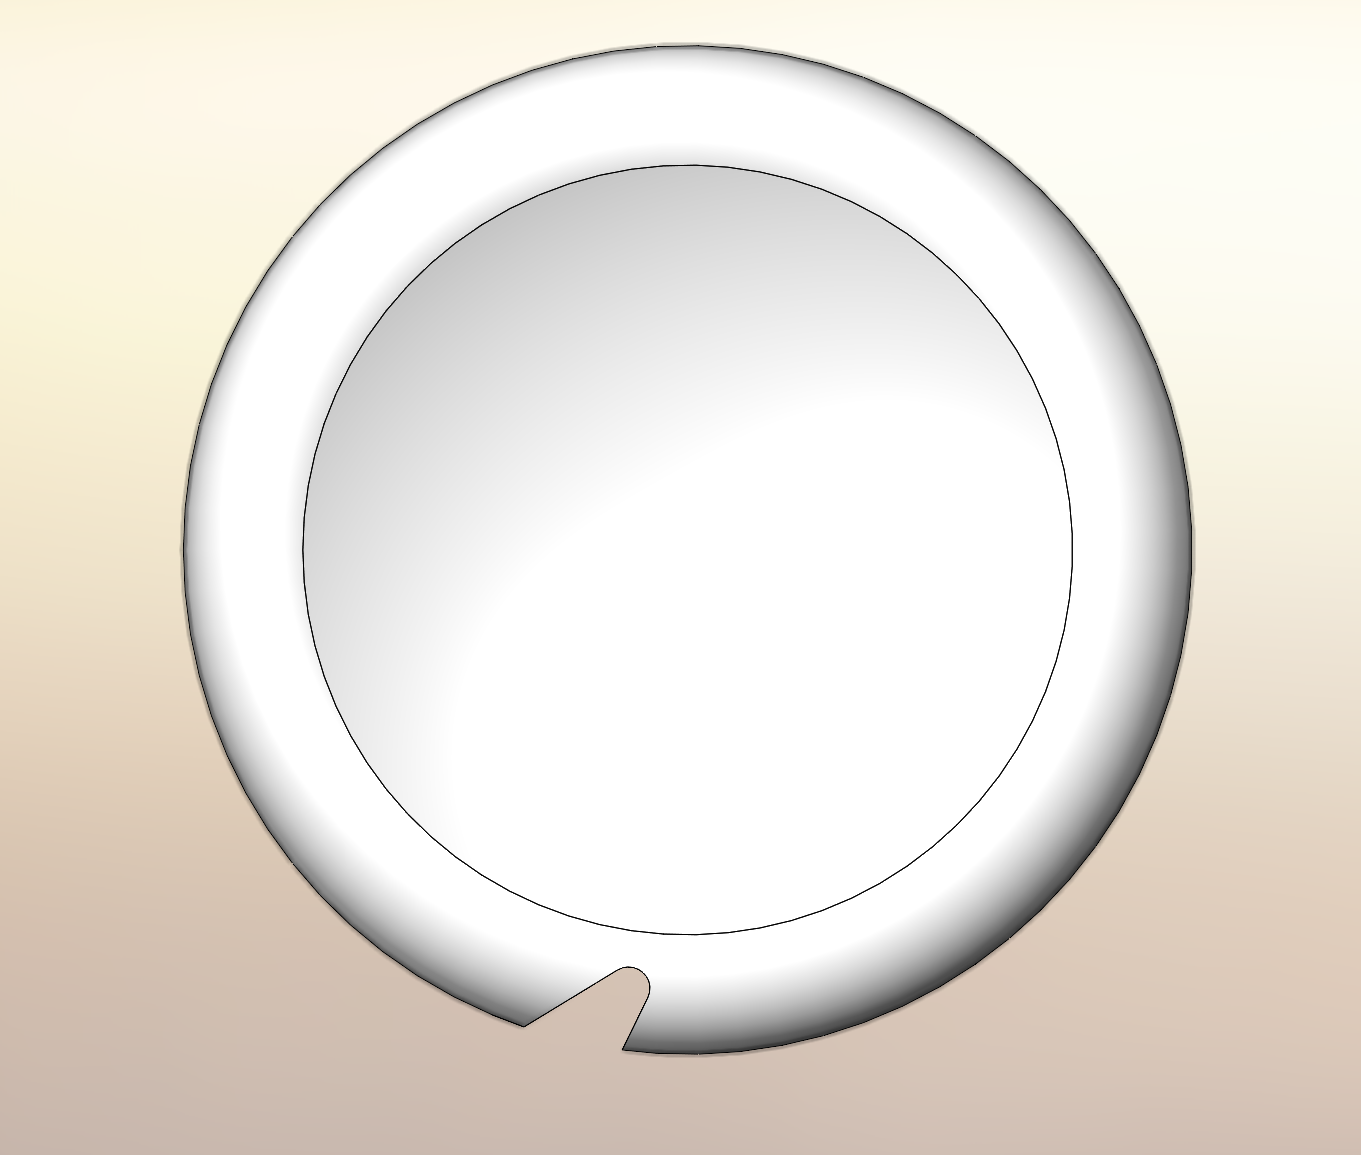

After doing this, the next step was the longest step, the logo.

Unlike the saw shape, I was able to insert the image on the center of the coin and trace the logo. I originally thought I would have to smooth the logo down for it to show up on the final print because of how small the logo was on the already small coin. This was until I found out you could scale the entire sketch which was a new feature.
Before:

After:

One problem I had with the logo was when I went to cut extrude it because I wanted to do a “through all” cut but found that it would cause floating bits to be printed. To fix this, I changed the shape of the logo to remove all the floating bits.
The next issue I ran into was that I put the original image on the back of the coin so I had to do a reverse cut extrude.

After making this cut extrude, I decided to make as much of the center logo to be printed in as possible. To do this I will add a ring of filament to “fill in” the space so that the printed coin has as much structural stability as possible.


After all these, the final printed product should look like this!