1 / 4
Mechanical Seven Segment Display
Zamów wydruk tego modelu
Obliczymy ostateczną cenę na podstawie wybranego pliku. Sprawdzisz ją i zaakceptujesz przed płatnością.
Zapisane na tym urządzeniu.

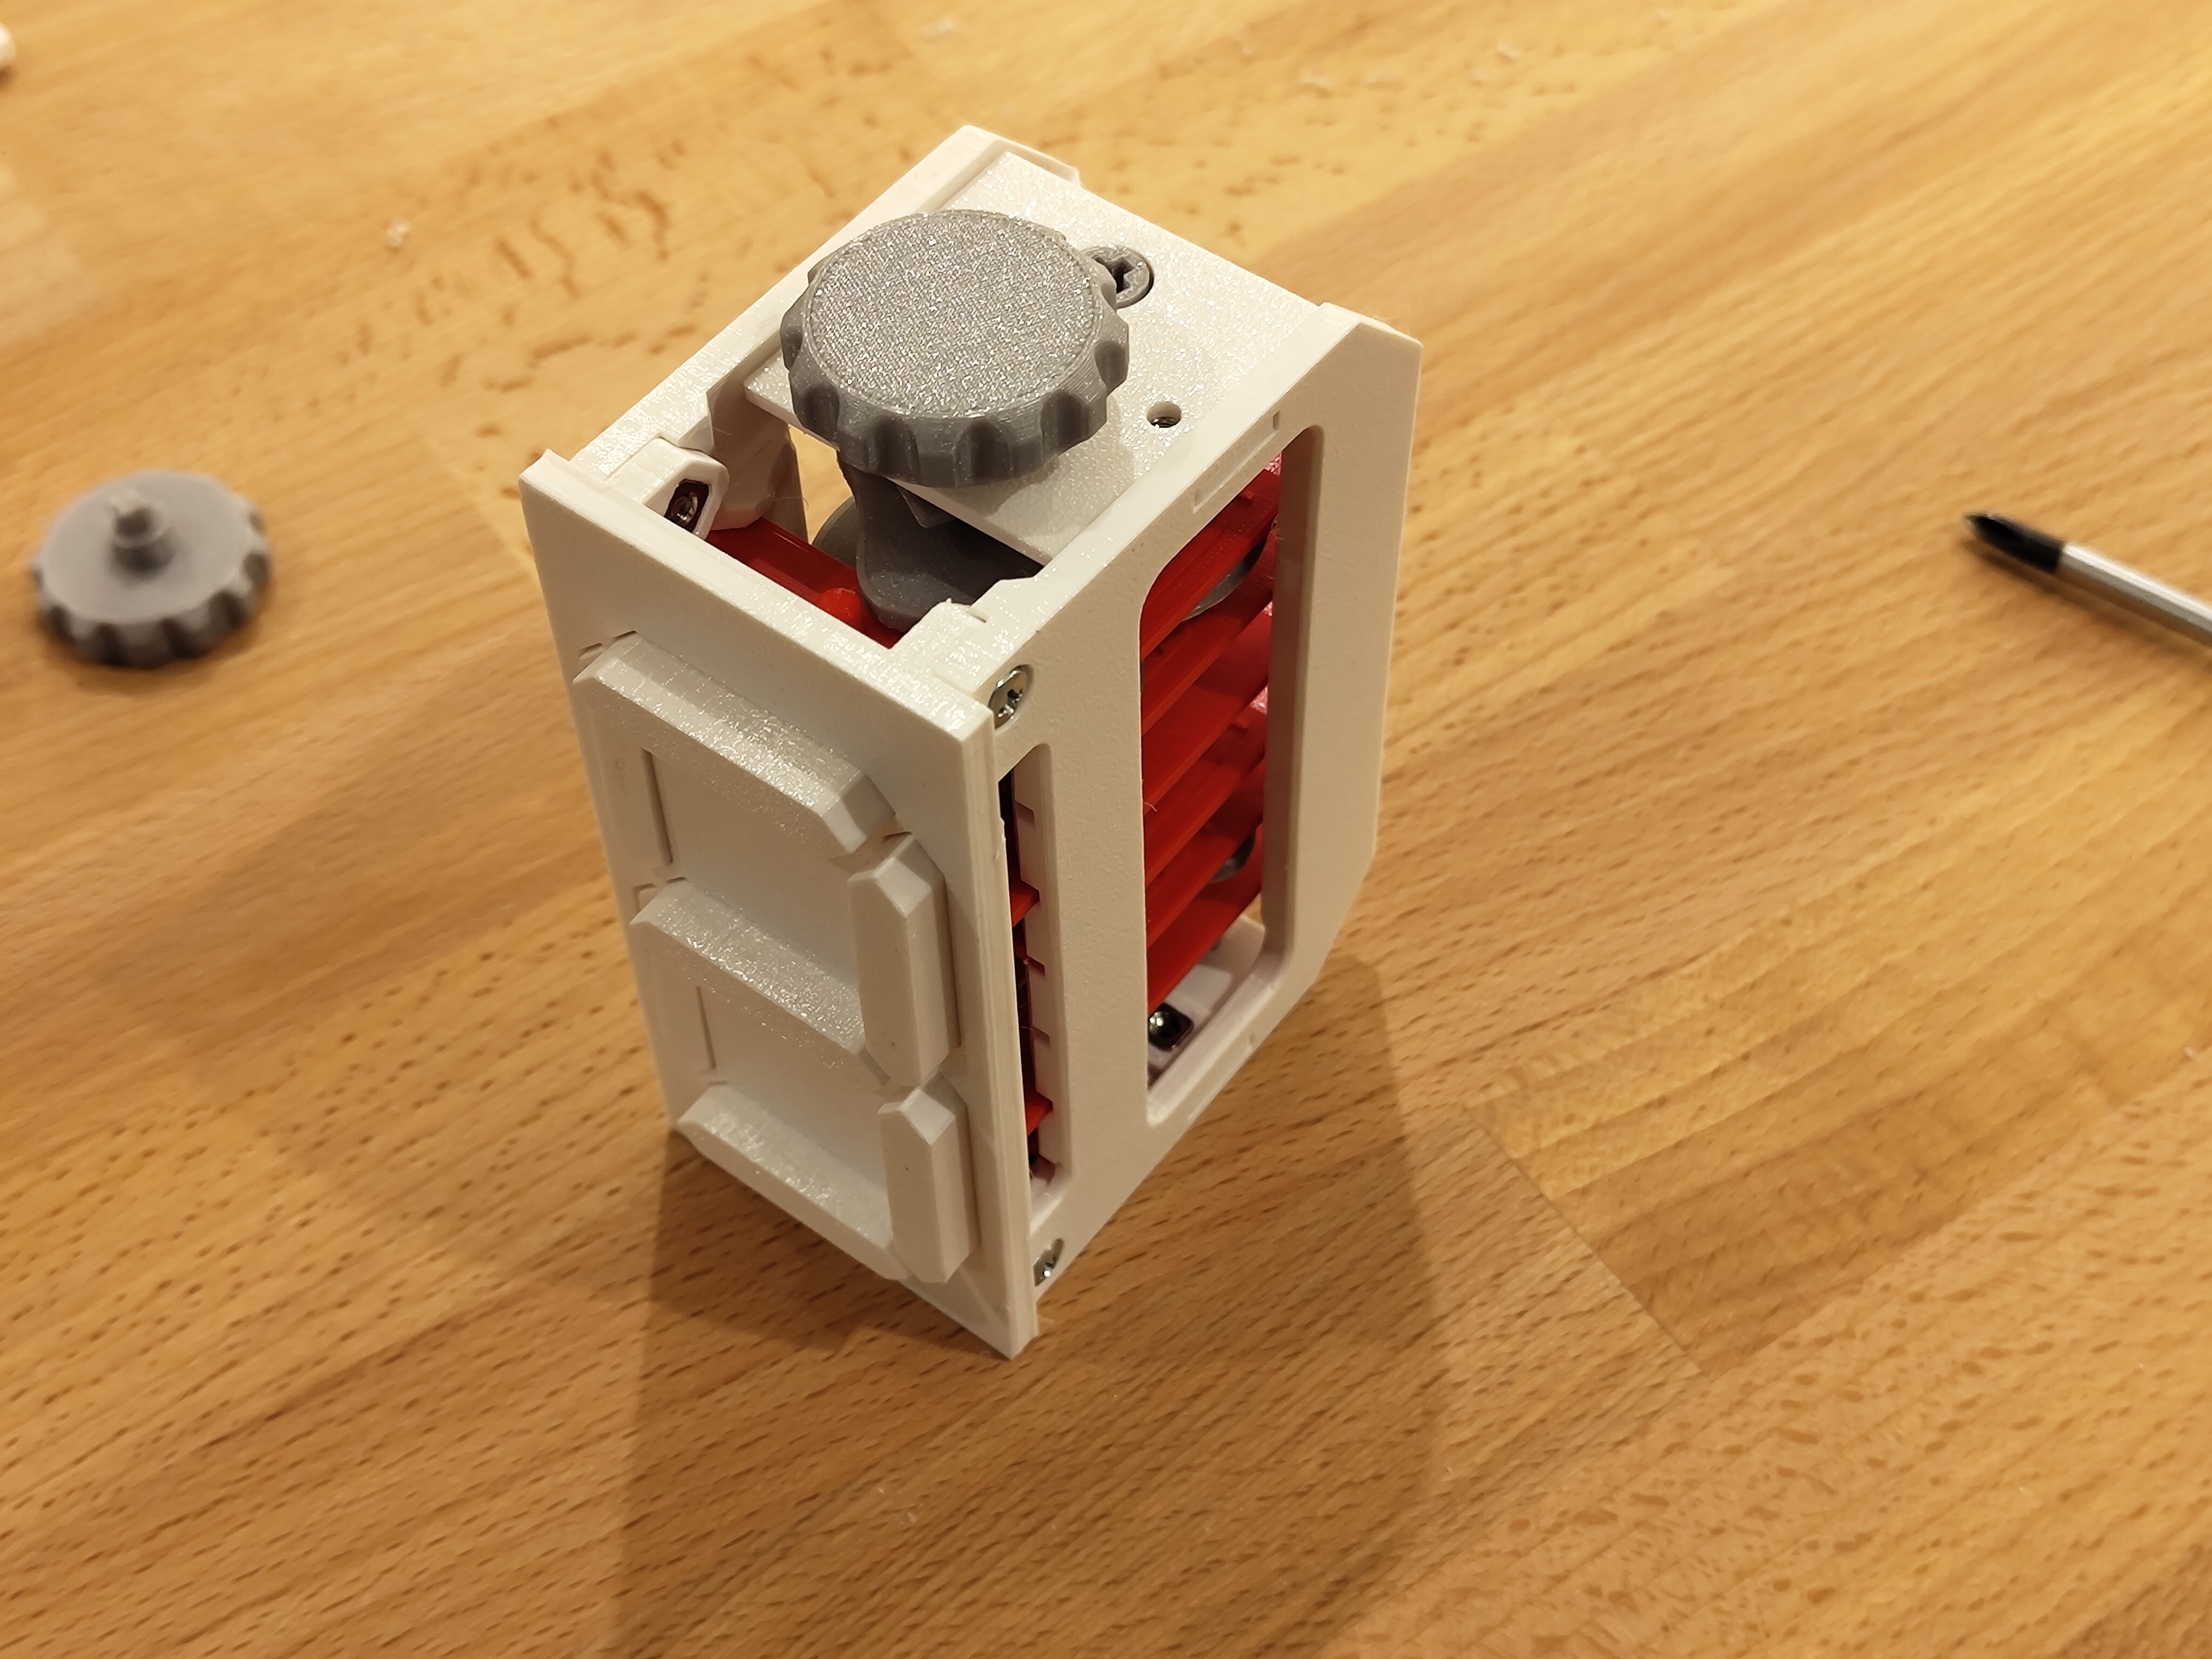
Mechanical 7-segment display that shows a single digit and counts from 0 to 9 using a camshaft
- Ocena
- 4,5 / 5
- Polubienia
- 149
- Pobrania
- 620
- Wydruki
- 2
- Wyświetlenia
- 6561
- Oceny
- 2
Aktualizacja u źródła:
Informacje o modelu
- Źródło
- Printables
- Kategoria
- Engineering
- Licencja
- Creative Commons — Attribution
SzczegółyPliki (11)Wydruki i komentarze (Wydruki: 2) (Komentarze: 10)Remiksy (0)Kolekcje (178)Powiązane
Important: There is a new version that uses only a single camshaft. You should use that version instead.
This is a mechanical seven segment display that counts from 0 to 9 using a pair of camshafts.
Non-printed parts
- 4x Square M3 Nuts
- 4x M3x6 screws (or longer)
- Plastic glue (it will work without glue, but relies on gravity and friction to keep things in place)
Printed parts
- 1x Front plate
- 2x Side plate
- 2x Bottom Plate
- 7x Segment
- 2x Pusher Right
- 2x Pusher Left
- 3x Pusher Center
- 7x Pusher Pin
- 1x Camshaft
- 1x Camshaft Counterpart
- Optional: Knob. The unit can also be driven with a Lego Technic axle
Printing
The camshafts should be printed standing up with supports (I used organic supports). Everything else can be printed laying flat without supports.
Assembly
- Insert four square M3 nuts into the front plate and glue them into place
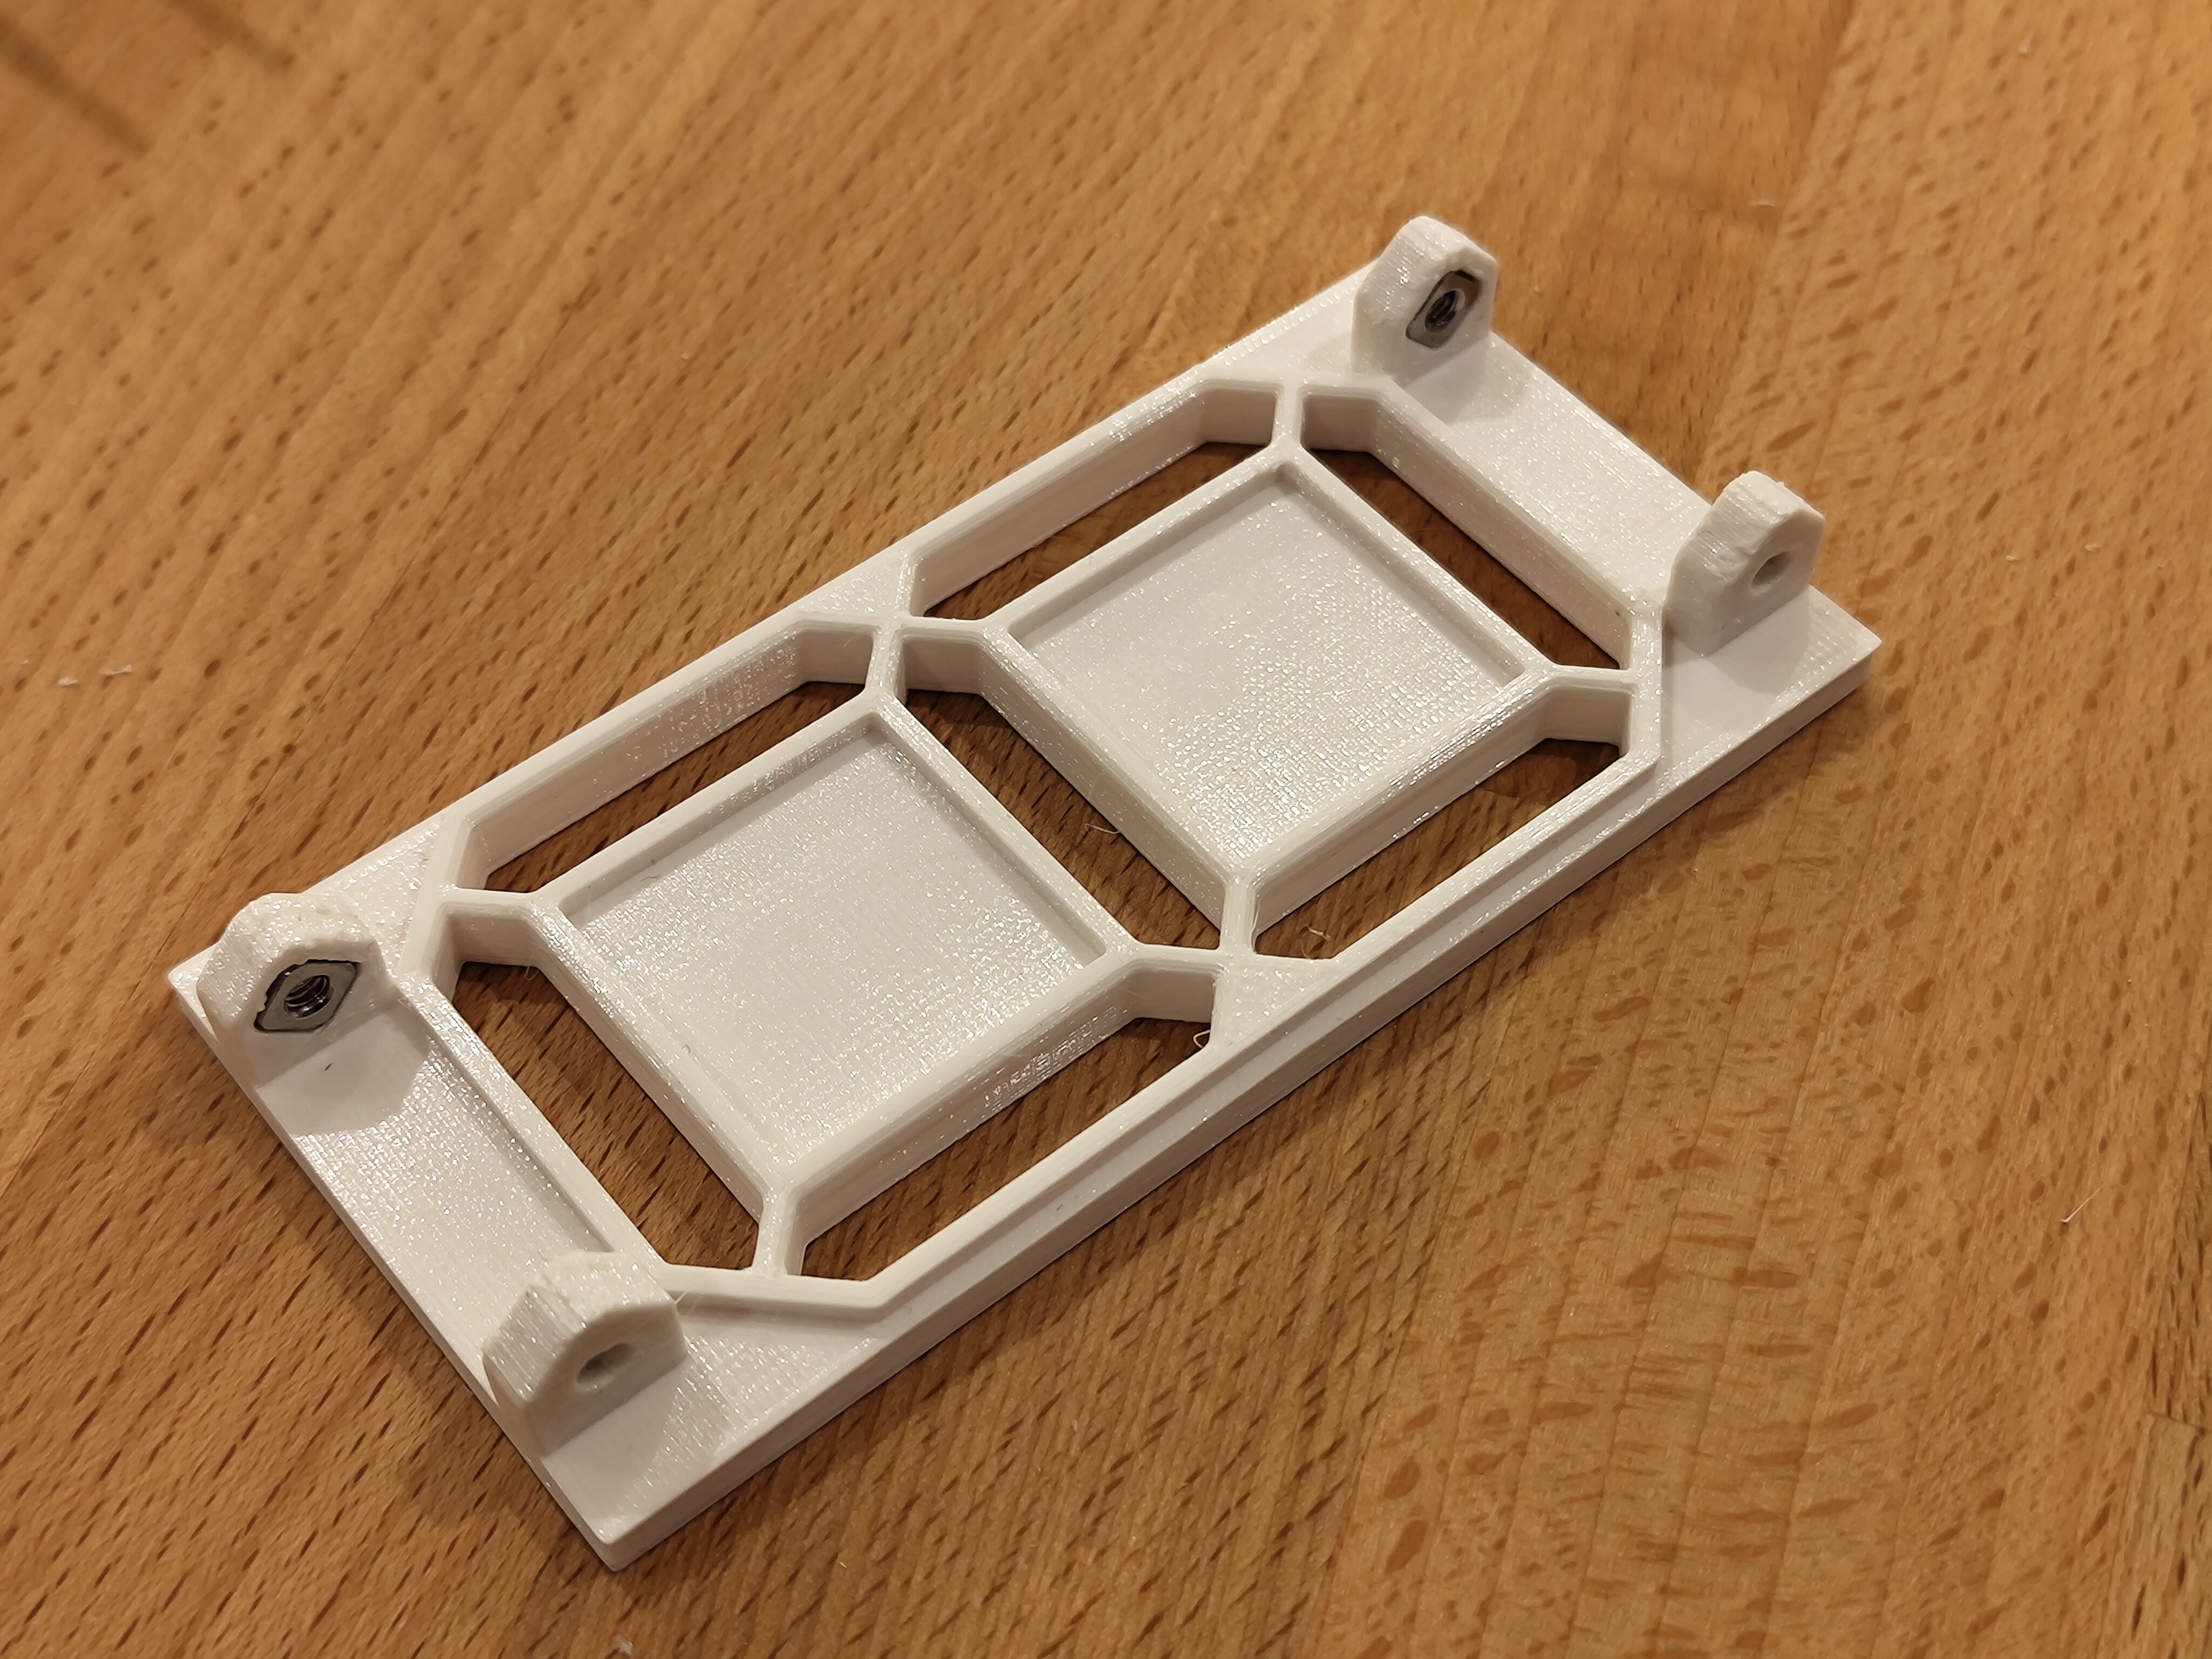
- Put a pusher pin into each pusher plate and glue it in place.
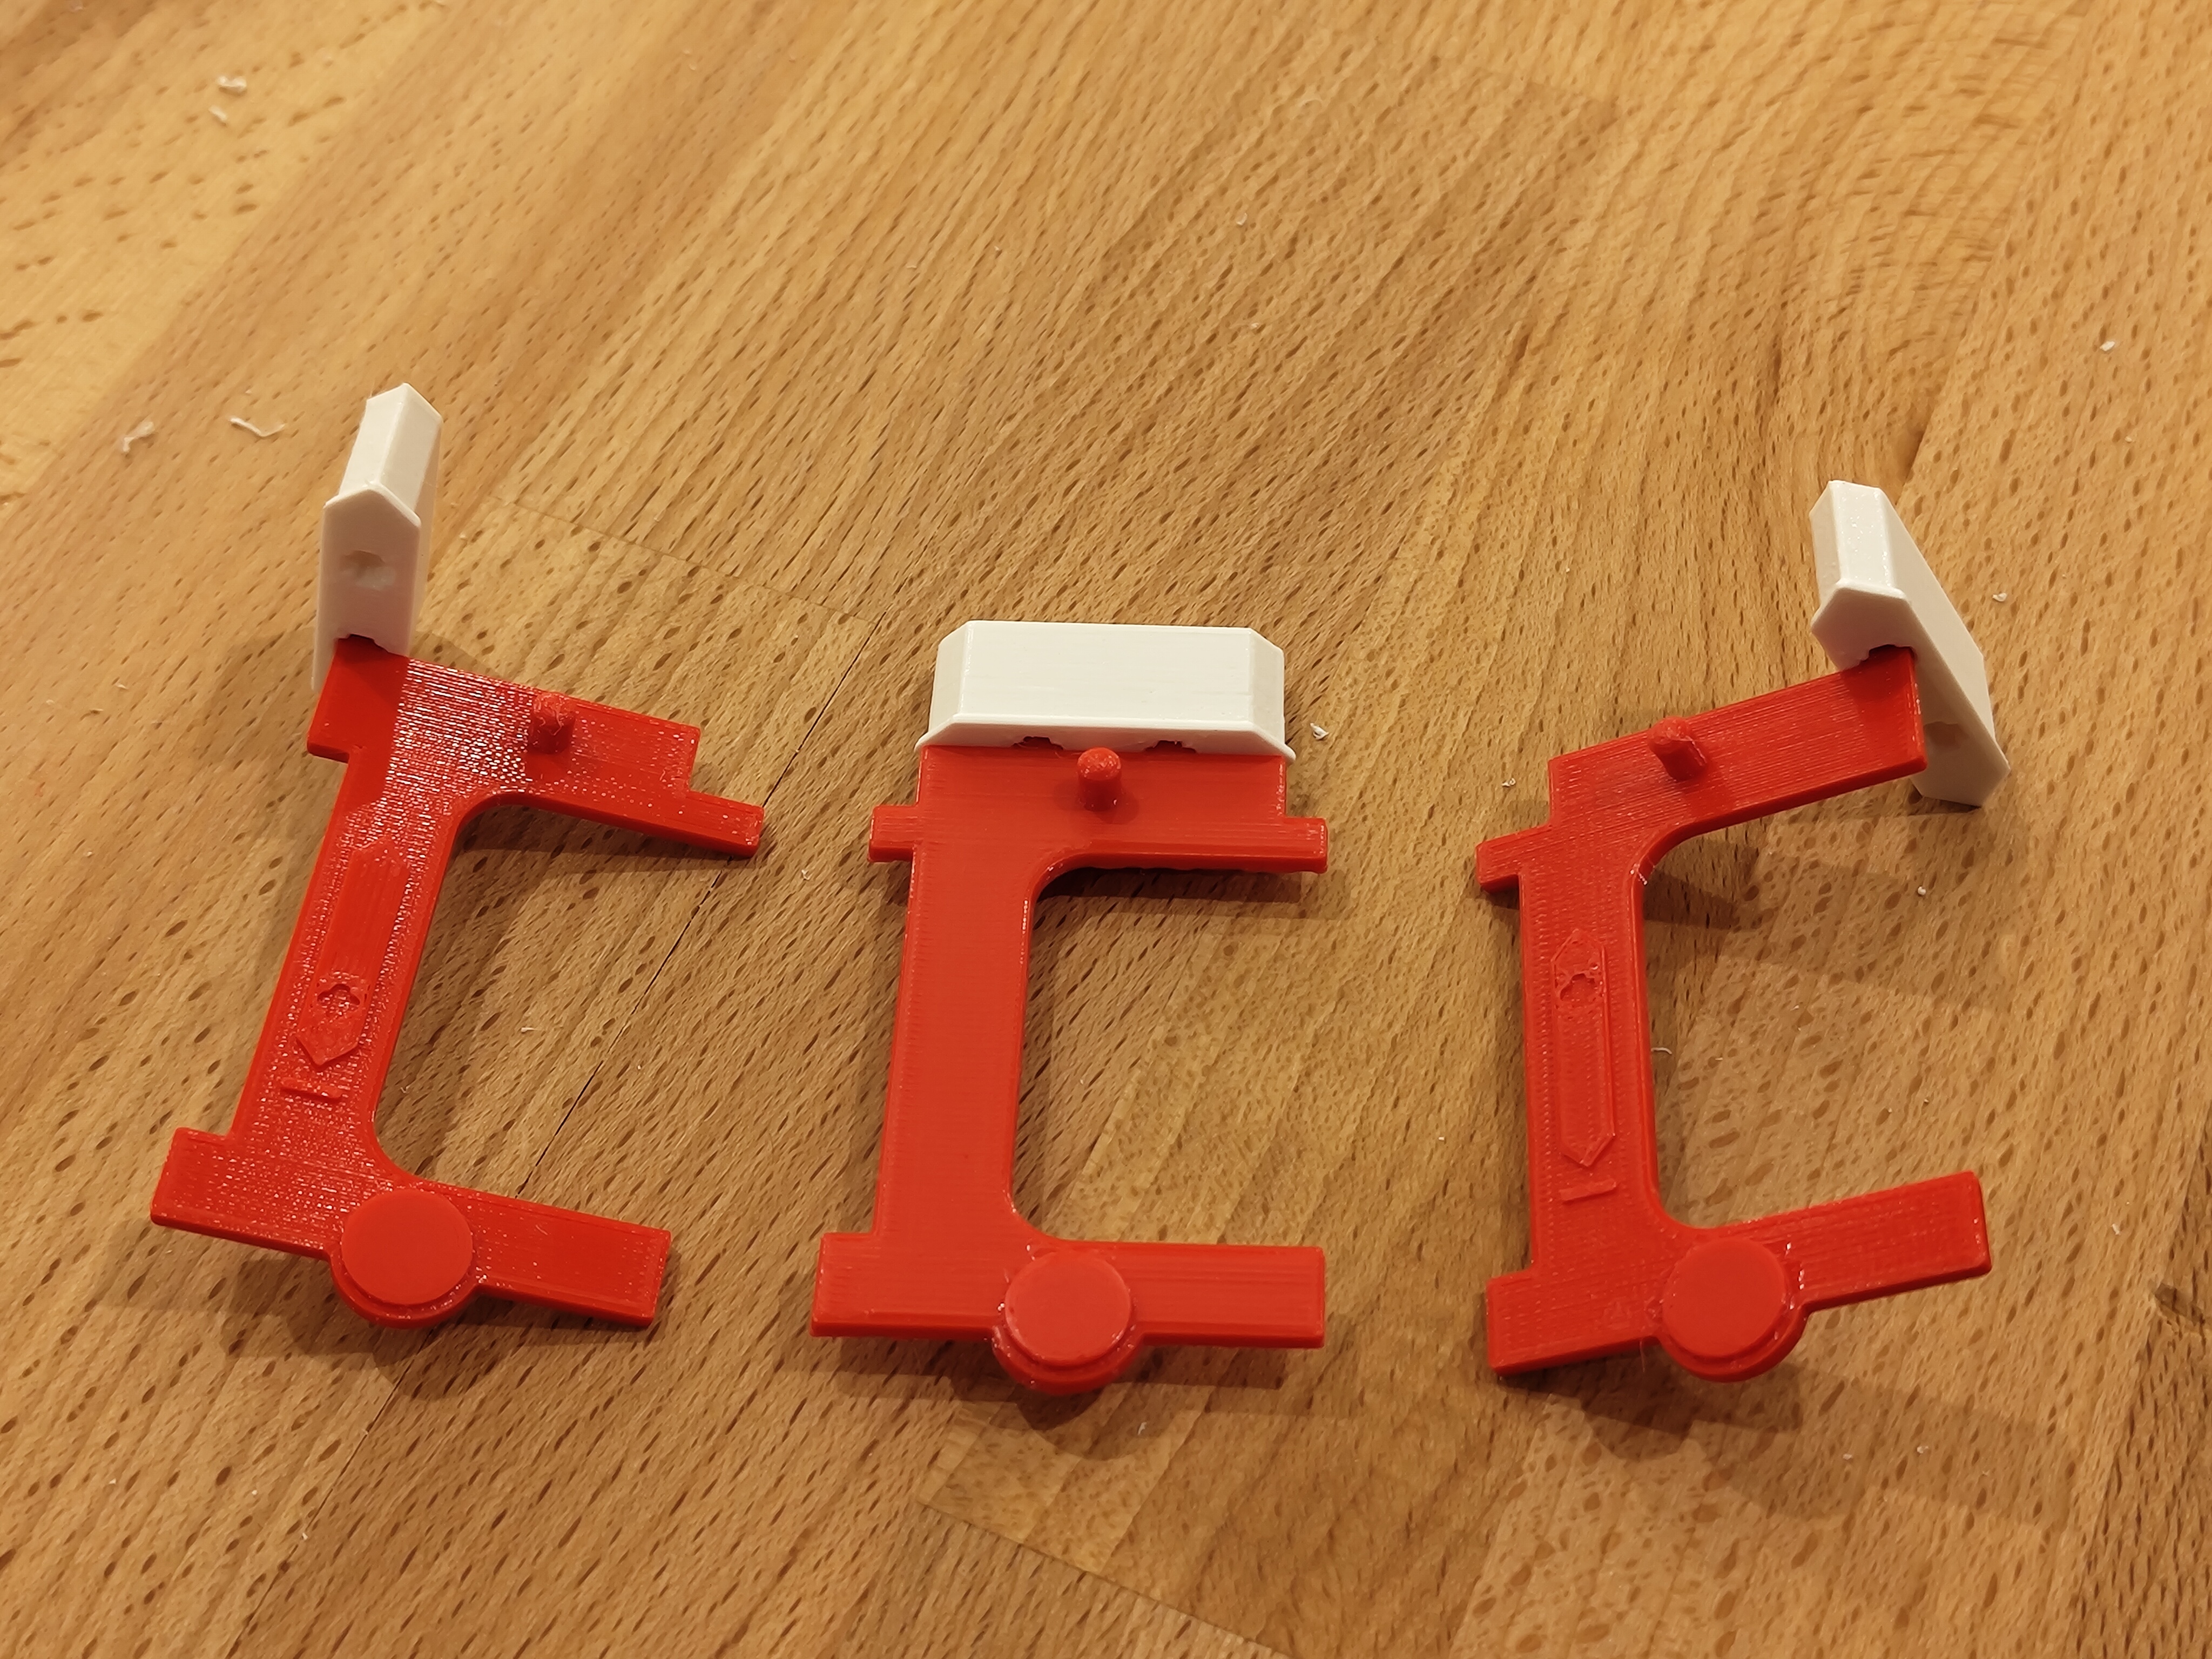
- Connect a segment to each pusher as shown in the photo.
- Put the segments into the front plate.
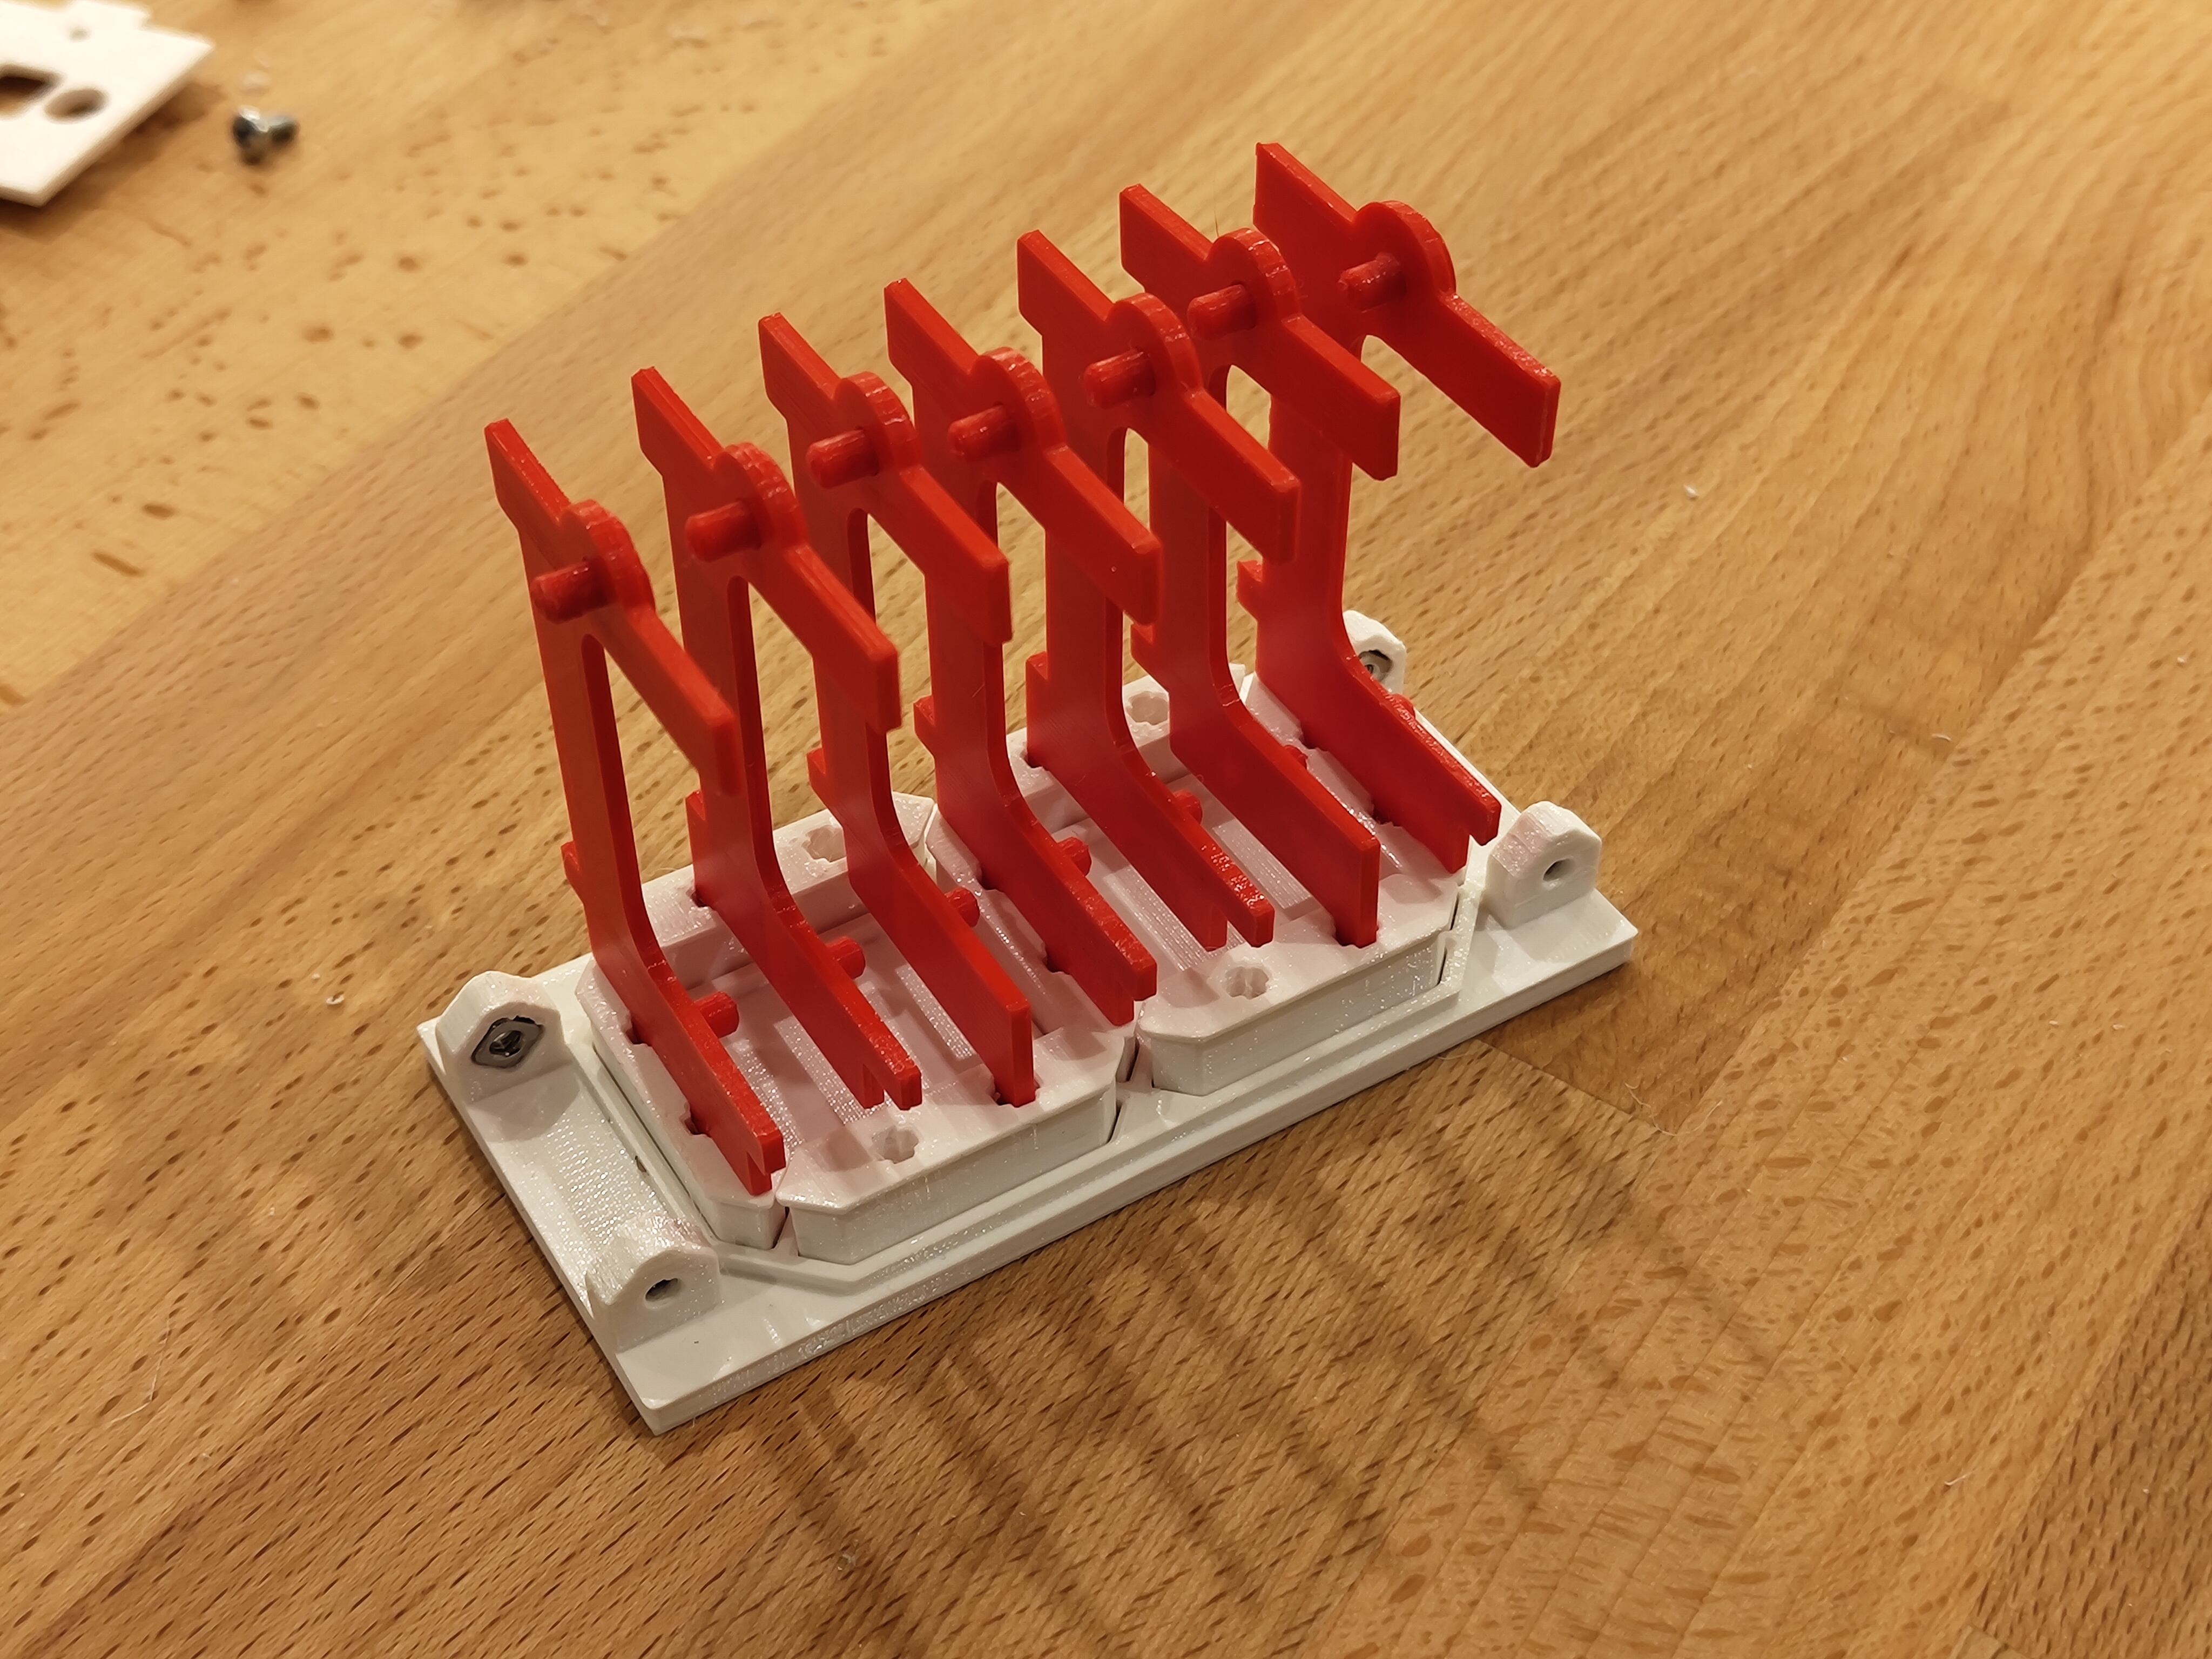
- Attach the side plate on the side where the pushers don't have an opening and screw it into place.
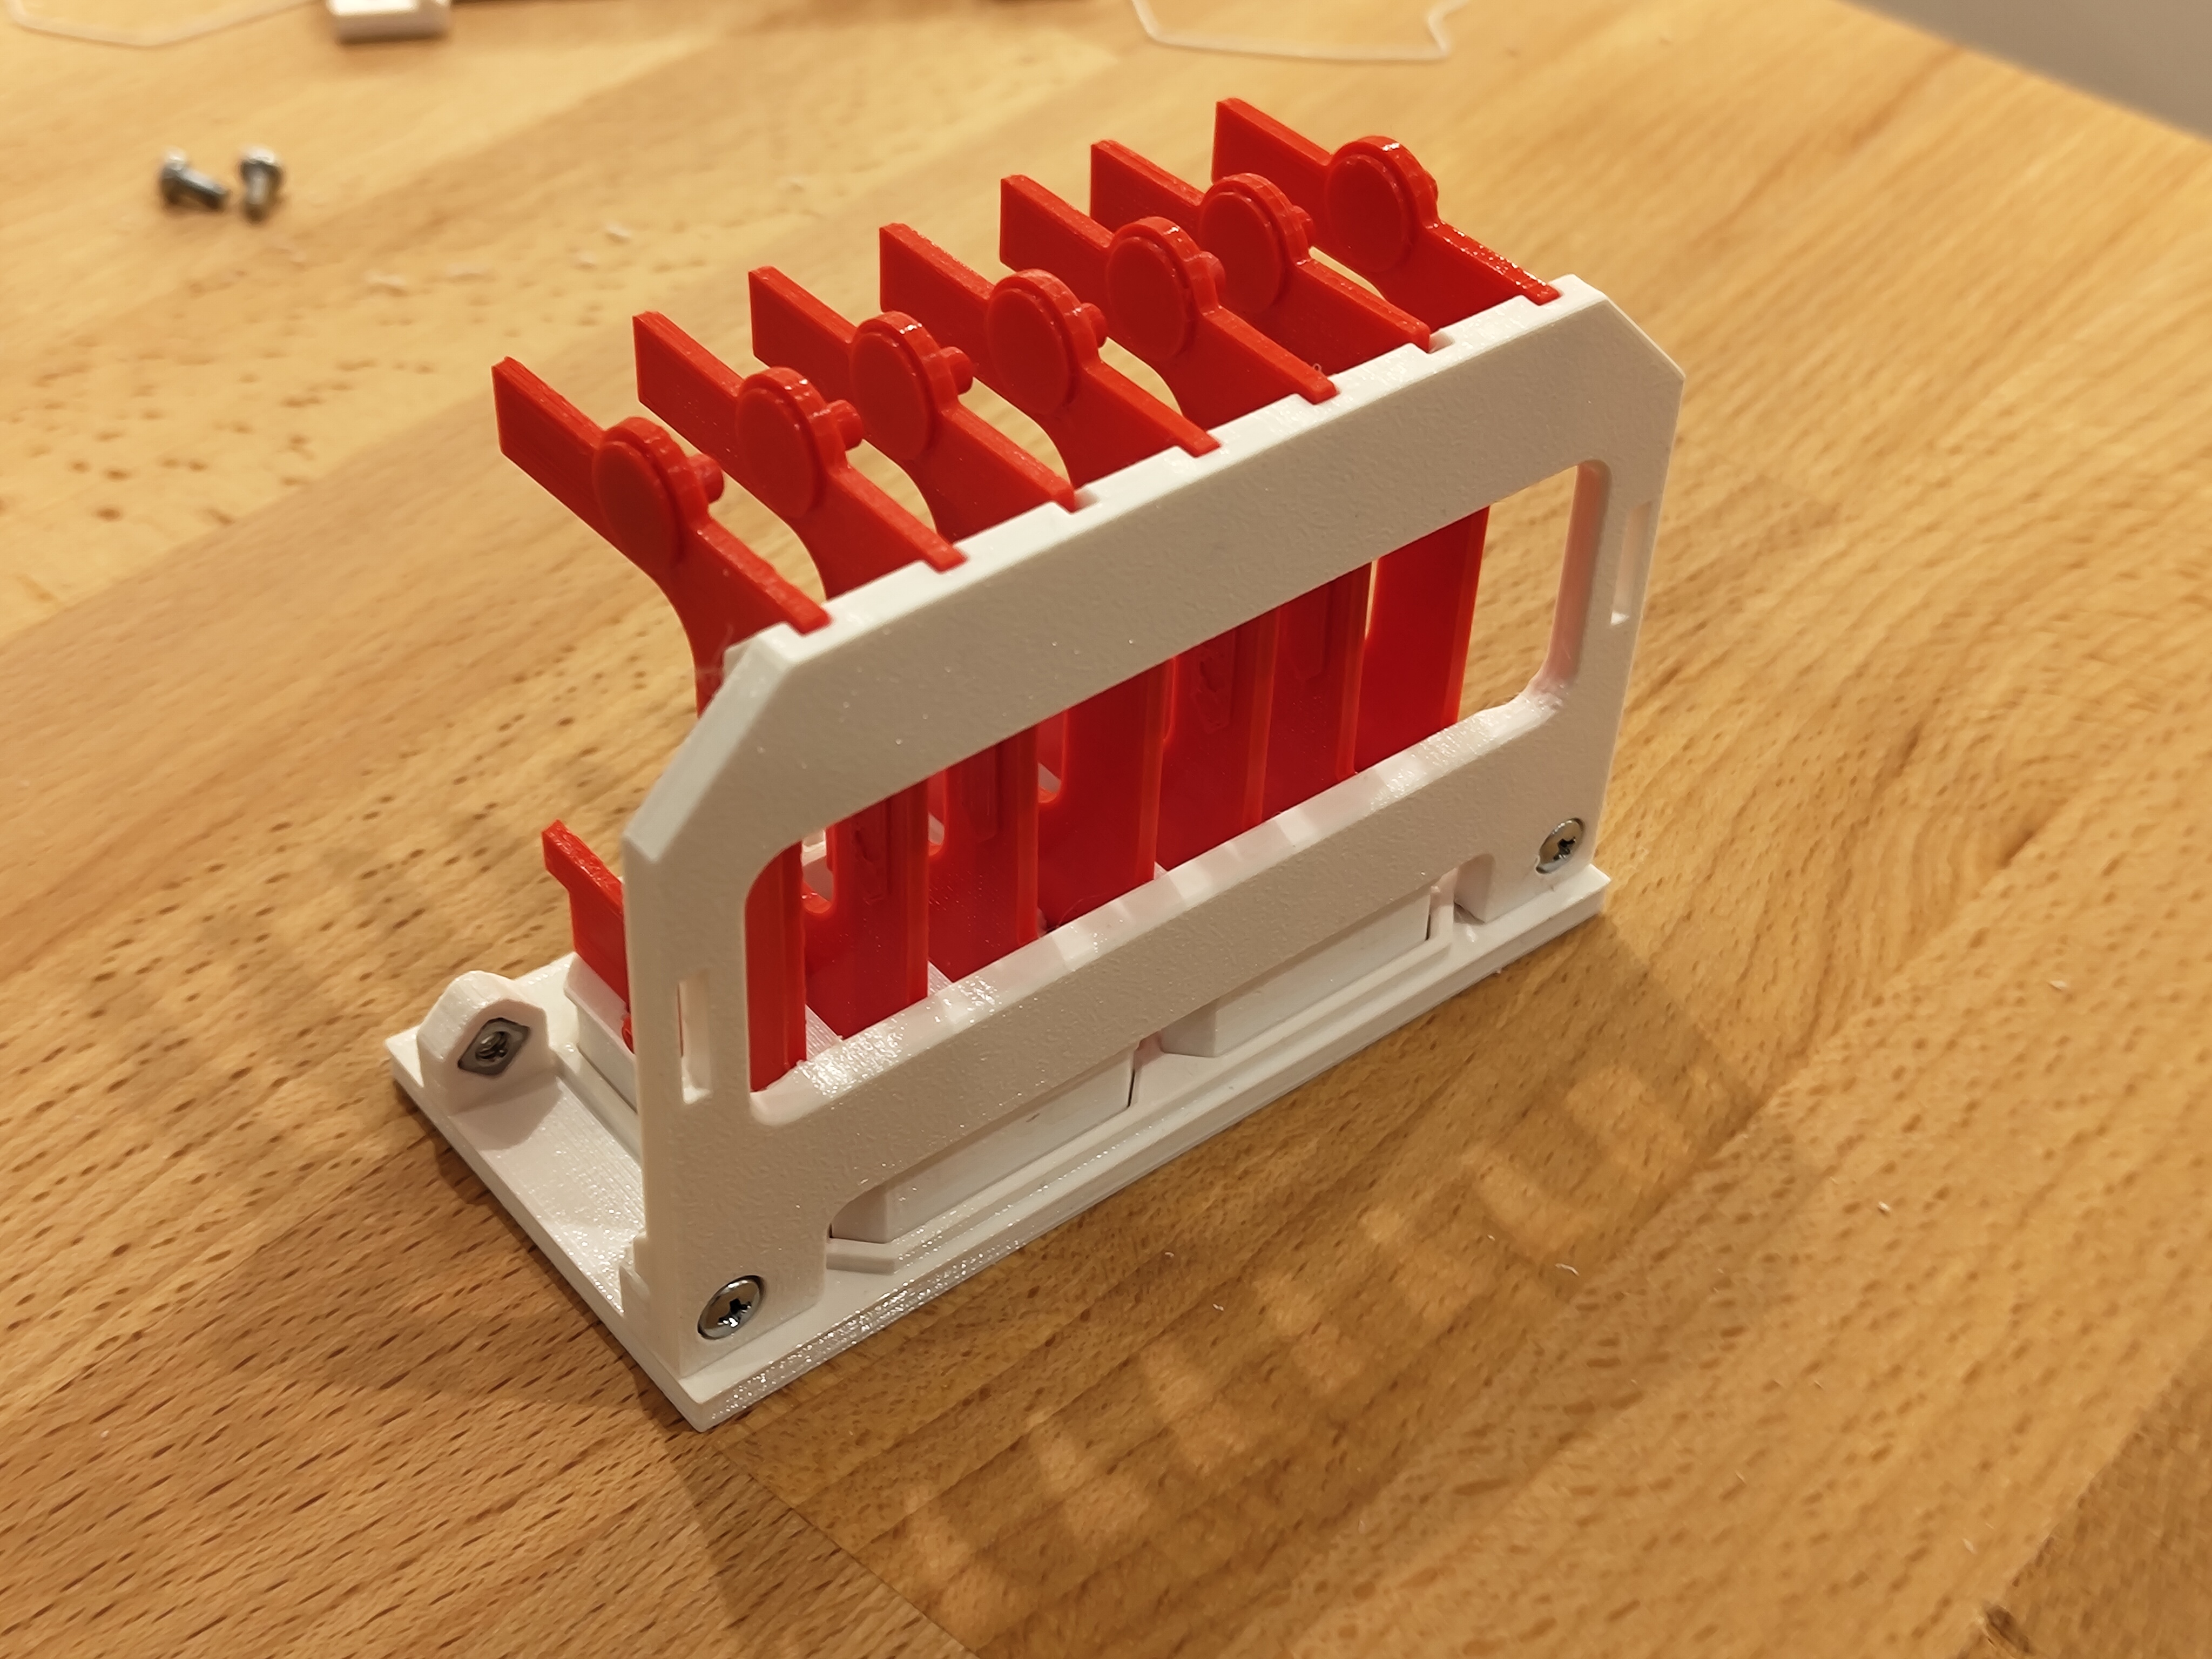
- Place the two camshafts between the top and bottom plate and make sure that the arrows at the top of the camshafts line up.
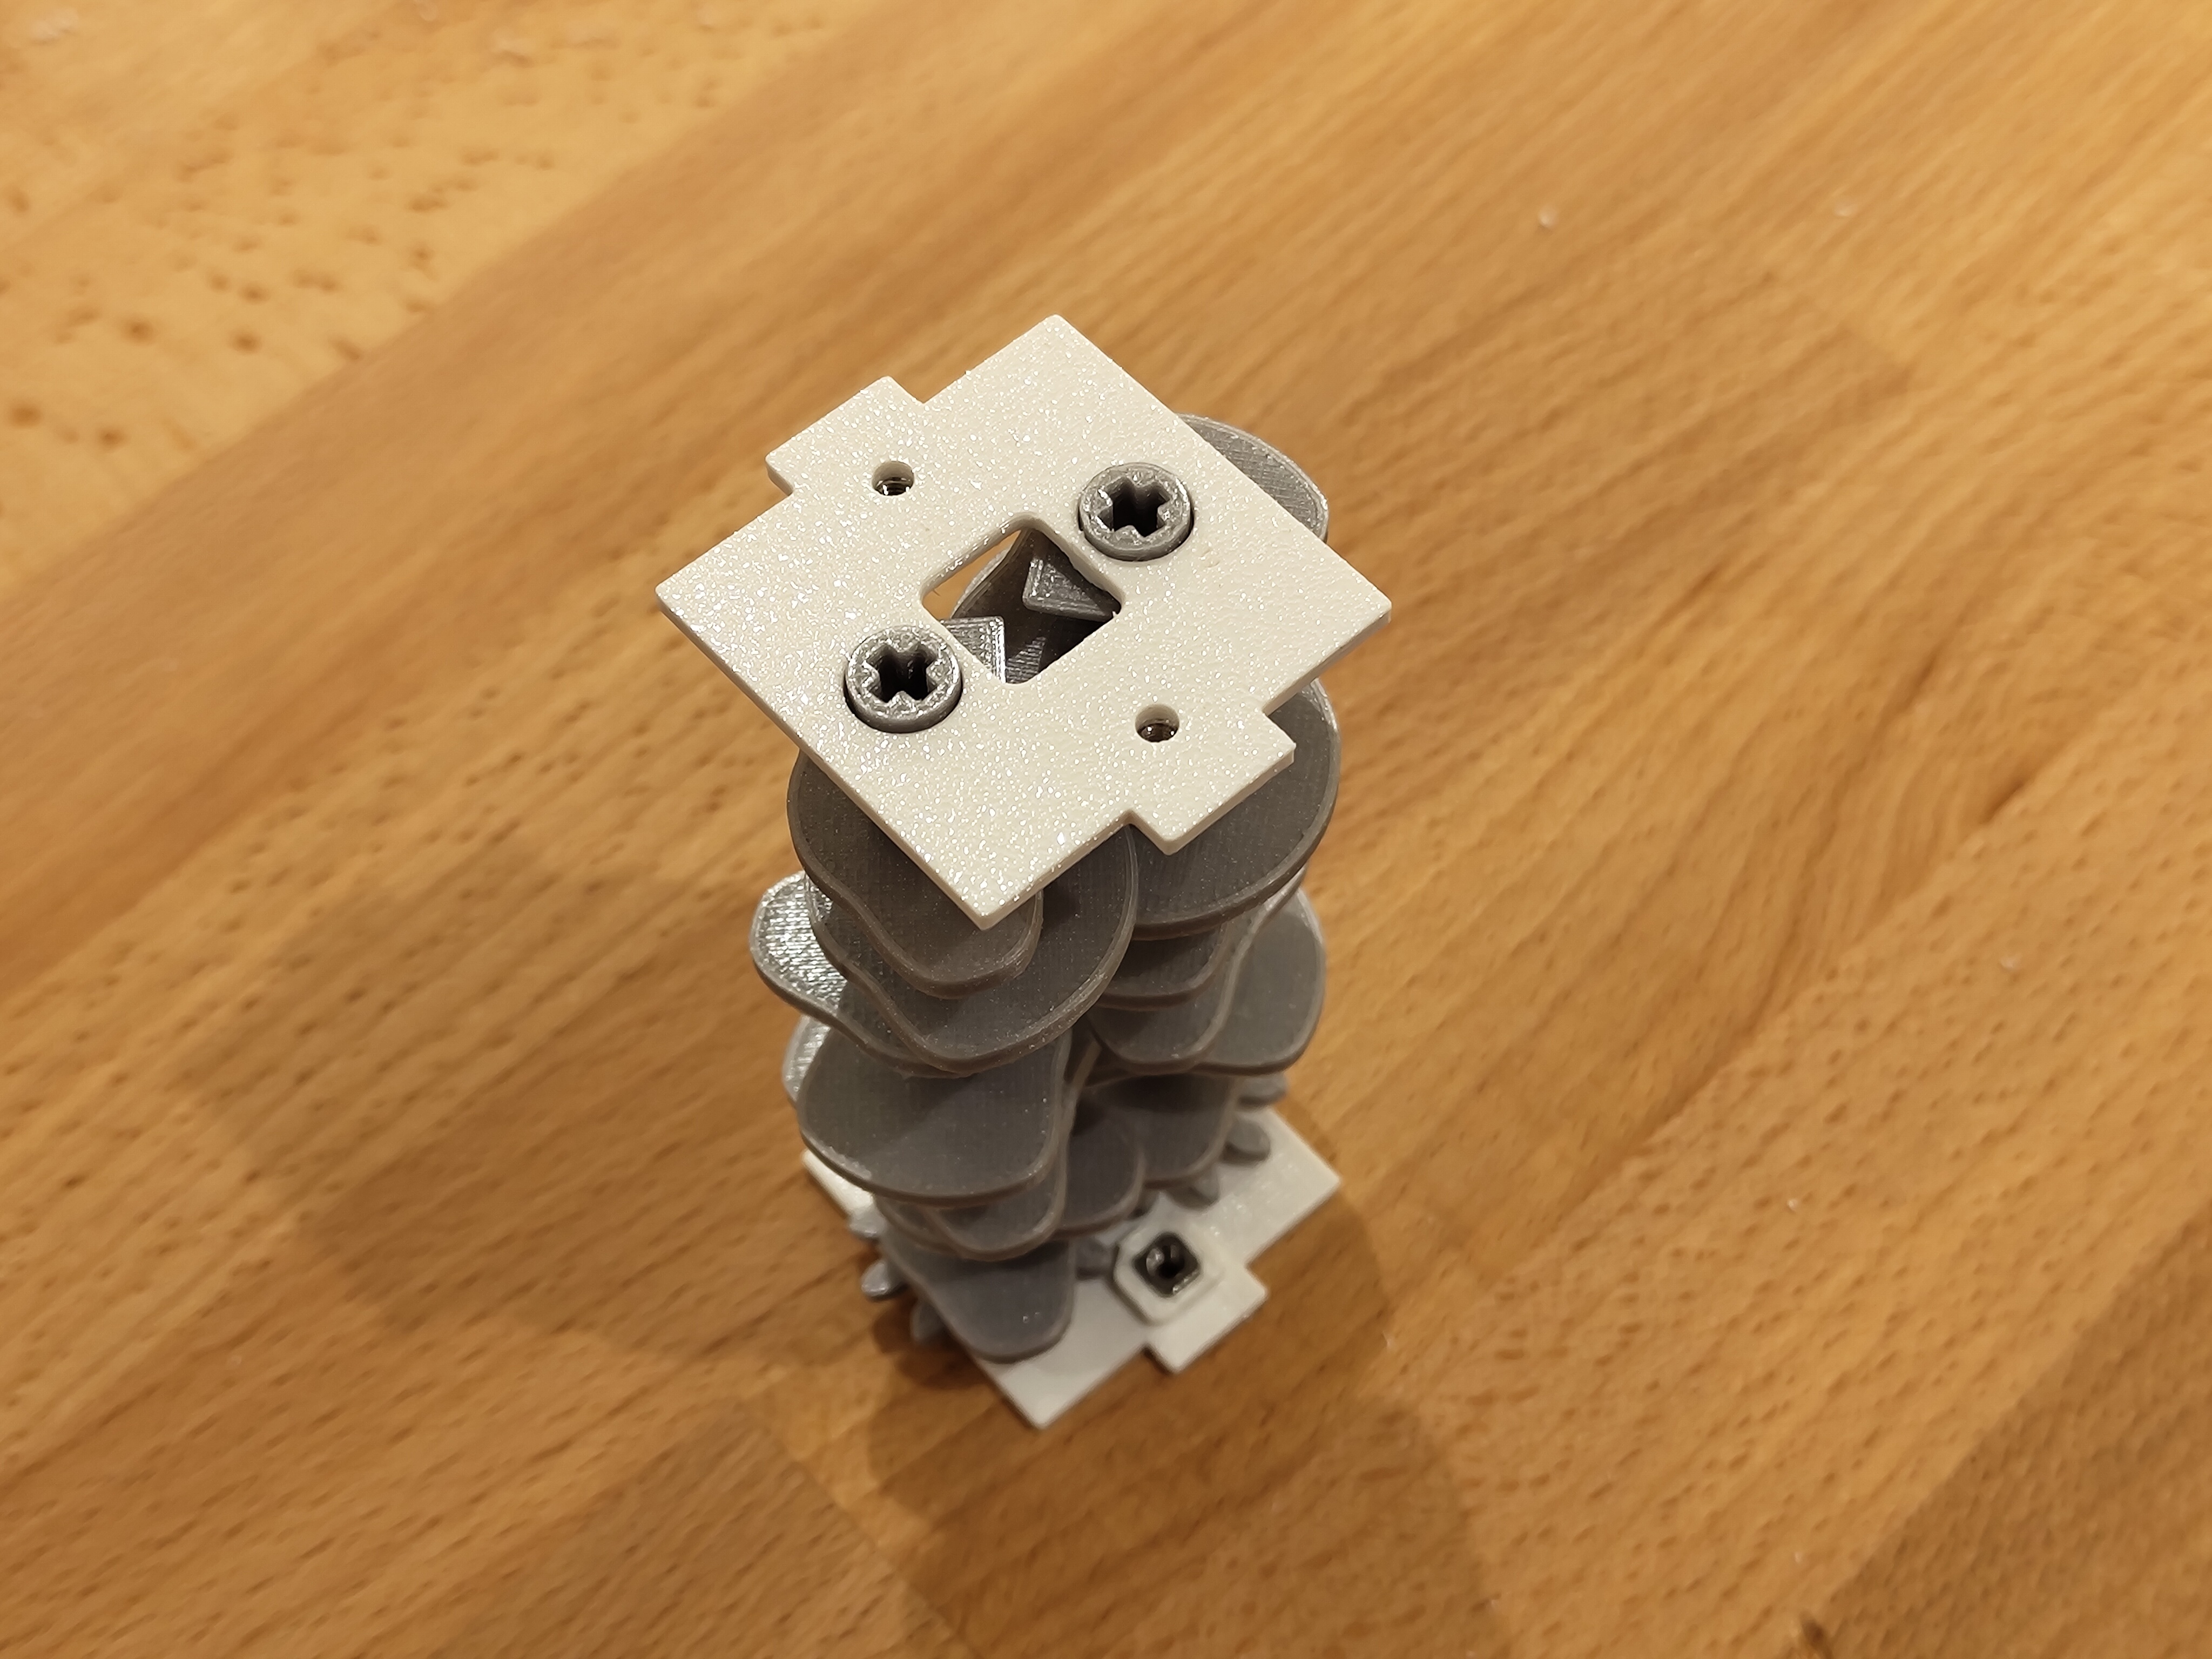
- Insert the camshaft assembly into the unit.
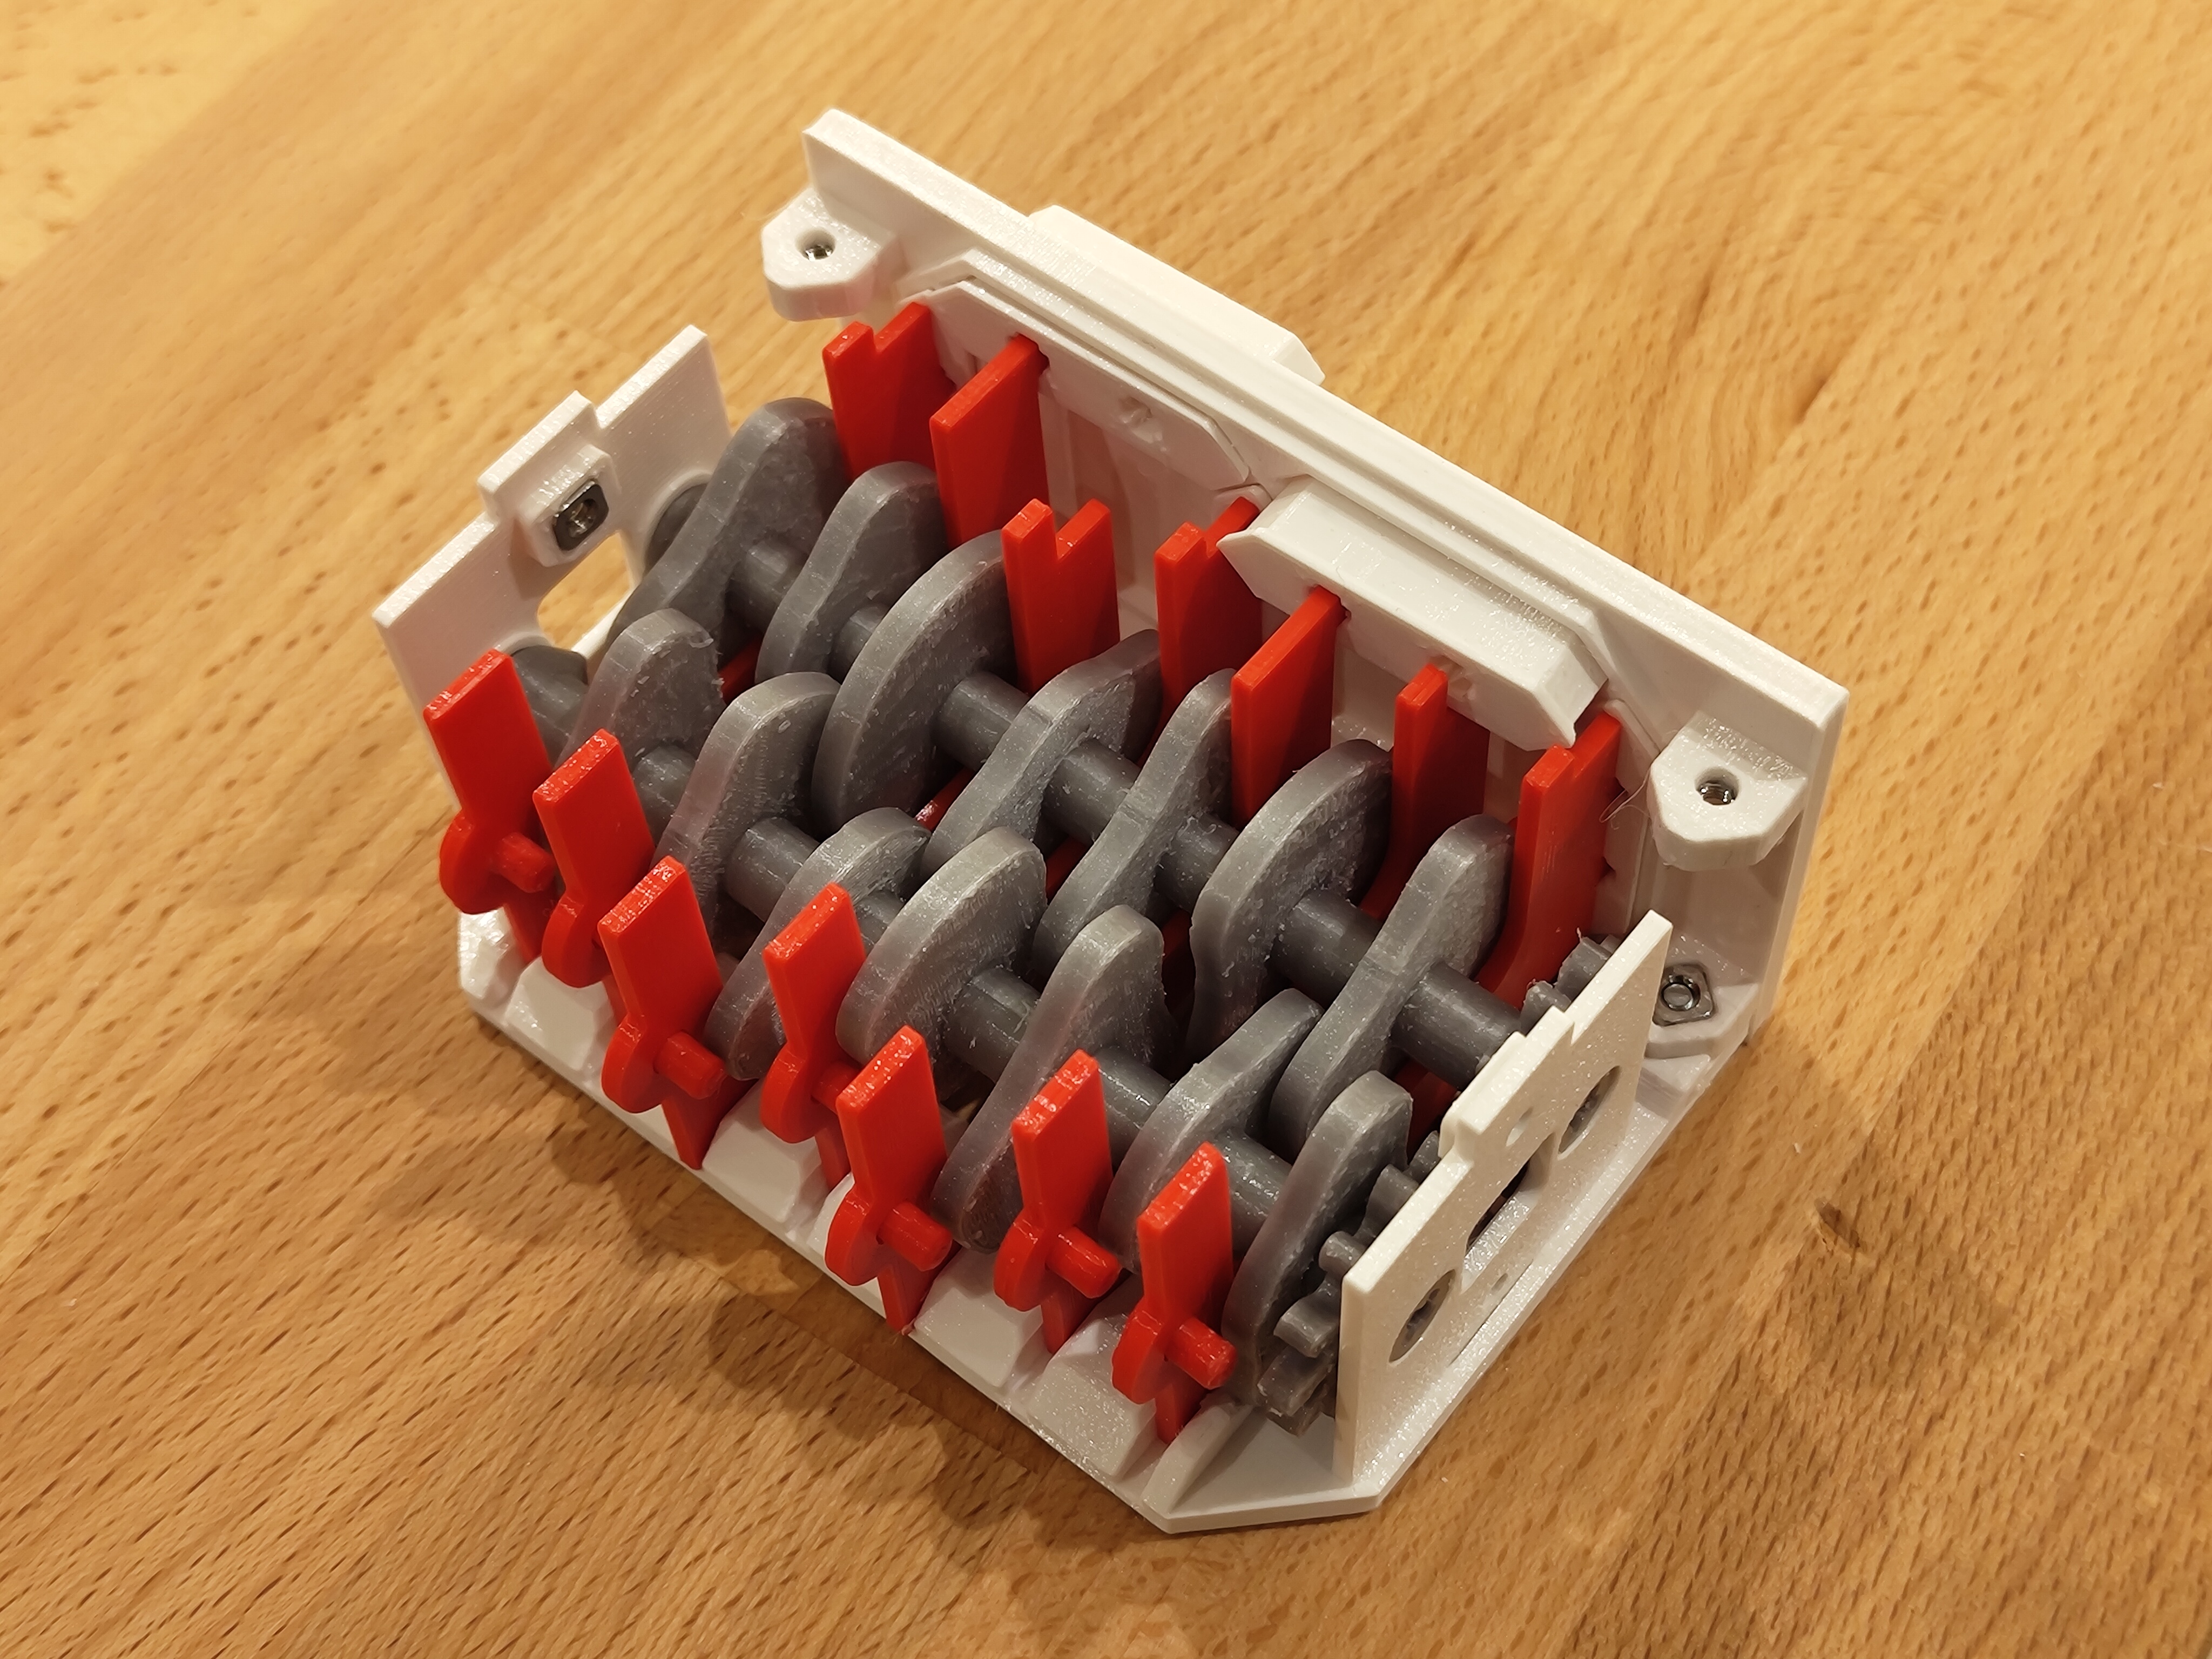
- Attach the other side plate and screw it into place.
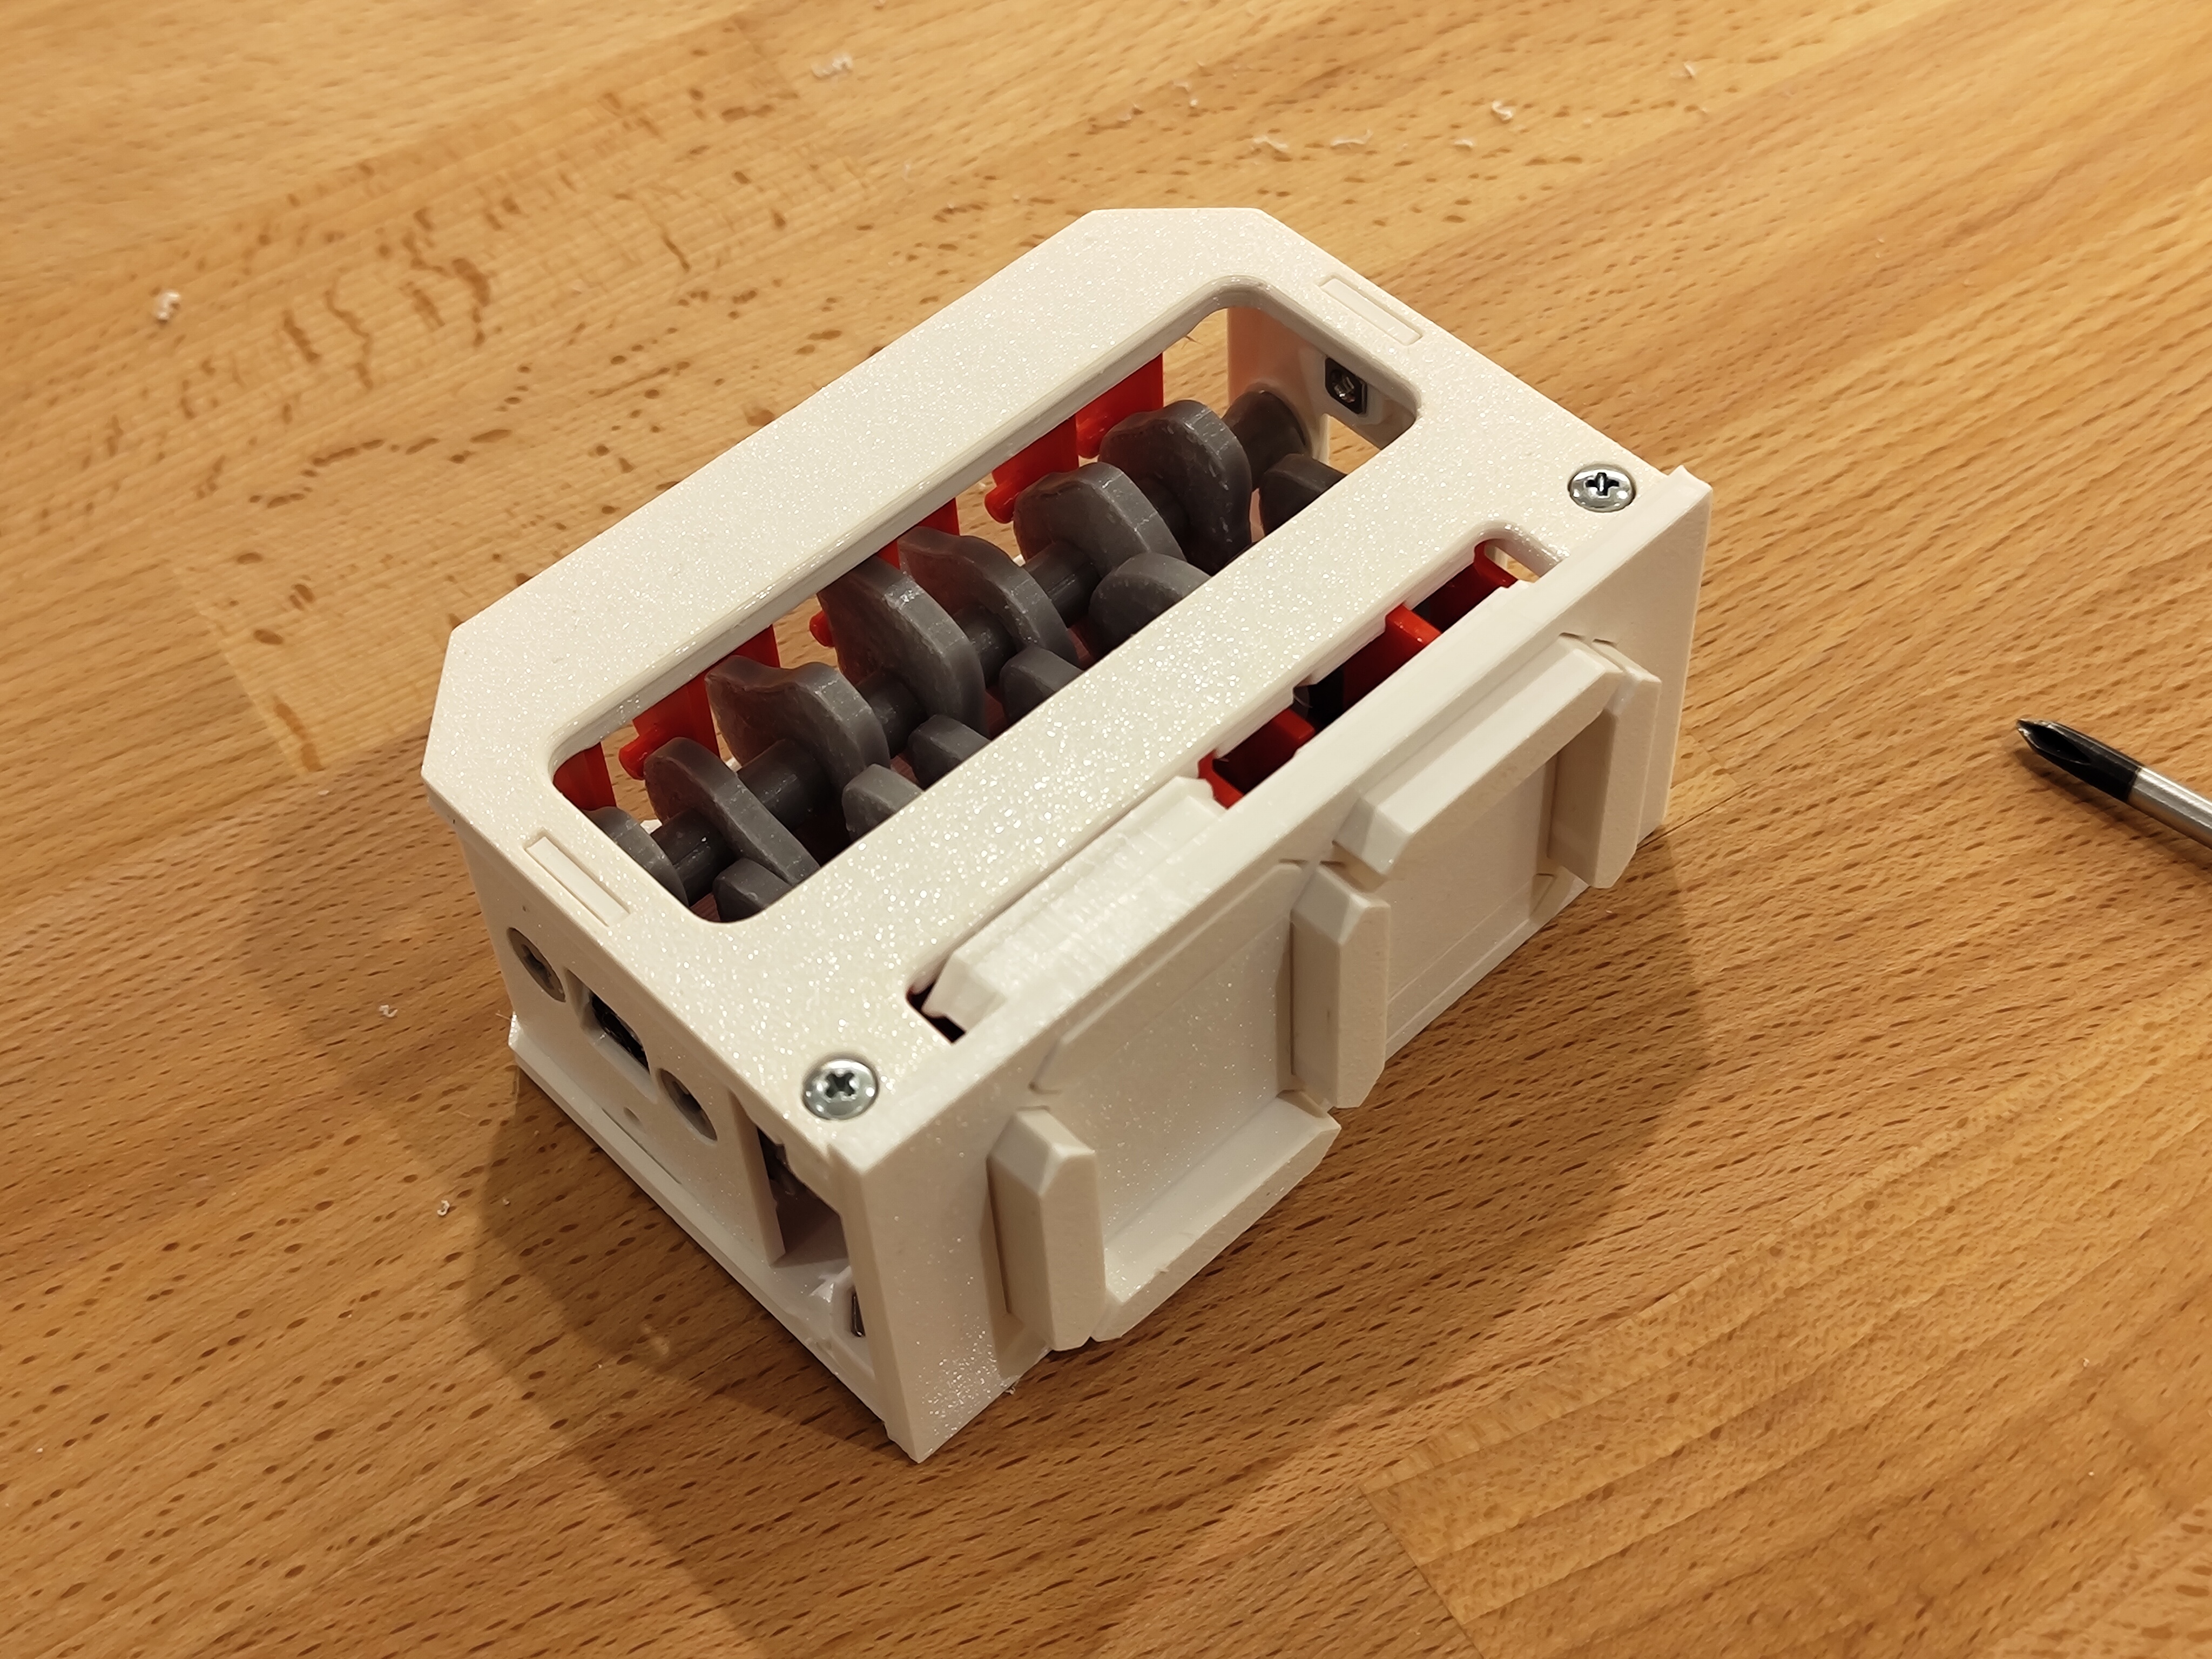
- Attach the knob