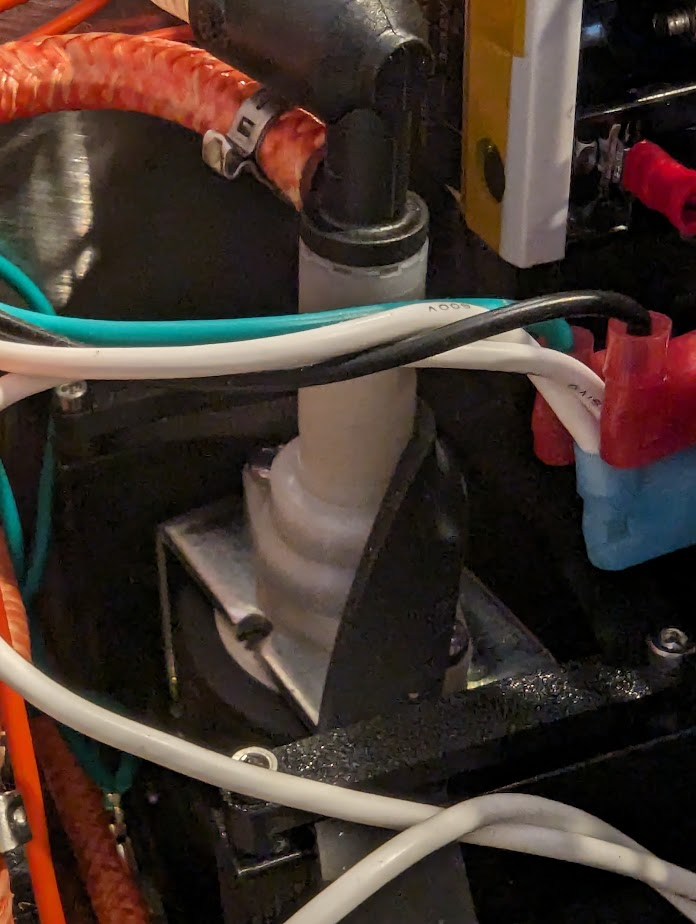
Low-Noise Ulka Pump Mount - Gaggia Classic Pro
Obliczymy ostateczną cenę na podstawie wybranego pliku. Sprawdzisz ją i zaakceptujesz przed płatnością.
Zapisane na tym urządzeniu.

Pump mount that reduces vibration and sound of an Ulka vibratory pump in a Gaggia Classic Pro
- Ocena
- 5 / 5
- Polubienia
- 144
- Pobrania
- 773
- Wydruki
- 7
- Wyświetlenia
- 10 303
- Oceny
- 4
Aktualizacja u źródła:
Informacje o modelu
- Źródło
- Printables
- Kategoria
- Kitchen
- Licencja
- Creative Commons — Attribution — Noncommercial — Share Alike
Warning - I'm hearing reports that Gaggia has recently changed the pump area screw locations, so if you have a 2026 or later E24 the holes may not match up.
2024-07-02 - New Alpha rev, note that instructions are not complete:
Same base sorbothane
Different top sorbothane - resists tubing better and doesn't require removal of the OPV to install. Currently trying ~150x18 mm strip; see pic of how sorbothane is routed and clipped.

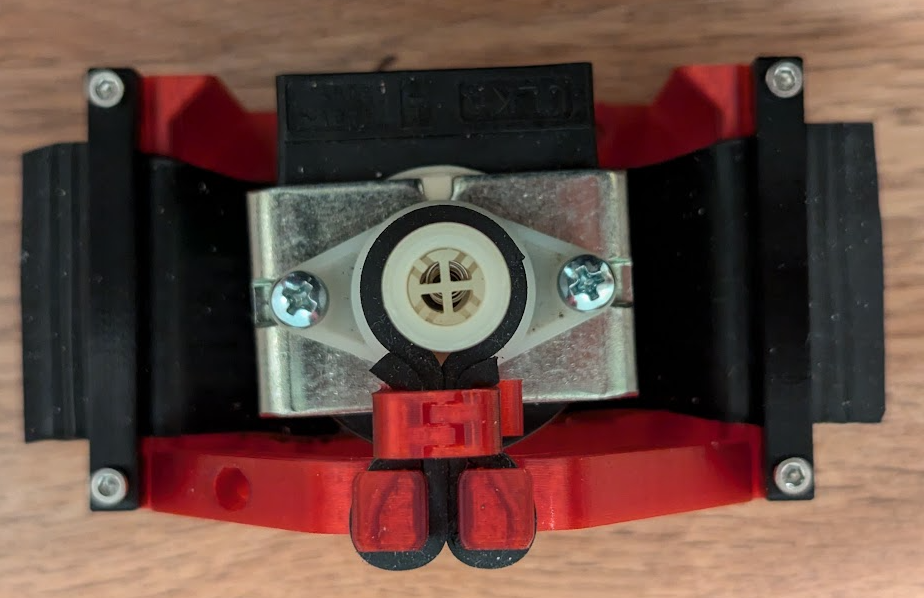
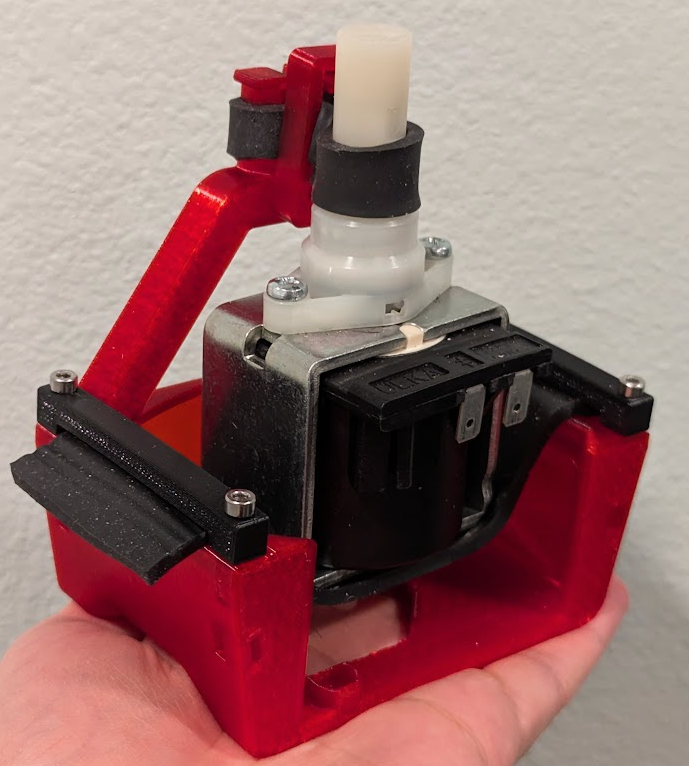
In my random quest for Gaggia espresso machine improvements, pump noise came up. There are many factors to pump noise, including (but certainly not limited to):
pump mount
age of pump
pump voltage and wattage
espresso machine housing sound transmission characteristics
placement of wires, tubing, and components in the machine
This design focuses on improving the pump mount, and is the 4th major design attempt with numerous revisions. In testing it reduced pump noise by up to 15 dB! If the main source of noise in your machine is the pump vibrations being transmitted through the machine housing, this mount is for you. However, it will not appreciably reduce noise caused by an old/failing pump or the rattling of various wires, tubing, or components that may be touching or attached to the pump.
Proper installation is vital. If your pump is touching anything other than flexible tubing or this mount during operation you will not achieve optimal results. These instructions assume you are somewhat familiar with the layout of a Gaggia Classic Pro. Please read everything before attempting.
Print Settings:
PETG, 0.4 mm nozzle, 0.2 mm layers, 3 wall lines, 20% infill OK, but 40% recommended.
Materials:
8 M3 Heat Set Insert Nut, 4.5 or 4.6 mm OD, 5 or 6 mm L (<4.2 mm initial insertion dia.)
8 M3x12 Socket Head Cap Screws
Sorbothane Sheet, Shore 50-70 OO (60 recommended), 0.125 in thick, at least 5.5 x 3.5 in
Other urethane sheet brands may work but are untested. Shore 50 is slightly quieter, but Shore 60 and 70 are a bit easier to work with and have a slightly higher working temp. I had to tighten Shore 50 after ~2 months as it stretched slightly. Not sure if that stretching will continue. At this point in testing I would recommend Shore 60.
Instructions:
Remove the pump and pump housing from the machine.
Mark and cut out sorbothane sheet using the printed template (trace along the inner wall for the smaller sheet).

I found it easiest to fold over the sheet to cut the center circle. Don't worry, it doesn't have to be pretty.

Install the 4 heat-set inserts into the PumpMount blind holes. Insert the larger piece of Sorbothane through the slits in the body and set the pump on top. Place the PumpMount onto the SetupTemplate spacers.

Adjust the Sorbothane tension so that the pump is horizontally centered between the walls, and the tubing is roughly vertically centered between base of SetupTemplate and bottom of PumpMount. It should not be touching either.

Attach and tighten the Clamps. Verify the pump alignment has not changed.

Place the smaller Sorbothane cutout over the top of the pump and lightly attach it down. Its purpose is to hold the pump in place in X/Y. It should not apply much force down or this will affect the tubing clearance below. Zip-tie the wires/connectors in place with a service loop that allows the pump to move freely.

Screw the pump output back onto the OPV.

Place the two screws from the original pump mount into the mounting holes and insert the assembly back into the machine.

Depending on angles, screwdrivers, and what other mods are in your machine you may need to take the PumpMountTop off for screwdriver access
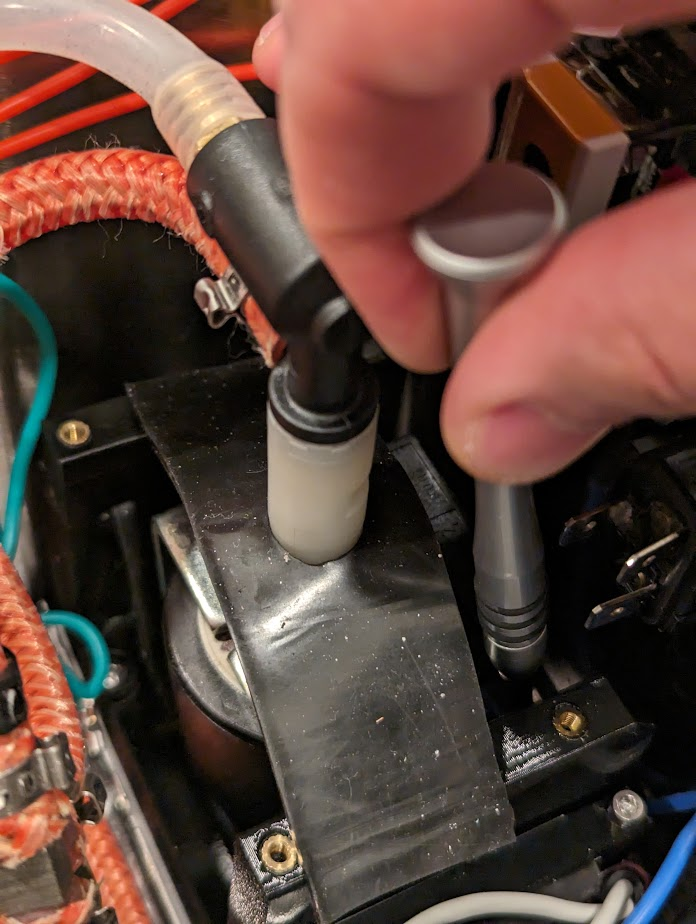
Note: in some machines the tubing loop(s) are tight enough that they push the pump sideways. Especially if you have a SSR there may not be much room. In that case, you may fold the top Sorbothane over to provide extra support in keeping the pump centered (don't clamp too hard or it could split).

Another option is to only place sorbothane on one side like this