
1 / 3
Elgato Facecam Privacy Shield with INLAY Logo
Zamów wydruk tego modelu
Obliczymy ostateczną cenę na podstawie wybranego pliku. Sprawdzisz ją i zaakceptujesz przed płatnością.
Zapisane na tym urządzeniu.
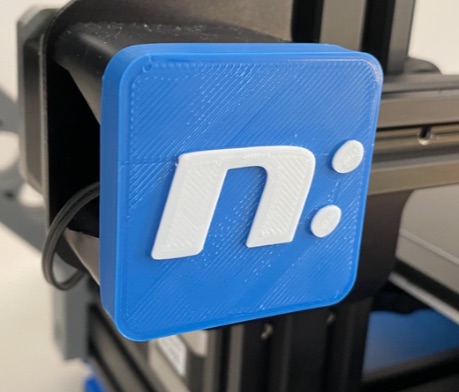
This is a remix of @jdireen's privacy shield for the Elgato facecam, enhanced with the Elagato logo on the front.
- Ocena
- 5 / 5
- Polubienia
- 8
- Pobrania
- 67
- Wydruki
- 1
- Wyświetlenia
- 463
- Oceny
- 2
Aktualizacja u źródła:
Informacje o modelu
- Źródło
- Printables
- Kategoria
- Photo & Video
- Licencja
- Creative Commons — Attribution
Instructions:
- Load the facecam_privacy-shade_logo.3mf file into PrusaSlicer, which contains the logo, arrow and body of the shield.
- Move the whole object out of center as the inlays might collide with the probe while homing before printing the “body” (step 8).
- Slicing the inlays:
Disable the “body” part and slice the arrow and logo and transfer it to the printer. - Print the logo and arrow in the colour you like.
- Change the filament for the body, but leave the logo and the arrow on the plate. Remove the skirt and primer line!
- Slicing the body:
Enable the “body” part again and disable “arrow” and “logo”.
Adjust in PrusaSlicer under Filament Settings > Filament Overrides > Retraction length to 1.5 mm. The inlays are 1mm high, so there is enough space left for the nozzle to travel over the inlays. This procedure is also known as z-hop in case you use a different slicer. - Slice the body and transfer it to the printer.
- Print the body
- Print the frame (facecam_privacy-shade_frame.3mf)
Material: PLA
Quality: 0.2mm
If you like my stuff, then please leave a and post a make. Thanks!