
Robust 1/4"-20 Camera Mount for Prusa Original Enclosure
Obliczymy ostateczną cenę na podstawie wybranego pliku. Sprawdzisz ją i zaakceptujesz przed płatnością.
Wstępna wycena dla PETG
1,34 € – 1,64 € netto (bez VAT)
Dla pliku: prusa-enclosure-corner-camera-mount_0.4n_0.2mm_PETG_MK4IS_1h11m.bgcode
To wstępna wycena jednego pliku. Dokładną cenę poznasz przed zamówieniem.
Plik i założenia wyceny
Plik użyty do wyceny
Średnia wycena orientacyjna: 1,49 € netto (środek widełek).
- Masa podana przez autora
- 27 g
- Czas druku podany przez autora
- 1,18 godz.
- Materiał u źródła
- PET
- Materiał wyceny
- PETG
- Drukarka wyceny
- Bambu Lab P1S - 0.4 nozzle
- Proces wyceny
- 0.20mm Standard
Orientacyjna wycena wyłącznie wybranego pliku, oparta na masie i czasie druku podanych przez autora. Warianty plików nie są sumowane. Ostateczna cena zostanie obliczona po analizie pliku.
Zapisane na tym urządzeniu.

A sturdy 1/4"-20 corner camera mount for the Prusa Original Enclosure
- Ocena
- 4,5 / 5
- Polubienia
- 2
- Pobrania
- 21
- Wydruki
- 2
- Wyświetlenia
- 237
- Oceny
- 2
Aktualizacja u źródła:
Informacje o modelu
- Źródło
- Printables
- Kategoria
- Prusa Parts & Upgrades
- Licencja
- Creative Commons — Attribution
This is a rock solid mount for any camera equipment that uses a standard ¼"-20 screw. The mount is modeled after the spool holder that comes with the Prusa Original Enclosure.
It screws perfectly into any of the enclosure's corner attachment points. The ¼" mounting screw is offset 71.5mm from the enclosure's attachment holes, to allow better camera positioning with short adapters, and to avoid interfering with the LED light strip accessory.
The mount can provide stable support for even relatively heavy items, such as DSLR cameras. For example, in this test setup I'm using it to hold a DSLR camera with a quite heavy telephoto lens, attached to a 10" articulating arm:

This particular setup is probably not that practical, but if the mount can take this, I don't expect it will have trouble with more reasonable configurations.
(While the mount is able to hold surprisingly large items, please use reasonable judgement. Overloading the mount can result in a failure that can damage your enclosure, camera or printer.)
Required Hardware
This mount is designed to use a brass heat sink insert, for a reliable connection.
| Qty | Part | Source |
|---|---|---|
| 1 | ¼"-20 x 12.7mm Threaded Insert | CNCKitchen, Prusa |
| 2 | M3x14mm Screw | Spare bits from your enclosure kit, Amazon |
| 2 | M3 Hex Nut | Spare bits from your enclosure kit, Amazon |

| Tool | Source |
|---|---|
| Screwdriver with a 2.5mm hex bit | Came with your enclosure kit, Prusa |
| Soldering iron | Amazon |
| Optional: Heat set adapter | CNCKitchen, Prusa |
Printing
The downloadable STL/STP files are pre-oriented for direct printing. The piece prints well without any supports or brims.
The design provides pre-baked 100% fill around the ¼" attachment point, to provide plenty of material for the heat set insert to sink into. (This feature assumes a 0.2mm layer height and at least 4 top/bottom solid layers – it may need some fiddling to work well with other configurations.)
Recommended settings:
- Material: PETG
- Layer height: 0.2mm
- Perimeters: 3 (minimum 2)
- Solid layers: 5 top, 4 bottom (minimum 4/4)
- Infill: 20% Cubic
- Extrusion width: 0.45mm
- Supports: none
- Brim: none
Parts Preparation
- Insert the two M3N nuts into the holes in the printed part. Use a long M3 screw from the other side to completely pull them into their slot – they are press fit, and they will stay solidly in place after insertion.
- Use a soldering iron to install the brass heat set insert into the 8mm hole on the tip of the mount. For PETG, heating the iron to 250℃ worked well for me.

Assembly
From the inside, attach the camera mount to one of the corners of the enclosure. Secure it with two M3x14 screws.
Screw your favorite ¼"-20 camera rig to the mount, and attach your camera to it. I like to use SmallRig Magic Arms for flexible positioning, but any standard camera equipment will work.
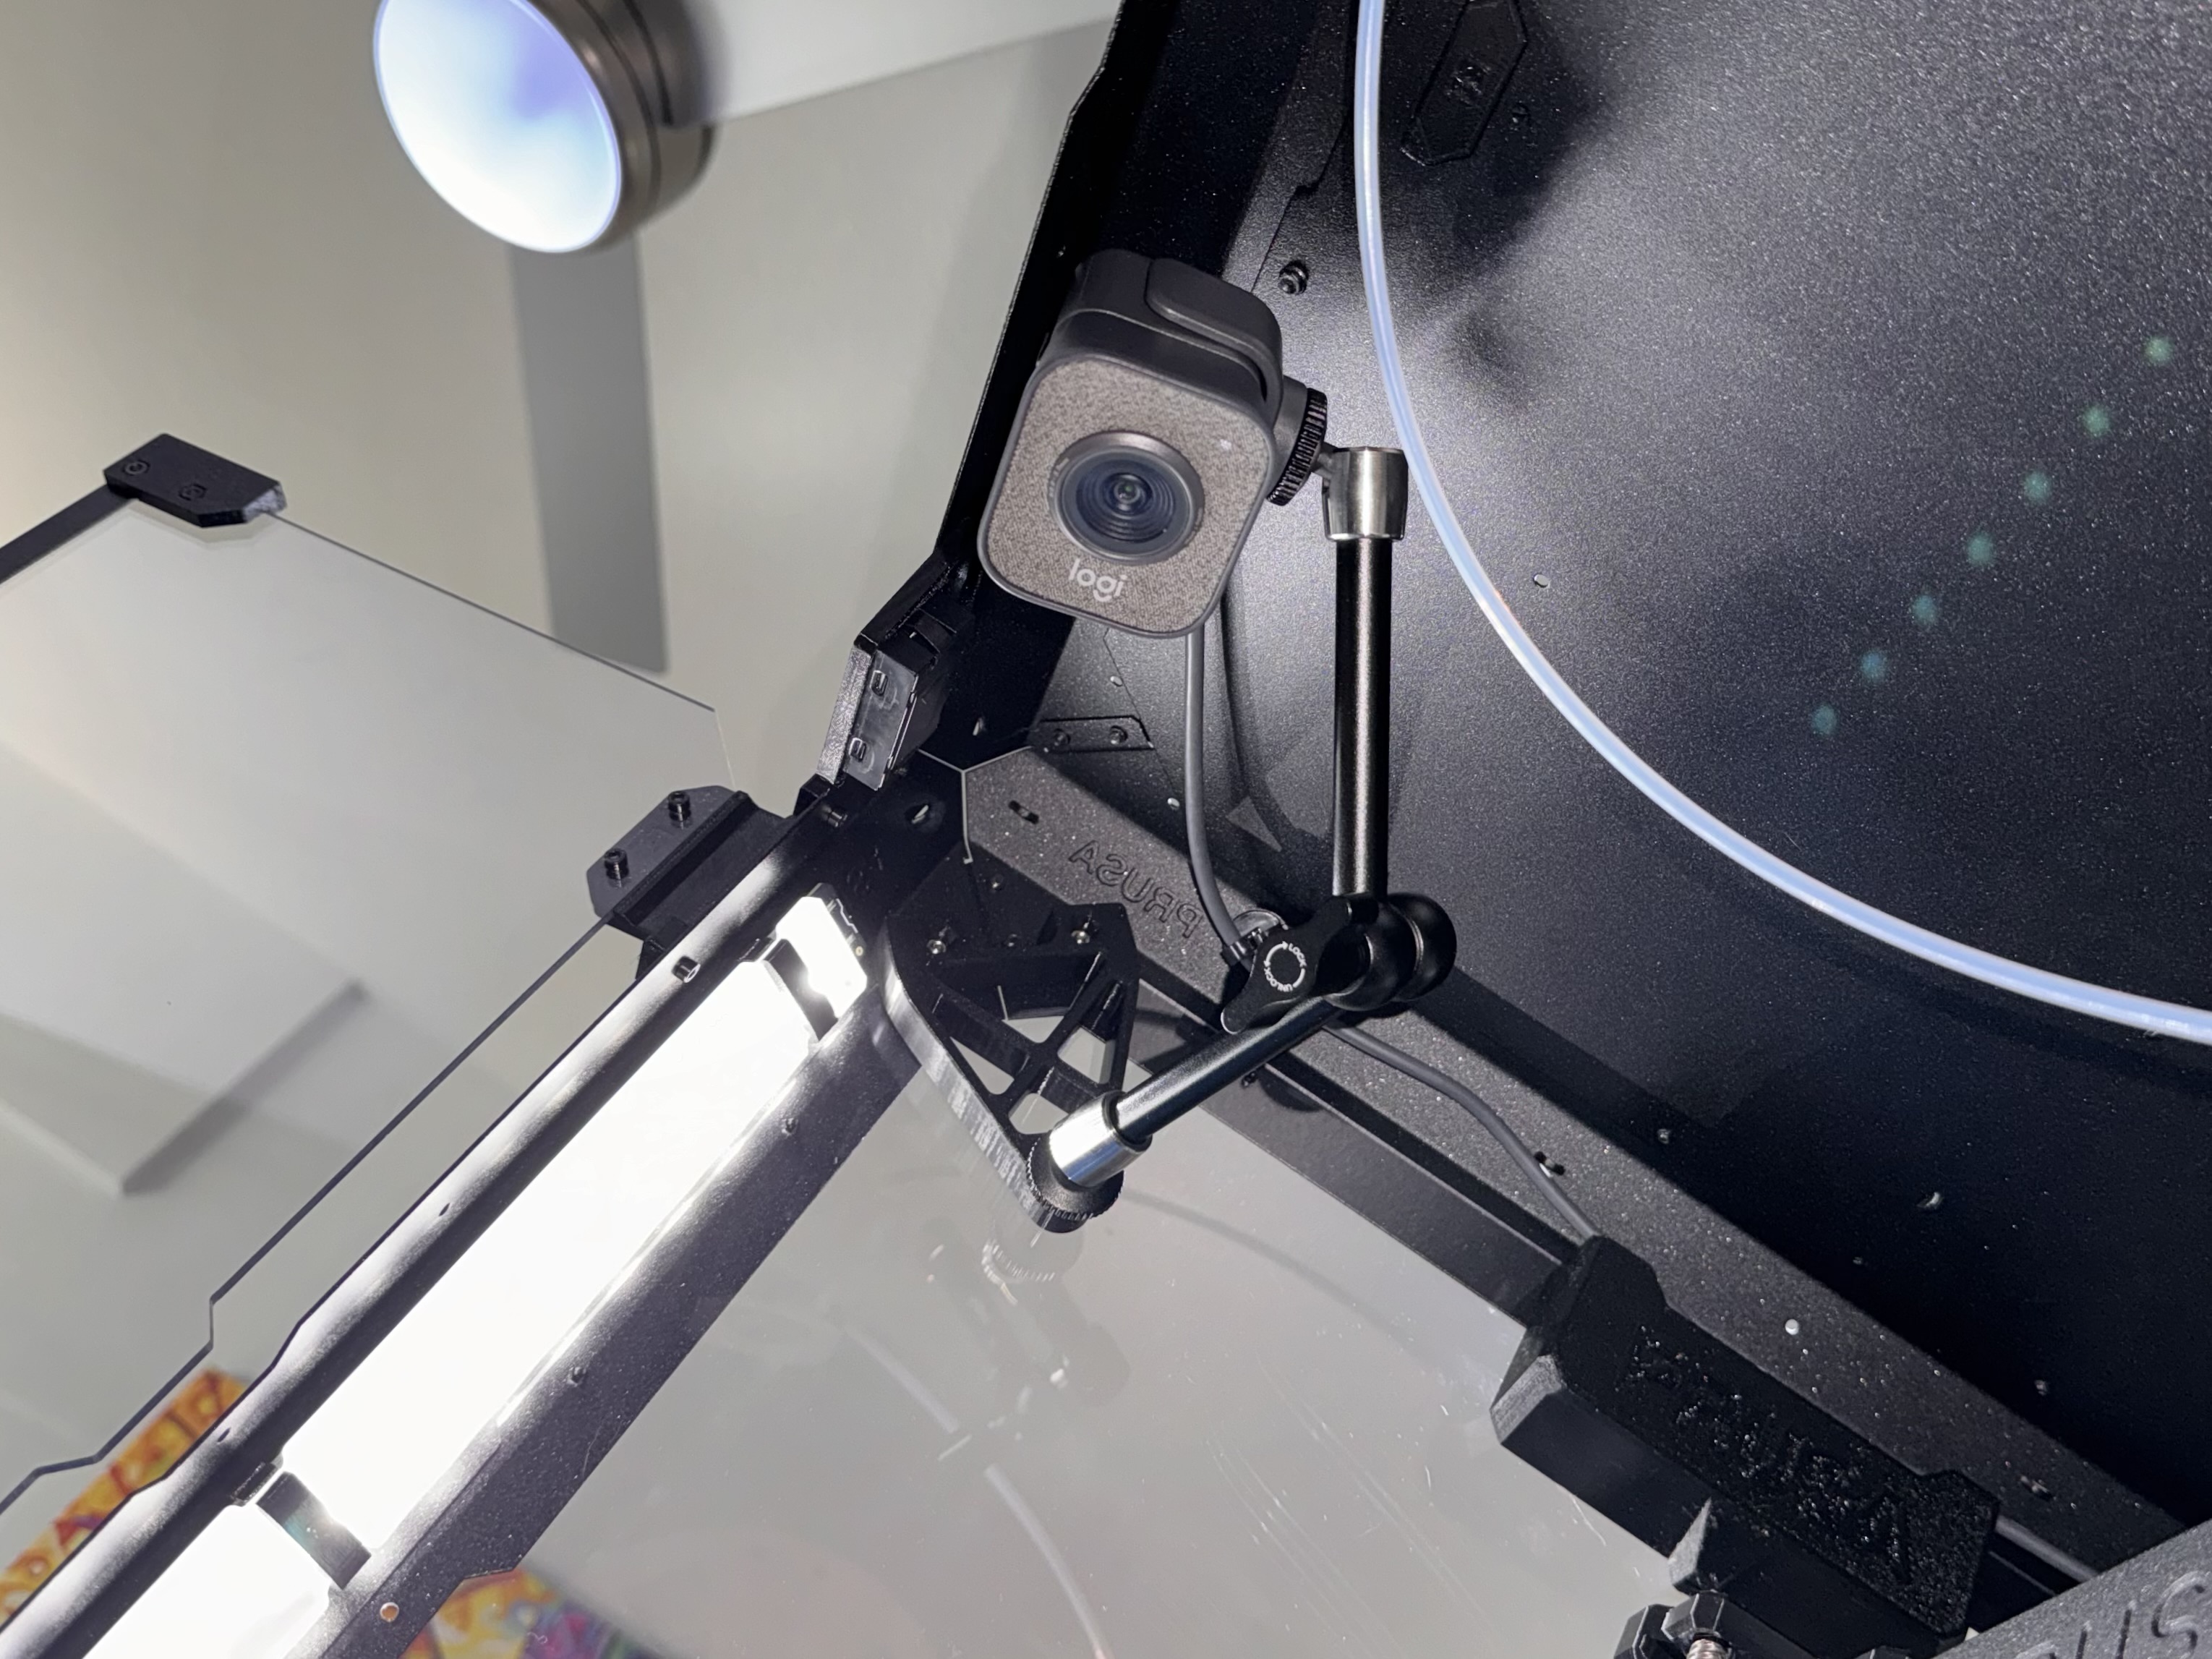
The mount can be attached at any of the top, or bottom, left or right corners – you decide! Here it is sitting on the bottom of the left panel, by the LED strip accessory:

