
Lil Loom - 50mm & 75mm Speed Weaves
Obliczymy ostateczną cenę na podstawie wybranego pliku. Sprawdzisz ją i zaakceptujesz przed płatnością.
Orientacyjna cena wydruku pliku
0,33 € – 0,41 € netto (bez VAT)
Dla pliku: 50mmLilLoom-Hooks_0.4n_0.15mm_PLA_MINI_27m.bgcode
To wstępna wycena jednego pliku. Dokładną cenę poznasz przed zamówieniem.
Plik i założenia wyceny
Plik użyty do wyceny
Średnia wycena orientacyjna: 0,37 € netto (środek widełek).
- Masa podana przez autora
- 3 g
- Czas druku podany przez autora
- 27 min
- Materiał u źródła
- PLA
- Materiał wyceny
- PLA
- Drukarka wyceny
- Bambu Lab P1S - 0.4 nozzle
- Proces wyceny
- 0.20mm Standard
Orientacyjna wycena wyłącznie wybranego pliku, oparta na masie i czasie druku podanych przez autora. Warianty plików nie są sumowane. Ostateczna cena zostanie obliczona po analizie pliku.
Zapisane na tym urządzeniu.
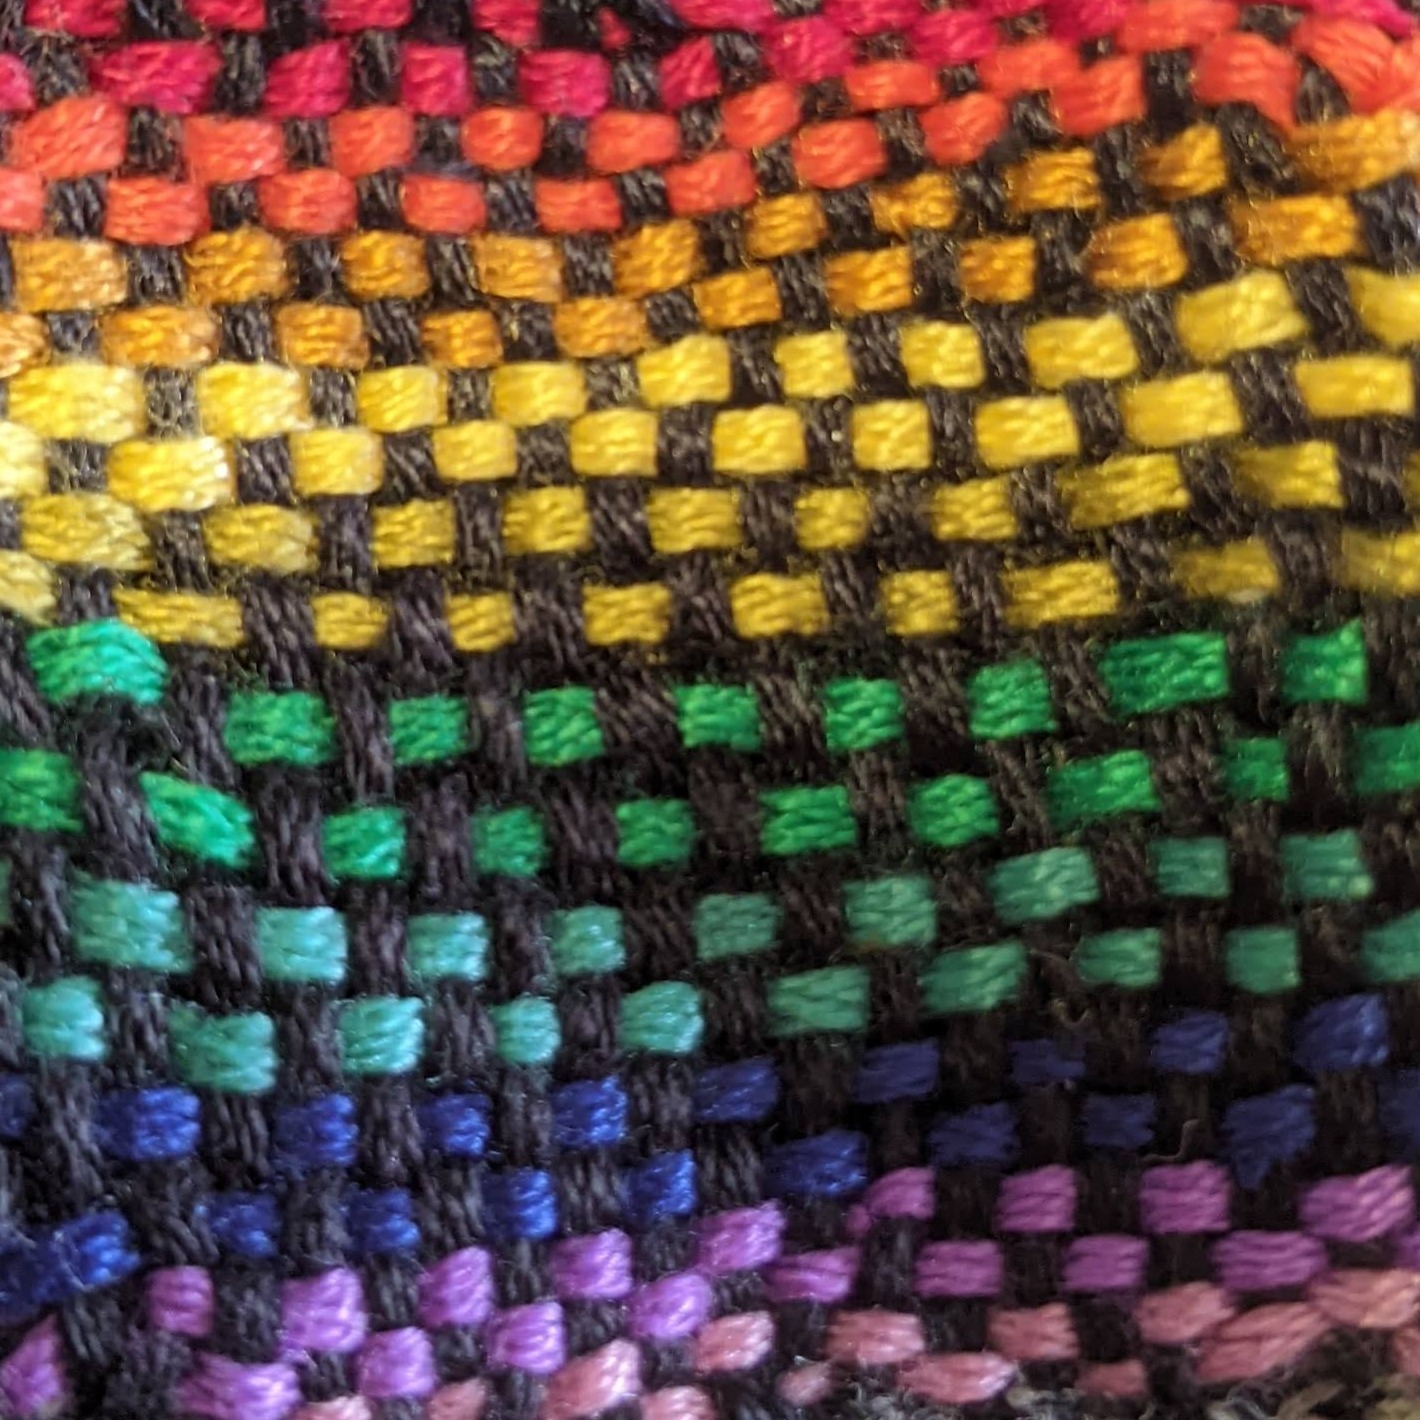
Got a hole in your sock, sweaters or apron? Lil Loom will mend your items in no time! 3D printed version of Speed weave.
- Ocena
- 5 / 5
- Polubienia
- 117
- Pobrania
- 176
- Wydruki
- 1
- Wyświetlenia
- 1858
- Oceny
- 1
Aktualizacja u źródła:
Informacje o modelu
- Źródło
- Printables
- Kategoria
- Tools
- Licencja
- Creative Commons — Attribution — Share Alike
This tool will help fix small holes at patch them up in a flash. Printing all the components took ~2.5 hrs and the actual speed weaving was less than 45 minutes including taking the photos for the tutorial.
Notes for printing included below.
Tutorial for how to use the tool after that.
Something to know about the sizes:
- 50mm and 75mm refers to the distance between the first and final hook. The Darning circle and the loom is slightly bigger than those respective sizes (the 50mm darning circle is 60mm diameter for context) and this is to allow you to have some of the edges available to sew into.
- You will see the final piece shrink a bit once you are finished weaving (this is because you stretch it out over the darning circle when completing the work. So the final patch with the 50mm Lil Loom is ~40mm.
Notes for printing:
- Print the Loom Base last, I've included the GCode which has a pause near the end of the print to allow users to include the Hook insert into the loom base to complete the print. I split up the hooks from the base print as it allowed for a clearer printing of the hooks without the need for additional supports.
- Rotate the print so that the hooks are facing the direction of your printer which is away from the nozzle head. I made the 50mm Hook Insert longer as it had initially caught onto the nozzle during the print, but changing the print orientation would resolve the issue.
- Increase the wall thickness of the print as I suspect that's why you see the faint pillowing on the final model.
- I've only printed the 50mm model, so I do not know if the distance given by the 75mm model would be enough, however I noticed that once I changed the orientation I didn't catch the hooks at all despite making the hooks longer. So I suspect changing the orientation would solve the issue for the 75mm model as well.
As I'm trying to submit this for the Sewing Contest, these are issues I will resolve, but I wanted to make sure that I could submit in time. Hence only printing the 50mm model.
With all those Printing notes out of the way, I'll go on to explain how to use the Lil Loom (commonly known as a Speed Weave).
Things you will need:
-Darning Circle (printed)
-Loom Base with Hook Insert included (printed)
-Rubber Band
-Needle
-Thread
-Item with hole
Step 1: Find your hole item of clothing.

Step 2: Put Darning circle under hole in question and use the rubber band to secure the item to the circle. Make sure not to stretch the item out too much.
Step 3: With needle and thread, stitch two circles around the hole.

Step 4: Readjust Darning Circle so it is also attached to the Lil Loom. This time you want to have it as taunt as possible. Ensure that you have enough room around the hole for fabric to still be seen.

Step 5: From the opposite side of the hooks, attach the thread to the fabric and stretch the thread to around the hook and back over to the opposite side of the fabric. I used multiple threads for illustration purposes, but you could do this with one thread to remain discrete. Also, I used a backstitch to secure the thread to the fabric without adding too much bulk to my fabric.

Note: This hole in question is probably a bit to big for the 50mm, I should have used the 75, as I couldn't make a square with my weave, so it looks like a parabola once all the threads are included. This is a matter of taste and doesn't effect the effectiveness of the patch.

Step 6: Once the hooks have thread to cover the hole and some extra for the sides, secure a new thread perpendicular to the opposite corner of the hooks and begin to weave this thread over and under the initial parallel threads. Once at the other edge of threads. Do a small backstitch and cross over to the other side. Make sure go under and over the opposite threads to make a secure weave. Push down the thread to make it as tight as possible.

Repeat this step until you've covered the entire hole.
Step 7: On the last row, Unhook the Lil Loom from the darning circle and using your needle and thread, tac (or back stitch) down the loops from the final row into the fabric in question. You should now have all 4 sides of your patch secure to your fabric.

And there you go. Your fabric is now rejuvenated and full of new life. I've seen folks make a bunch of cool designs using a speed weave and I wanted to bring it over to the 3D printing community.

I hope you enjoy, please leave suggestions and comments I'm new to the 3D printing community and looking to improve my designs all the time. I used FreeCAD to make the models.
Thank you for reading this long description. I hope you are having a good day.