
1 / 22
Thread cutter for Sewing Machines
Zamów wydruk tego modelu
Obliczymy ostateczną cenę na podstawie wybranego pliku. Sprawdzisz ją i zaakceptujesz przed płatnością.
Zapisane na tym urządzeniu.

Handy tool for your threads that always need to be cut at the same machine and your teeth won't work.
- Ocena
- 0 / 5
- Polubienia
- 76
- Pobrania
- 124
- Wydruki
- 0
- Wyświetlenia
- 1012
- Oceny
- 0
Aktualizacja u źródła:
Informacje o modelu
- Źródło
- Printables
- Kategoria
- Tools
- Licencja
- Creative Commons — Attribution — Noncommercial — Share Alike
SzczegółyPliki (12)Wydruki i komentarze (Wydruki: 0) (Komentarze: 0)Remiksy (0)Kolekcje (103)Powiązane
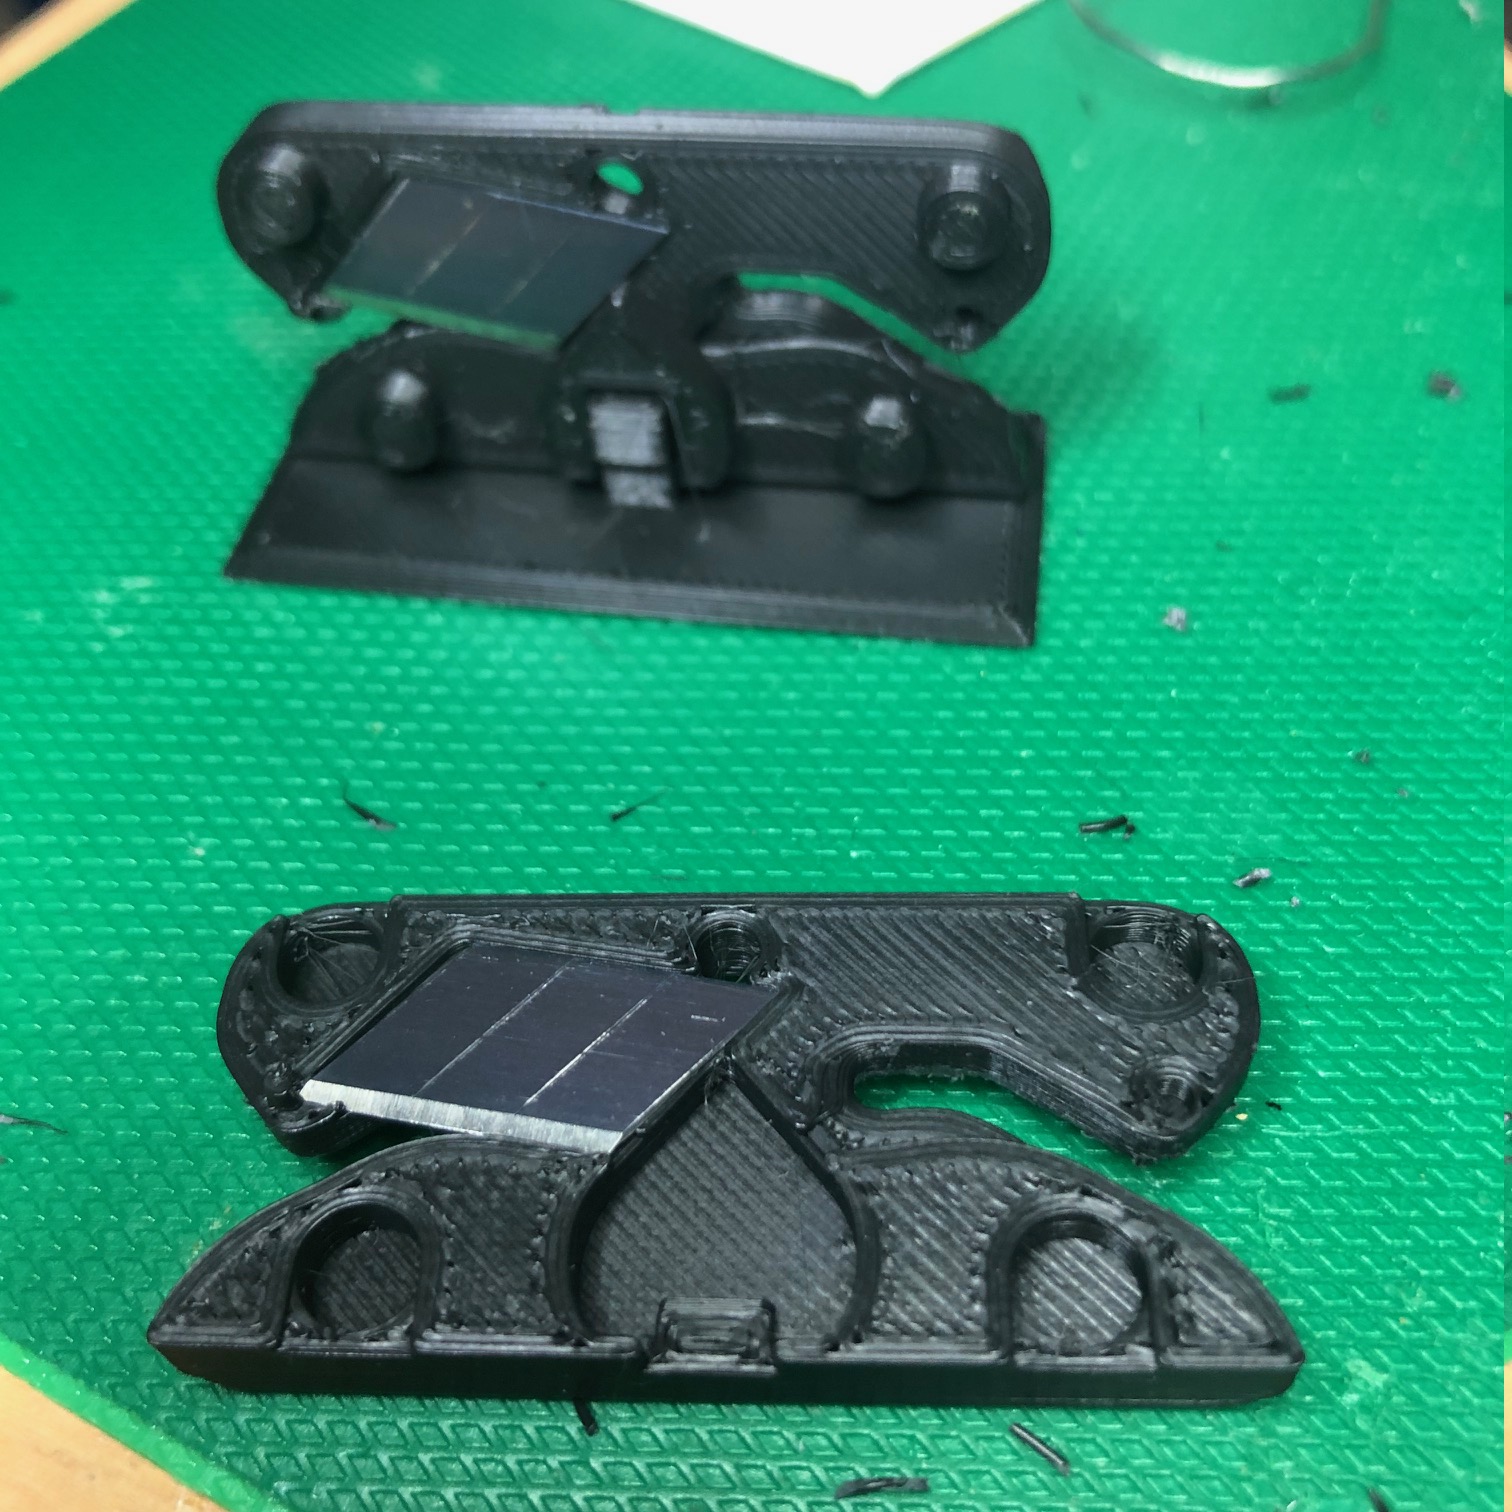
Do your scissors always disappear when you have finished sewing and need to cut the threads?
Then this little handy tool is for you.
Mounted with double-sided 3M tape and you are good to go with your sewing projects.
Stuff you need for great success:
- 9mm utility knife blade/box-cutter blade (the small ones)
- 20x50mm Double-sided 3M tape or equivalent
- 3x10mm machine screw
- 3mm hex nut
- (You can also glue the pieces together, the blades will last for years.)
The why:
- I created this for convenience to make my workflow faster.
- Loosen my grip to pick up a scissor, and cut a few threads.
- Then putting away my scissor to grip my fabric again is done many times during a sewing project.
- But no more hassle, I have a thread-cutter on all my sewing machines now.
- I even have one extra right under my table for extra extra convenience
The Printing:
- No support is needed for printing.
- Do whatever you feel, all mine is done in PLA with 4 perimeters.
- print with the inside of the model up. The orienting is corrected in each model. (except for the STEP files, they are a mess)
Post-processing:
- The support structure needs to be cut away in the small cracks on all 4 sides so that the thread can run freely along the edge of the blade.

- I recommend using a screw and hex nut for long-lasting (or you can use glue).
- I've pressed the 3 pieces together, used a screw with a hex nut to fixate the blades inside, and then double-sides 3M tape. I think it will be quite enough for a long time.

Modify:
- I've included the STEP files if you wish to make the model differently.
The end:
I have spent an awful lot of time on the small details to get it just right. I went through many iterations to present the best model of my ability. So I hope you like the sewing machine cutter and give it all the love that it deserves.
And please upload your make and leave a comment on what you think of the model and use.
Happy printing and sewing.