
Quick release vise on balljoint (100% 3D printed no extra parts needed)
Obliczymy ostateczną cenę na podstawie wybranego pliku. Sprawdzisz ją i zaakceptujesz przed płatnością.
Zapisane na tym urządzeniu.

Just lift the lever and you can retract the jaws freely, then just release it and push on the bolt for quick adjustments
- Ocena
- 0 / 5
- Polubienia
- 21
- Pobrania
- 54
- Wydruki
- 0
- Wyświetlenia
- 871
- Oceny
- 0
Aktualizacja u źródła:
Informacje o modelu
- Źródło
- Printables
- Kategoria
- Tools
- Licencja
- Creative Commons — Attribution
This is a highly customizable vice with a quick retract function, so you don't need to crank the handle all the time. Just turn half a turn with the included tool and flip the lever to retract it all the way and you can just push on it to advance it. The balljoint comes with a table mount and a dublesided tape mount or you can just double sided tape the vise to the table.
If that doesn't fit your work I have included a sketch for the dovetail underneath the vise so you can customize it to anything you want. It is easy to customize the soft jaws to anything you might need, just pull them up and place in your custom jaws.
Dovetail blueprint under the vice

Print settings
all models are rotated the way they are ment to be printed
0,15mm layerheight
20% infill
No supports needed (ONLY ON "table ballmount (supports needed)")
All standard prusaslicer settings worked great for me on my “prusa mini”
I printed my in “Prusament PLA Prusa Orange” and “Prusament Premium PLA Mystic Green”
Part list
For the vice you need
- base
- main screw (strongly recommend to print with brim)
- latch
- latchbolt
- latch nut
- moving jaw
- 2x soft jaw
- (tool) not really needed but nice to have
For the table mount you need
- tableballmount
- big nut
- table ball bolt (not needed if you chose the double sided tape mount)
- ball stand
- 2x Dovetailbolt
- 2x Nut for dovetail bolt
Instructions
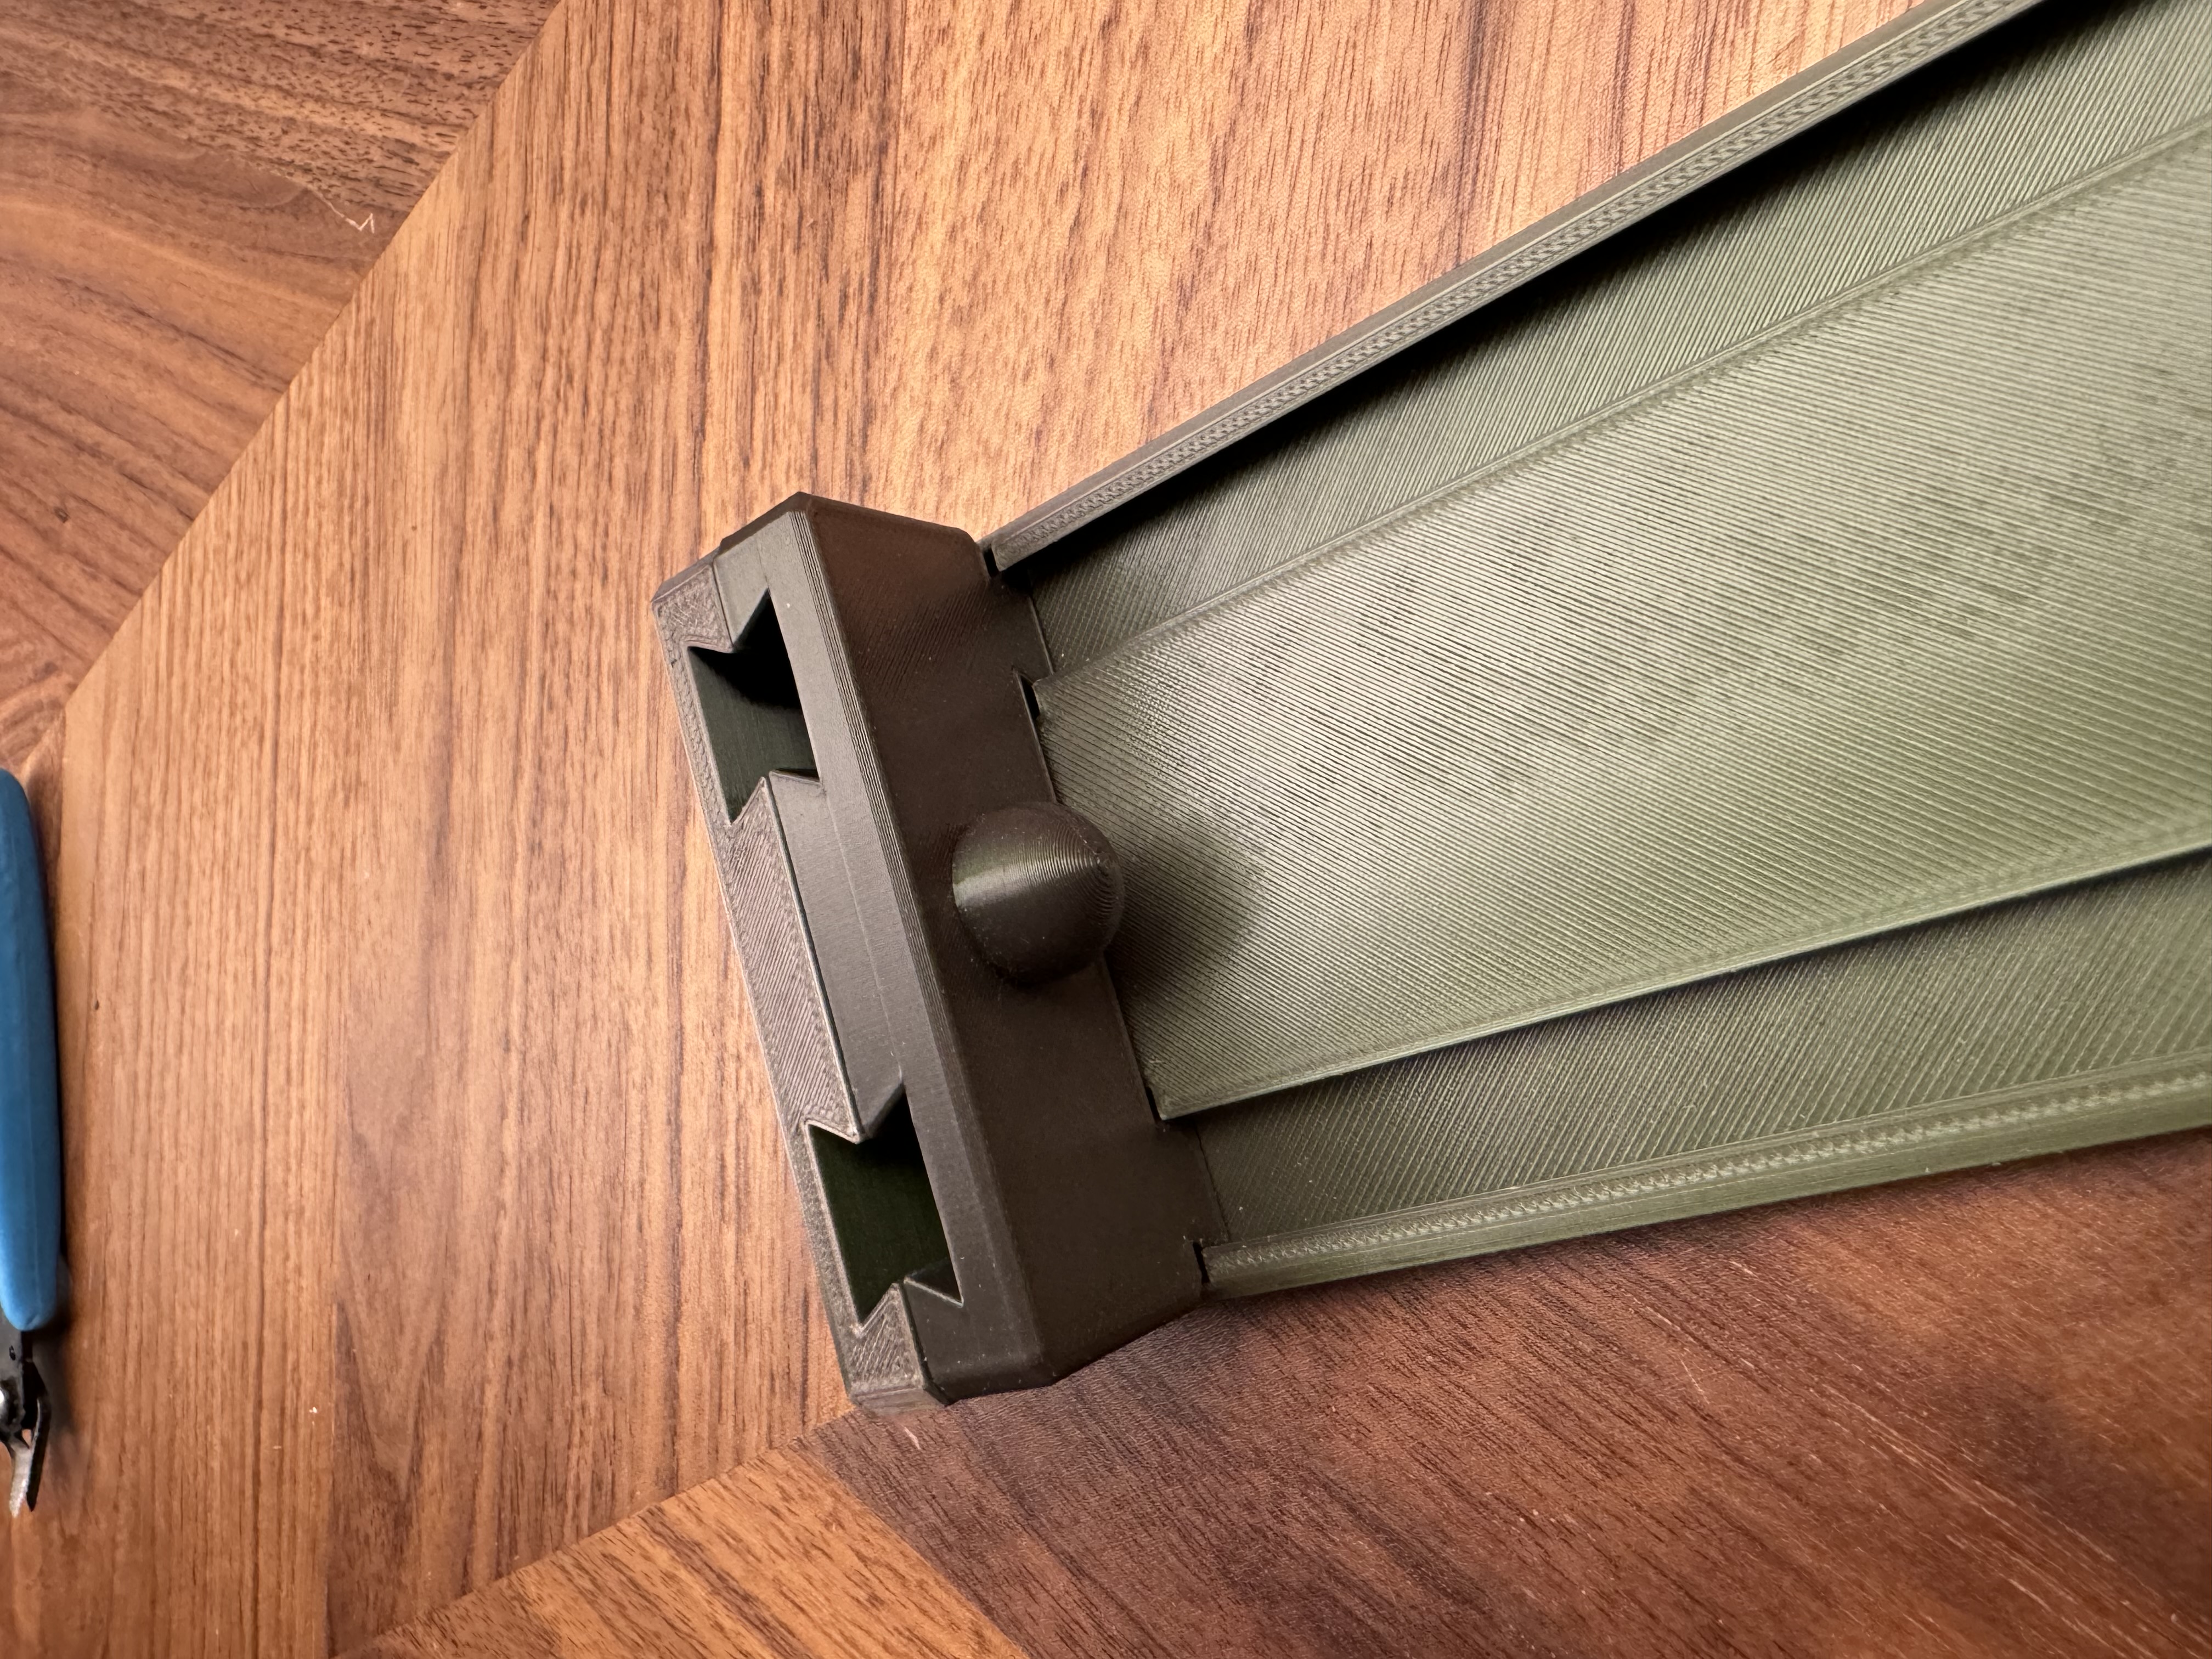
Insert “Moving jaw” into the slit at the front of “Body” then move it back
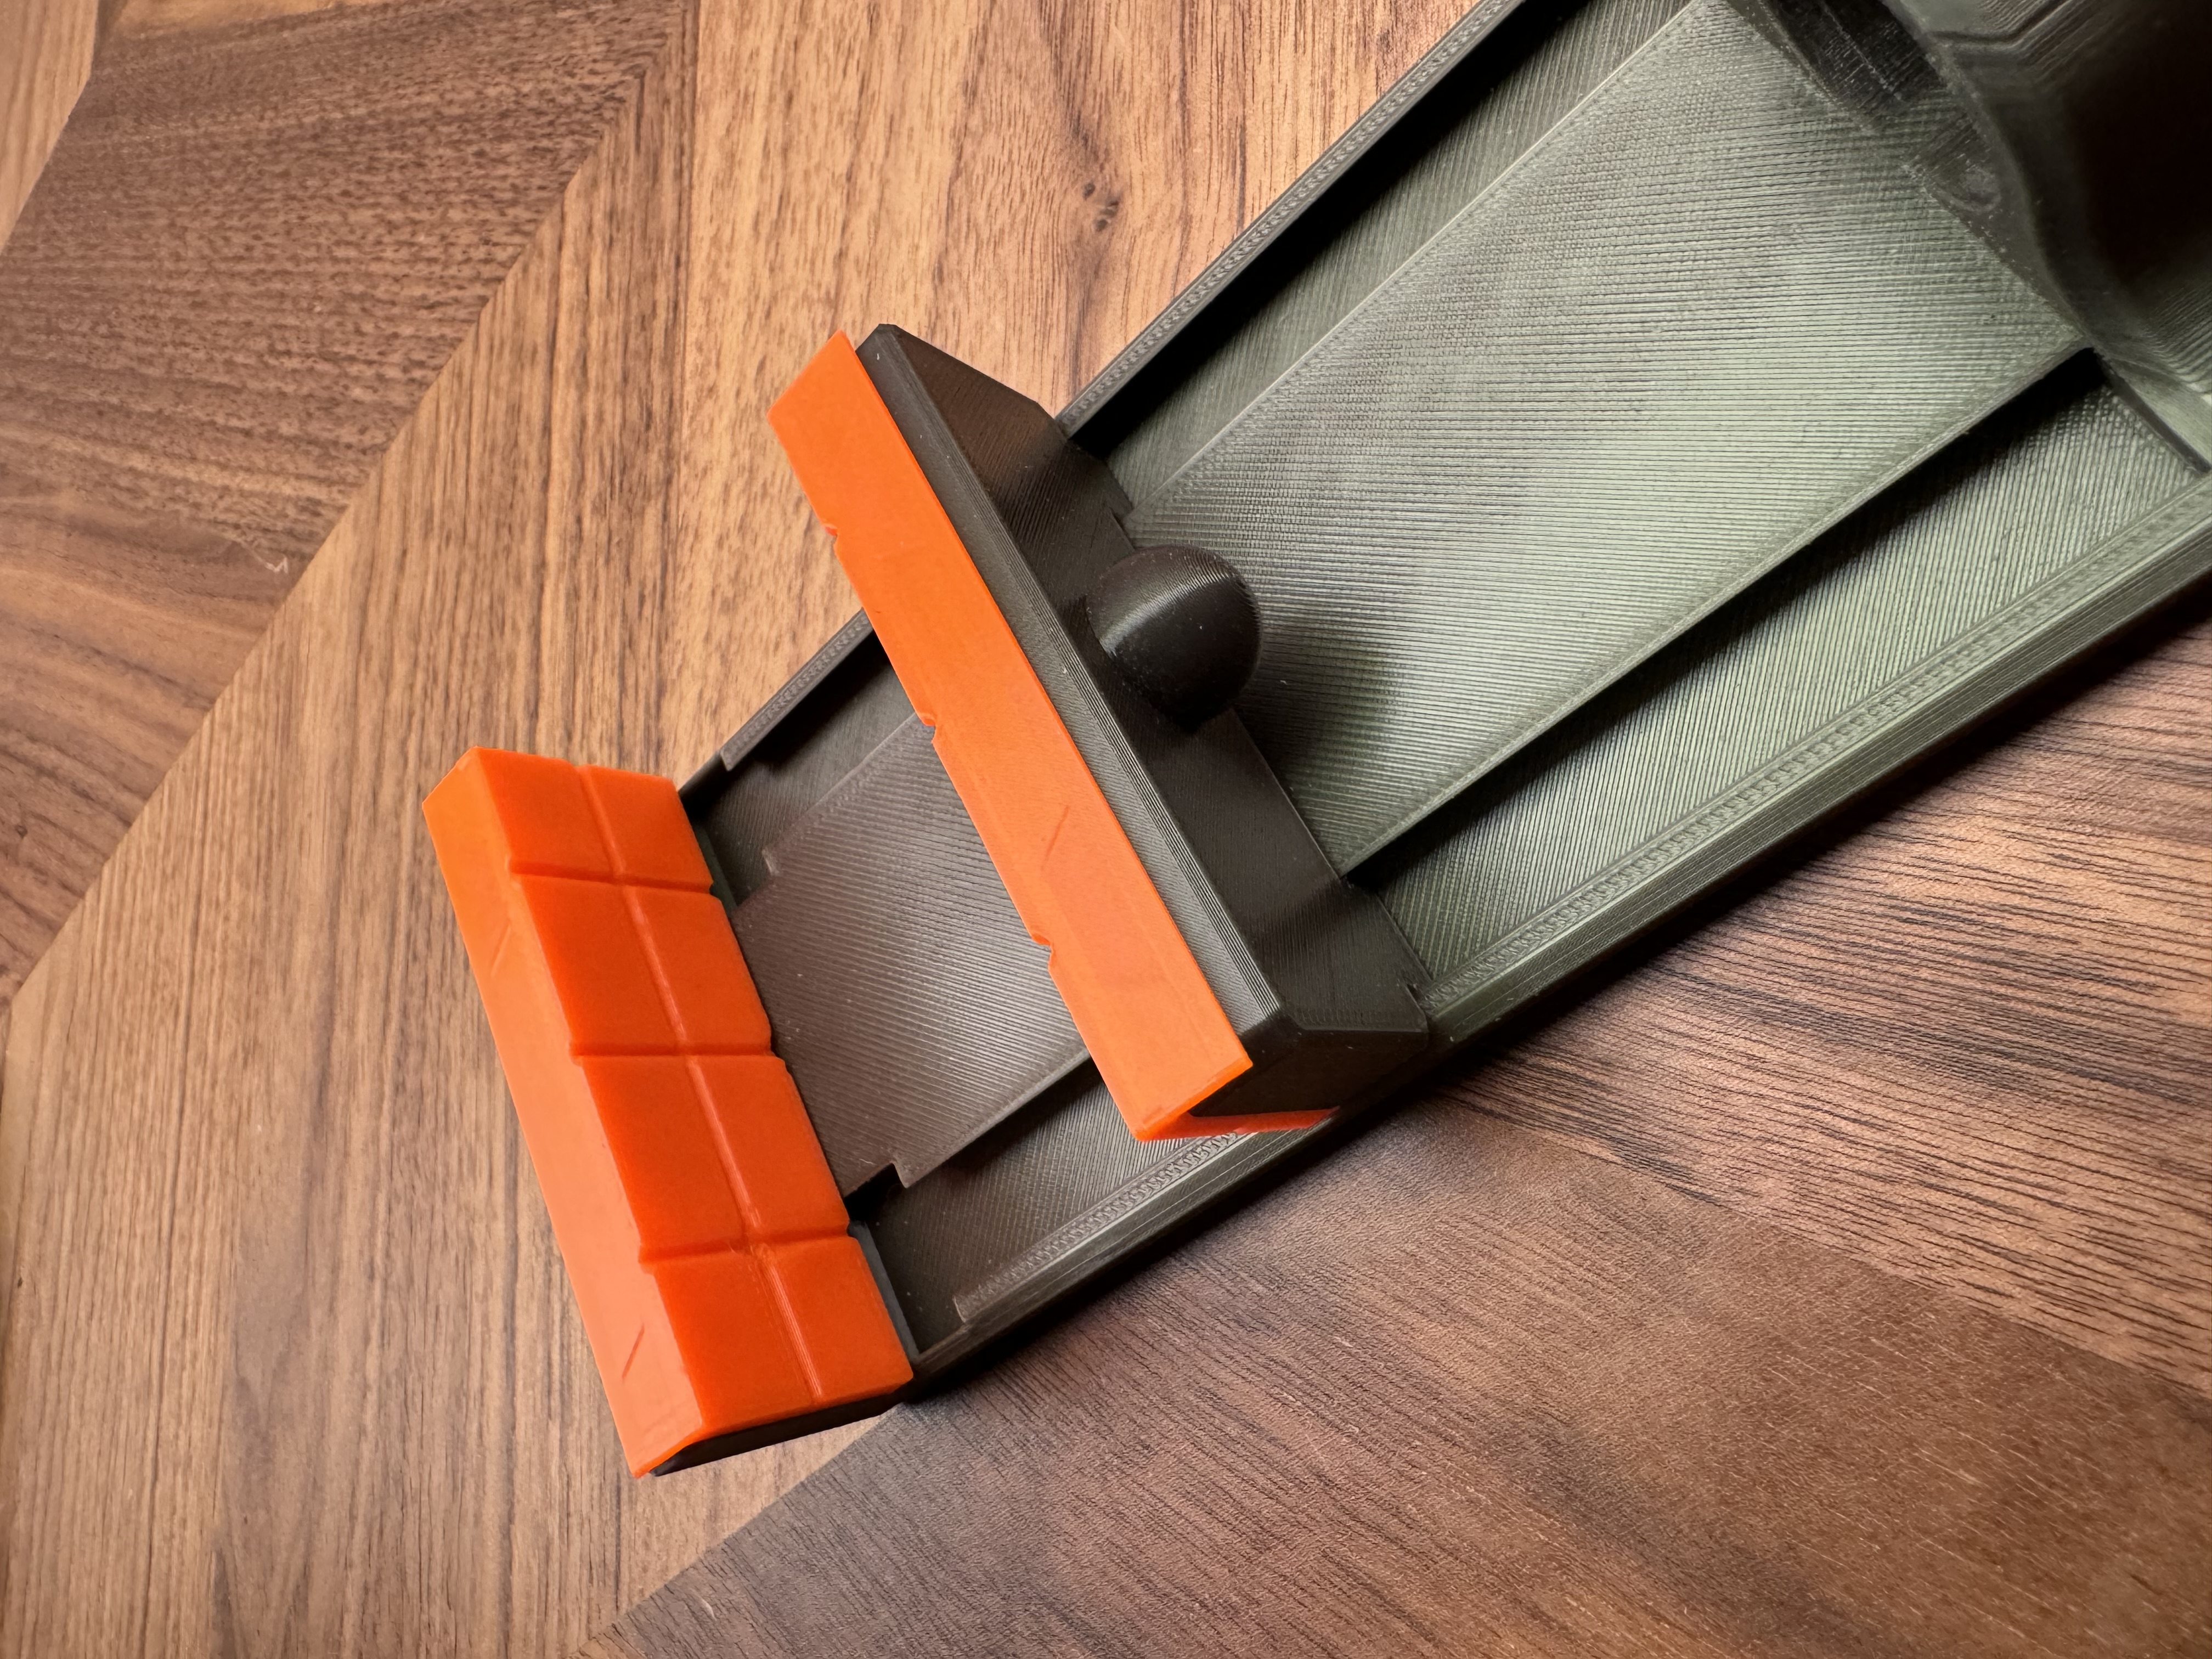
Insert the soft jaws
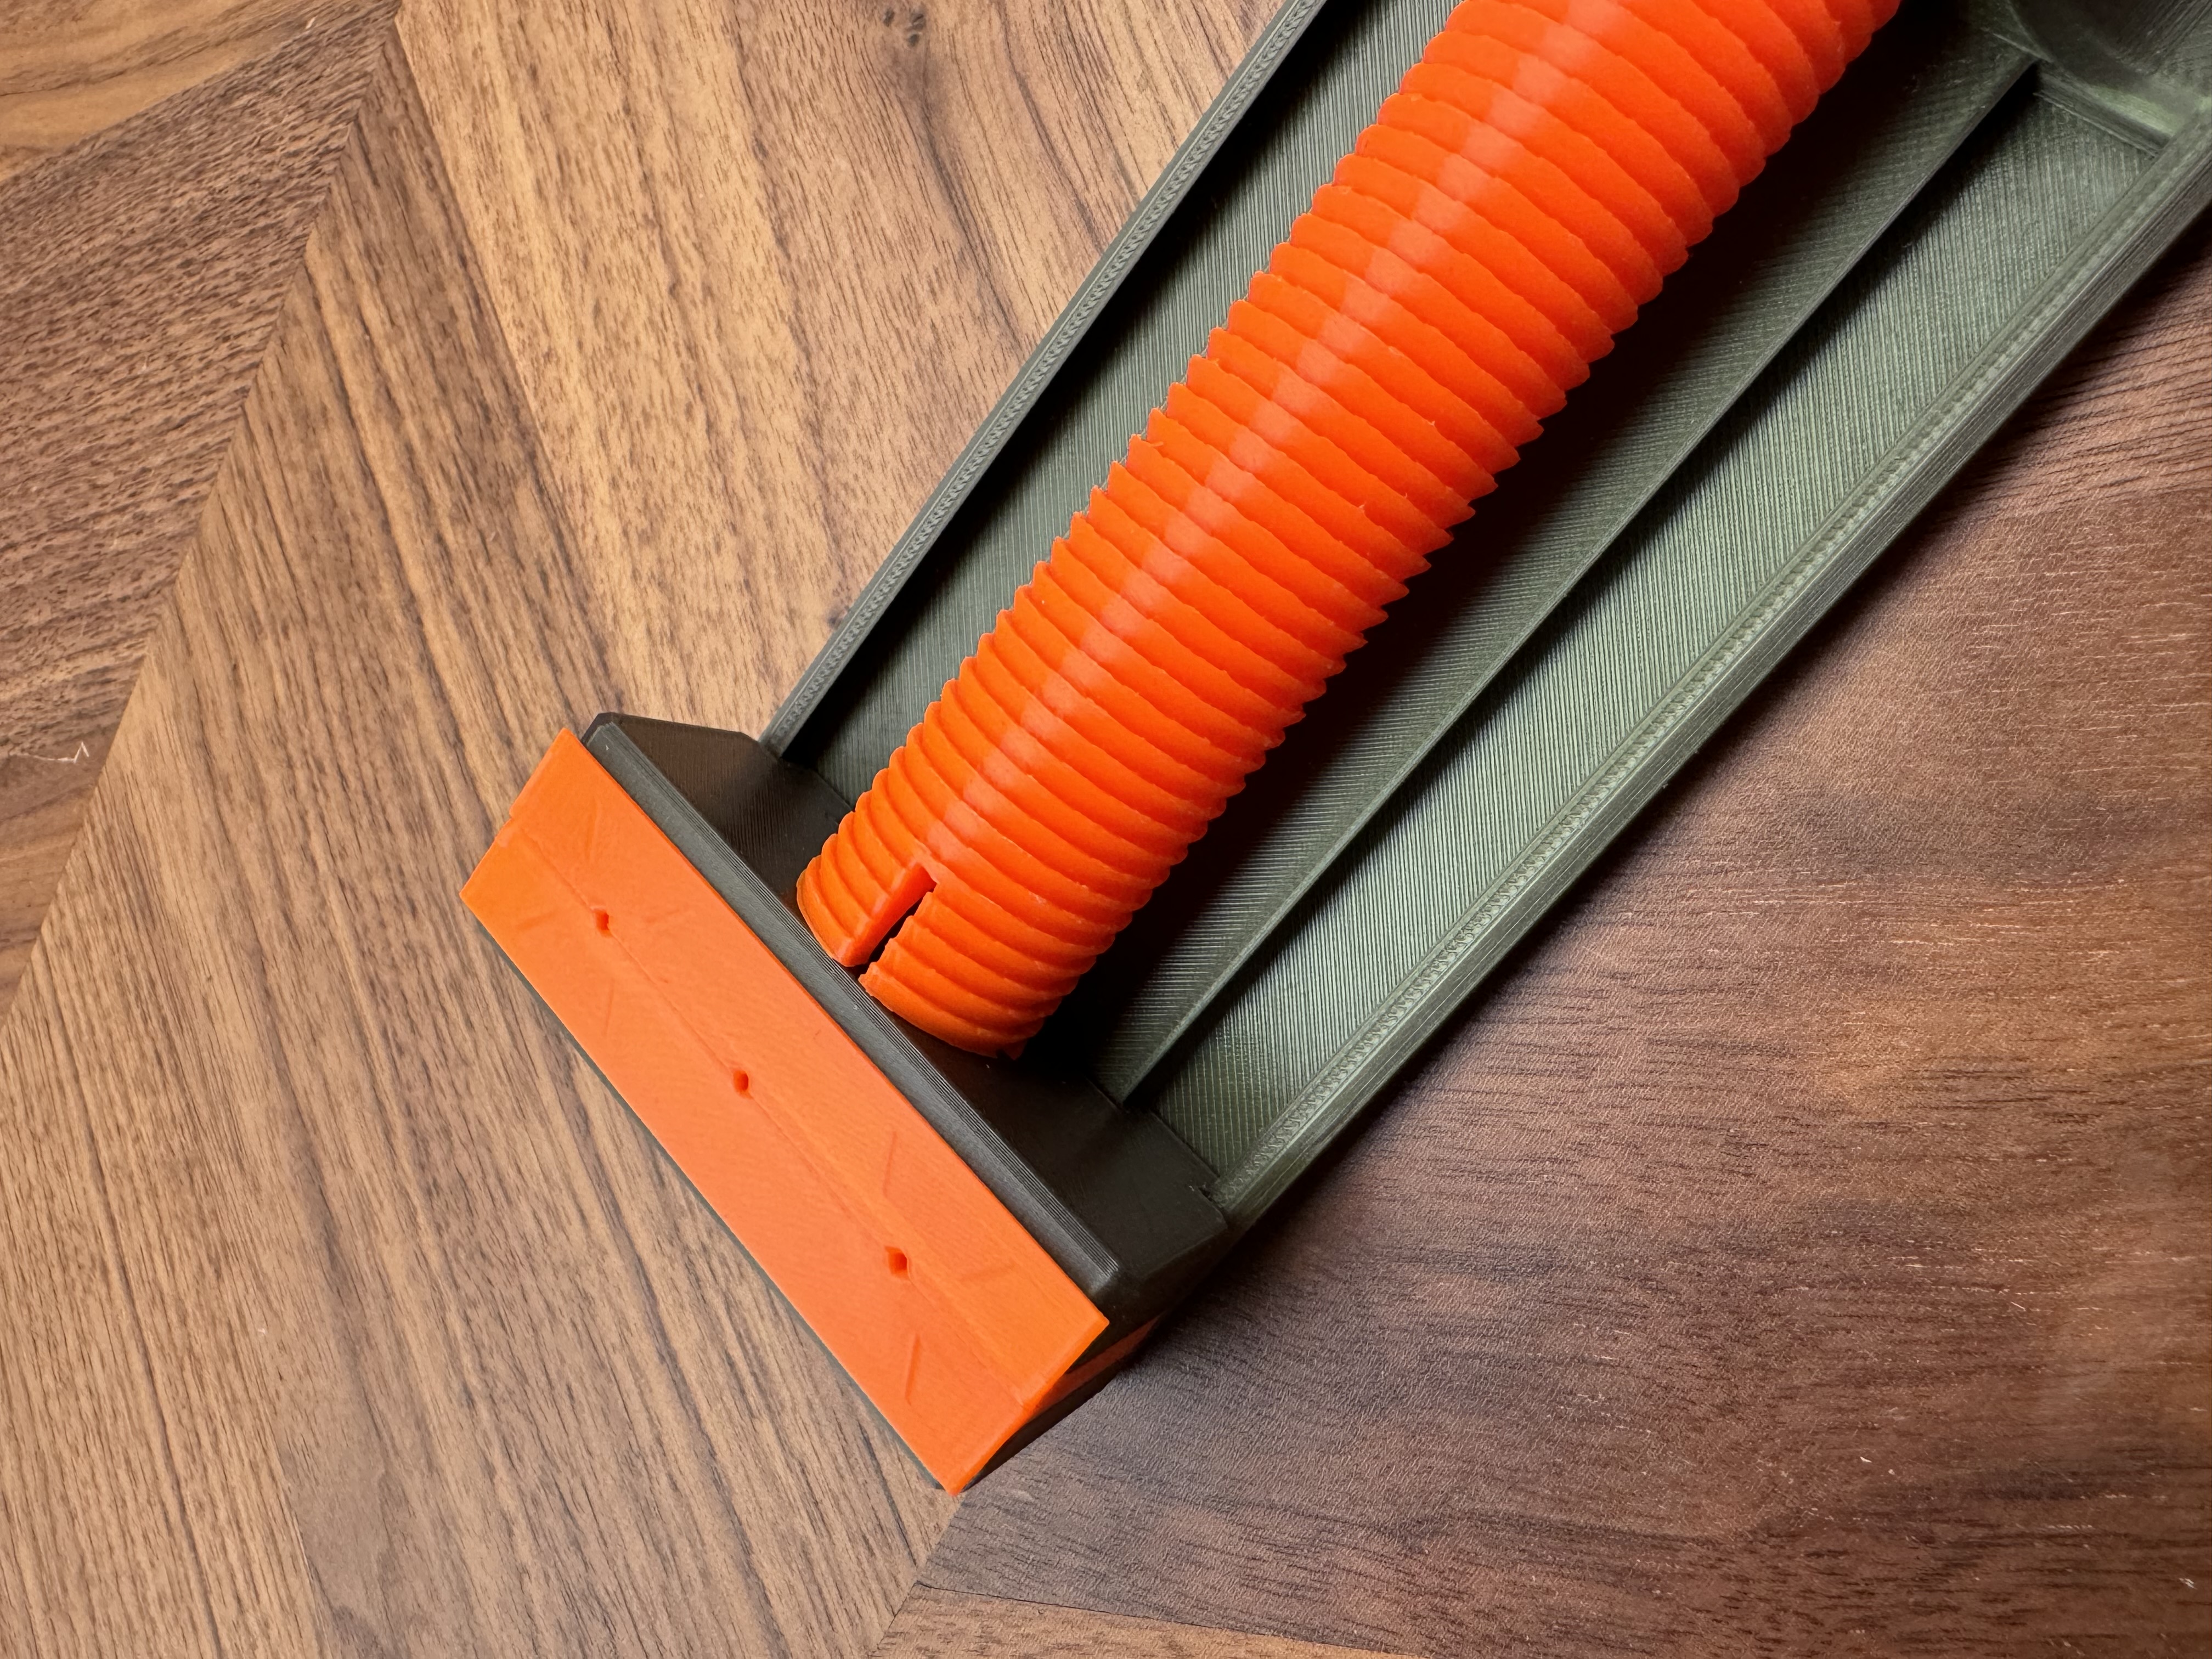
Push in “Main screw” from the back with the cut outs in the bolt facing the jaws until you hear it click
Place the “Latch” in its grove and use “latch nut” and “latch bolt” to fasten it. (some filing might be necessary on the nut depending on you'r printer)
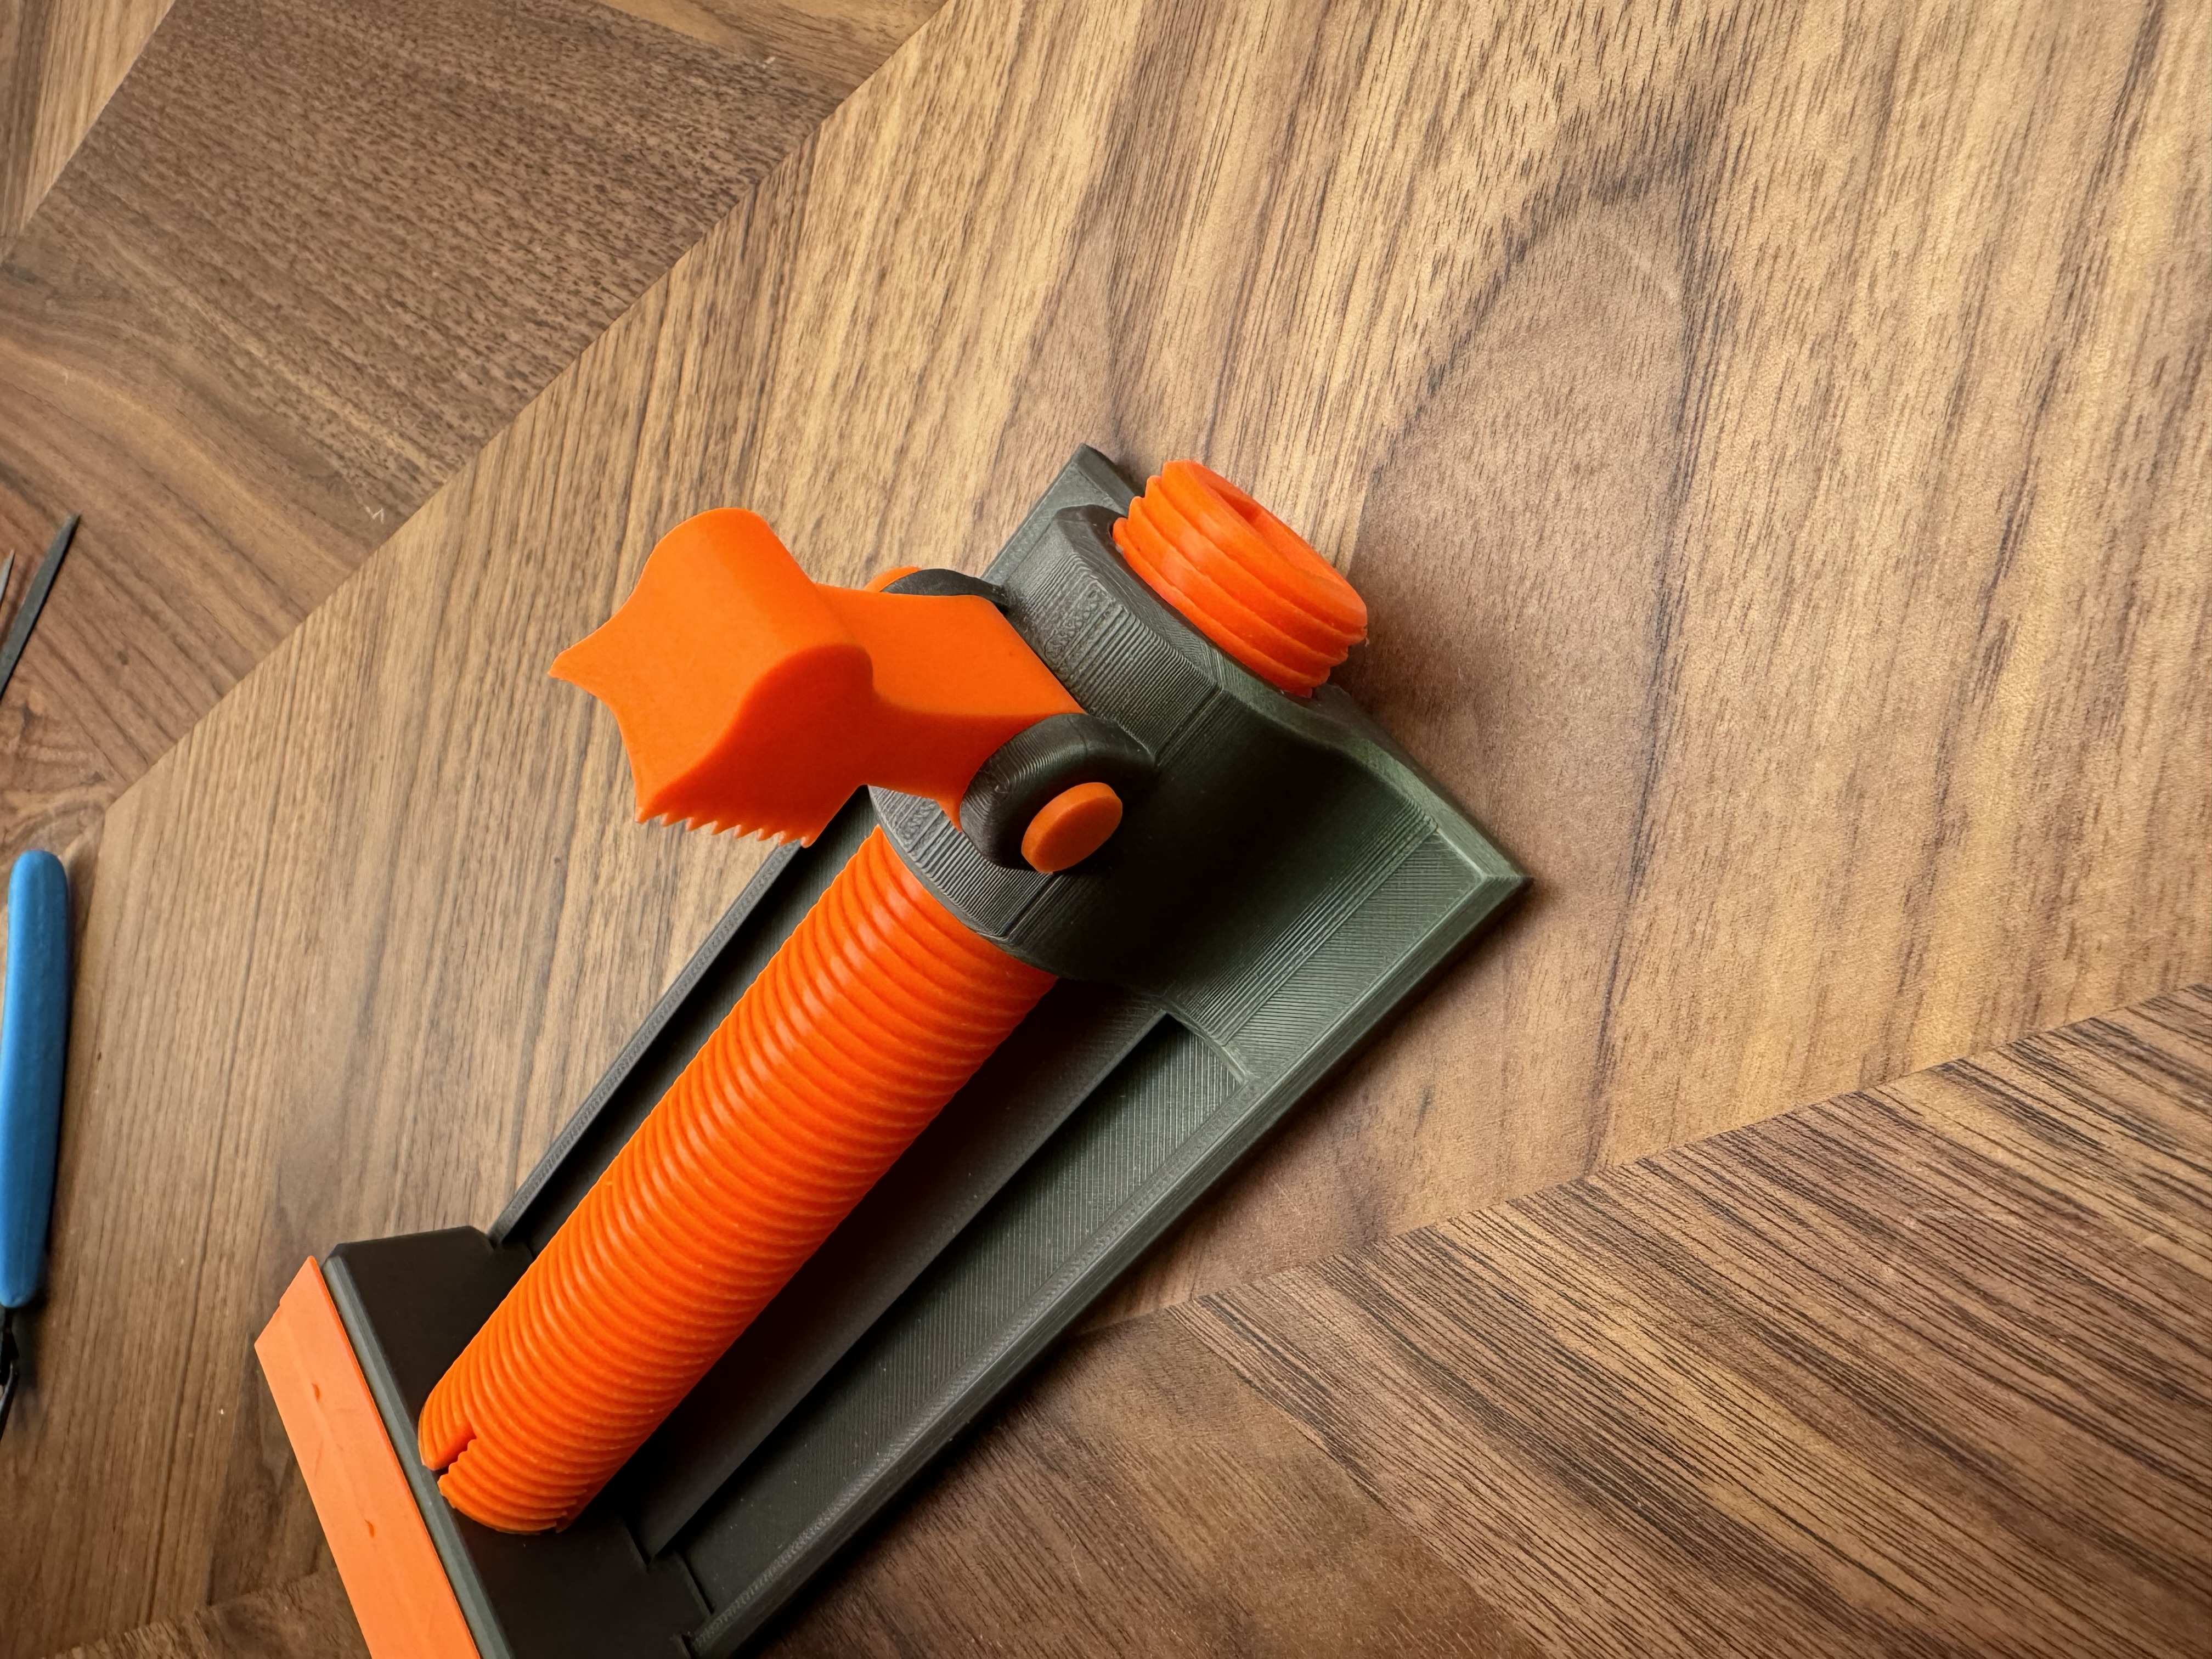
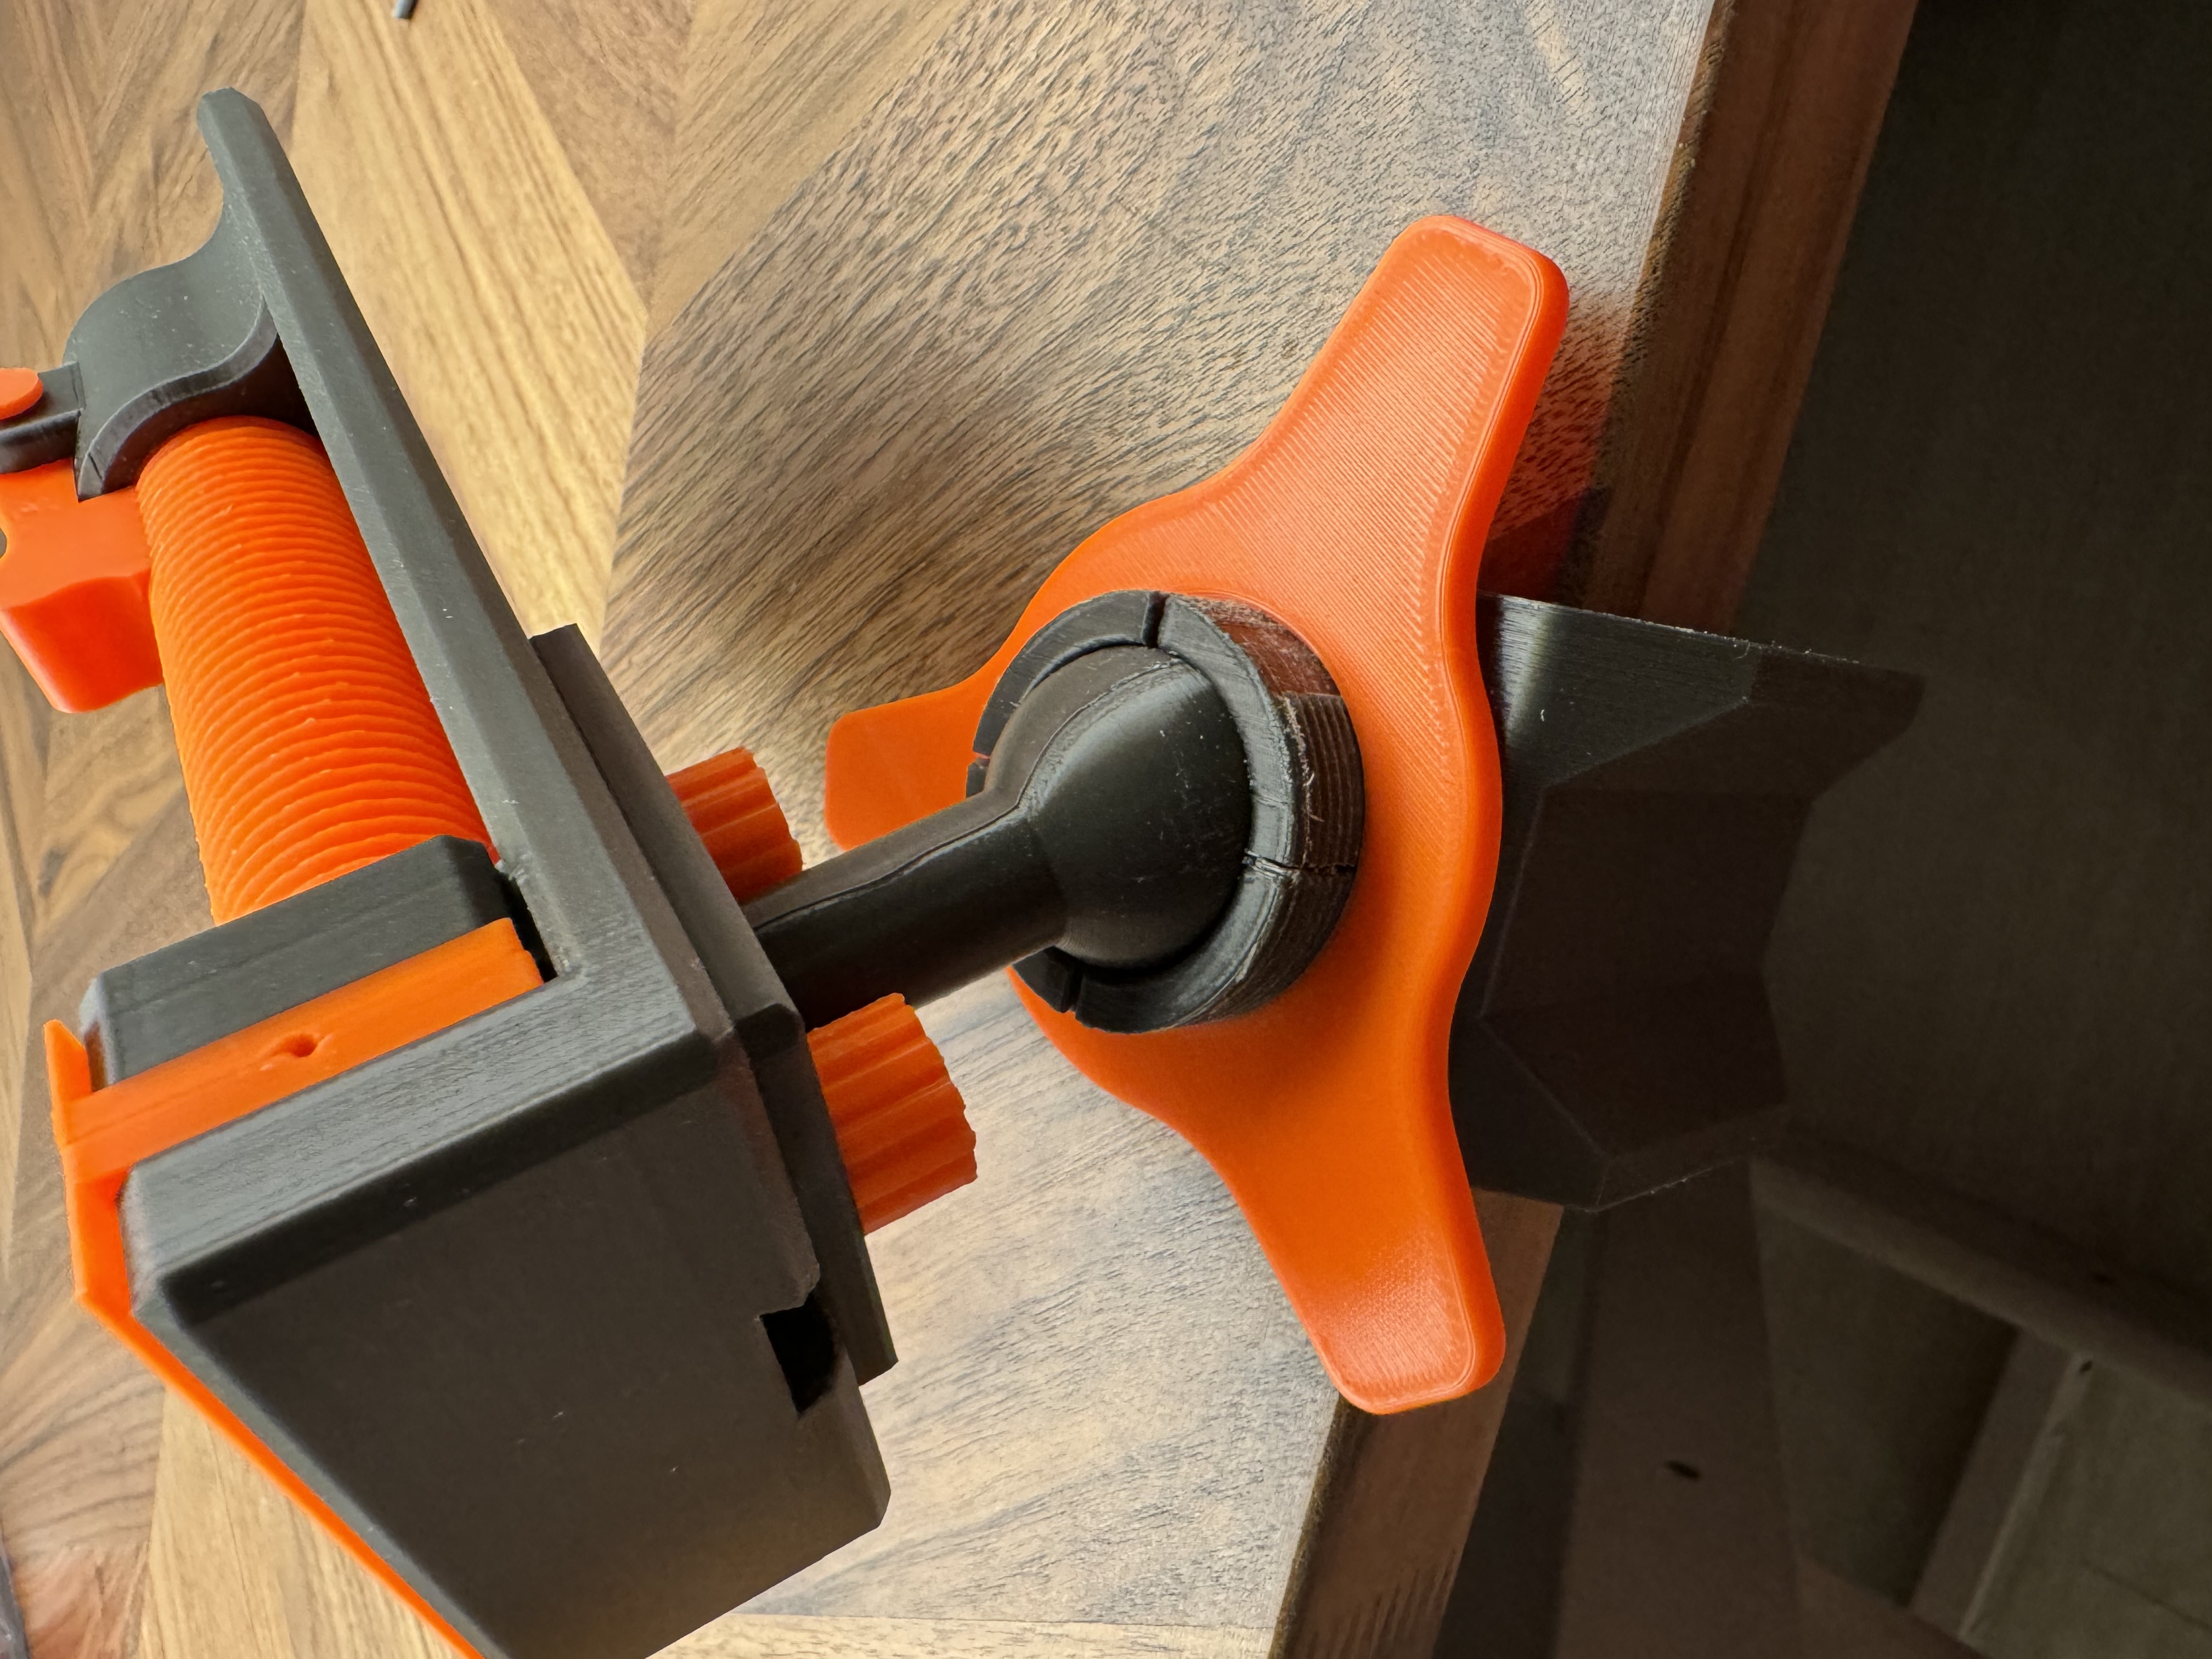
The vise is done onto the optional ball joint mount
Thread "big nut" and “table ball bolt” onto “table ball mount” make sure “big nut” is all the way in (some filing might be necessary depending on you'r printer, it might help to thread it back and forth a couple of times until it runs smooth)

Place “dovetailbotl” into the dovetail on the vice
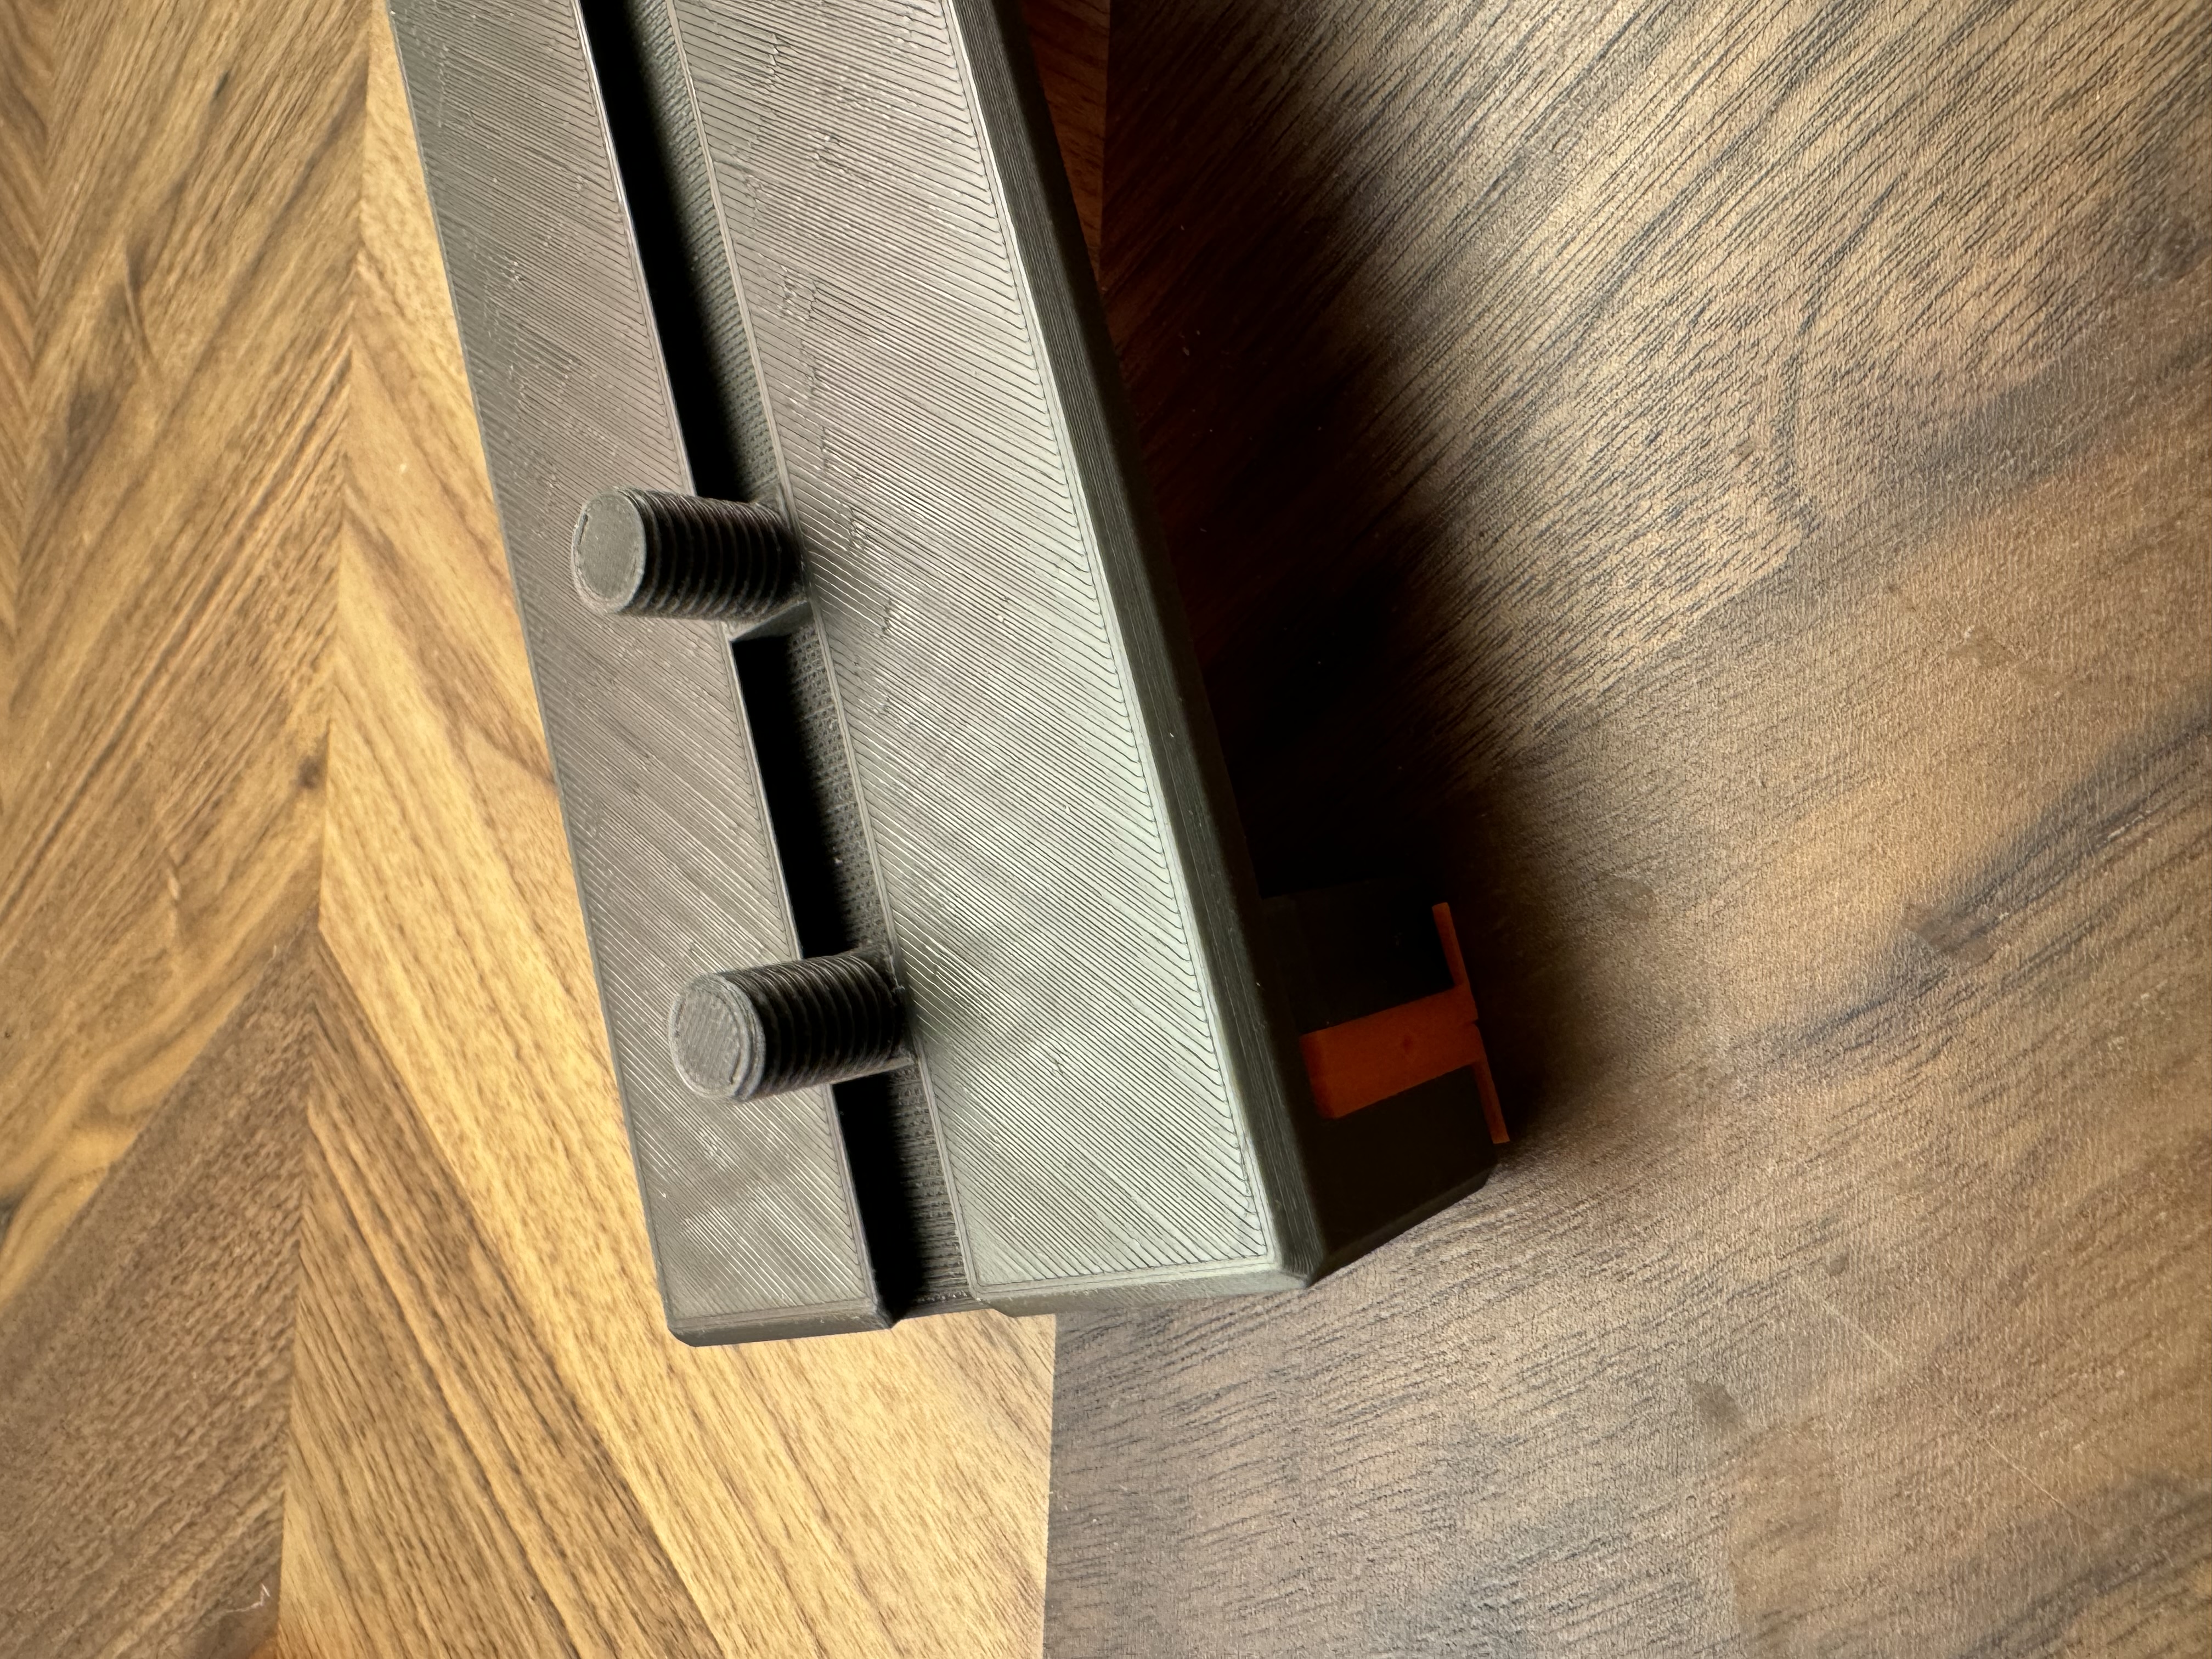
Use “nut for dovetail bolt” to secure “ball stand" to the vice. you can adjust the ball stand however you want it. (try threading it back and forth until they run smooth, pliers might be needed)
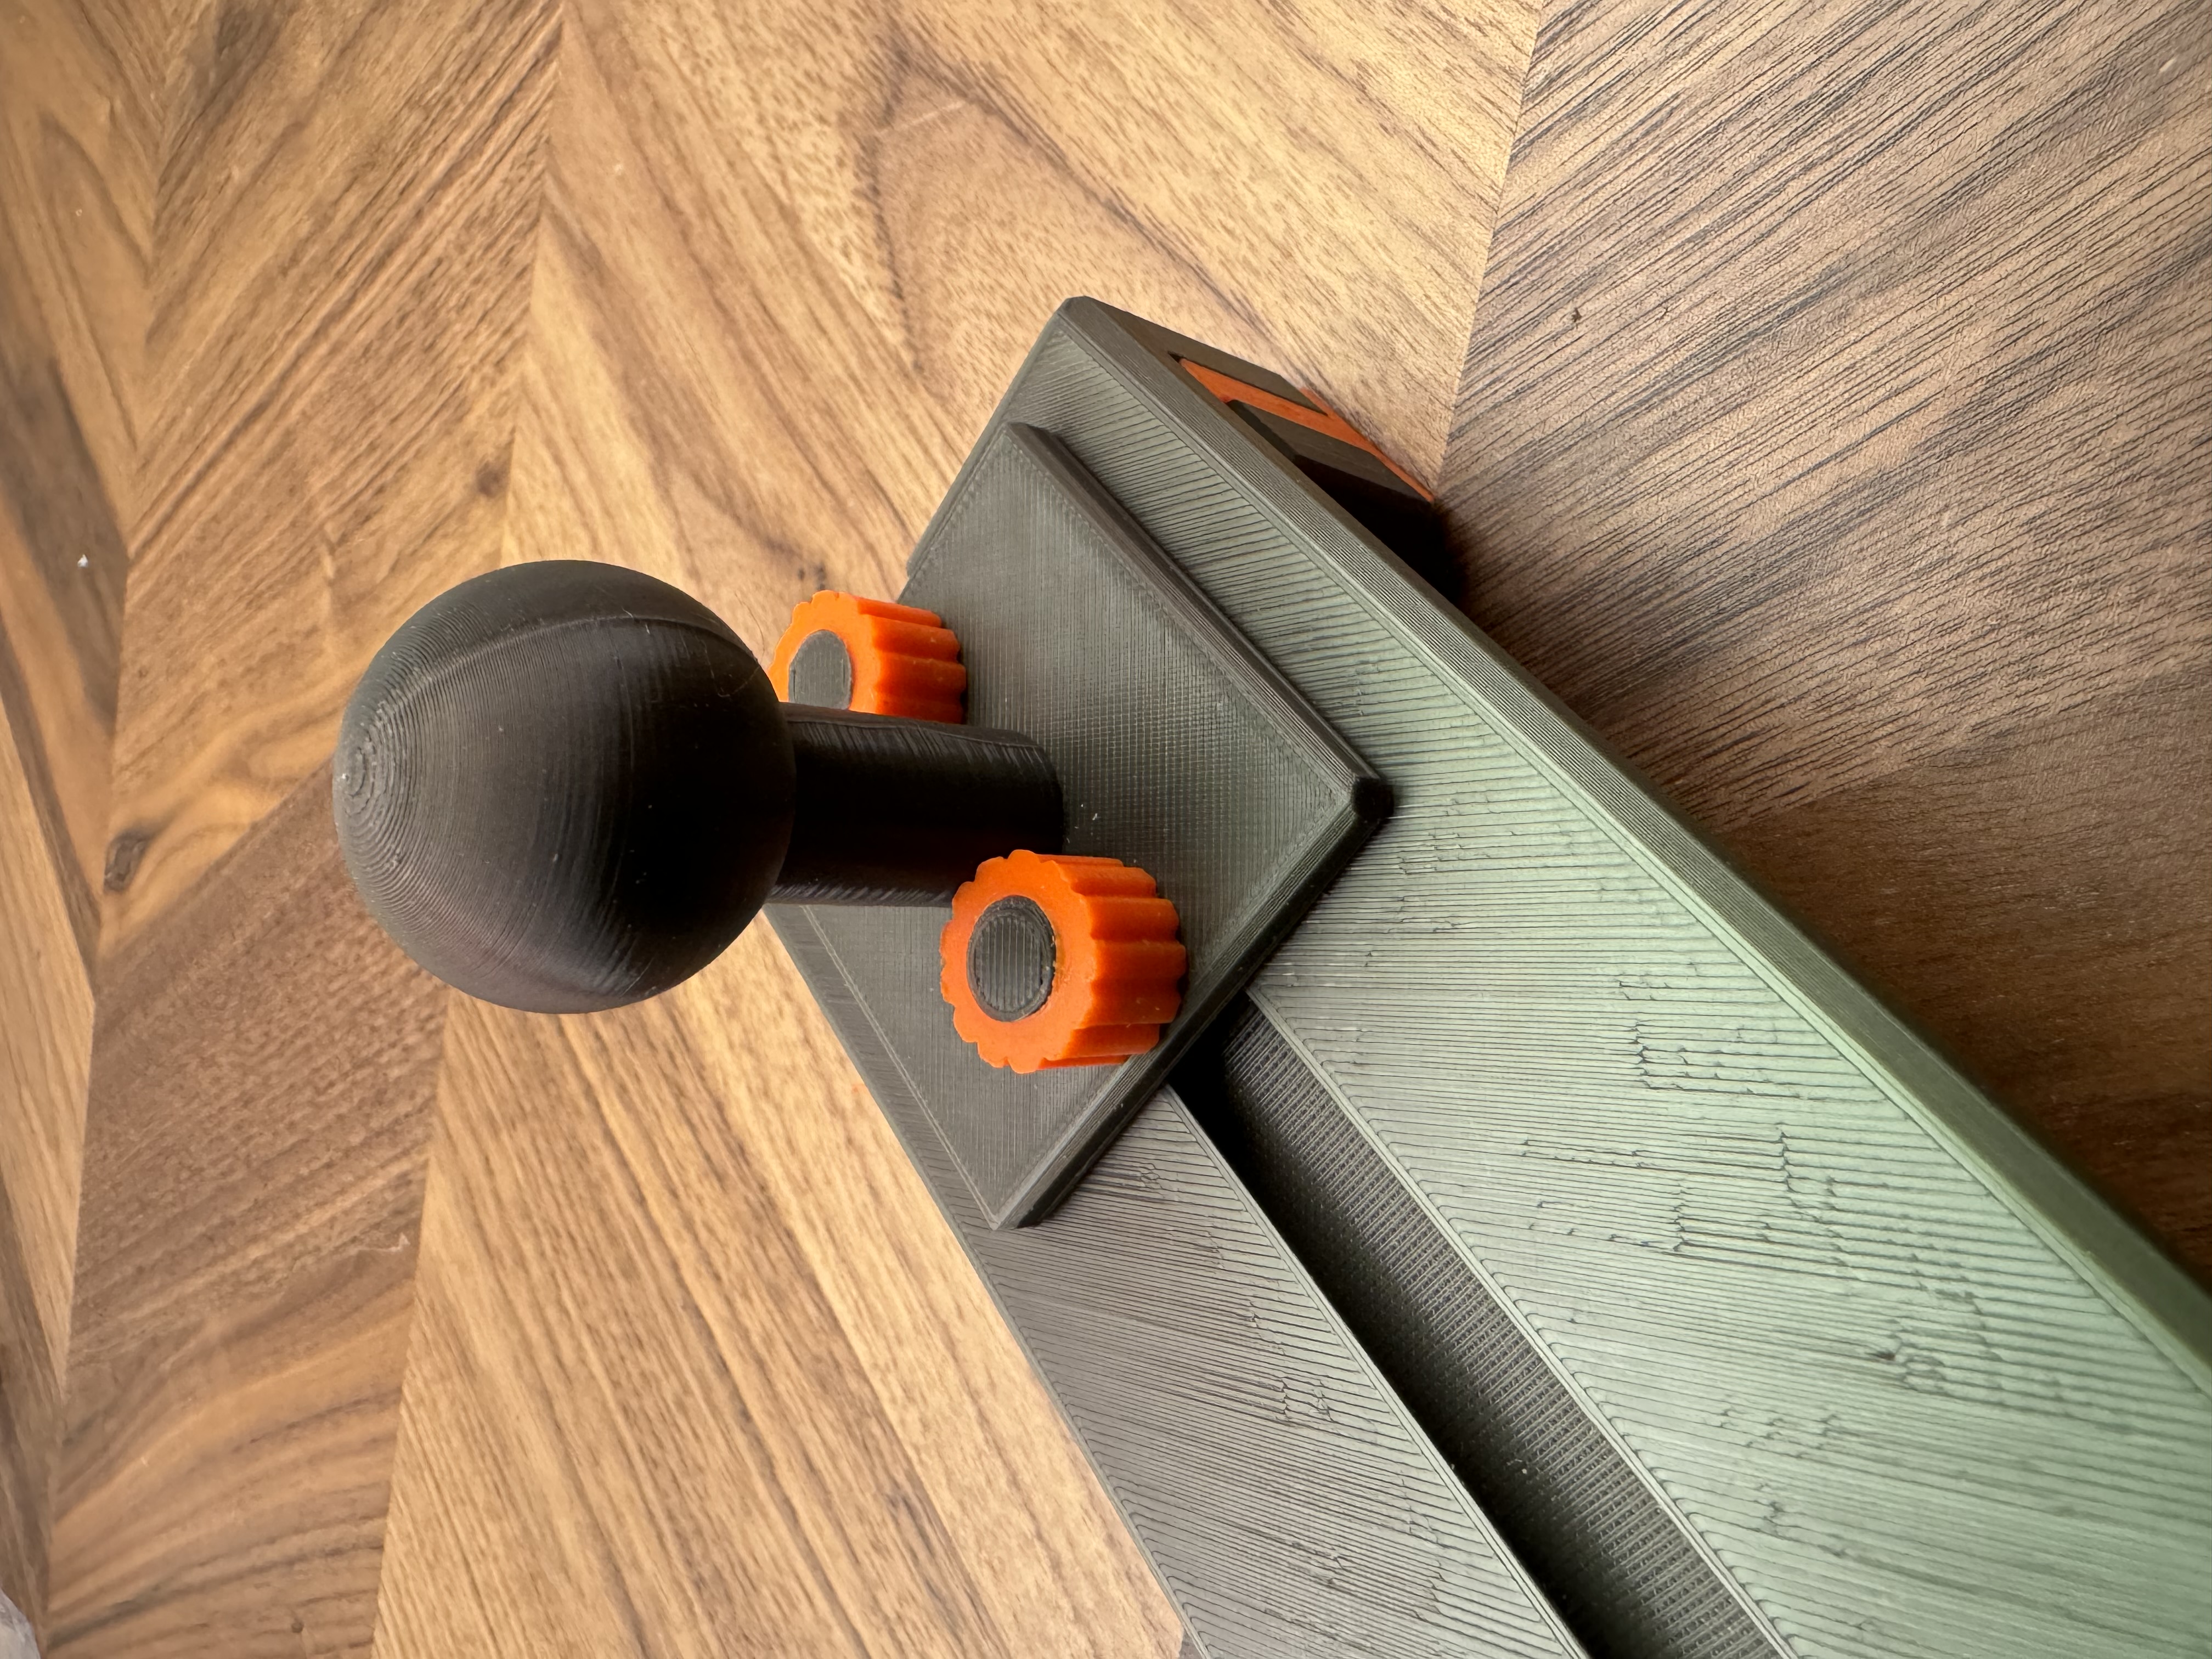
Push the whole vise assembly onto the tablemount assembly (MAKE SURE “big nut” IS INSTALLED BEFORE PUSHING VICE ASSEMBLY ONTO TABLE MOUNT ASSEMBLY, IF NOT IT MIGHT CRACK)
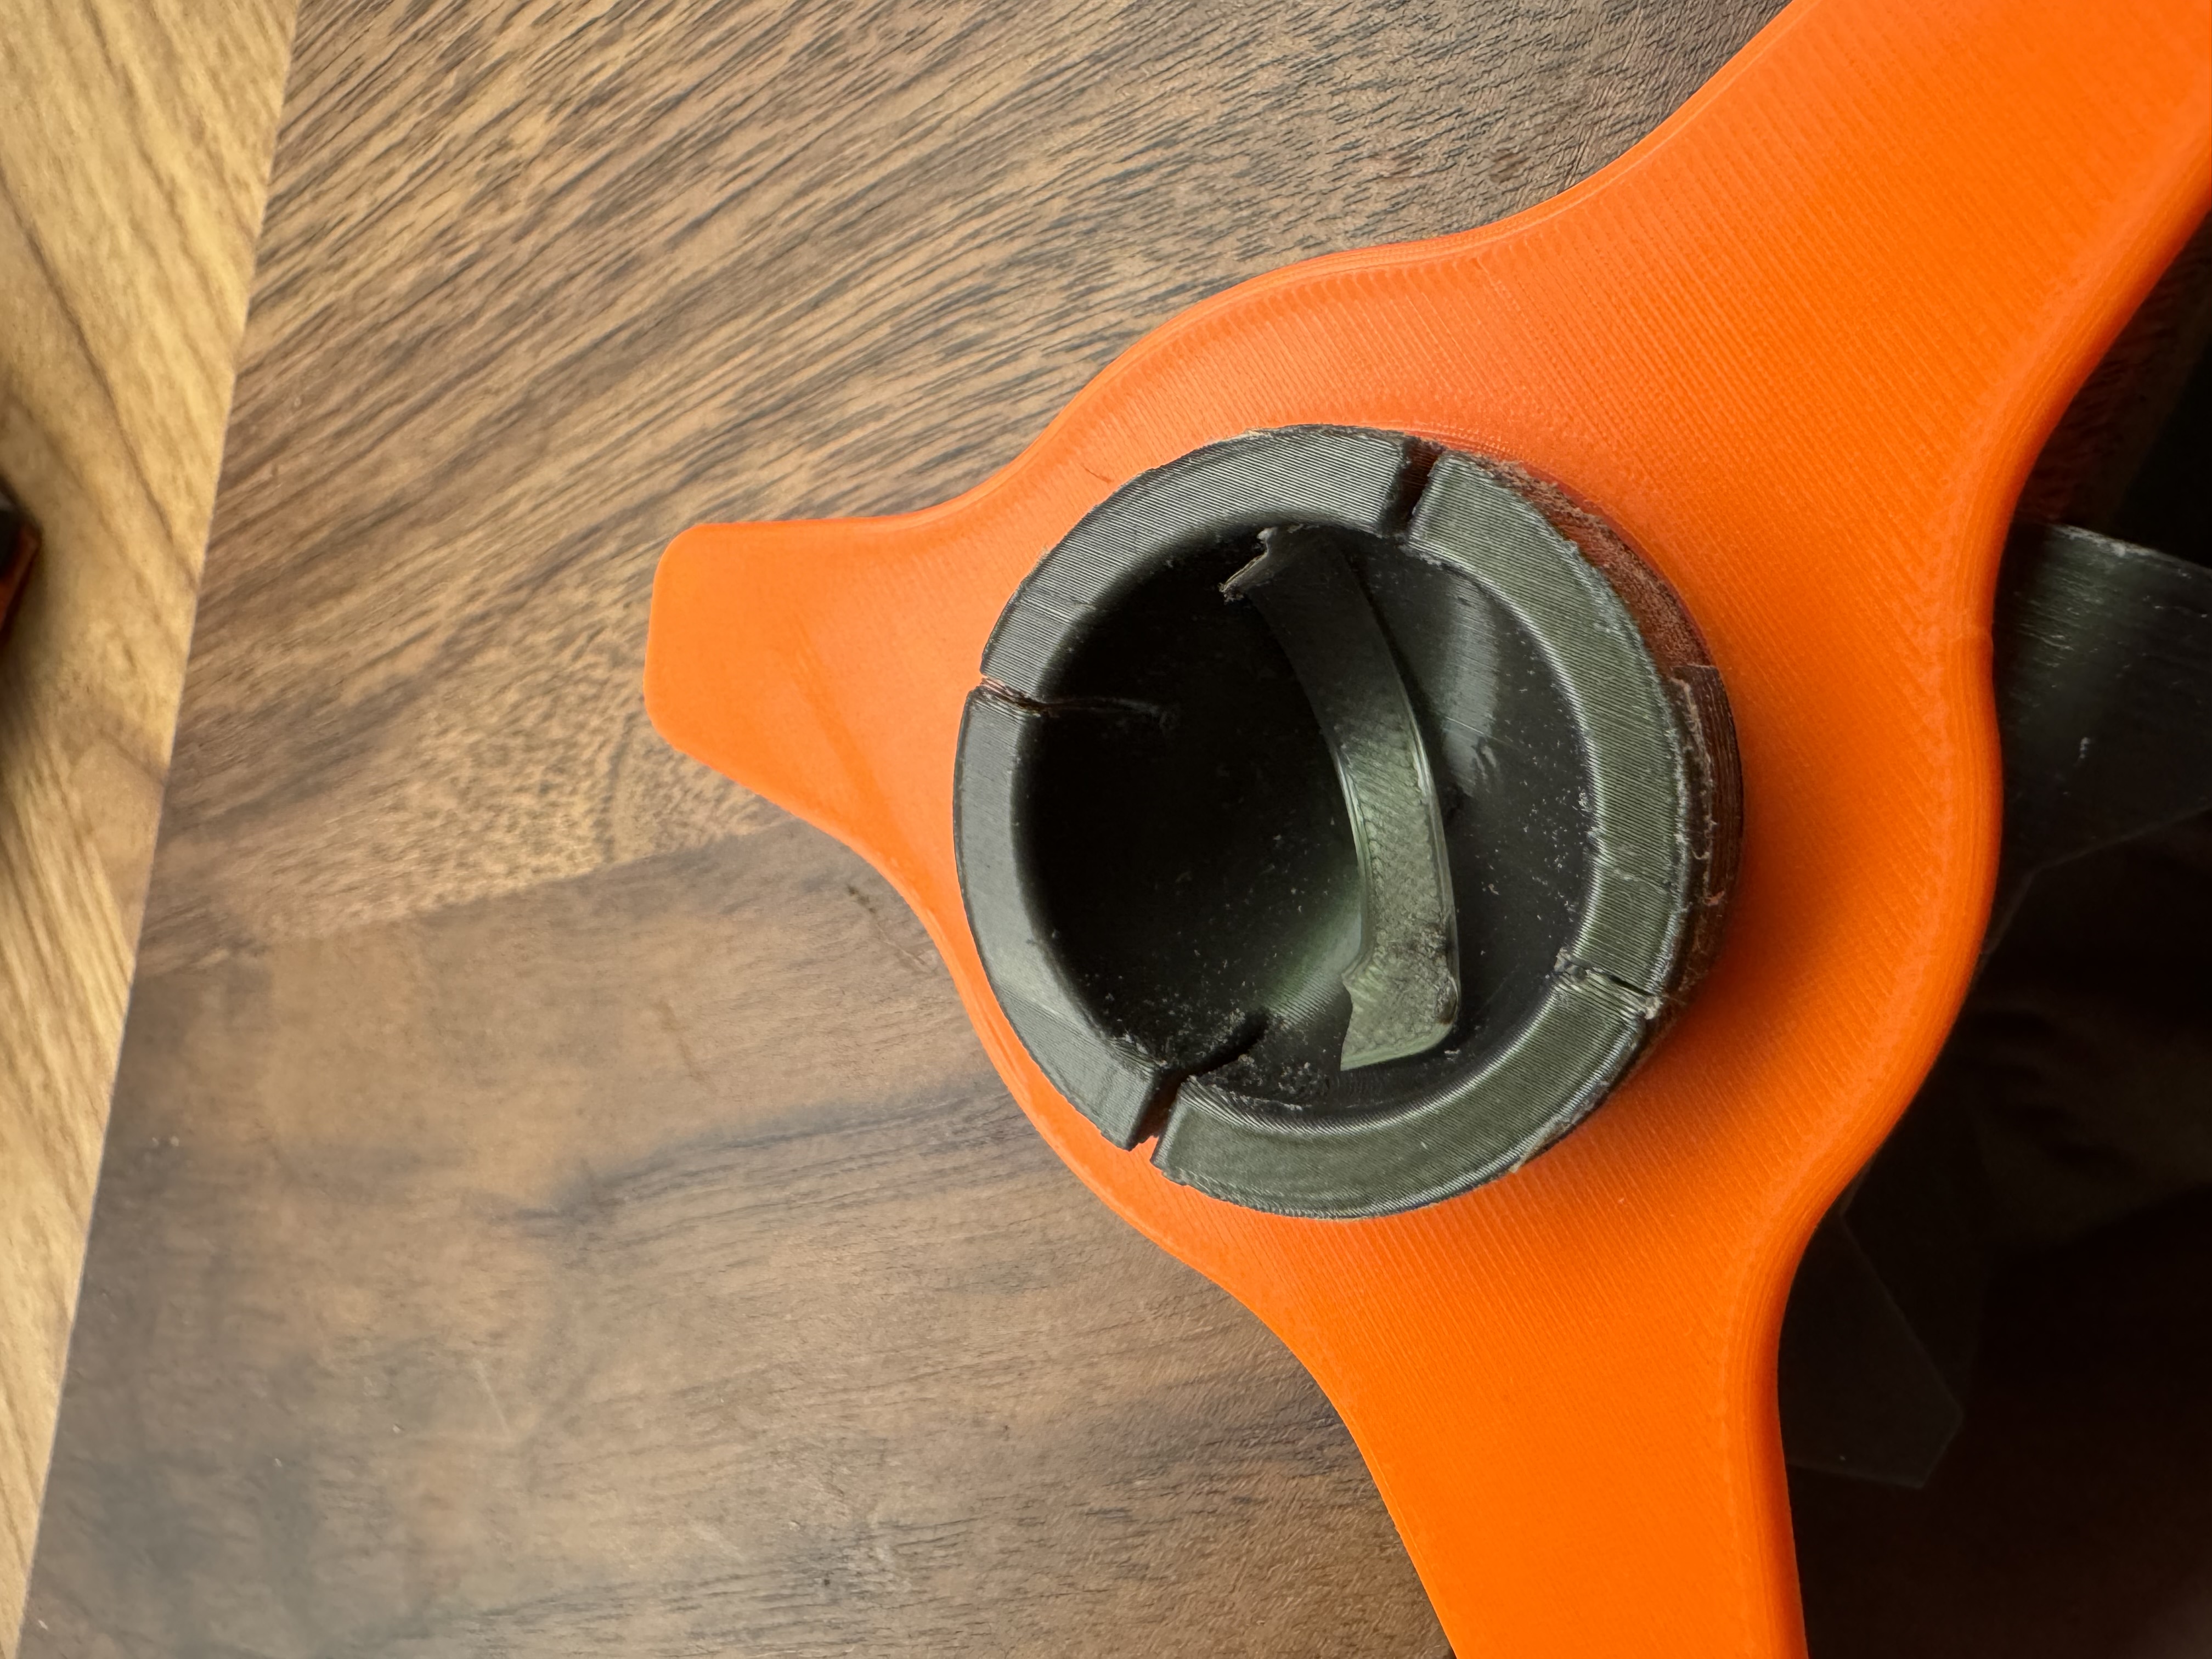
If the ball doesn't lock up when threading out “big nut” place some spare support parts into table mount to make it more snug, or reprint “ball stand” scaled up couple of %, one or two % will be plenty
Good luck with the print!