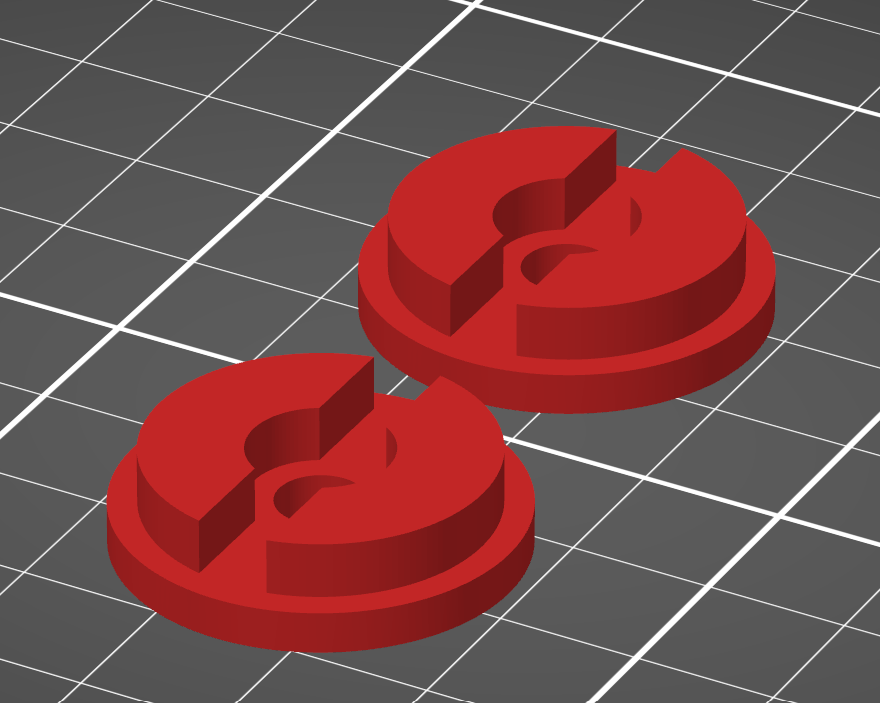
Articulated Arm with a New Articulation Approach
Obliczymy ostateczną cenę na podstawie wybranego pliku. Sprawdzisz ją i zaakceptujesz przed płatnością.
Zapisane na tym urządzeniu.
Articulated arm with 4 rotational movements using PLA against TPU leading to rigidity with still mobility
- Ocena
- 0 / 5
- Polubienia
- 140
- Pobrania
- 203
- Wydruki
- 0
- Wyświetlenia
- 3154
- Oceny
- 0
Aktualizacja u źródła:
Informacje o modelu
- Źródło
- Printables
- Kategoria
- Mechanical Parts
- Licencja
- Creative Commons — Attribution — Noncommercial
I have always been looking for an articulated arm to put a vise or different tools/supports to work with. Every one of them that I printed from already existing model has the same problem: tightening it to much and you loose any sort of mobility. Do the opposite and you find yourself with a loose arm. Even if you get the perfect tightening spot, you move one part of the arm and you've already untighted it…
I've recently bought a spool of TPU with a shore hardness of 82A. This filament is far more flexible than the usual 95A and it has a really good adhesion. This lead me to a new perspective for my articulated arm problem.

By using a textured PLA part against a flat TPU part, you get the perfect combo to get a rigid arm with still articulated motion without tightenning anything between movable and rigid state.

The elasticity of the TPU allows the PLA part to penetrate inside it, locking the system. Adhesion of the TPU will give even more strengh against the rotation. And because you've got elasticity, by giving torque, the TPU part deforms to allow the rotational movement.Moreover, you can play with the tightenning screw allowing you to get full liberty between rigidity and rotanionability.
The arm is composed of four different rotational directions with each articulation using the same TPU/PLA principle. You have a full horizontal rotation for the base, full vertical rotation for every arm, a 240° rotation at the end of the arm, combined with a full 360° rotation for the tool plate.
Parts and assembly :
General :
All the parts were printed on my Prusa MK2S. PLA parts are made with regular PLA. TPU are made with some Filaflex with a shore hardness of 82A. I haven't tried “regular” TPU with shore hardness of 95A which might not be elastic enough and doen't have the same adhesion properties. Layer height is 0.2mm.
Wood cleat :
The wood cleat is a 13 x 18mm cleat made out of pine on which i did a chamfer of 1.5 mm on each edge to give a better look and allowing a chamfer on the printed part giving more strenght. There is a huge difference between the 13 x 18mm announced and the real measure which is 2.5 x 16.5mm. This difference is took into account in the parts and might not be the same for you. I'll try to make a parametric version allowing to change dimension according to your cleat.
All the wooden parts are cut in 20 cm pieces. You can vary the length and number of wooden parts. Cut a final piece of 8 cm for the end of the arm.
For the base:
Printed parts :
- PLA Desk Clamp (5 perimeters, 50% infill)
- 2 x PLA Screw Desk Clamp (100% infill, add a pause at 8mm to add first the M4 washer then the M6 bolt)
- PLA Desk Clamp Articulation (5 perimeters, 50% infill)
- PLA Desk Clamp Articulation Add-on
- 2 x PLA Screw Desk Clamp Adaptater
- PLA Screw Articulation Desk Clamp Adaptater
- 2 x TPU Screw Desk Clamp (100% infill)
- TPU Desk Clamp (100% infill)
- TPU Desk Clamp Gasket (100% infill)
Non-Printed parts :
- 6 x M6 bolt
- 5 x M6 50mm screw
- 1 x M6 25mm screw
- 1 x M6 washer (mine come with a 13.5mm external diameter)
- 2 x m4 washer (mine come with a 9mm external diameter)
Assembly :
- Add some cyano (superglue) to 2 bolts and insert them in the PLA Desk clamp slots.
- Insert a M6 bolt in the slot located in the upper part of the PLA Desk clamp
- Assemble the TPU Screw Desk Clamp with PLA Screw Desk Clamp
- Assemble the TPU Desk Clamp and the PLA Desk clamp
- Assemble the TPU Desk Clamp Gasket with the PLA Desk Clamp Articulation
- Assemble PLA Desk Clamp Articulation Add-on and the PLA Desk Clamp Articulation
- Insert the head of the 20mm screw inside the PLA Screw Articulation Desk Clamp Adaptater and add a M6 washer
- Assemble the clamp with the base using the screw and adapter made in step 7.
- Add a 20 cm long piece of wood, mark the hole and drill it with a 6 mm drillbit
- Assemble the wooden part with the base with a M6 50 mm screw and bolt
PLA Parts:

TPU parts :

For each articulation:
Printed parts :
- PLA Articulation M (100% infill, add a change in layer height at 18,6mm to a 0.1mm layer height)
- PLA Articulation F (100% infill)
- PLA Bolt Articulation Adaptater (15% infill)
- PLA Screw Articulation Adaptater (15% infill)
- TPU Articulation Gasket (100% infill)
Non-Printed parts :
- 1 x M6 bolt with autolocking system (plastic ring locking the bolt)
- 1 x M6 50mm screw
- 2 x M6 washer (mine come with a 13.5mm external diameter)
Assembly :
- Assemble the TPU Articulation Gasket with the PLA Articulation M
- Insert the head of the screw inside the PLA Screw Articulation Adaptater and add a M6 washer
- Insert a bolt inside the PLA Bolt Articulation Adaptater and add a M6 washer
- For each articulation (M and F), add a 20 cm long piece of wood, mark the hole and drill it with a 6 mm drillbit
- Assemble the wooden part with each articulation (M and F) and screw everything using screw and bolt prepared in steps 2 and 3
You will have to repeat these steps for each wooden section. Use the short 8 cm piece of wood for the end of the arm.
PLA Parts:

TPU parts :
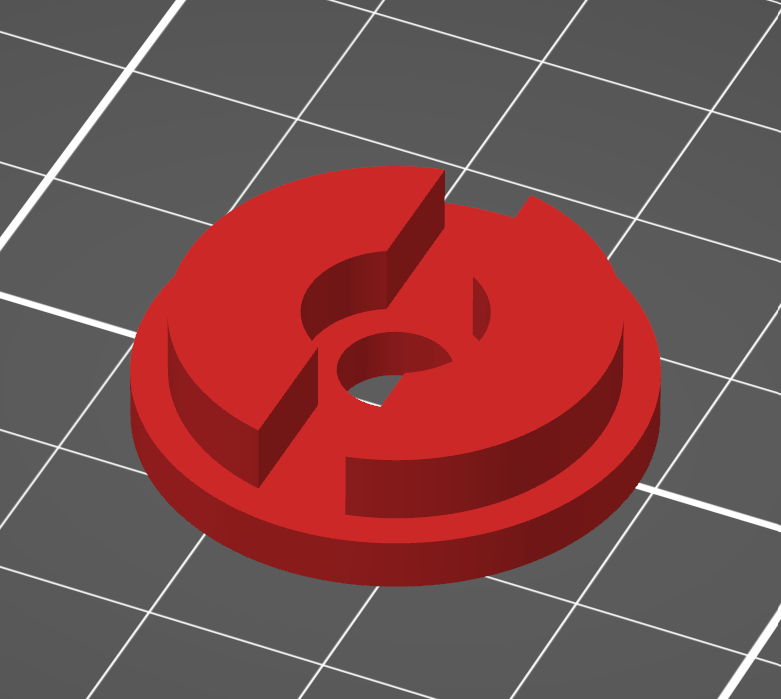
For the end of the arm :
Printed parts :
- PLA End Arm Articulation F (5 perimeters, 50% infill)
- PLA End Arm Articulation M (100% infill, add a change in layer height at 22,2mm to a 0.1mm layer height)
- 2 x PLA Bolt End Articulation Adaptater (15% infill)
- PLA Screw Articulation Adaptater (15% infill)
- PLA End Arm Plate Articulation F (5 perimeters, 50% infill)
- 2 x TPU Articulation Gasket (100% infill)
Non-Printed parts :
- 1 x M6 bolt with autolocking system (plastic ring locking the bolt)
- 1 x M6 bolt
- 2 x M6 50mm screw
- 3 x M6 washer (mine come with a 13.5mm external diameter)
Assembly :
- Assemble the TPU Articulation Gasket with the PLA End Arm Articulation F
- Assemble the TPU Articulation Gasket with the PLA End Arm Plate Articulation F
- Insert the head of the screw inside the PLA Screw Articulation Adaptater and add a M6 washer
- Insert a bolt inside the 2 x PLA Bolt Articulation Adaptater and add a M6 washer
- Assemble the short 8 cm wooden part with the PLA End Arm Articulation M, add the PLA End Arm Articulation F and screw everything using screw and bolt prepared in steps 3 and 4
- Insert a M6 screw inside the slot in the PLA End Arm Plate Articulation F
- Assemble the PLA End Arm Plate Articulation F with part prepared in step 5 and the bolt+bolt adaptater preprared in step 4.
You have now built the entire articulated arm. You can use the End Arm Plate to mount anything you have in mind using 4 x M6 bolt and screw. Each hole on the plate in spaced with 50.6mm side to side.
PLA Parts:

TPU parts :