
Curved two-sided lozenge tiles
Obliczymy ostateczną cenę na podstawie wybranego pliku. Sprawdzisz ją i zaakceptujesz przed płatnością.
Zapisane na tym urządzeniu.
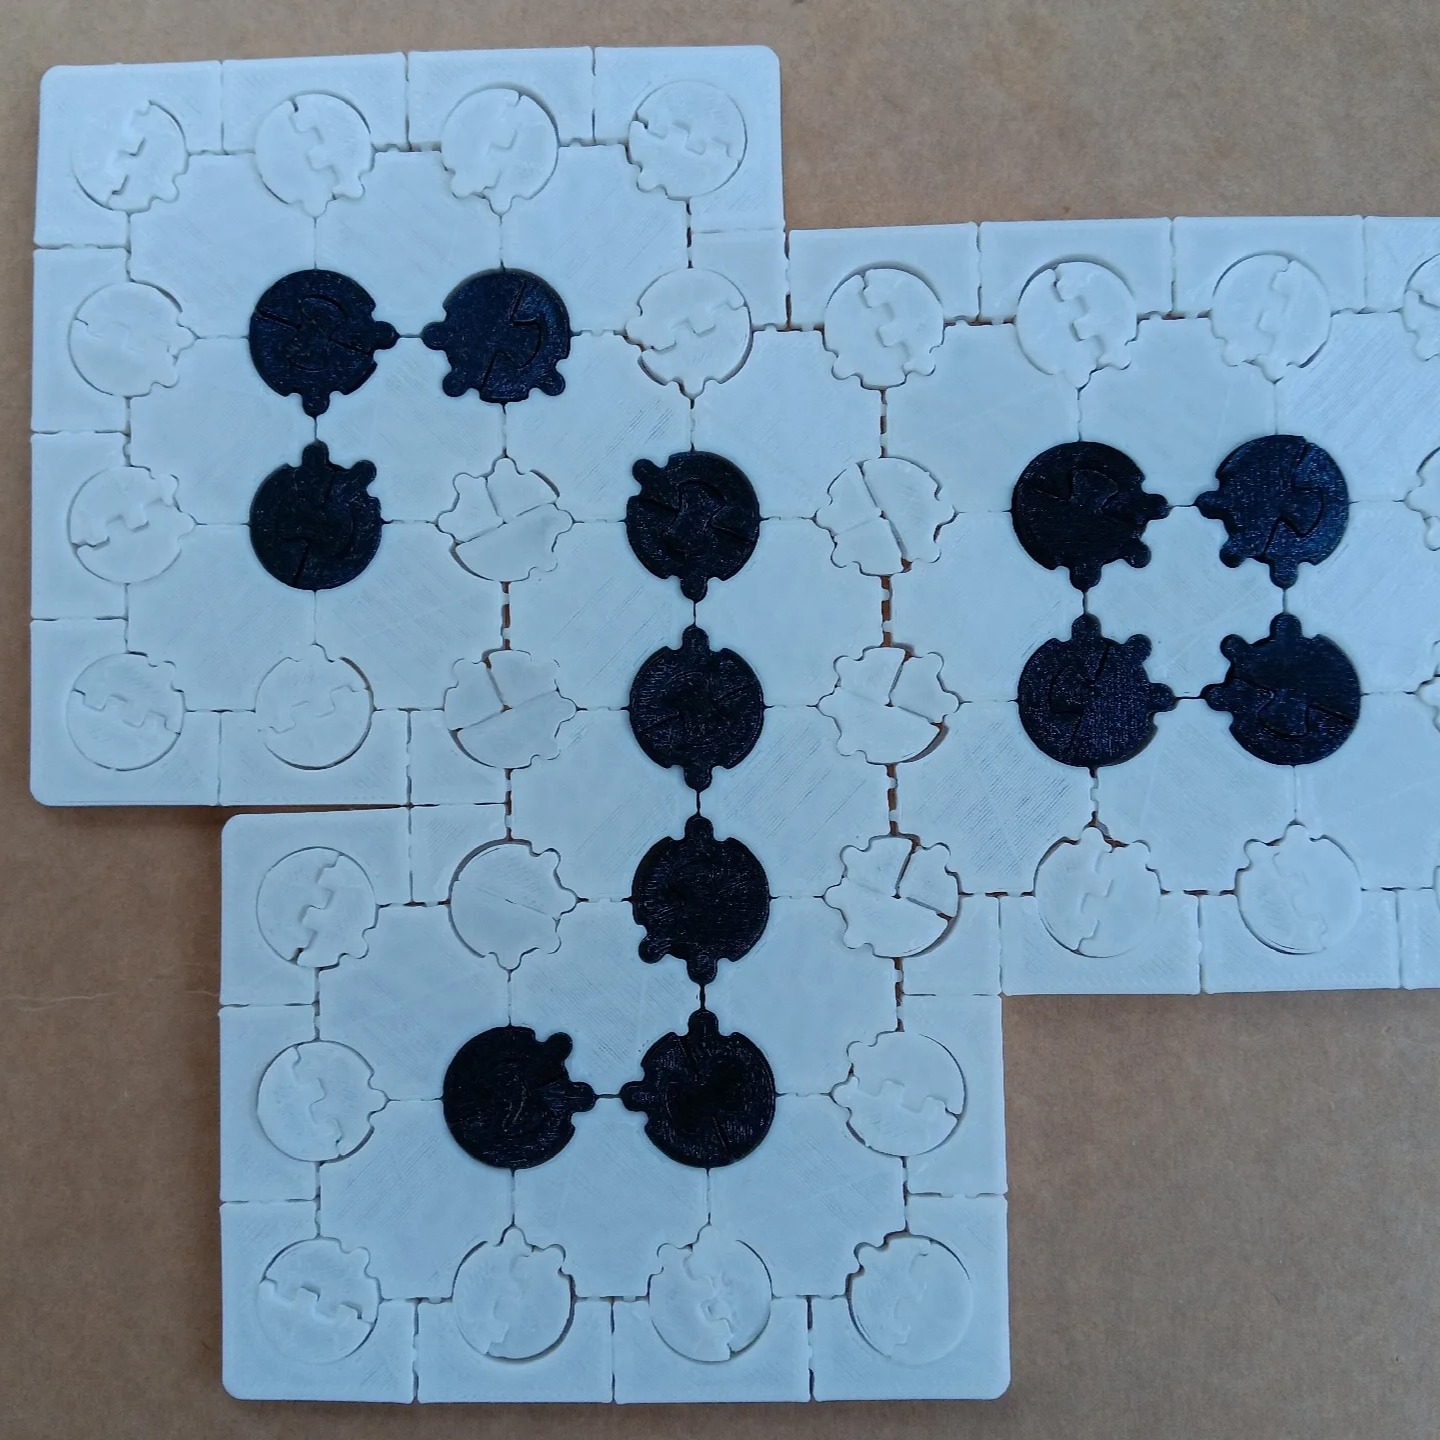
These tiles fit together to make a variety of "lozenge" tilings, or tilings by 60°-120° rhombuses.
- Ocena
- 0 / 5
- Polubienia
- 8
- Pobrania
- 22
- Wydruki
- 1
- Wyświetlenia
- 154
- Oceny
- 0
Aktualizacja u źródła:
Informacje o modelu
- Źródło
- Printables
- Kategoria
- Math
- Licencja
- Creative Commons — Attribution — Share Alike
These tiles fit together to make a variety of "lozenge" tilings, or tilings by 60°-120° rhombuses. Strictly alternating them like a checkerboard will give you a grid while keeping all the same orientation collects them into hexagons. These can be mixed. (The curious can look up Percy Alexander MacMahon's analysis, published in the early 20th century.)
The tiles are curved on the edges to enforce the orientation. The sides alternate between stick connectors and holes that can receive them, also enforcing orientation and keeping the tiles in place when laying out. Tilings are liftable if you are careful.
After printing white and black sides, the tiles can be assembled by fitting the black center bump in a center slot and turning 90° clockwise looking down at the black side. You will meet resistance due to the corner bumps on the black side and you may need to bend the corners up slightly. Be careful or you can break the center fitting of the black side. Once in place, they hold well. The intent is to hold permanently though you can separate them if you're careful.
After making dozens of these, I find I still sometimes break the fitting. Maybe a higher density would help, but one tip is to make all the white sides you need first before switching filament. The black sides are a lot faster to make, so just make a few more if you break some.
I've added an optional printable leverage tool (roughly spoon-shaped) for applying the uniform force needed when rotating top and bottom together. There are two pictures showing how to use it. I hope it's clear. While this can save you some strain on your fingertips, it may also lead to breakage since it applies a lot of force. It is simply another approach and you can skip it if you want.
I printed this in PLA on a Flashforge Adventurer 3 Pro 2 and you may need to make adjustments for other printers and other materials.
There is no real "puzzle" here because it is easy to extend a tiling. But it can be used to pass time or make aesthetically pleasing lozenge tilings, which also look like an orthographic projection of stacks cubes.
Category: 3D Printing