
Medieval Back Scratcher With Interchangeable Heads
Obliczymy ostateczną cenę na podstawie wybranego pliku. Sprawdzisz ją i zaakceptujesz przed płatnością.
Zapisane na tym urządzeniu.

Medieval Back Scratcher With Interchangeable Heads
- Ocena
- 5 / 5
- Polubienia
- 61
- Pobrania
- 191
- Wydruki
- 1
- Wyświetlenia
- 926
- Oceny
- 1
Aktualizacja u źródła:
Informacje o modelu
- Źródło
- Printables
- Kategoria
- Other House Equipment
- Licencja
- Creative Commons — Attribution — Noncommercial — Share Alike
If you like my work and enjoy my models please consider leaving me a tip/donation, It helps me to continue creating awesome models for you for free.
Medieval back scratcher with interchangeable heads.
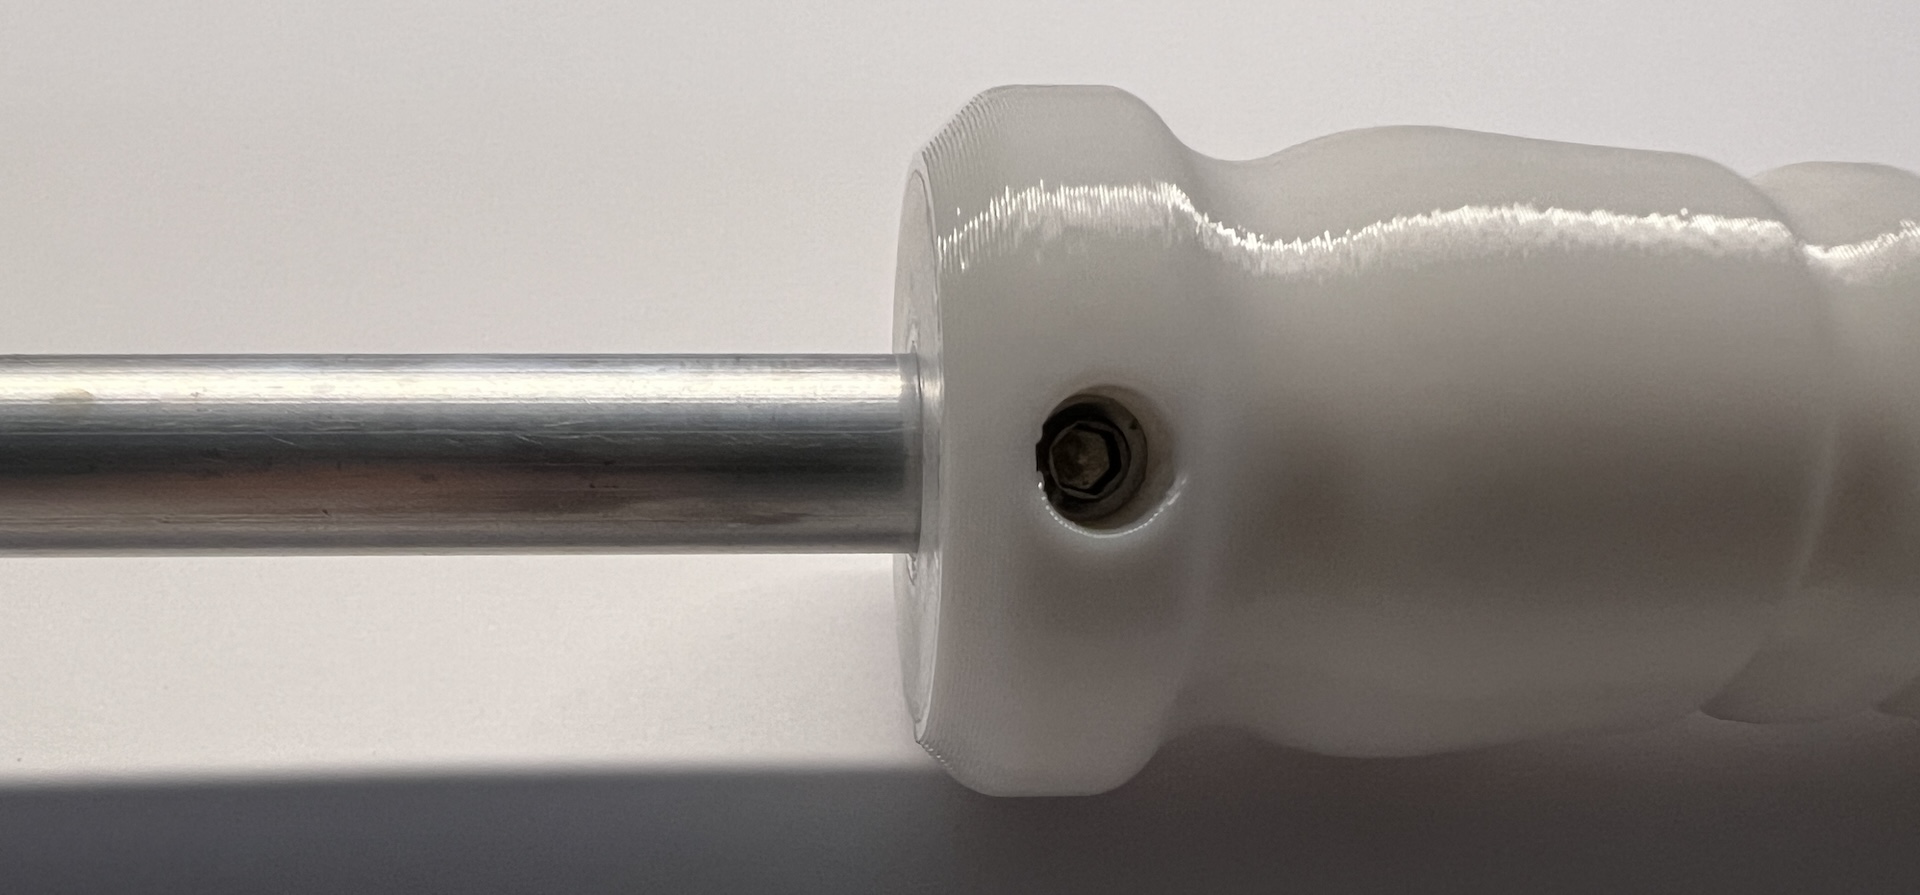
UPDATE: May 21st 2024- Added a single head adapter and handle to suit a 10mm round metal rod. This way you can make your backscratcher as short or as long as you need it with the added benefit of having the stiffness of metal. You will need a length of 10mm round rod of your choice and 2 M3x10mm fasteners to secure the rod on both ends. I used aluminium tubing 10mmx1mm in the photos.

UPDATE: May 17th 2024- Added a single head screw on adapter.

UPDATE: May 15th 2024- Added a 100mm rod extension and joiner. Use a piece of 1.75mm filament to connect it to the main rod. With the extension the overall length of the entire scratcher is 430mm, without the extension, it's 330mm.

UPDATE: May 14th 2024- Added optional interchangeable heads for your medieval back scratcher. They are screw on screw off. One is sharp and the other is blunt. Mix and match to suit. Have one, or have one of each, or have both of the same. The thread adapter mounts to the rod, same as the ball head, ie, use a piece of 1.75mm filament to secure it in place. Make a kink in the piece of filament before inserting, that way it will stay in place when inserted and won't fall out. Of course you could superglue everything together if you wanted to make it all permanent:)
You can have them color coded. One pink for your wife or girlfriend (Blunt End) and the other blue for you (Sharp End for example :)


The rod has an H on one end and an S on the other. ‘H’ end goes in the handle and the ‘S’ on the ball head. Make sure you line up the holes in the rod with the handle and the ball end and secure both with a length of 1.75mm filament. Or you can alternatively superglue both ends or both.
No supports are required.
Happy printing.