
Thread: M10 bolt and nut, with F360 files and know how
Obliczymy ostateczną cenę na podstawie wybranego pliku. Sprawdzisz ją i zaakceptujesz przed płatnością.
Orientacyjna cena wydruku pliku
0,15 € – 0,18 € netto (bez VAT)
Dla pliku: M10_nut.bgcode
To wstępna wycena jednego pliku. Dokładną cenę poznasz przed zamówieniem.
Plik i założenia wyceny
Plik użyty do wyceny
Średnia wycena orientacyjna: 0,16 € netto (środek widełek).
- Masa podana przez autora
- 1 g
- Czas druku podany przez autora
- 12,6 min
- Materiał u źródła
- PLA
- Materiał wyceny
- PLA
- Drukarka wyceny
- Bambu Lab P1S - 0.4 nozzle
- Proces wyceny
- 0.20mm Standard
Orientacyjna wycena wyłącznie wybranego pliku, oparta na masie i czasie druku podanych przez autora. Warianty plików nie są sumowane. Ostateczna cena zostanie obliczona po analizie pliku.
Zapisane na tym urządzeniu.

Oversized Head M10 thread Bolt and Nut for 3D print that works smooth. Includes how-to for modelling and print.
- Ocena
- 0 / 5
- Polubienia
- 32
- Pobrania
- 368
- Wydruki
- 0
- Wyświetlenia
- 1191
- Oceny
- 0
Aktualizacja u źródła:
Informacje o modelu
- Źródło
- Printables
- Kategoria
- Test Models
- Licencja
- BSD License
M10 thread that is printable and smooth. Fusion files 360 included (.f3d)
Why I made it: A couple of days ago, I was looking for a part with a decent thread. I found one, uploaded my make, and gave the creator a thumbs up for the nicely modeled design. In reply, he encouraged me to experiment with using threads in my designs. I did some research, and here are the lessons learned.
How to make a thread that works straight after print. (I'm skipping the obvious parts, assuming you have a basic Fusion360 skills).
First, the bolt: create a standard thread, but not for the full length, leaving the top for the next step. (Also note the modeled tick).

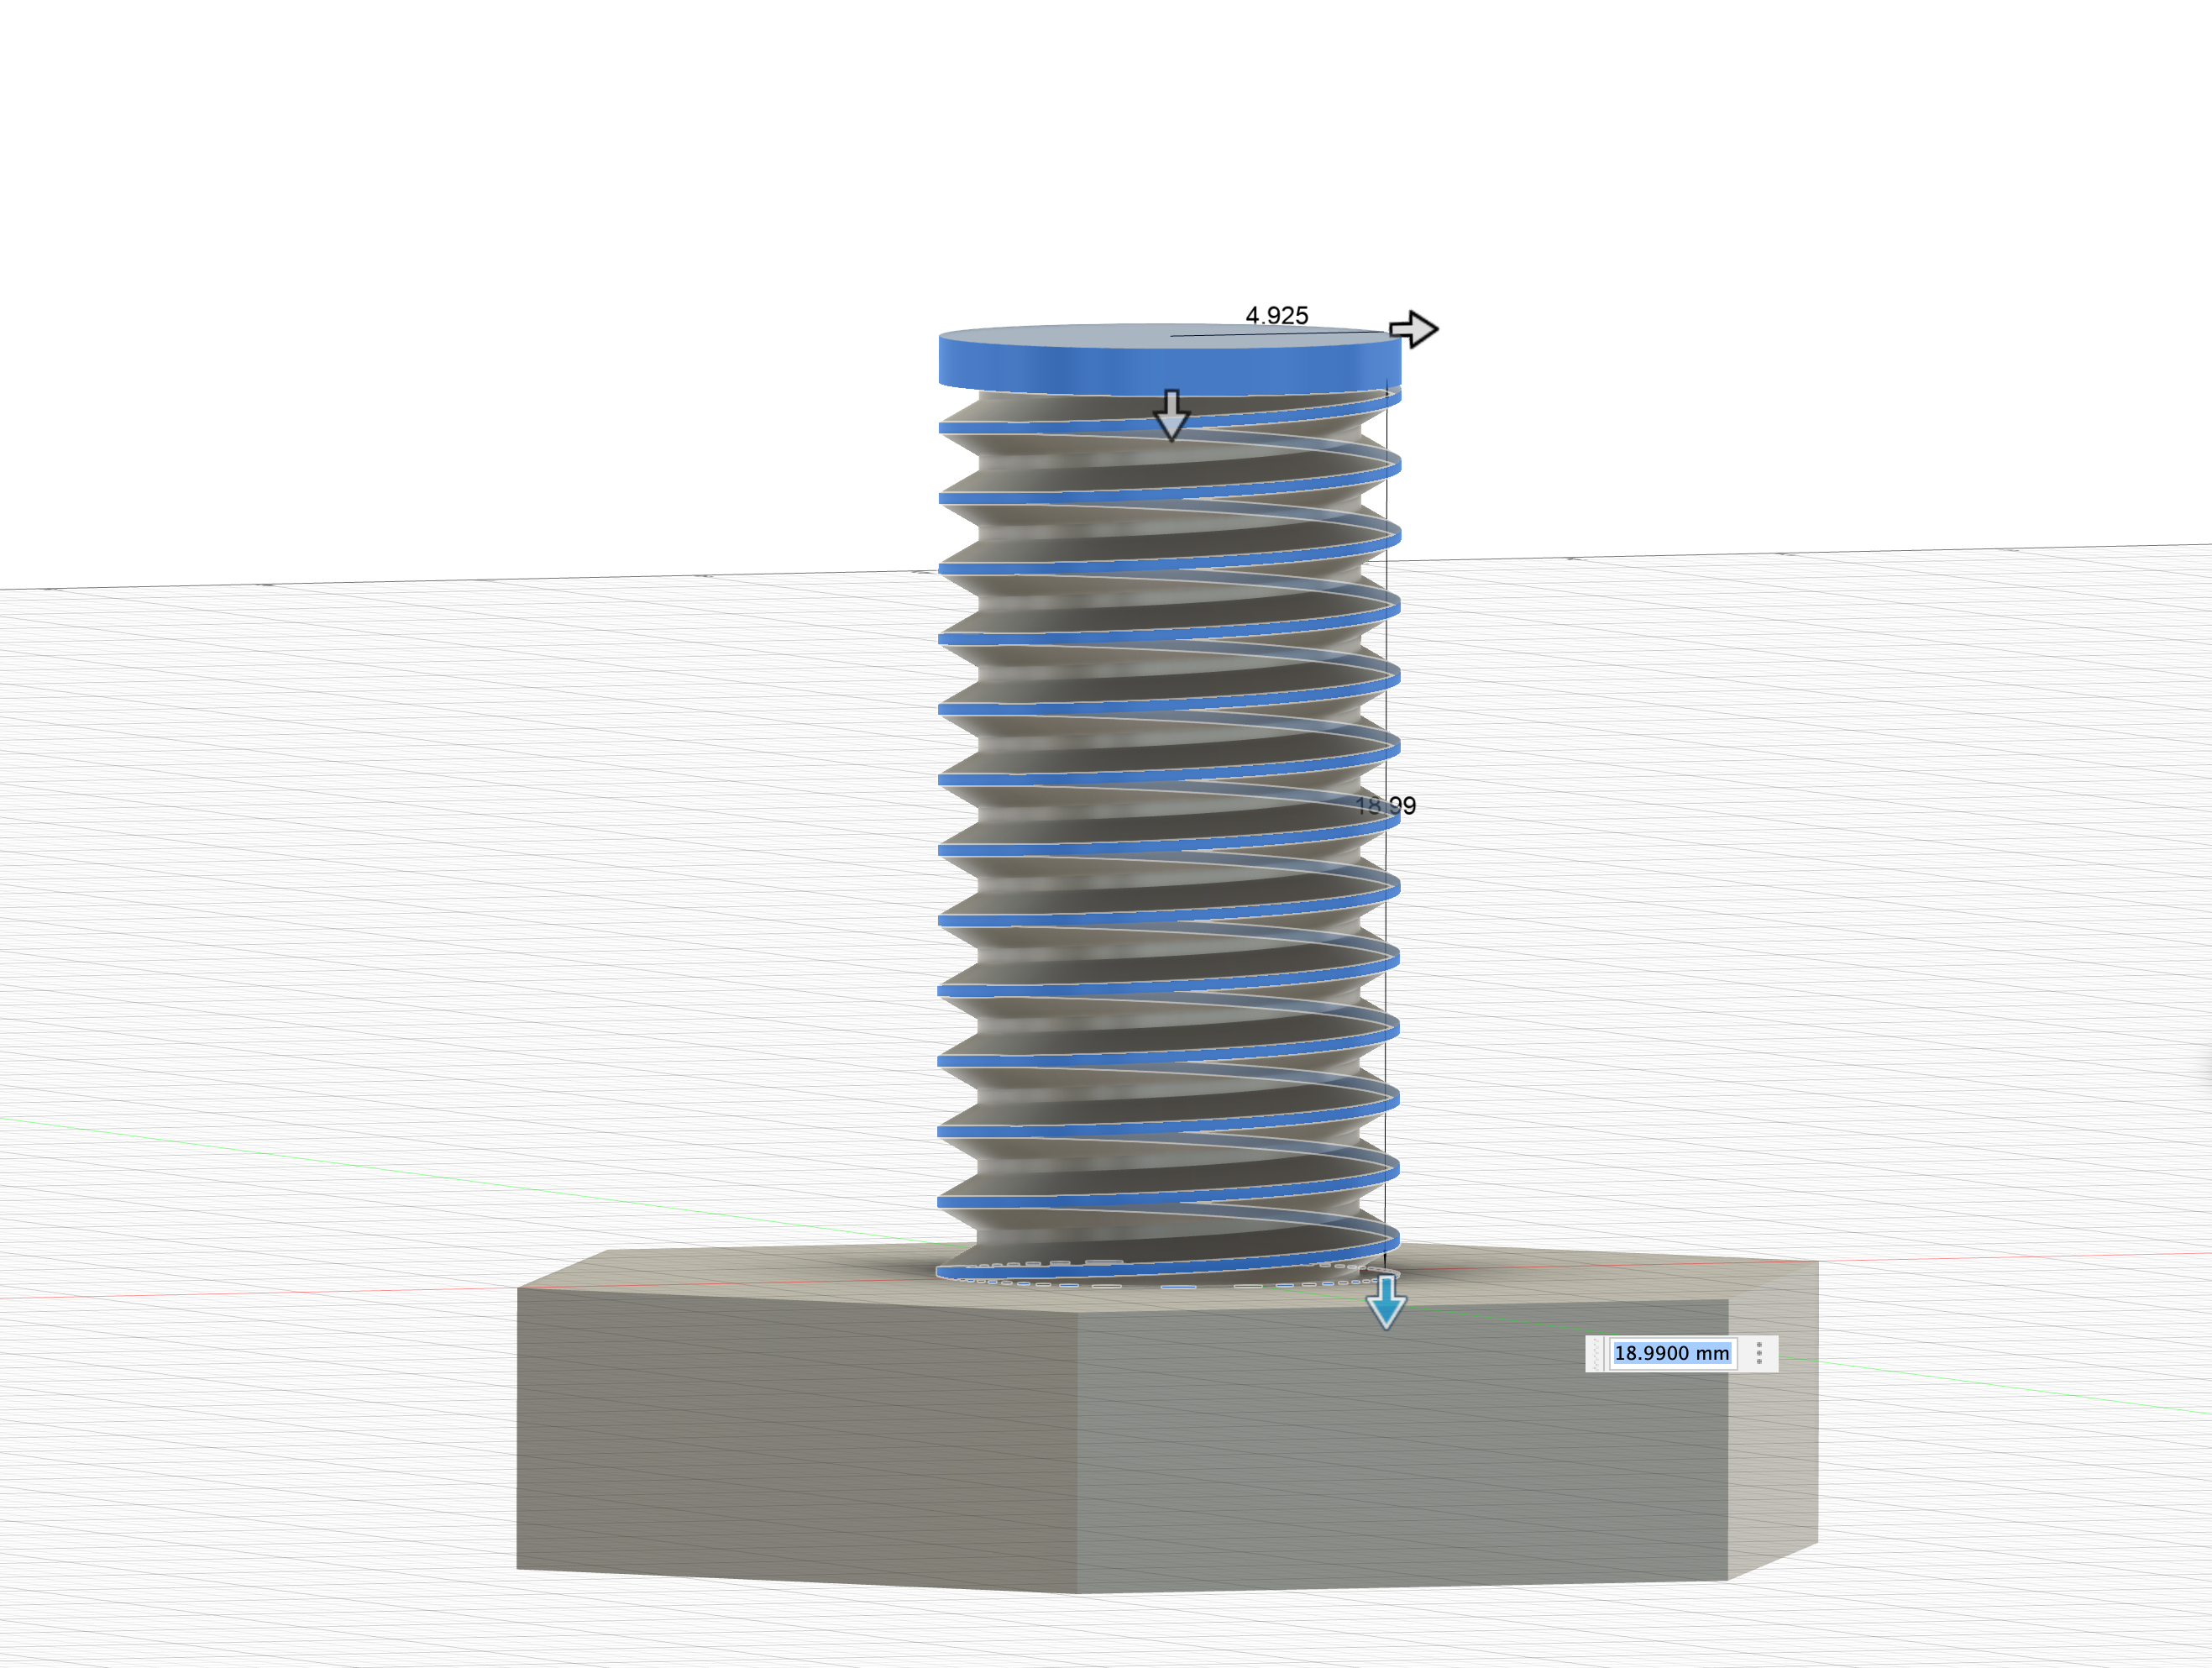
Add a chamfer to allow for easy entrance. Choose a length that bypasses the offset length.

Done, the bolt is ready.
The nut requires more care if you want to achieve this smoothness:
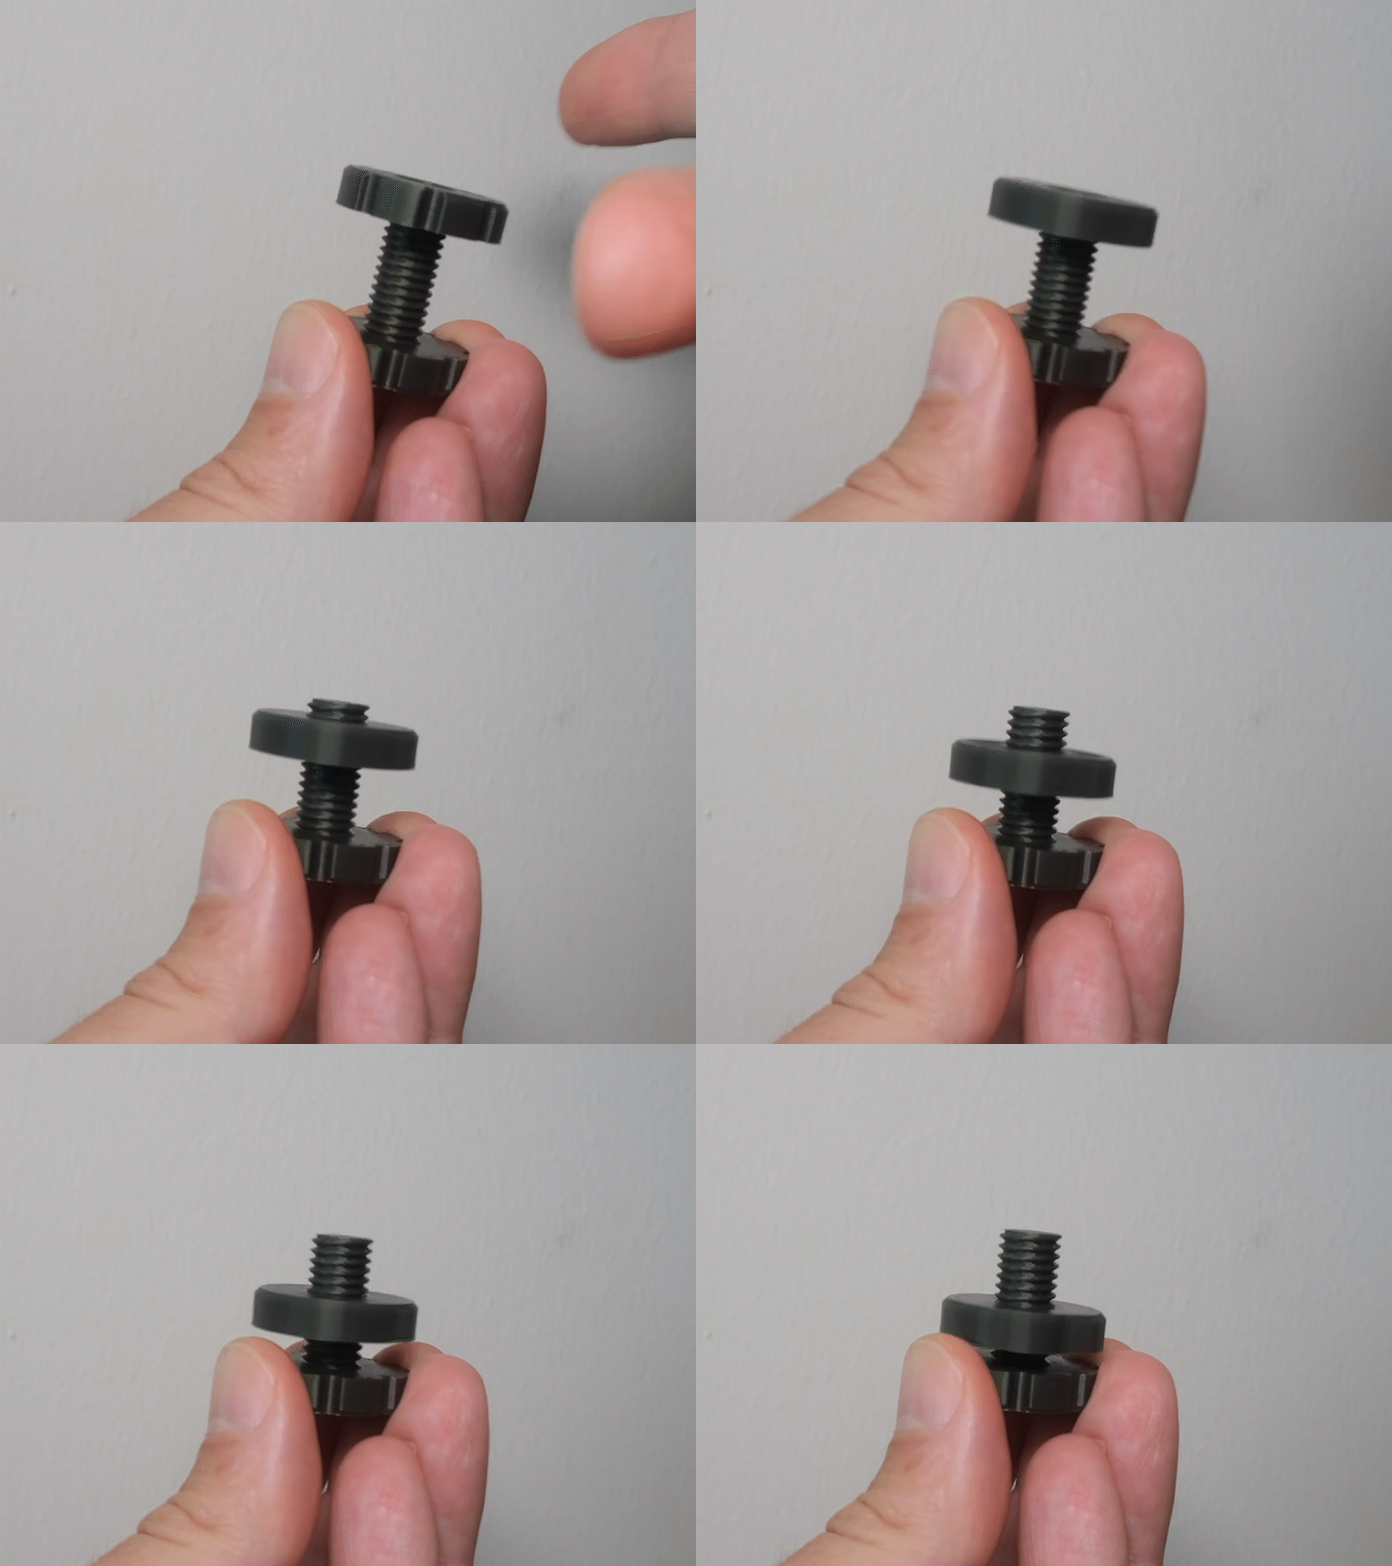
Start with a standard thread, but with an offset on both ends.


Add a chamfer on both ends, keeping it bigger than the offset.

Now comes the trick: use Offset Face twice (only on the nut, leave the bolt as standard).
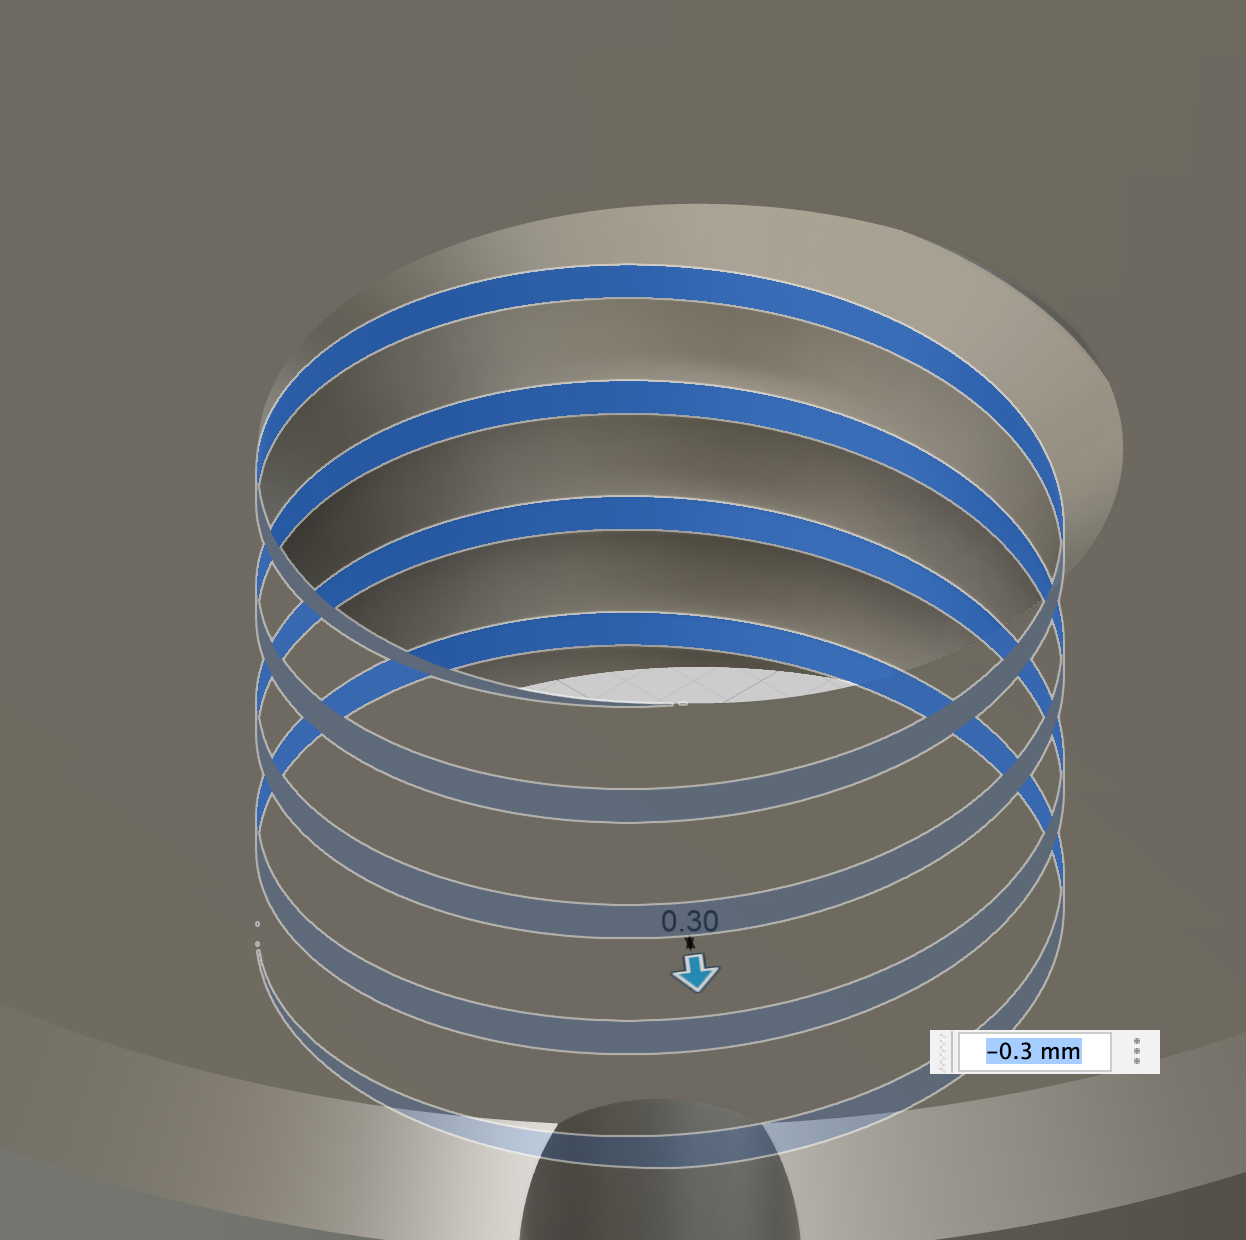
First, apply Offset Face on the face parallel to the hole (0.2-0.3mm for Prusa Mini with a 0.2 layer).
Next, apply Offset Face on the angled face (one only) (0.1mm).
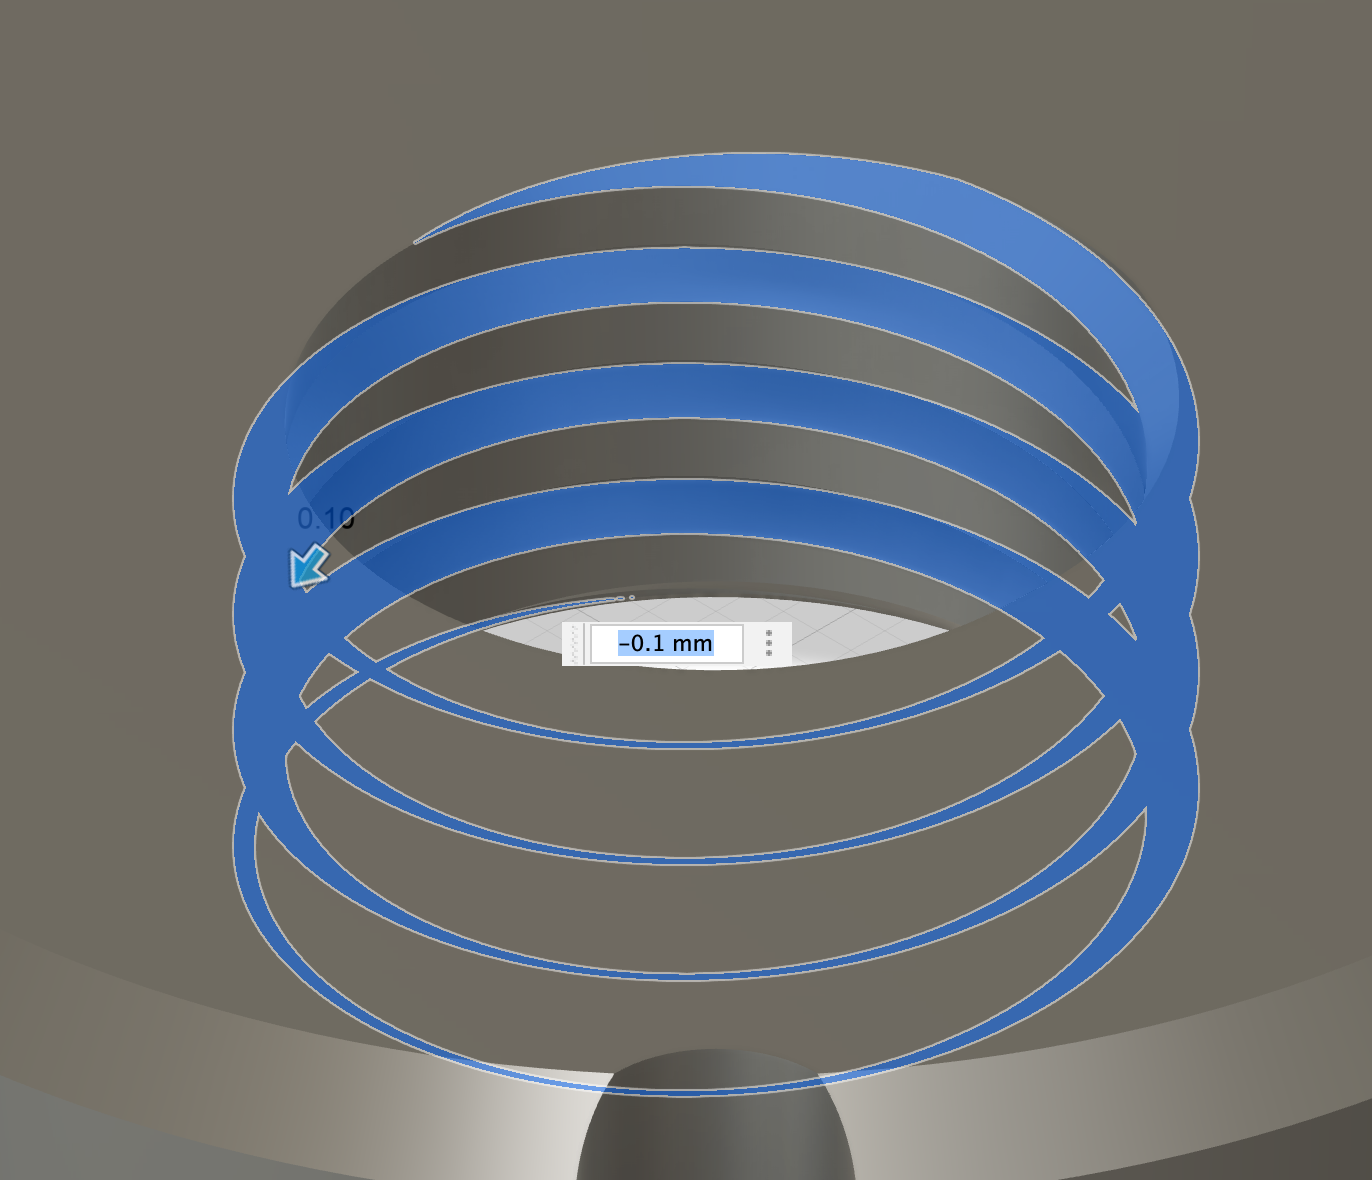
Use Section Analysis during and after the process.

Any comments? Drop me a message or better a make!