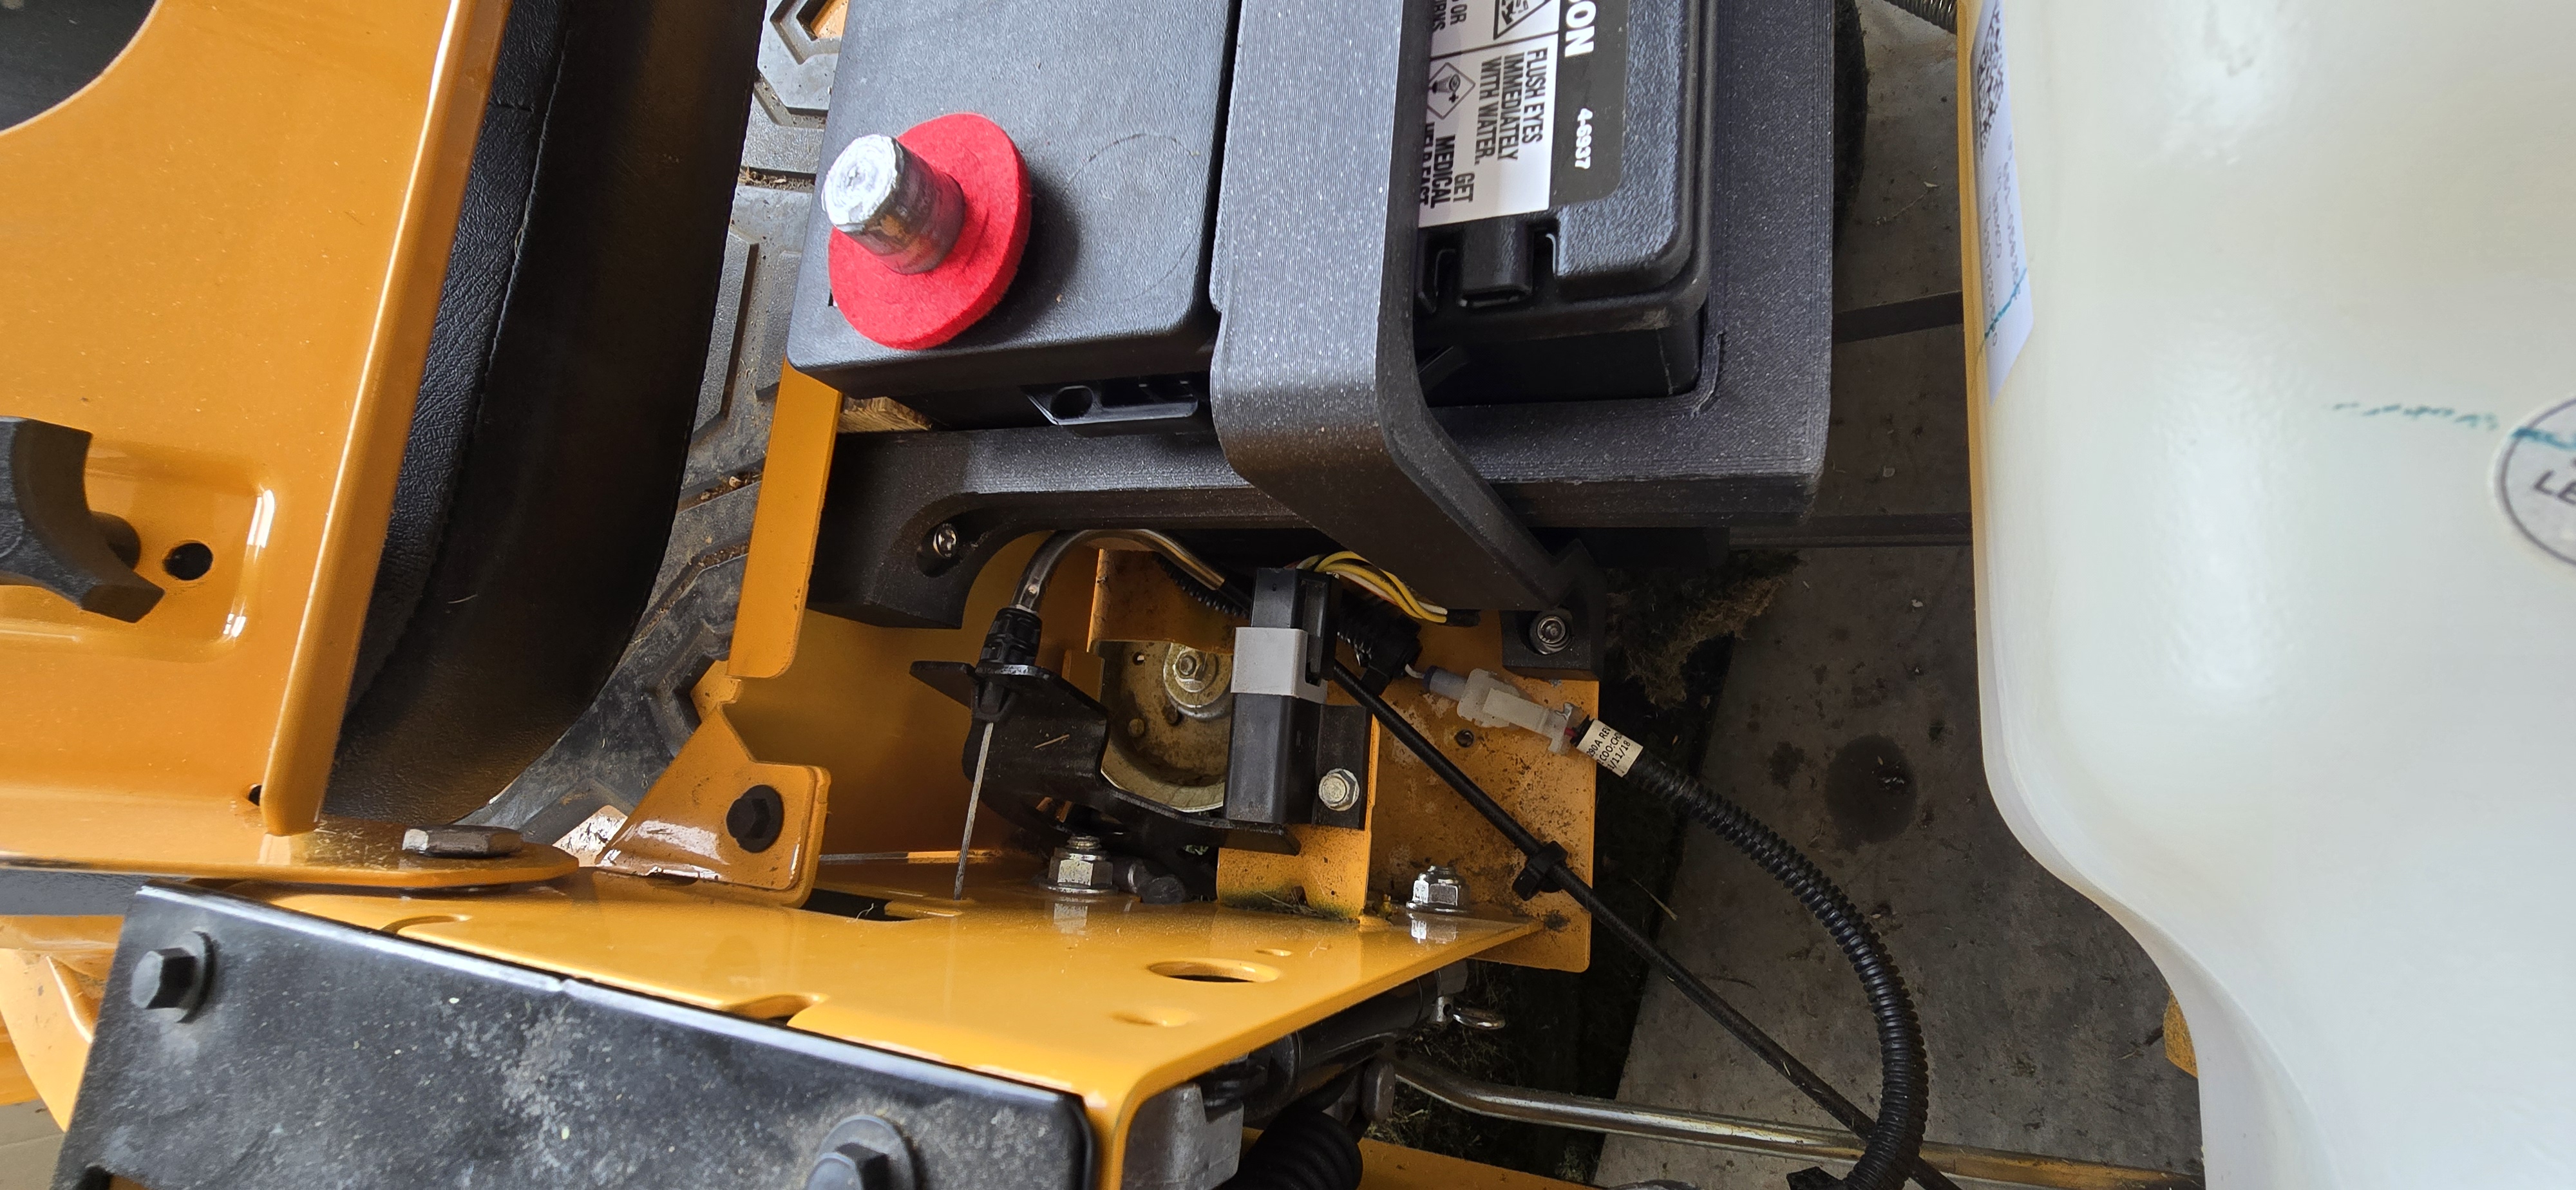
Cub Cadet ZT1 Group 26R battery conversion
Obliczymy ostateczną cenę na podstawie wybranego pliku. Sprawdzisz ją i zaakceptujesz przed płatnością.
Zapisane na tym urządzeniu.

These files allow you to swap out the OEM failure prone battery and use a Group 26R automotive battery.
- Ocena
- 0 / 5
- Polubienia
- 1
- Pobrania
- 13
- Wydruki
- 0
- Wyświetlenia
- 456
- Oceny
- 0
Aktualizacja u źródła:
Informacje o modelu
- Źródło
- Printables
- Kategoria
- Outdoor & Garden
- Licencja
- Creative Commons — Attribution — Noncommercial
It seems like a lot of people have issues with the Cub Cadet ZT1 OEM battery, so rather than spending $90-100 I got a Group 26R battery from walmart for $60. (If you got the Everstart battery there is a specific tighter fitting horizontal mount, otherwise use the generic one and use padding to fill the void. You can also just load up the .step file and tailor it to your needs).
This conversion requires the use of rivnuts, I got a tool off of Amazon as well as some 304SS rivnuts (¼-20x1"). With some slight modification of the mounts you could use heat-set inserts and send the bolts through the opposite way (you'd probably want to find low-profile head or button head bolts). If anyone needs that I can make another version.
You will also need to buy battery terminals and cut the connector off of the oem wires.
1.25" spacer between battery and front panel, 0.5" spacer under the battery (I just use wood, but they could be 3D printed. [Shown in picture below]
Remove and unclip all the connectors in the area, the clip on the right side on top is probably the most important one to get out of the way. Ball end allen bits are highly recommended.

attach horizontal drill template, make sure that the alignment pin snaps in place. You can either use a ¼" drill bit and directly drill a hole, or what I did was use a ¼" transfer punch and remove the template, then drill the hole to size. If you're using ¼"-20 rivnuts check to see what size you need (for the ones I used it needed a 0.34" hole, so I used a 23/64" drill bit after drilling a 1/8" pilot hole. Debur the holes on both sides and also apply corrosion protection (paint or nail polish)
Install the two rivnuts for the horizontal battery mount (If you're using an everstart battery, I did include a mount specific to that which will have a more snug fit, it is angled to account for the angle of the sheet metal, the thicker end will face up). Put the rivnuts through from the front side so the excess is on the inside of the battery compartment and the flush side faces towards the front of the mower. Check to make sure the bolt tightens cleanly through the rivnuts, you may need to run a tap through as I did to clean up the threads. Install the horizontal mount and battery with 2x ¼-20x1" bolts. If you're using stainless rivnuts and stainless bolts, you will also want to use anti-sieze so they don't weld themselves together.
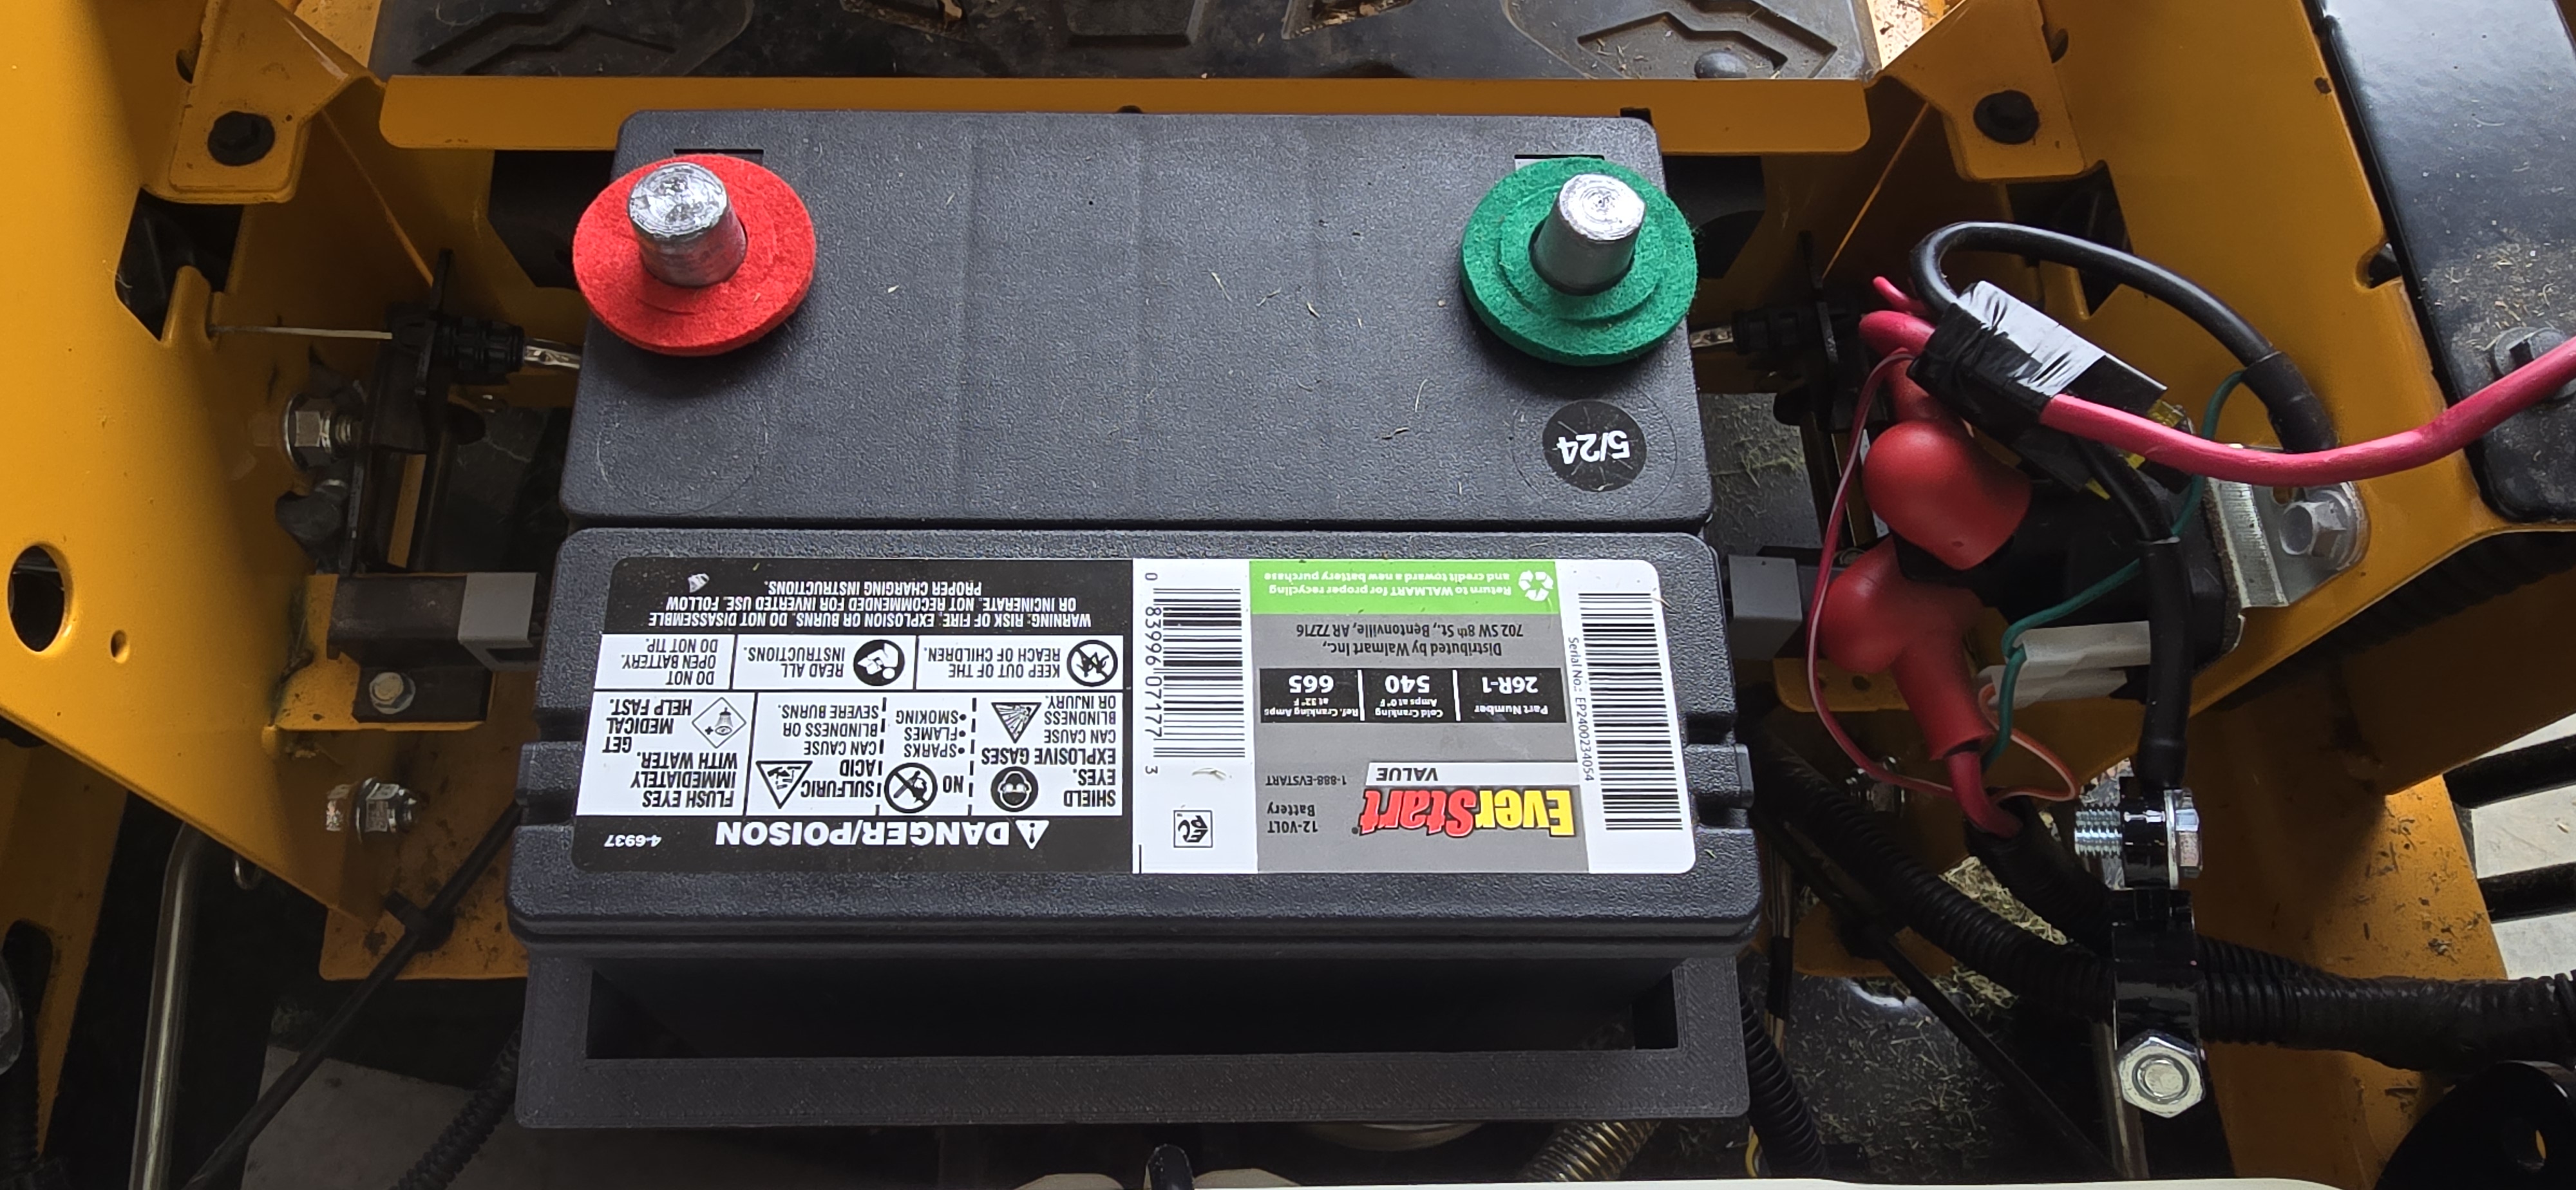
There will be space around the battery so you can add padding between the mount and the battery
Make sure the battery is centered within the horizontal mount (side to side). Use the vertical drill template (there is a lip that will help hold it in place against the sheet metal one side will be pressed up against the battery), and drill a ¼" hole or use a transfer punch to mark the hole,. Once the hole is marked, it is easier to remove the battery and horizontal mount to finish drilling the hole.
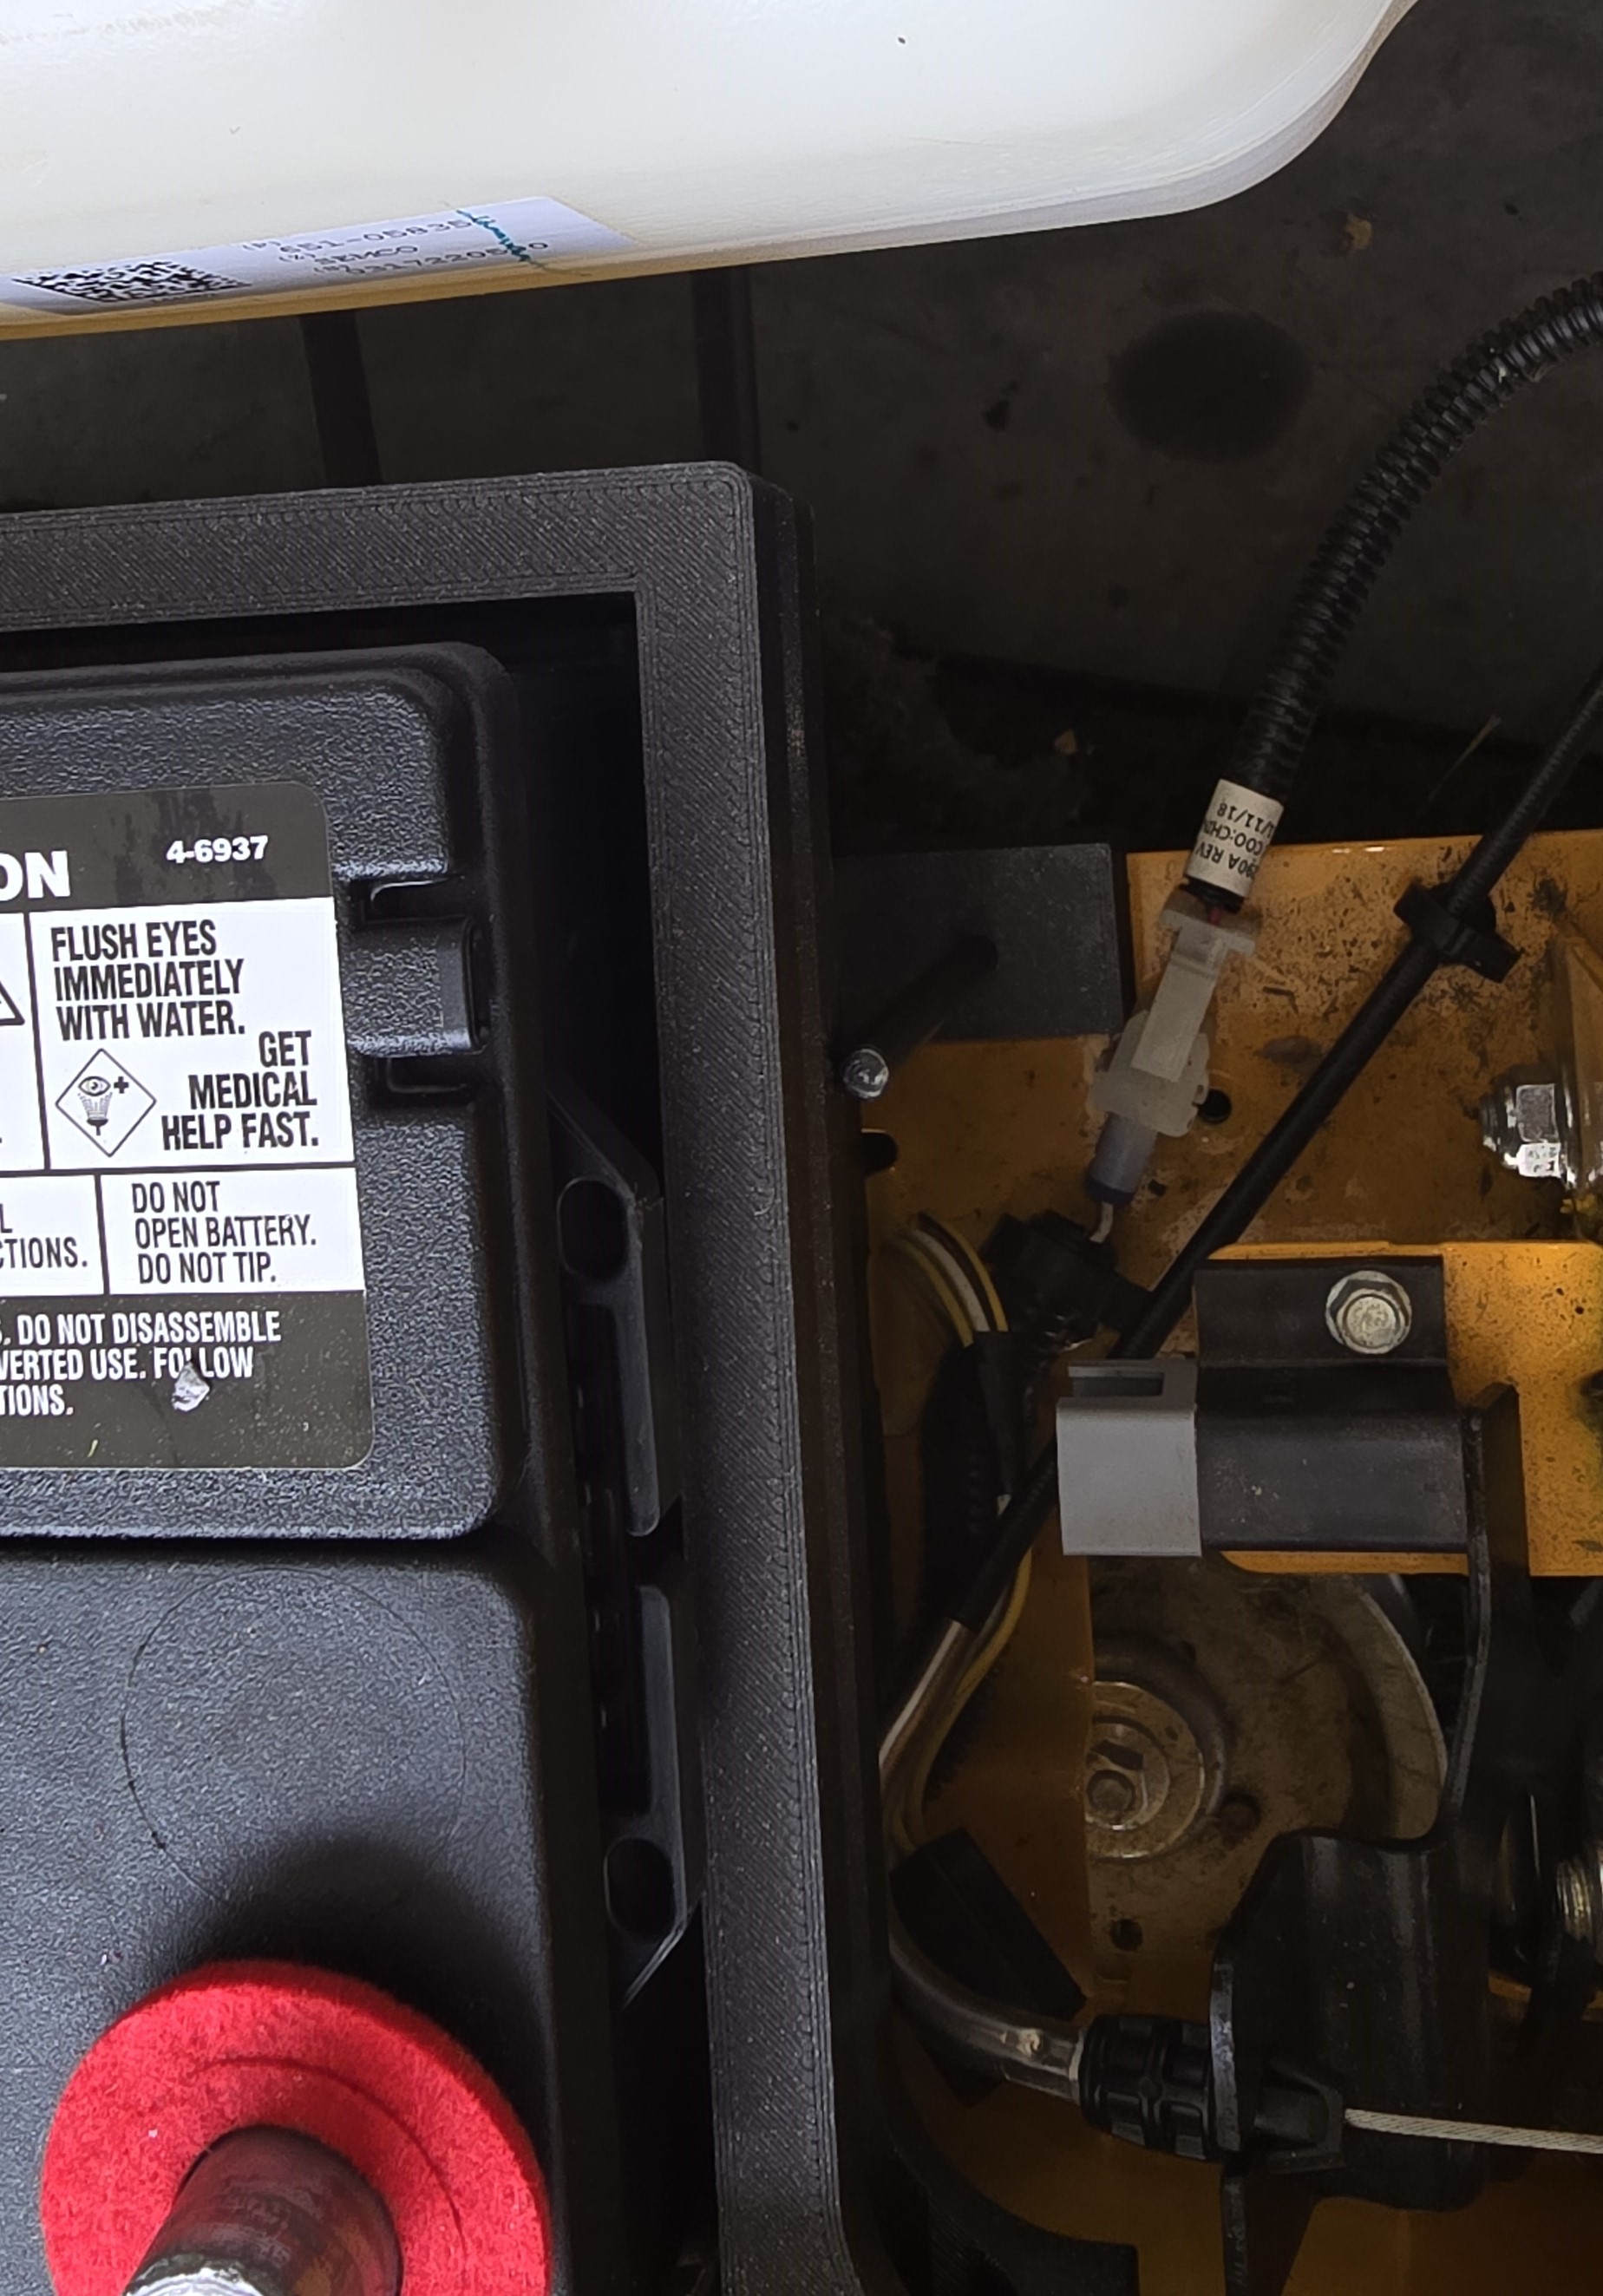
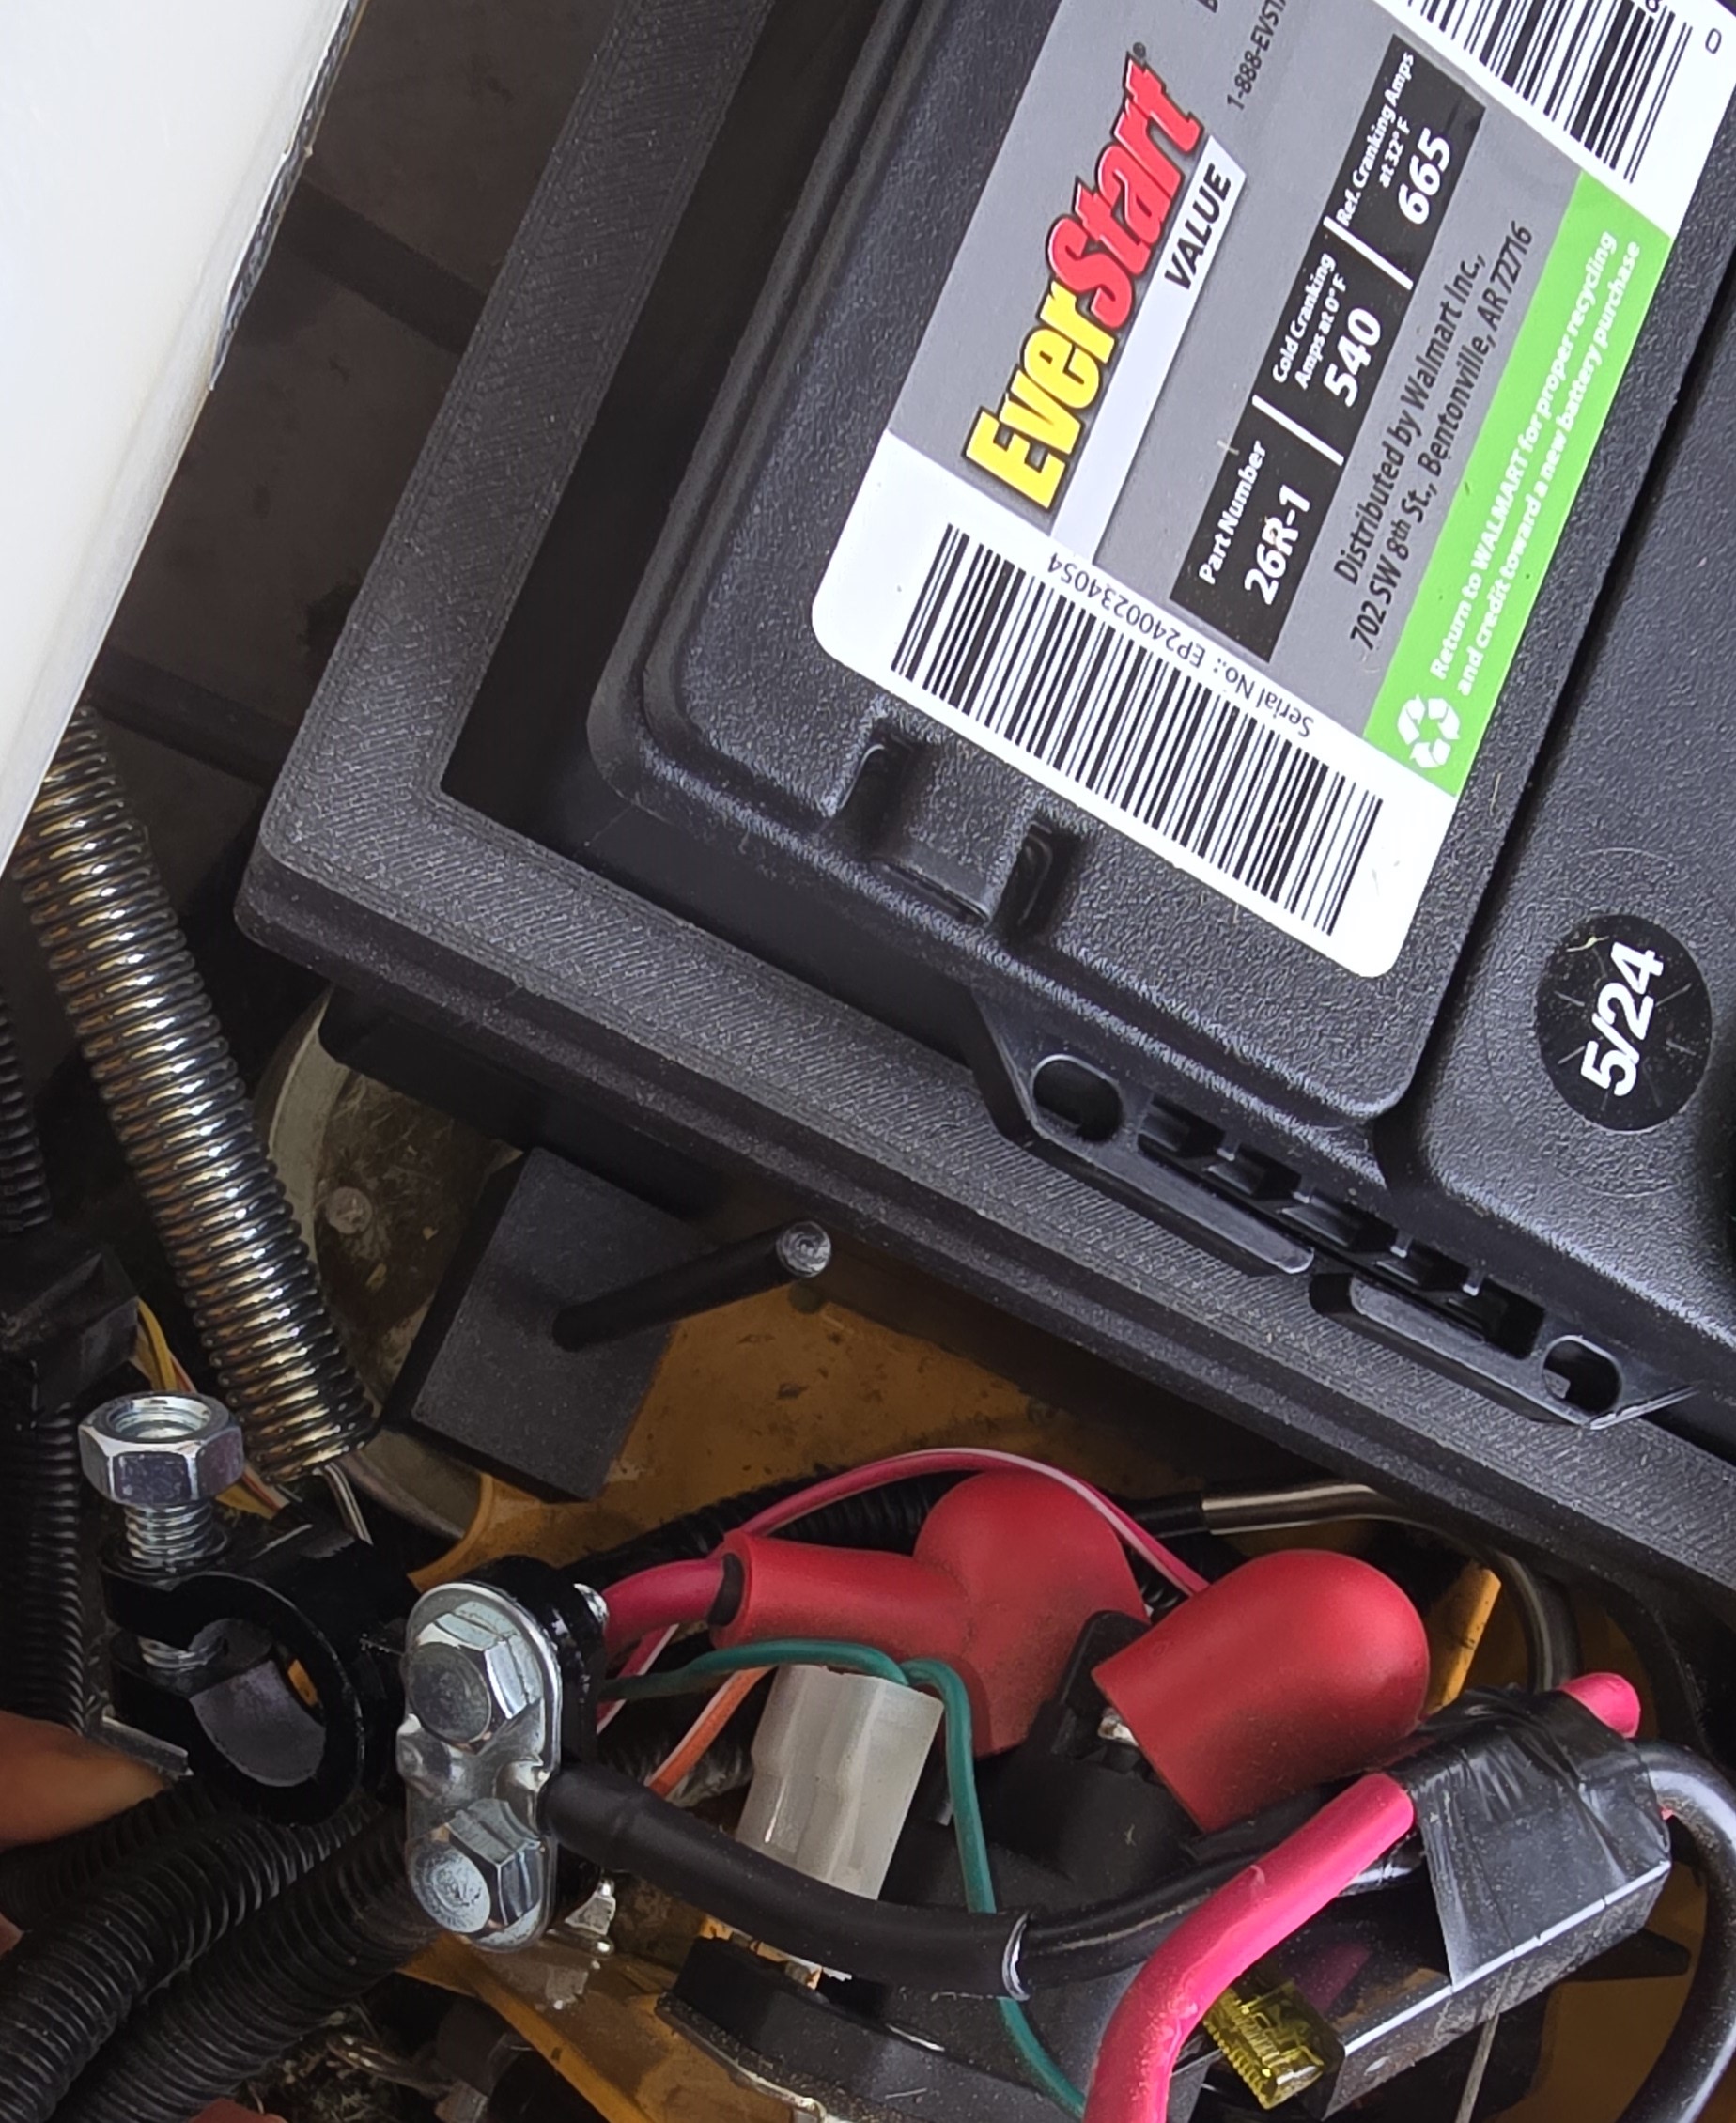
After all 4 holes are drilled, debur both sides of the sheet metal so there is no lip or burrs around the hole (this is very important for the rivnuts to sit evenly and tightly).
Now is the time to help protect against corrosion by applying either clear paint, matching yellow paint or even nail polish.
Install the two rivnuts for the vertical battery mount. Put the rivnuts through from the top going down so the flush side is upwards. Run a tap through if necessary.

Place the battery in its spot. Install the horizontal battery mount. Install the vertical battery mount. You'll want any padding between the mounts and the battery to be applied at this point.