
Lego Design Lightbox
Obliczymy ostateczną cenę na podstawie wybranego pliku. Sprawdzisz ją i zaakceptujesz przed płatnością.
Zapisane na tym urządzeniu.

I redesigned the famous Brick logo as a lightbox. I didn't stop with just the box; I also made a perfectly fitting base
- Ocena
- 5 / 5
- Polubienia
- 107
- Pobrania
- 348
- Wydruki
- 7
- Wyświetlenia
- 1987
- Oceny
- 4
Aktualizacja u źródła:
Informacje o modelu
- Źródło
- Printables
- Kategoria
- 2D Plates & Logos
- Licencja
- Standard Digital File License
Welcome, If you enjoyed my model, please consider supporting me by sharing your make and leaving a like. For information, filament tests, and much more, all about 3D printing, feel free to check out my homepage or join my Filament Deal Channel. Check out my models :) |
I redesigned the famous Brick logo as a lightbox. I didn't stop with just the box; I also made a perfectly fitting base for it. This allows you to store a microcontroller inside and use a USB-C socket in the back to connect it.
This is the first of a series inspired by this Logo design. Stay tuned and follow for more 😉
Features
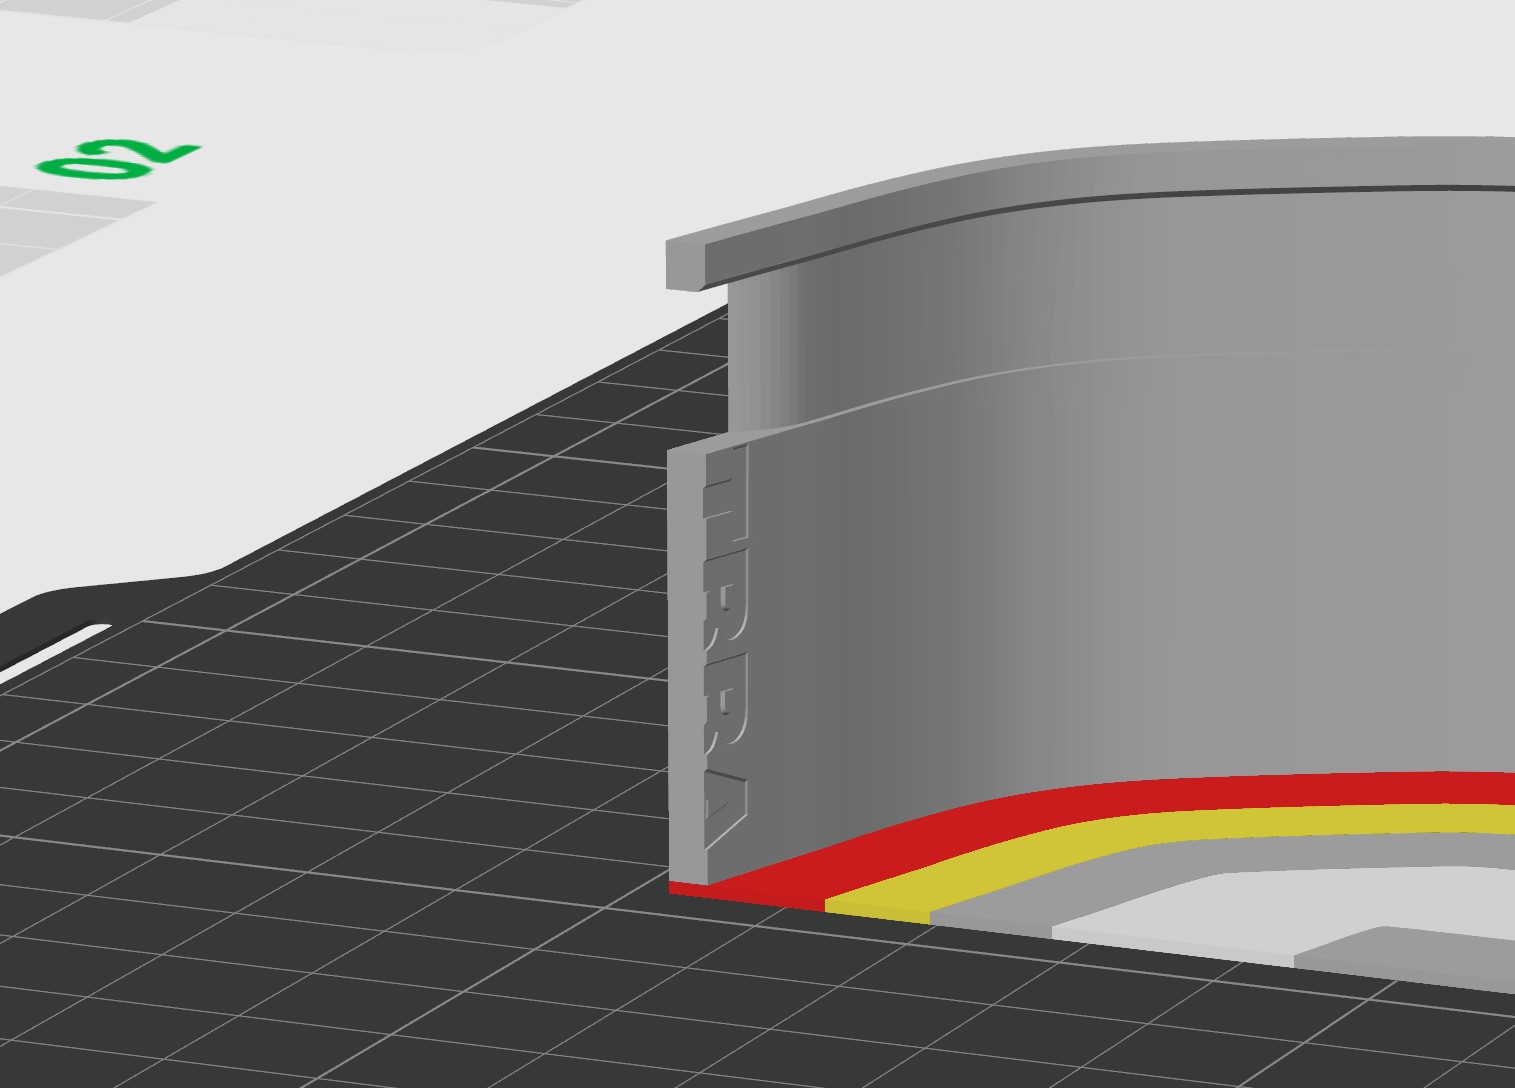 | 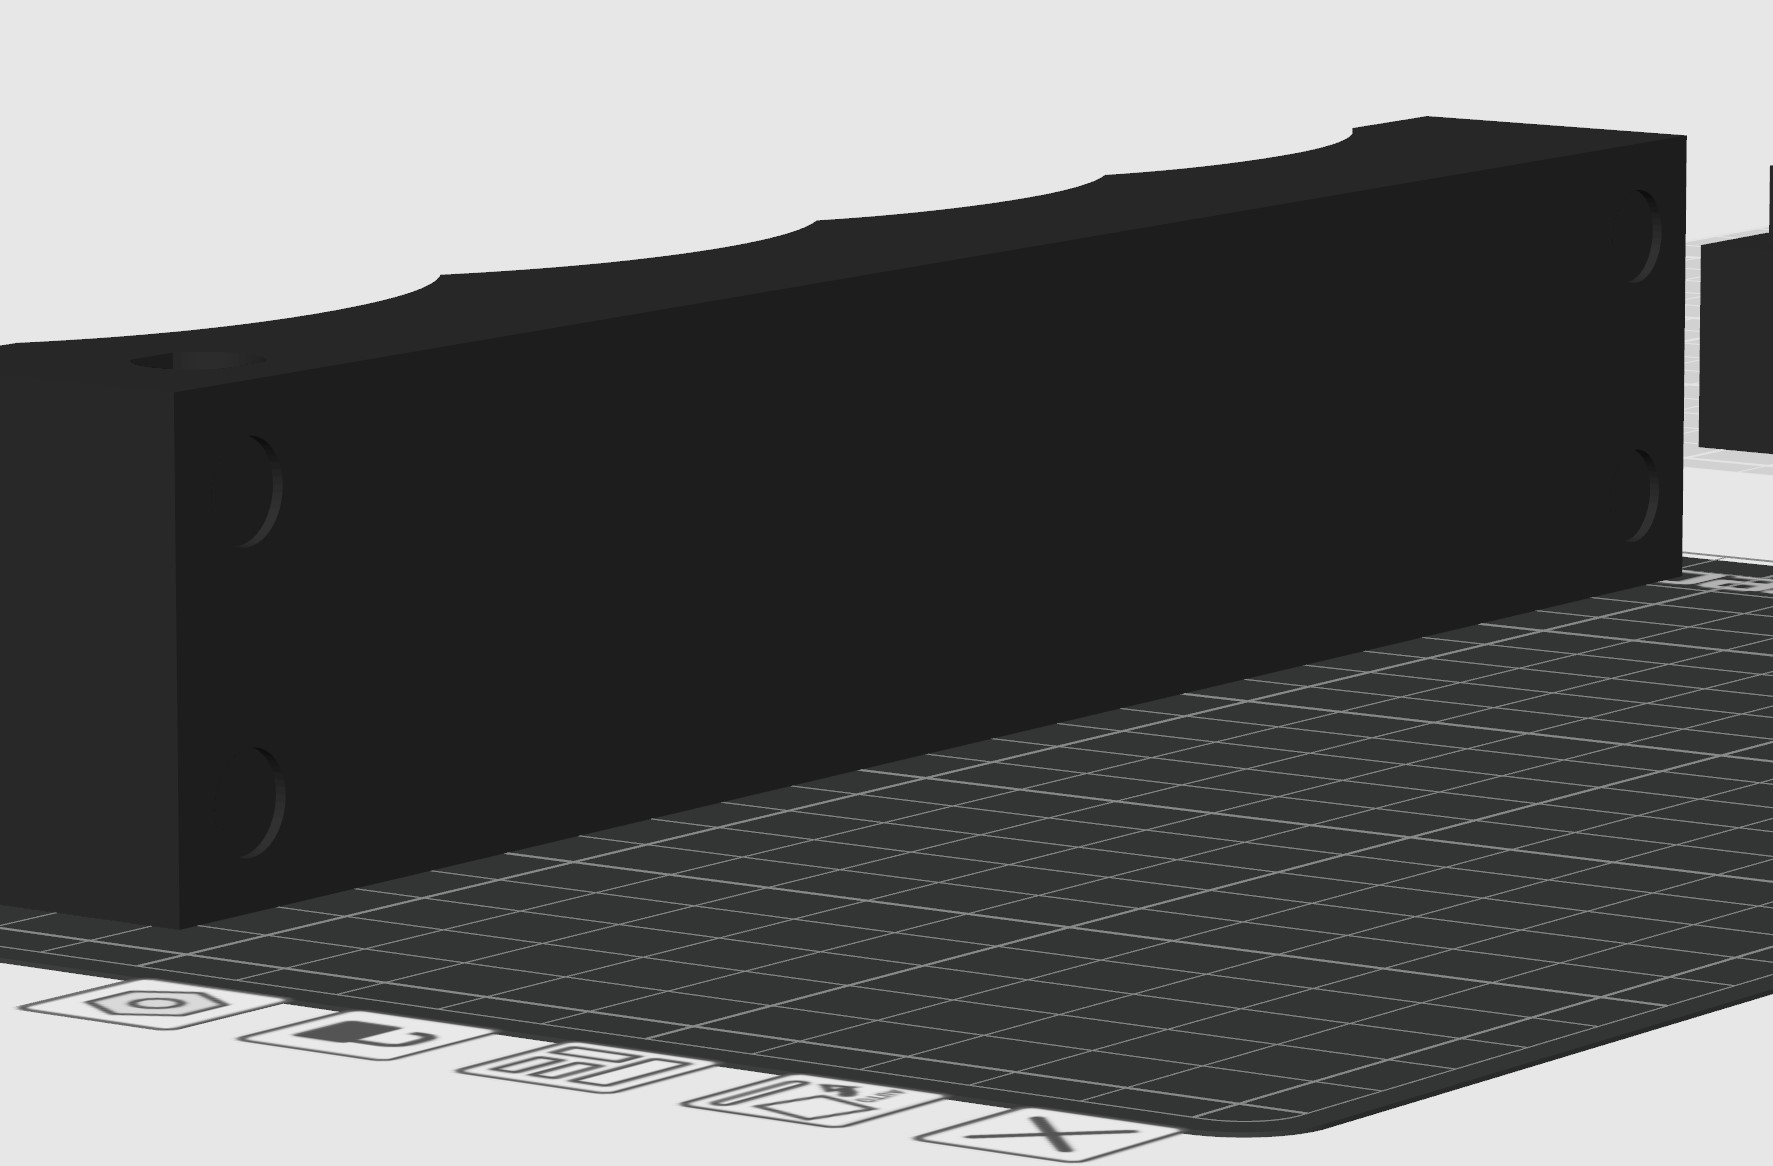 |
Printed LED guide for widths up to 10mm. The LEDs are guided directly from and into the base. | The base can be secured with a self-adhesive door bumper. |
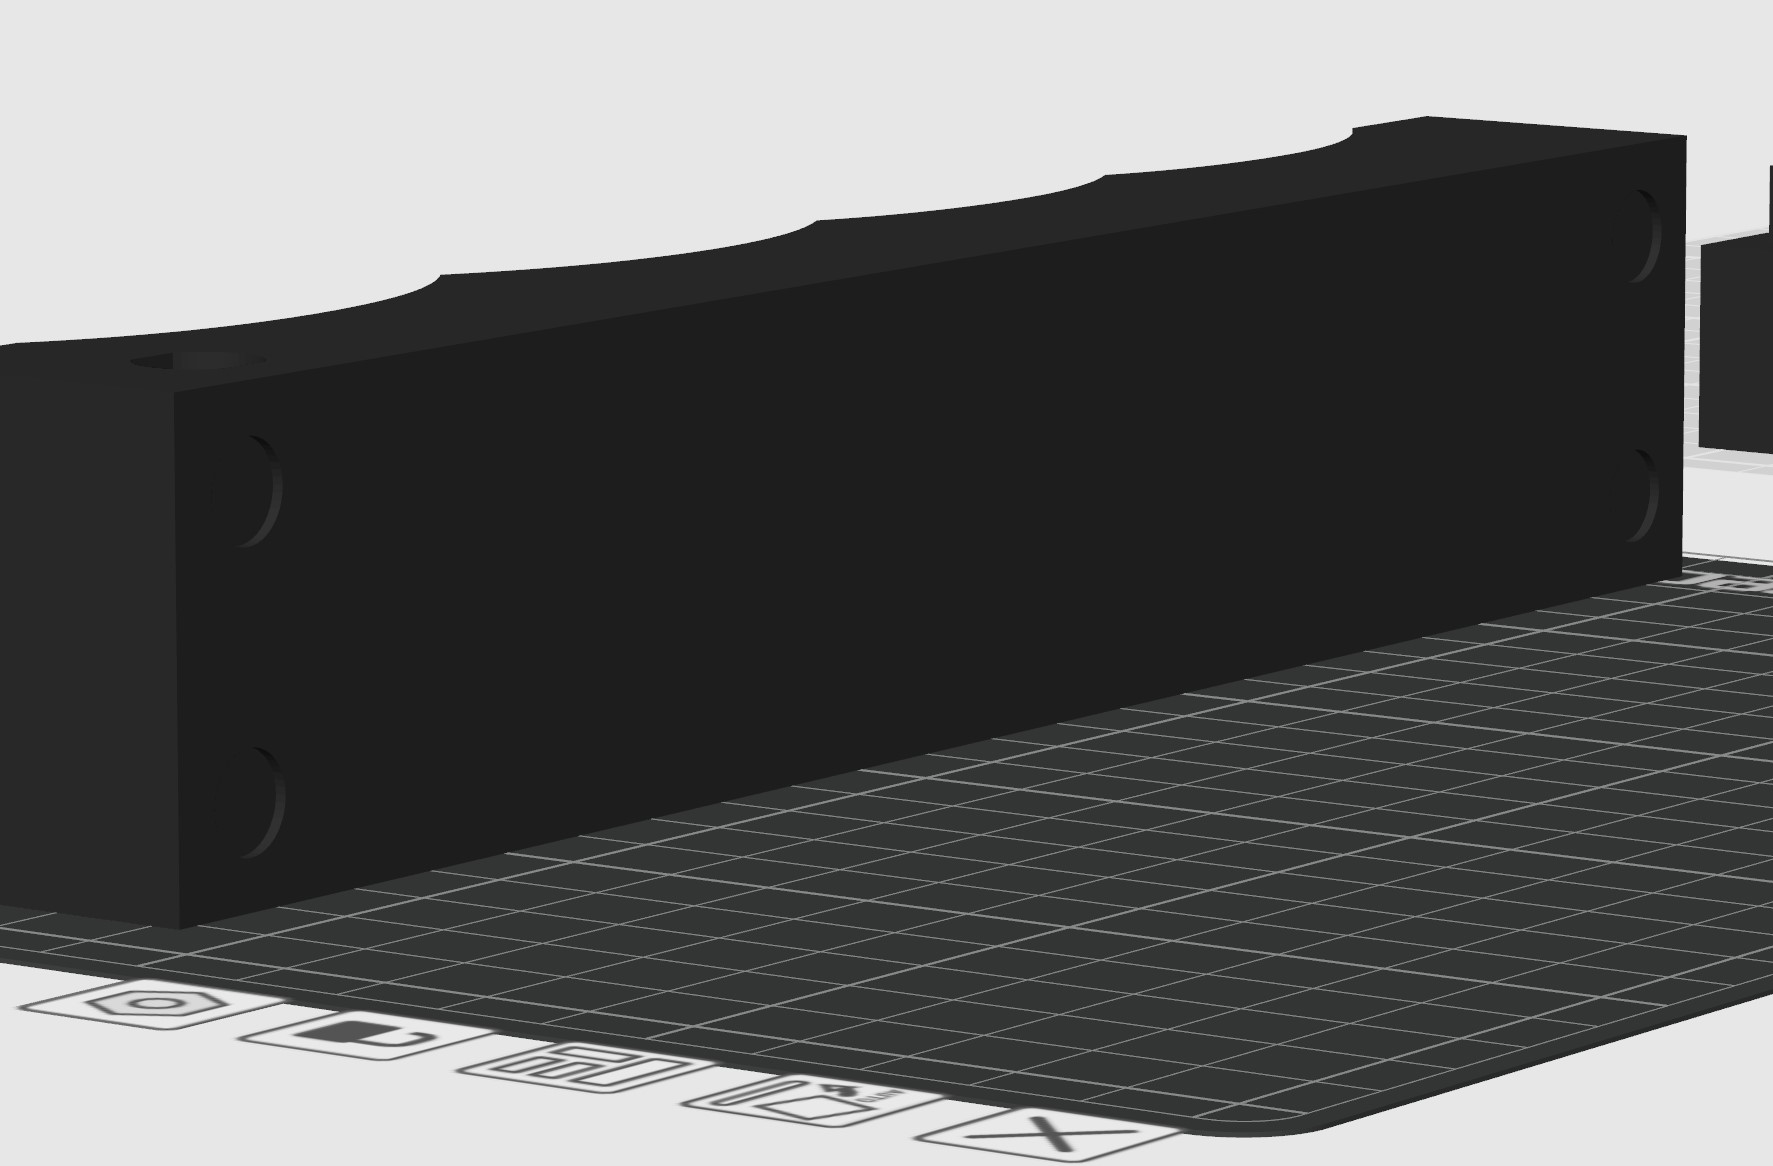 | 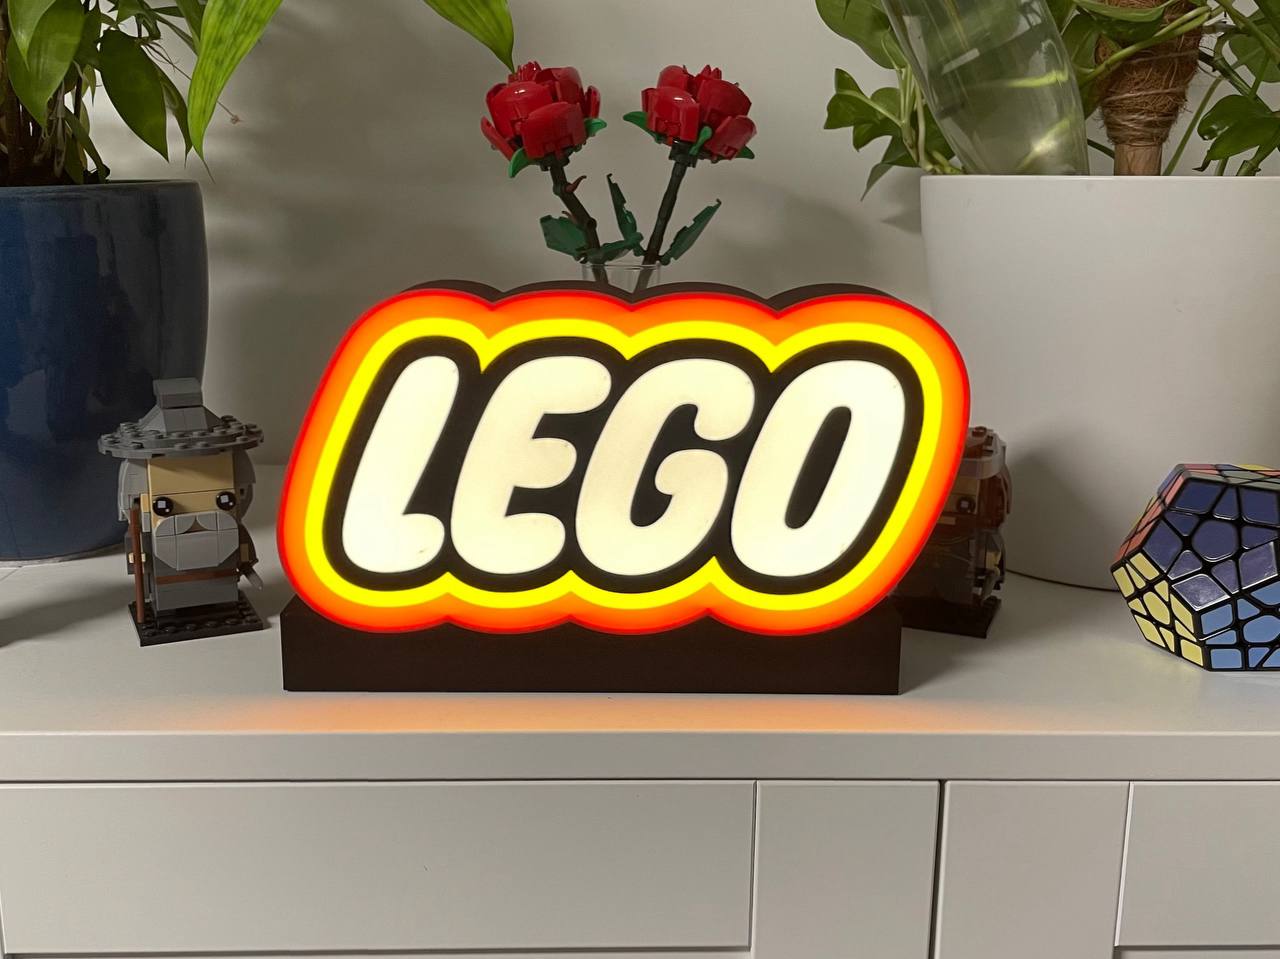 |
| A common USB-C socket can be used to power the lightbox. | Nice looking light box! |
Recommendation
For Material
Use the material you prefer. I used PLA:
- Black: Bambu Basic PLA or Sunlu PLA+*
- Red: Sunlu PLA+* red
- Yellow: Sunlu PLA+ pure yellow* (rare color)
- White: Bambu Matte PLA
For LEDs
There are many options available. I made multiple boxes: with programmable RGB LEDs and an ESP32, and with pure cold white COB LEDs. Both versions run on 5V via USB-C. If soldering isn't your thing, you can use the LED set from Bambulab, which includes everything you need, including a remote control.
- COB LED I used: BTF COB LED cold white (Amazon* | AliExpress*)
- RGB LED I used: BTF WS2812 ECO 60pix/m (Amazon* | AliExpress*)
Printing
There are three plates you need to print. Starting with Plate 1 and Plate 2, these are the essential parts of the whole thing. Plate 1 is the logo with the box walls. Be careful and clean the nozzle and print bed before starting the print. Plate 2 is straightforward to print; it's just the lid/back plate of the box.

Plate 1 and 2 are the light box and lid.
Plate 3a is designed to fit a USB-C socket. You can purchase it from Amazon*, AliExpress (here* or here*), or any other retailer.
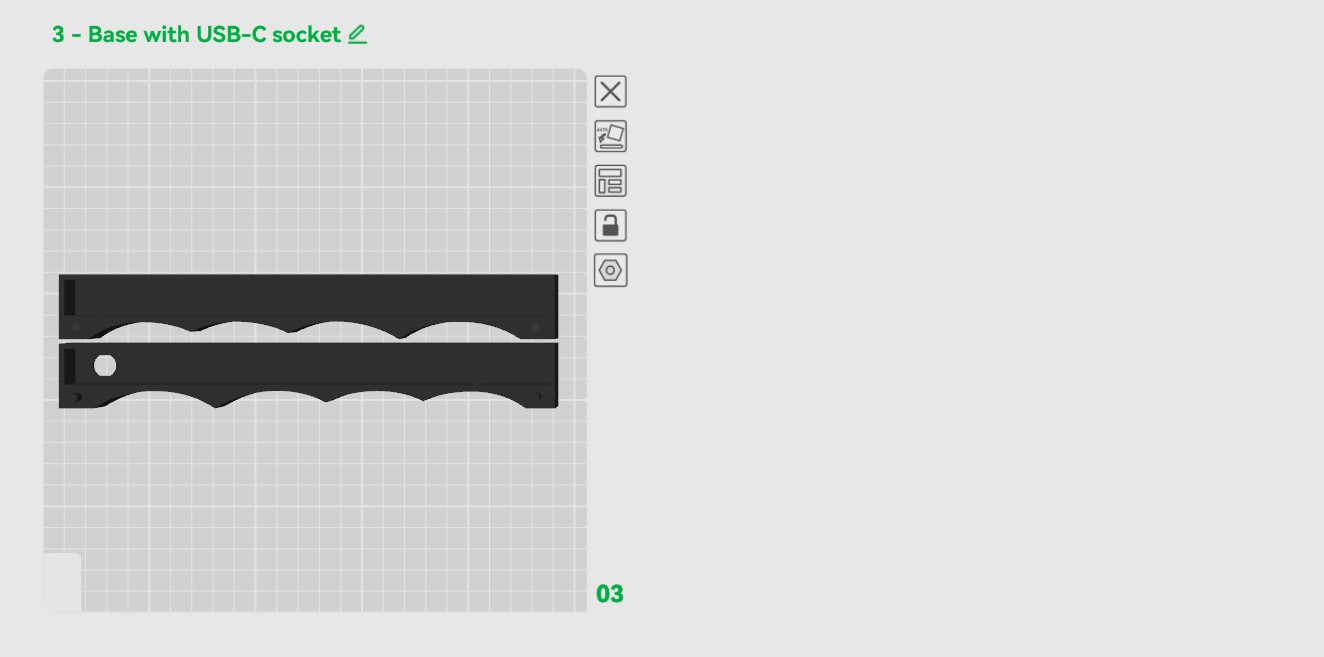
The base is split in 2 parts, so no support is needed
Bill of Materials
- You'll need approximately 70cm of any LED strip light you like, along with a power source of your choice.
- Additionally, a bit of aluminum foil with a glue stick or aluminum tape* is required.
Optional:
- USB-C socket. You can purchase it from Amazon*, AliExpress (here* or here*), or any other supplier.
- Superglue (if you want to permanently seal the box).
- Self-adhesive door bumper (approximately 8mm). You can find it on Amazon*, AliExpress*, or use spare parts from Ikea.
- Microcontroller, such as a basic ESP32.
Assembly
Step 1:
Guide the LED strip and/or power cable through the holes in the back part of the base. If you don't need to solder anything, you can assemble the base. It should press-fit. Be gentle! This step can be skipped if you're certain.
Step 2:
Glue the LED strip in place. Use the guide to align the LED strip parallel to the edge.
Step 3:
Now it's time to test the LEDs to ensure they work properly.
Step 4:
Let's prepare the lid. I recommend covering the inner part of it with aluminum foil or tape. This will reflect the light and achieve an even light distribution.
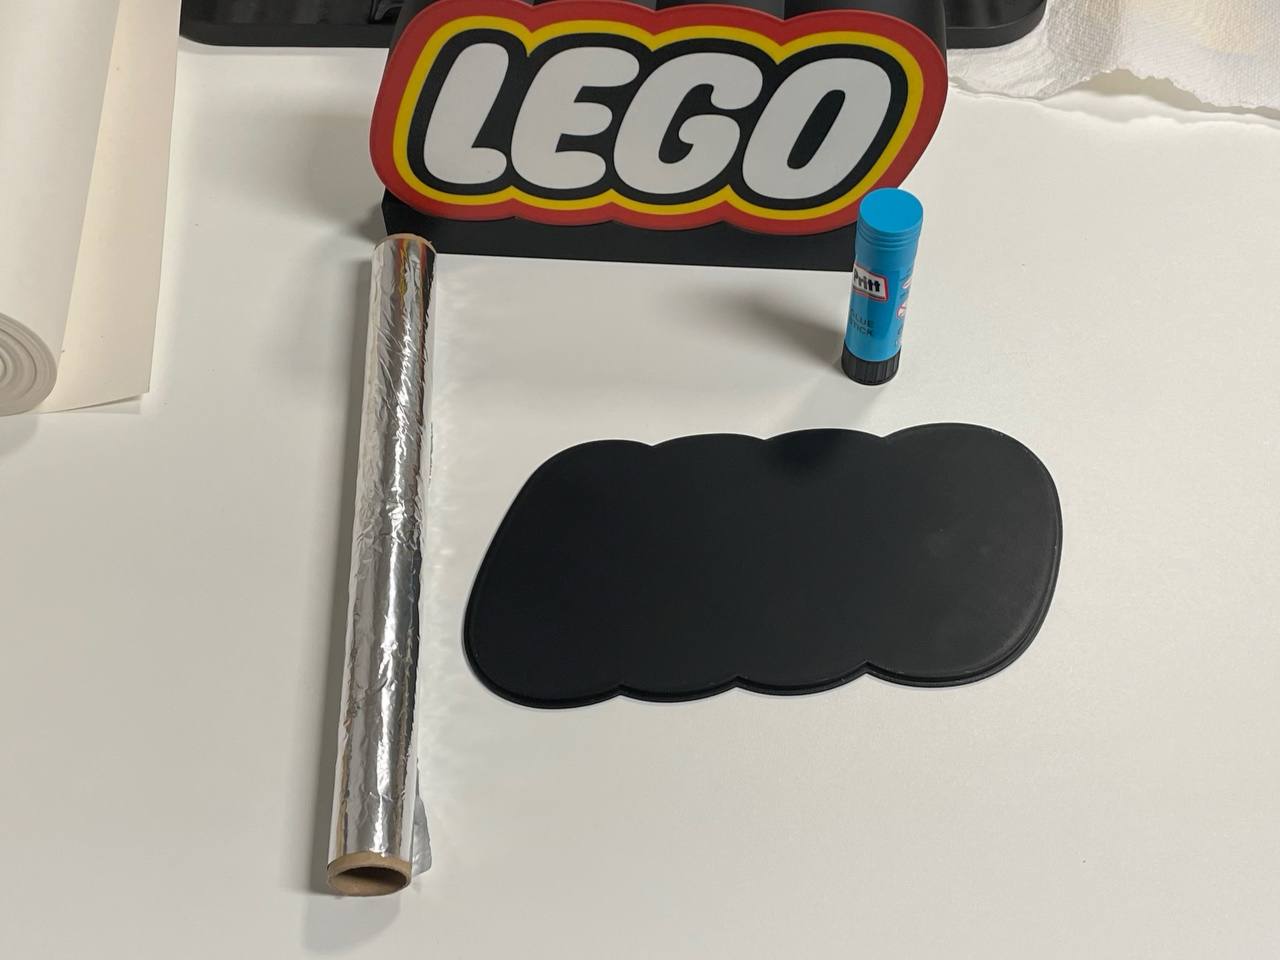 | 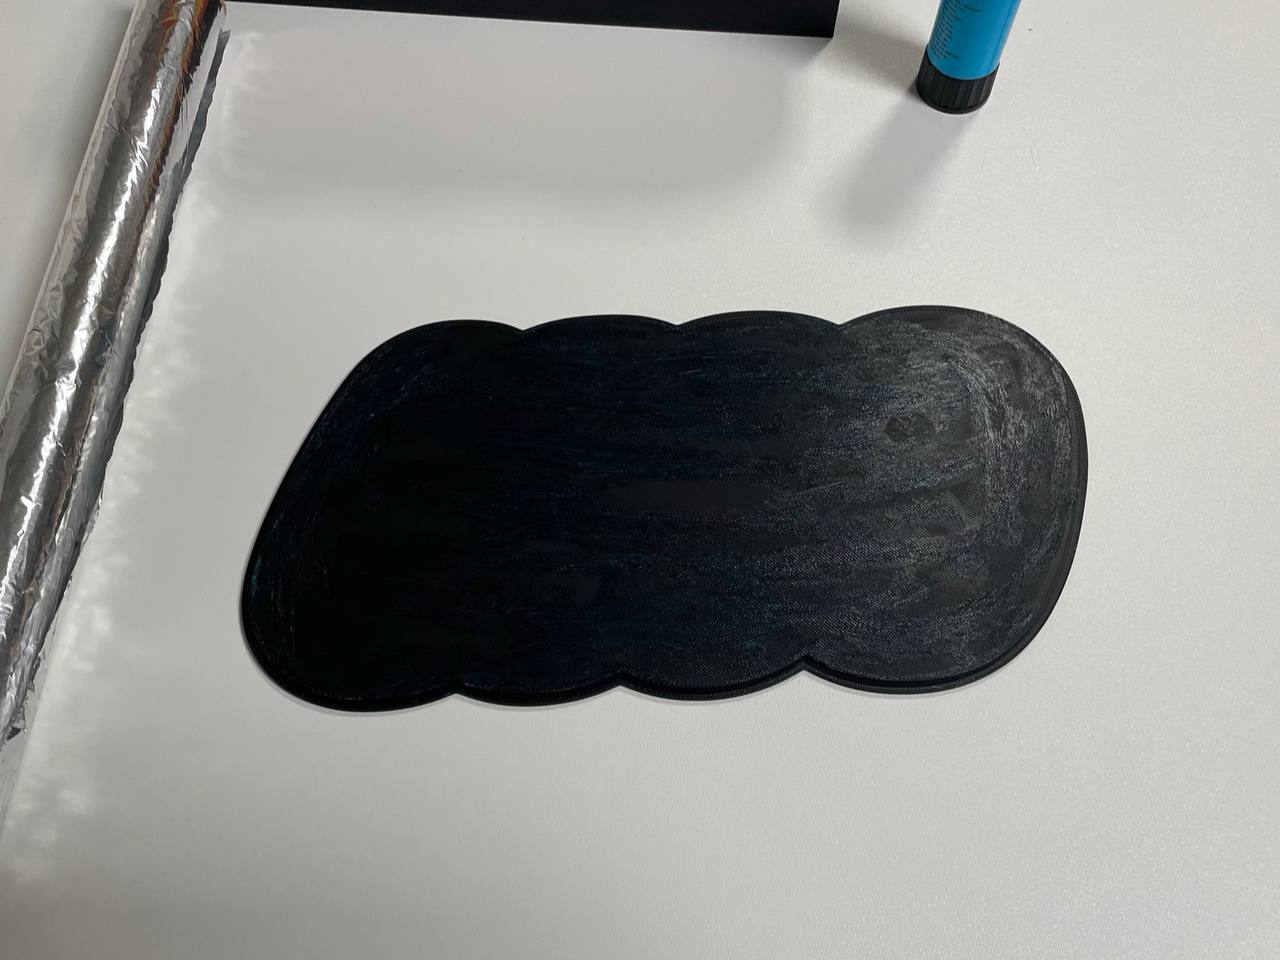 |
| You'll need the lid, a gluestick an aluminum foil | Apply glue. |
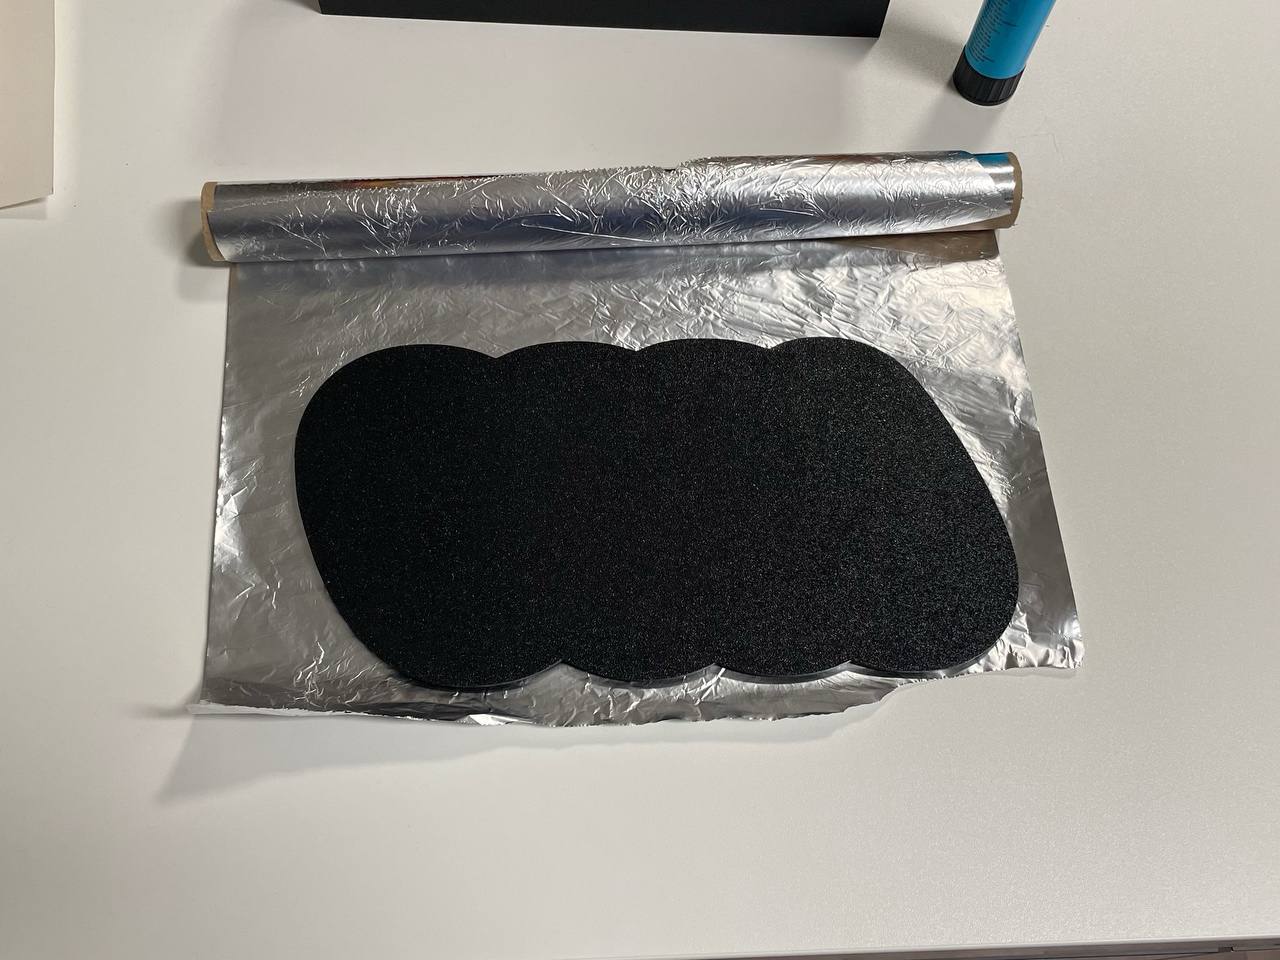 | 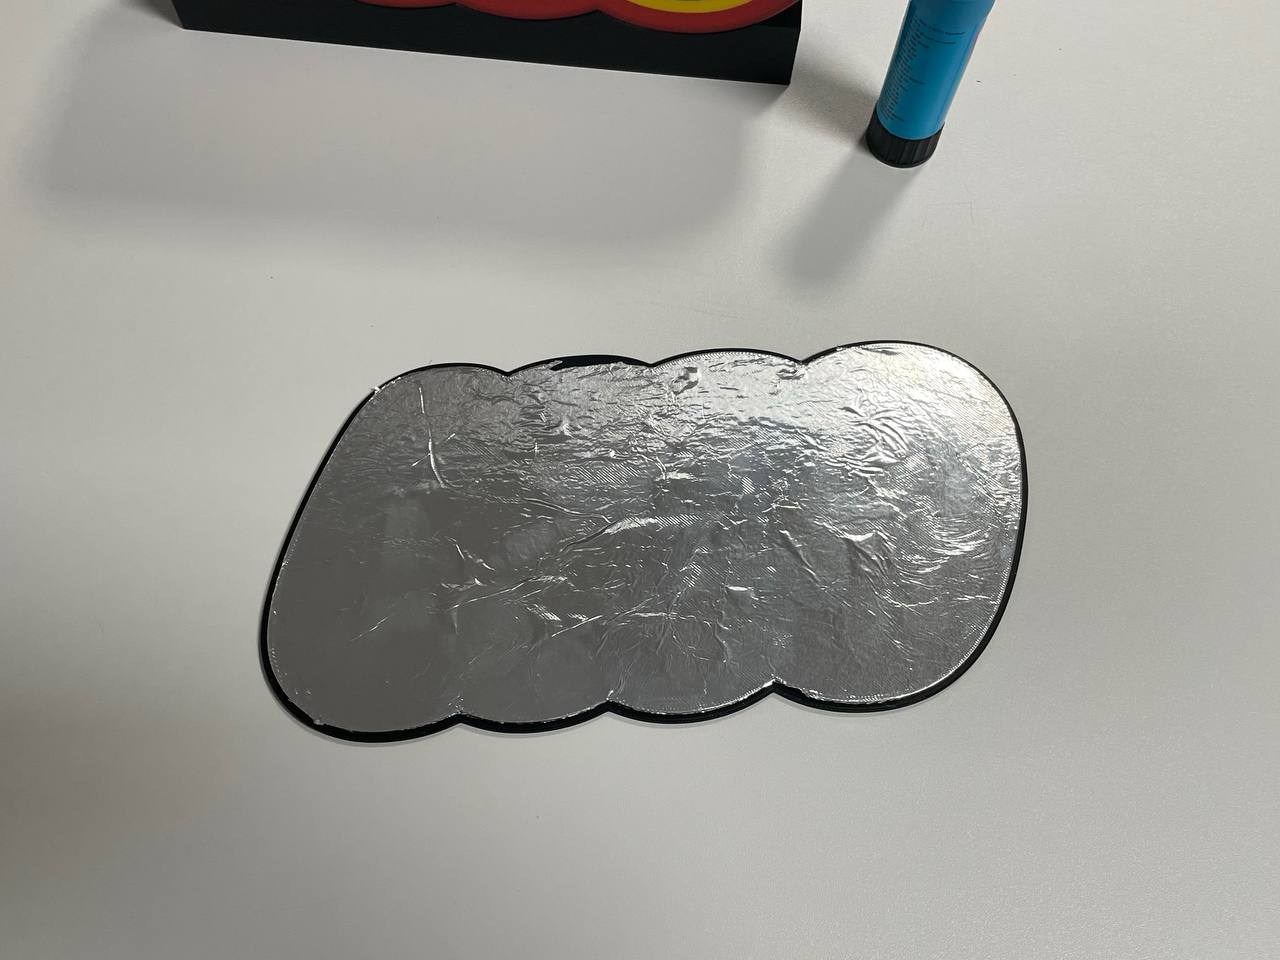 |
Pay attention, which side is matte and which on is shiny. You want the shiny one to reflect. Press firmly. | Let it dry a bit, then use a sharp knife or your fingernail to cut it around the inner edge. |
Step 5:
If everything works fine, put the lid in place and double-check if everything works again (better safe than sorry). Now glue the base and lid to the box.
Step 6:
Have fun! Enjoy your creation!
Share your makes and support me
If you like my work, you can support me here, via Ko-Fi or Patreon. Please leave a comment or share your makes 😁.
*) when you use this link and buy something, I earn a small commission in return. You don't have to pay anything extra and support my work.
I appreciate your support!
If your interested in selling the printed models DM me.