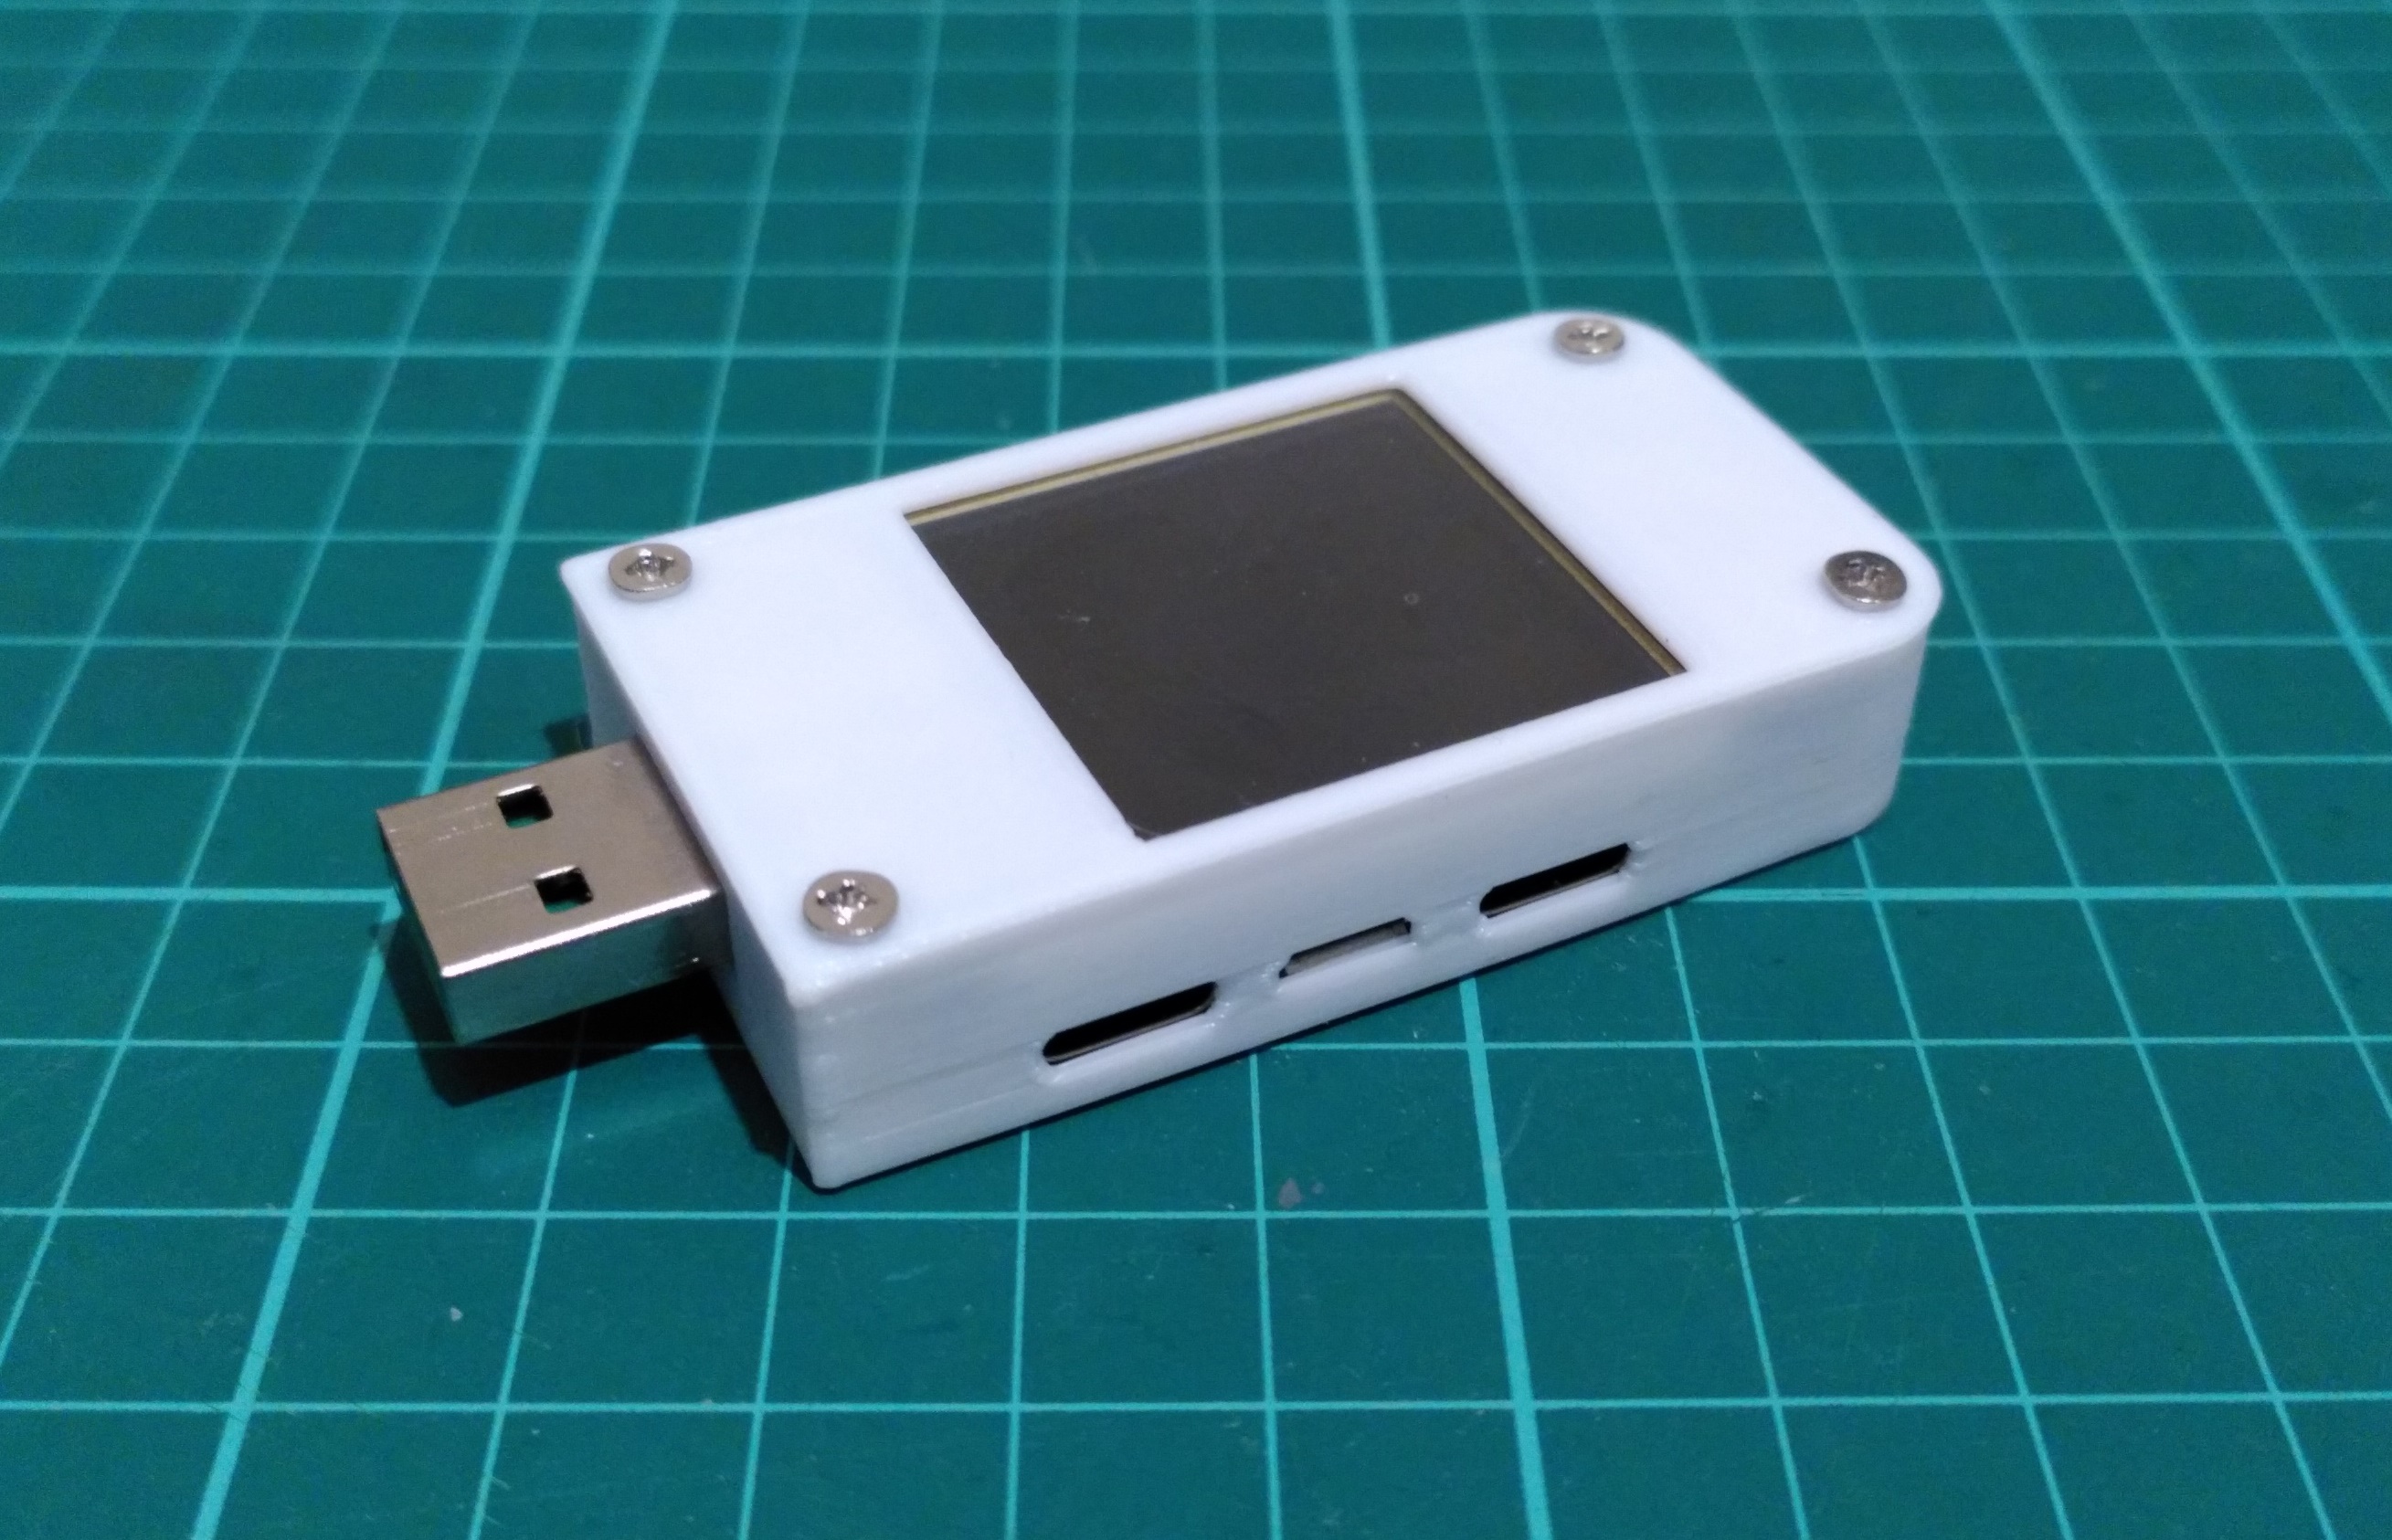
Fnirsi FNB38 USB Tester Shell/Casing
Obliczymy ostateczną cenę na podstawie wybranego pliku. Sprawdzisz ją i zaakceptujesz przed płatnością.
Zapisane na tym urządzeniu.
Shell/Casing for the FNIRSI FNB38 USB Tester, with usb cover
- Ocena
- 0 / 5
- Polubienia
- 8
- Pobrania
- 62
- Wydruki
- 0
- Wyświetlenia
- 459
- Oceny
- 0
Aktualizacja u źródła:
Informacje o modelu
- Źródło
- Printables
- Kategoria
- Electronics
- Licencja
- Creative Commons — Attribution — Share Alike
Shell/Casing for the FNIRSI FNB38 USB Tester
This tester doesn't come with a shell, and can get uncomfortable to use after a while. There's also the risk of nearby wire or metal getting into the tester and shorting it out, so I designed this enclosure to reduce that risk slightly.
STEP, STL and FCSTD files attached
Print Settings
Printer Brand: Flsun
Printer: Flsun Q5
Rafts: No
Supports: No
Resolution: 0.4mm
Infill: 100
Filament: Jayo PLA
Assembly
Step 1
Remove the four screws from the top of the casing, but leave the protective acryllic in-place as it protects the display underneath.

Step 2
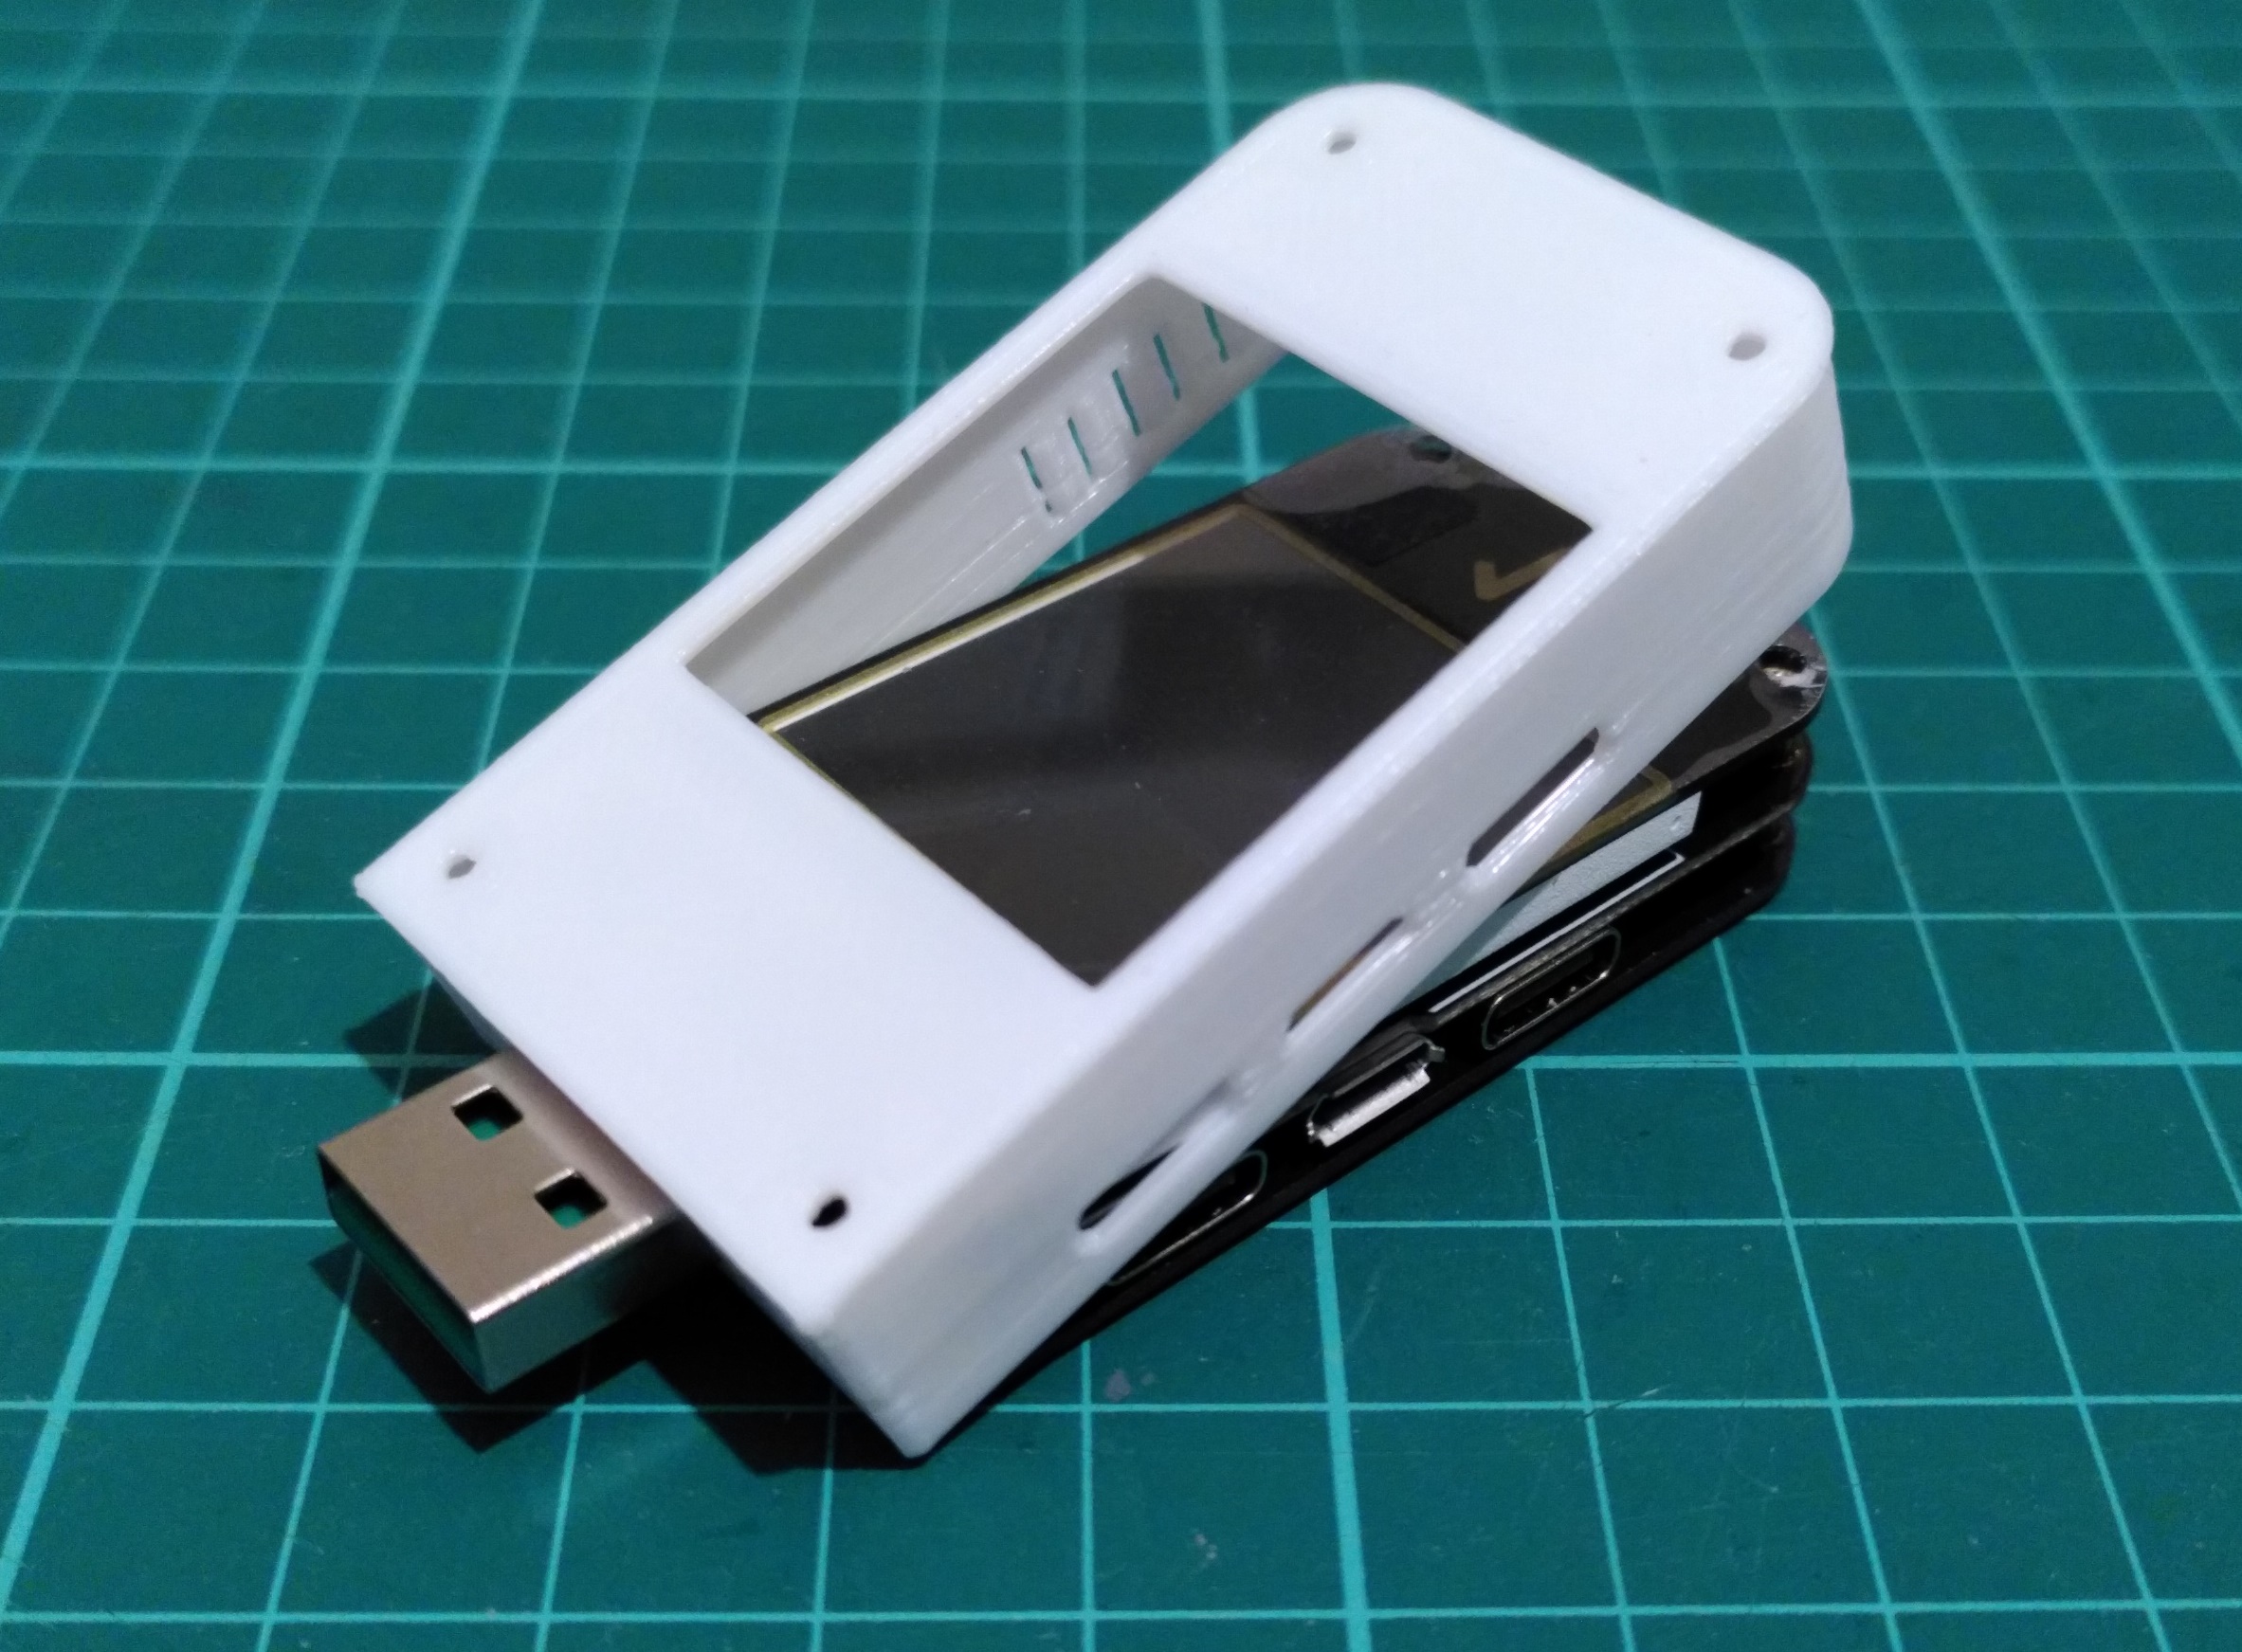
Partially insert the USB tester into the printed shell.
- Ensure the acryllic panel protecting the display is still in place
- Ensure the cutouts for the buttons at the top of the shell can move somewhat freely, and that there is no stringing present between the button cutouts and the main shell body.
- A hobby knife or similar can be used with caution to clean up the gap around the cutouts.
Step 3
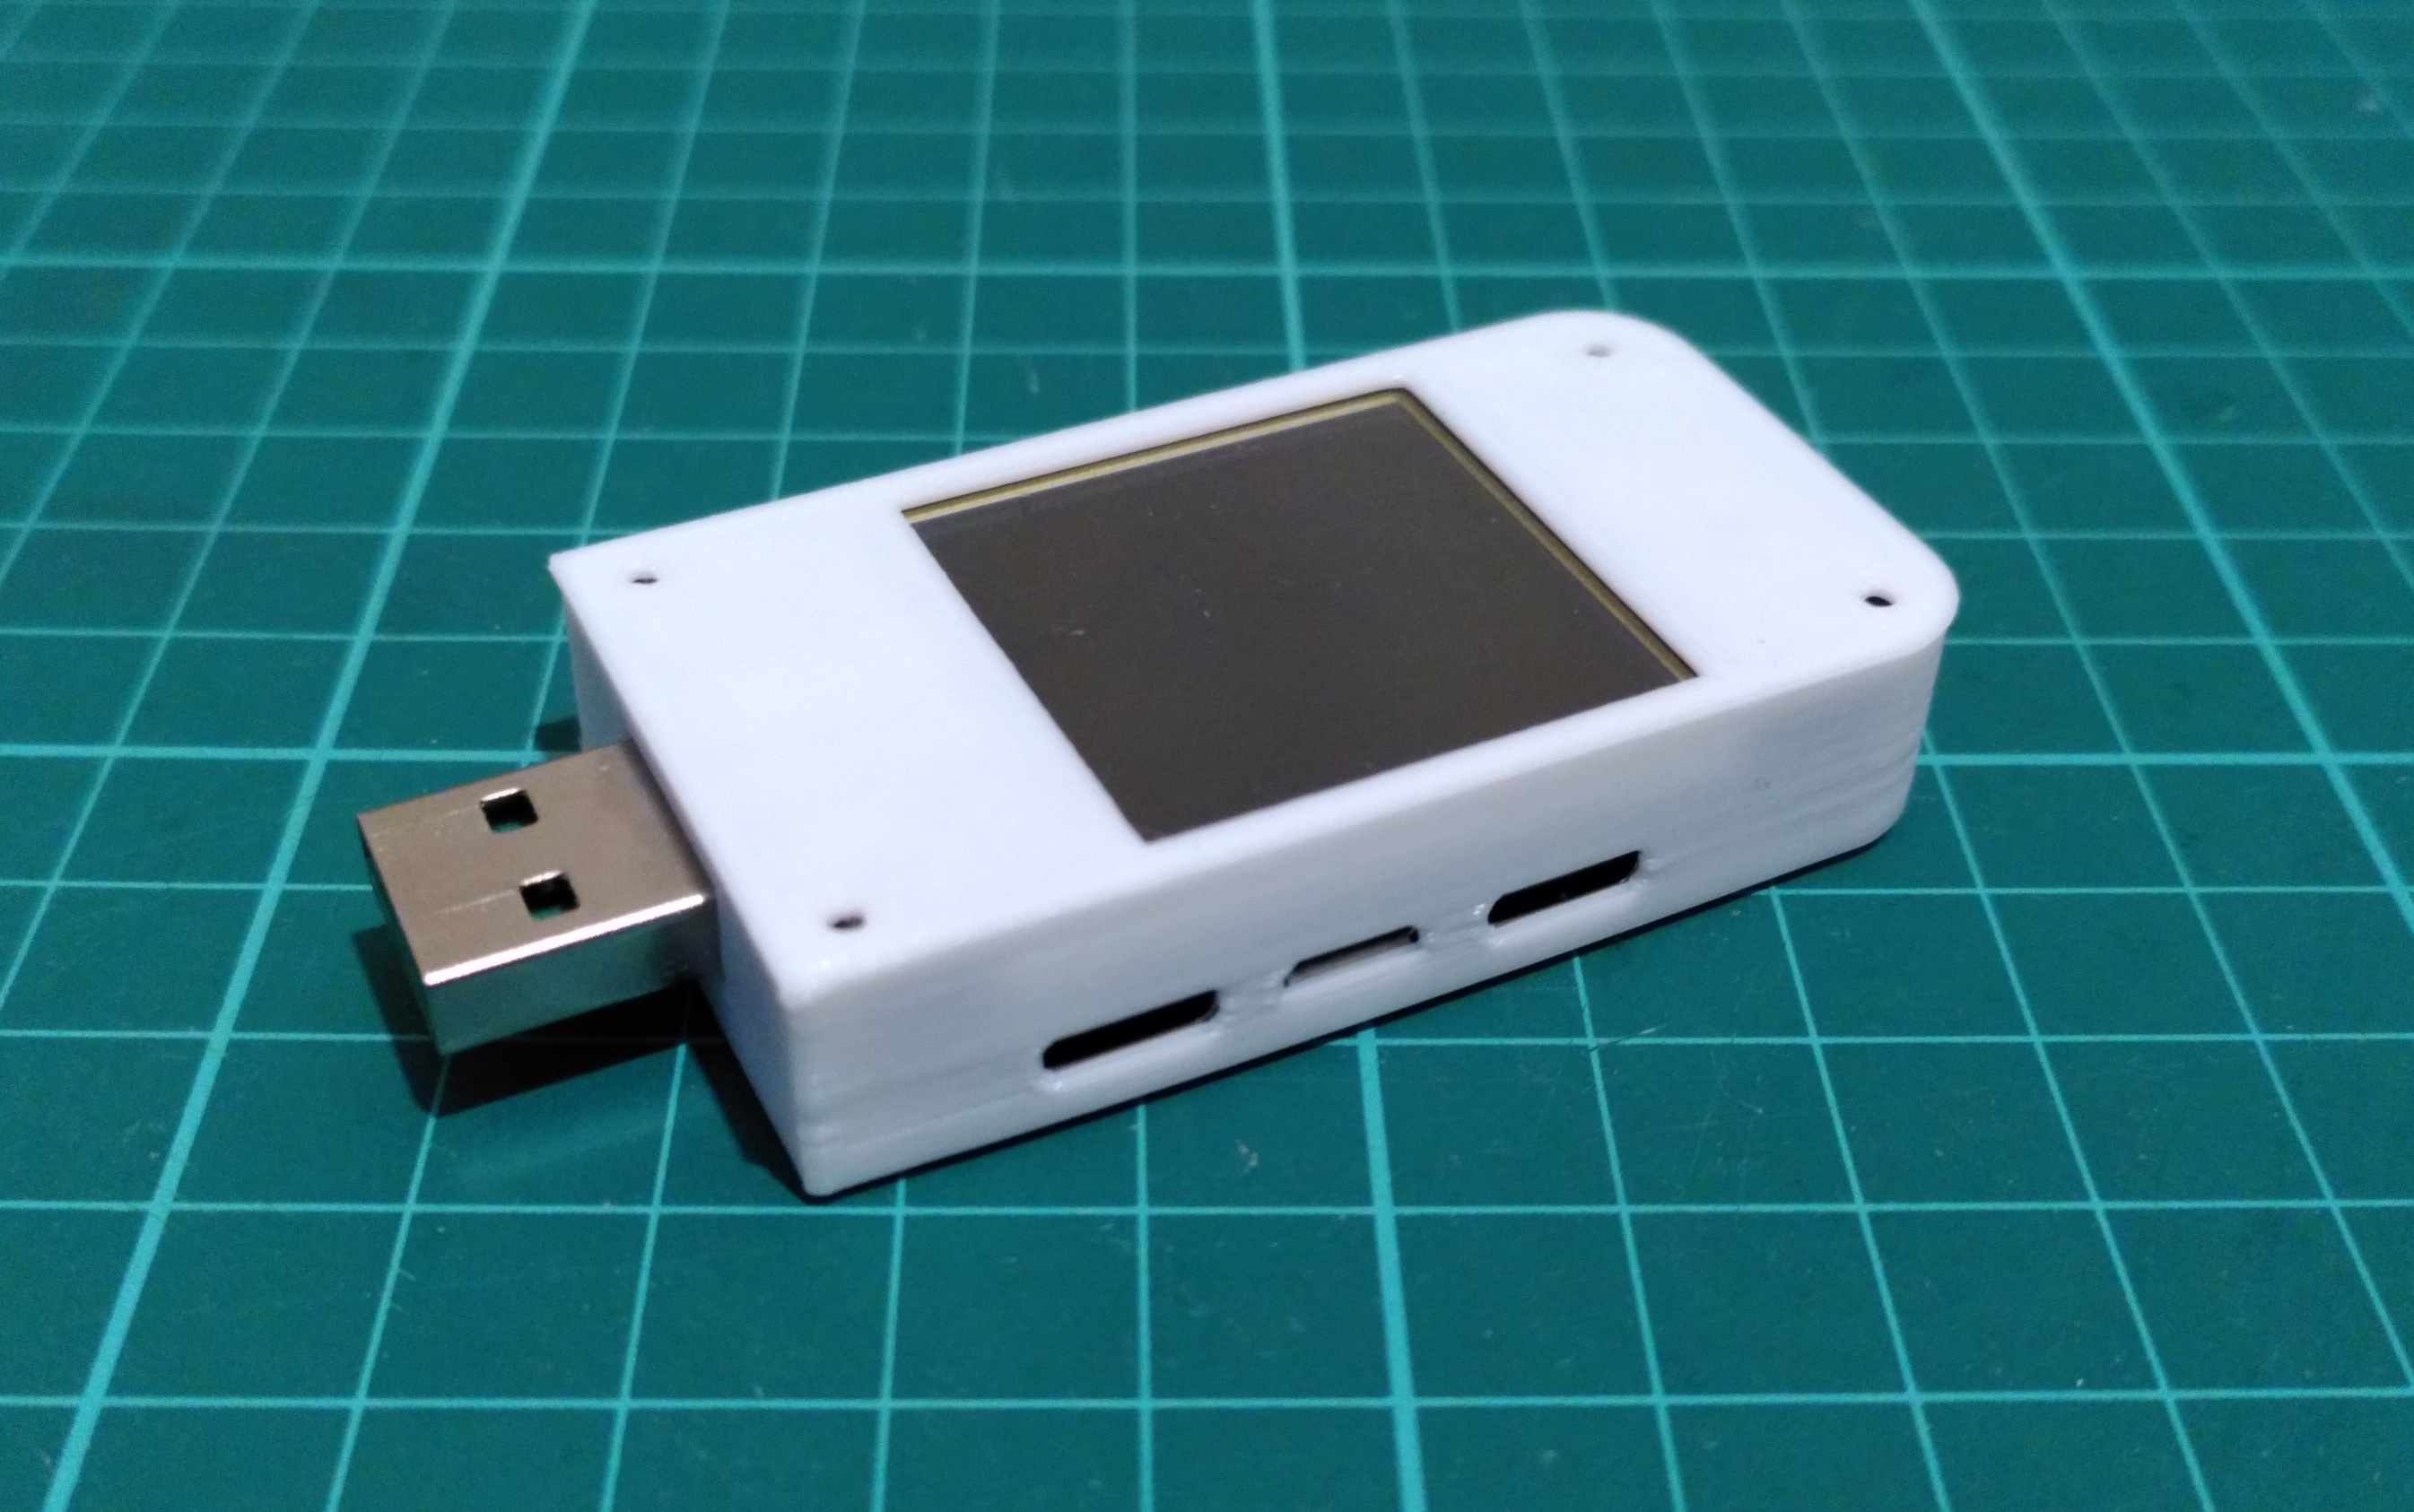
Fully insert the USB tester into the shell.
- If the fit is tight, it may be necessary to stretch the shell's opening for the rear USB port to allow the USB tester to be fully inserted.
Step 4
Re-insert the original screws