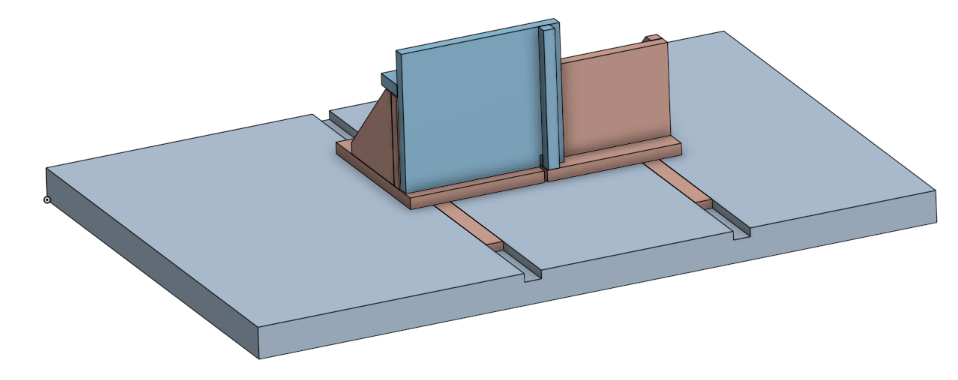
Box joint jig templates
Obliczymy ostateczną cenę na podstawie wybranego pliku. Sprawdzisz ją i zaakceptujesz przed płatnością.
Zapisane na tym urządzeniu.

Customizable templates and instructions for cutting standard and decorative box joints on a table saw
- Ocena
- 5 / 5
- Polubienia
- 108
- Pobrania
- 405
- Wydruki
- 2
- Wyświetlenia
- 5164
- Oceny
- 1
Aktualizacja u źródła:
Informacje o modelu
- Źródło
- Printables
- Kategoria
- Tools
- Licencja
- Creative Commons — Attribution — Noncommercial
INTRODUCTION
What is it?
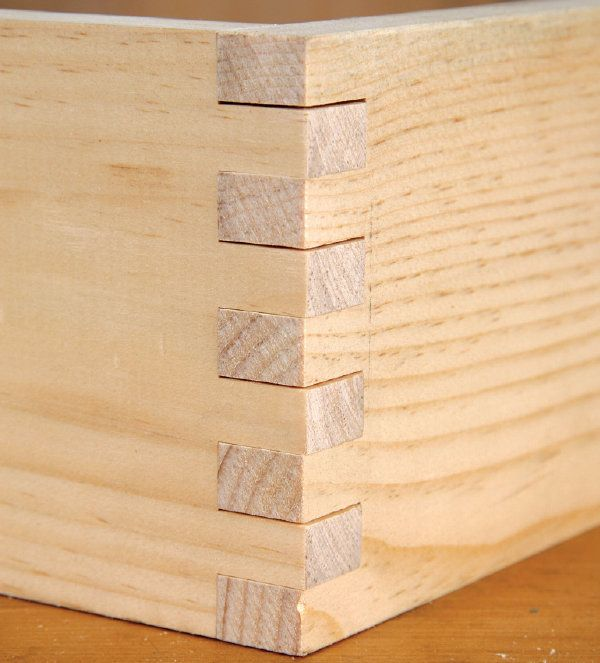
Printable, customizable templates for a single blade table saw box joint jig, such as the Woodfather box joint jig.
Using these templates with an appropriate jig will allow you to cut accurate box joints on a table saw, with a rip saw blade (no dado blade or blade changes required).
Do I need it?
No. You can use the method the Woodfather outlines to make box joint jigs to your own specifications by creating simple cutting patterns with wood pieces:
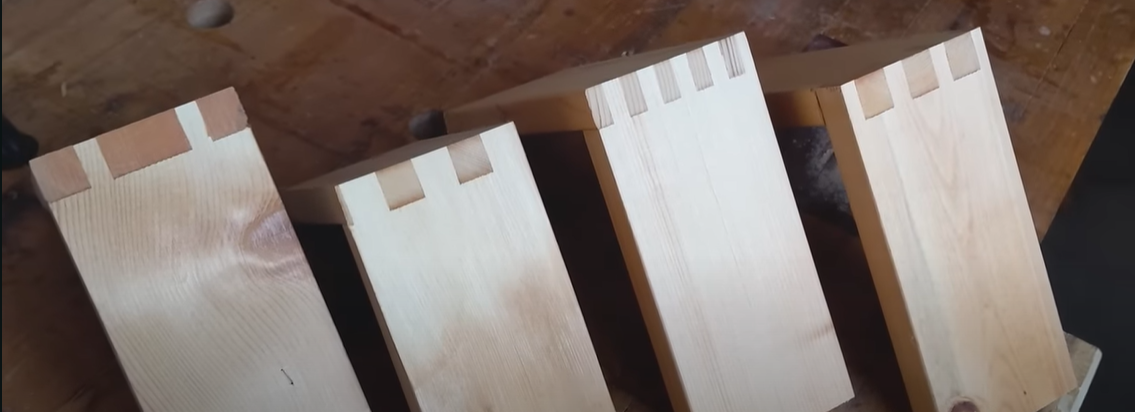
So why do I want it?
The advantage of using these 3d printed templates is that you can fully customize them to your exact specifications. Want to join boards of an odd width? No problem. Want fingers and gaps to a specific size? You can use these templates. Want to vary the fingers and gaps in a specific ratio? These templates will let you do that. Want to try some fancy double box joint jigs without splashing out for an Incra i-box jig? You can do those too!
THE TEMPLATES
The customizable templates are distributed between the tabs in an Onshape document (see below for instructions). I've uploaded a few examples of each type, but the real benefit is in being able to customize the measurements.
Basic box joint jig
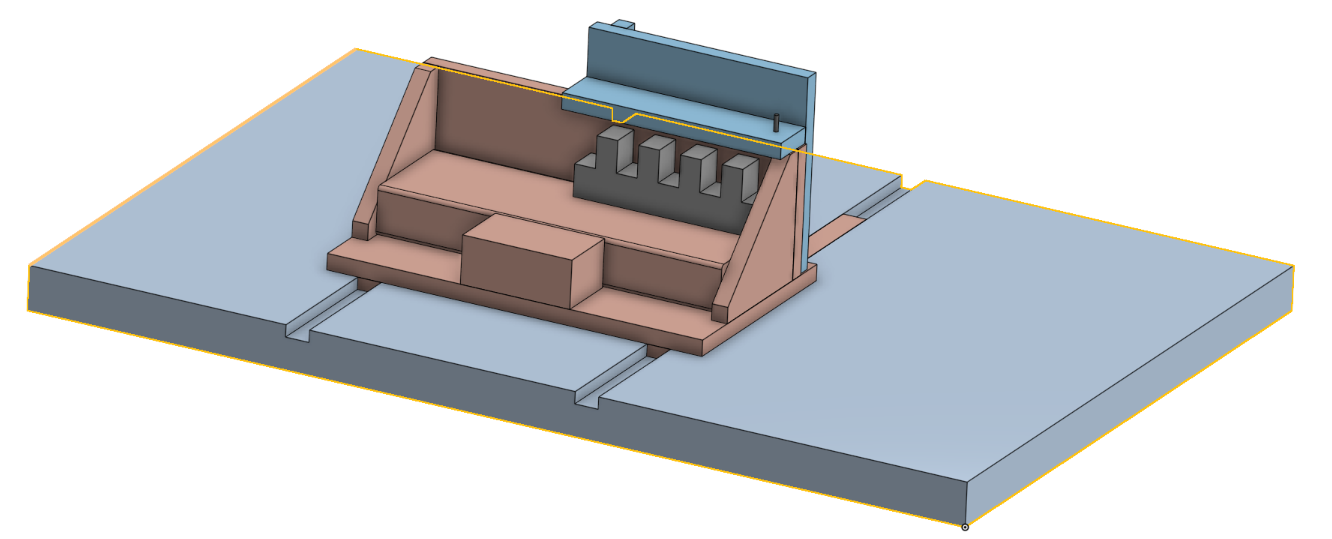
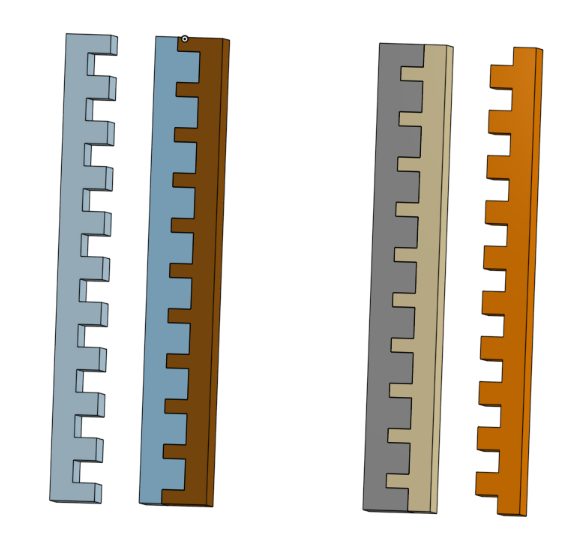
The basic box joint jig provides the cutting templates for both sides of a standard box joint.
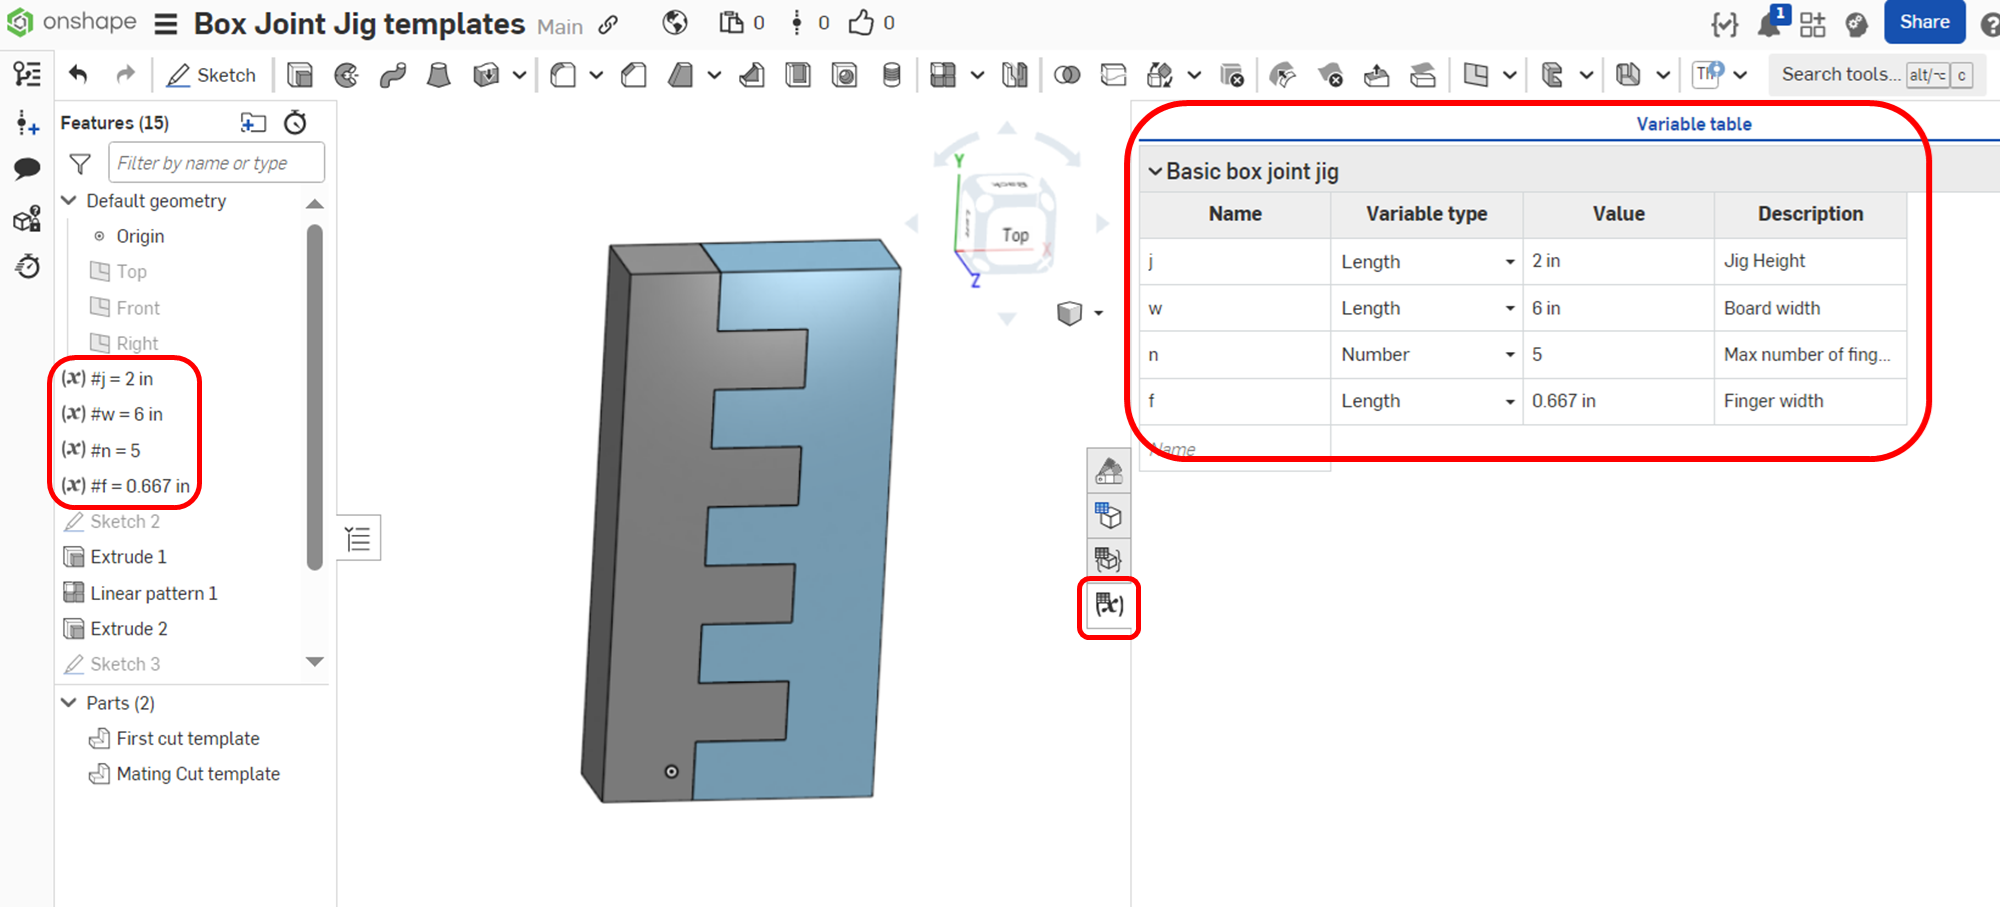
The advantage it offers is that it can be customized to fit boards of any size. The size of the model is based on three variables: the width (w) of the board, the number (n) of fingers and the height (j) of the jig. A fourth variable, the width of the fingers, is calculated from w and n. You can edit these variables in the Onshape document variable table.
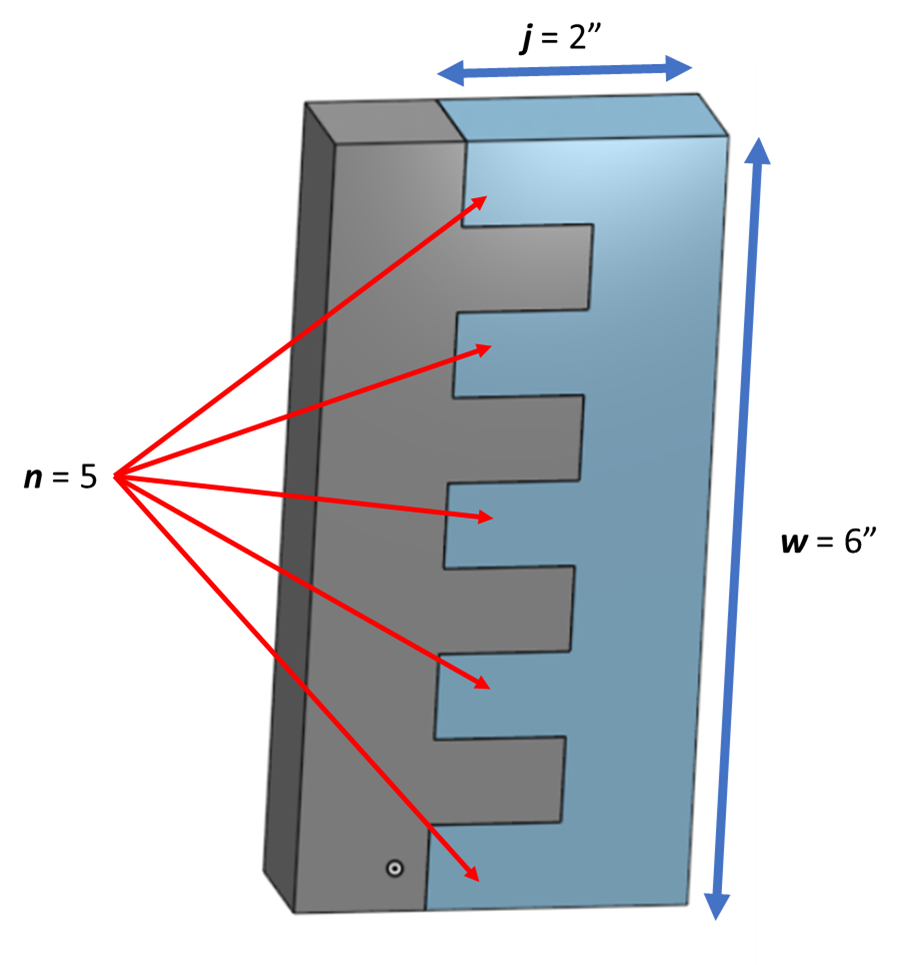
Half thickness end finger box joint
Essentially the same as the the basic box joint jig, but with the end fingers half the thickness of a standard finger. The variables remain the same.
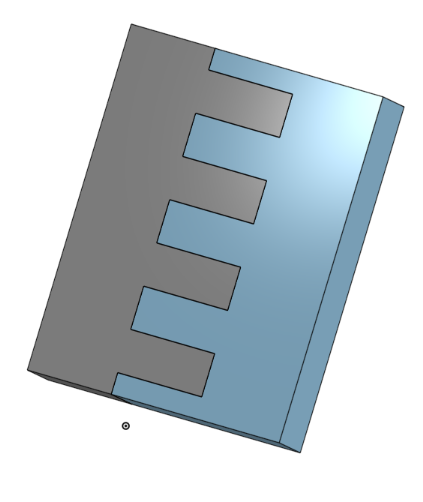
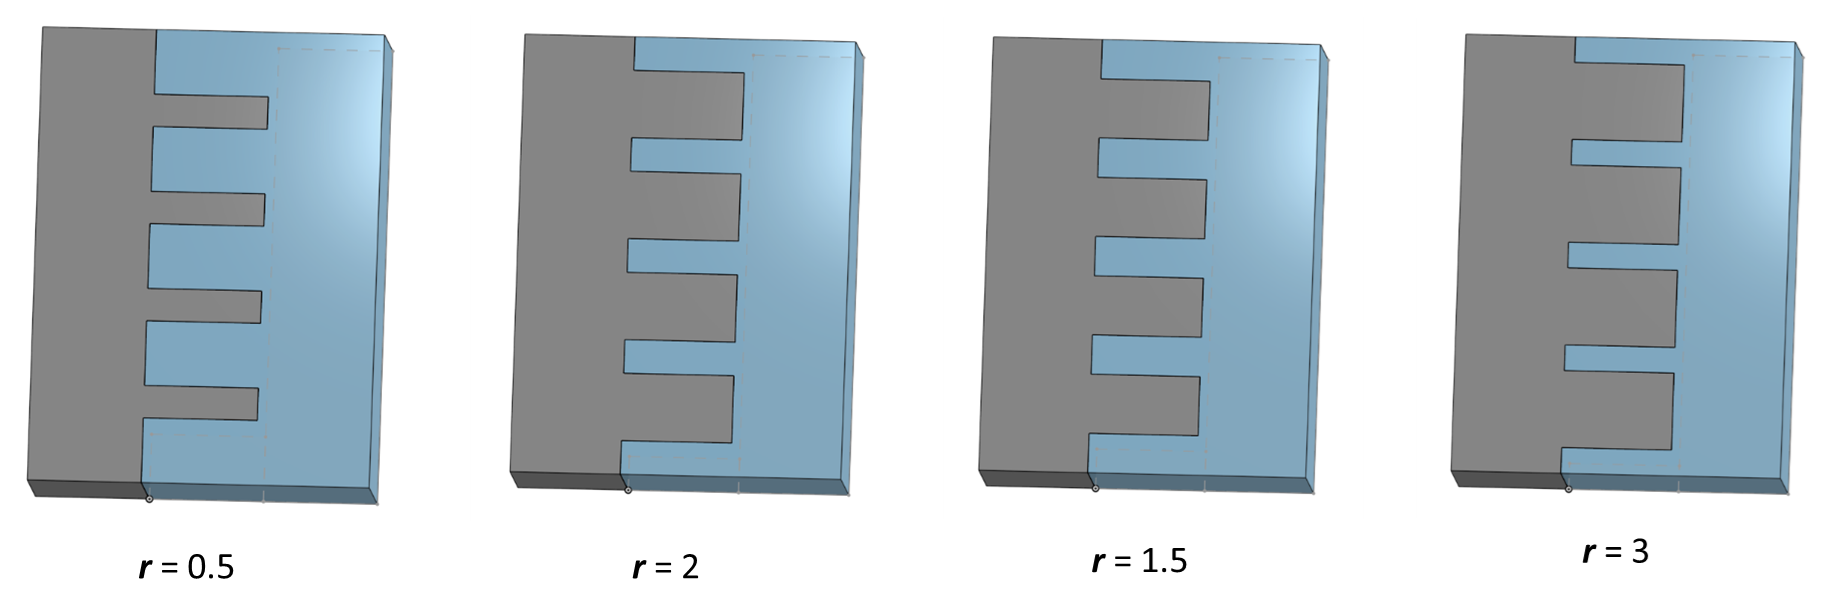
Variable finger to gap ratio
This set of templates adds a new variable (r): the ratio of finger to gap width. By varying r you change the width of the fingers / gaps in the mating templates. The examples below hold the width of the board and number of fingers constant, while varying only the finger to gap width ratio:
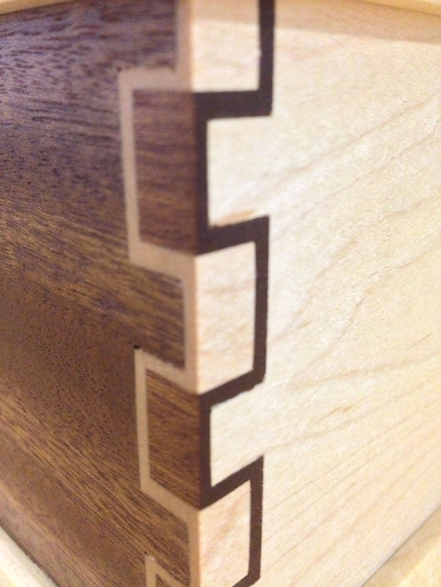
Decorative double-double box joint jig
This set of templates allows you to make the cuts for a decorative double-double box joint that inserts borders between the fingers of both sides. At present I've only made a single set of these templates, though I've made them wide enough to accommodate boards up to 10" wide (narrower boards can be used).
For an explanation of how to cut a double-double box joint jig, watch this video:
TEMPLATE CUSTOMIZATION
STEP 1: Create a free Onshape account
You will need a (free) Onshape account to make a copy and use the document, but Onshape is a cloud-based parametric CAD application that you access through a browser so there are no downloads.
STEP 2: Take a copy of the Box Joint Jig Templates document
Link to document: Box Joint Jig Templates
You'll need to make your own copy of the document. Follow the link and you'll be given that option.
STEP 3: Edit the variables in the joint
Go to the tab of the joint template you want to customize. You can edit the user variables (j, w, n, or r) in either the variable table (on the right, accessible through the (X) symbol), or directly in the Features menu (on the left). Be careful not to change the calculated variables (i.e. f, g, x).
STEP 4: Export the STL
When you are ready to export your parts, right-click on the Part you want to export in the Parts menu (bottom left) to open the context menu, then click on Export.
USING THE JIG
Using the jig is simple: the printed templates substitute for the patterns in the original jig:
Building the jig
Below is a drawing of a suitable box joint jig that can use the printed templates, but for comprehensive plans and build instructions you should go to the source: Woodfathers Jig – THE WOODFATHER