
Klog Killer 1.75mm
Obliczymy ostateczną cenę na podstawie wybranego pliku. Sprawdzisz ją i zaakceptujesz przed płatnością.
Zapisane na tym urządzeniu.

An Open source de-clogging tool. Expected cost is around $10 for 10 units for supplies excluding printer and filament.
- Ocena
- 0 / 5
- Polubienia
- 3
- Pobrania
- 11
- Wydruki
- 1
- Wyświetlenia
- 400
- Oceny
- 0
Aktualizacja u źródła:
Informacje o modelu
- Źródło
- Printables
- Kategoria
- Accessories
- Licencja
- Creative Commons — Attribution
He explains its purpose better than I can at 1:46:
Warning: If your printer has automatic filament feeding it may think the Klog Killer is filament, please either turn off the power before insertion or disable this feature on your printer before use. I am not responsible for what you do to your printer.
The Klog Killer is designed to alleviate clogs stuck in the nozzle that a mere cold pull will not resolve. I also like to use it to delodge stuck filament from my MMU3
One such instance is breakage inside the nozzle as pictured below.
In such instances the only options are to remove the material by force via pulling or pushing.
Unfortunately, breakage often results in the printer continuing on and cooking the remaining plastic inside the nozzle, in such cases, a cold pull with nylon at high temps after the use of the Klog Killer is recommended.
There are multiple tip jigs available to best suit your nozzles inner diameter. In the event of breakage, it is advised to disassemble the extruder to determine if there is further FOD (Foreign Object Debris) in the housing such as with the MK4 nextruder, as filament can shatter into multiple pieces rarely.

The Klog Killer has been compared to the NoClogger: https://noclogger.com/ by a few of my friends and coworkers.
It is unaffiliated. If you wish to have a more professional product the NoClogger may be for you.
Procurement and non-Printing Details:
Required Ingredients:
- One Disposable double sided sharpening stone.
- 1.5mm Dia Rod of your chosen length or longer.
- Filament (PETG HIGHLY recommended)
- Hand Drill
Sources Of Supply:
- Disposable sharpening stones may be found at Harbor Freight or Amazon.
- 1.5mm Dia Rods can be found on Amazon or maybe your local Hard Ware Store.
- Hand Drills (if you do not own one) can be borrowed from libraries or nice neighbors, or your local makerspace. Take it slow, don't burn the drill out.
- A Penny can be found in your couch cushions. If you require dimensions of a coin from another country leave a comment.
Recommended, but not required, Ingredients:
- A nice fine sharping stone to finish the tip. DO NOT use this to create the tip profile, it will leave gouges in your stone.
- Oil or Lube to prevent wearing of the Rod Tip Jig. Coat outside of Rod and inside of hole.
- A Crescent Wrench or two is advised to get maximum torque and minimum slip when tightening the head to the body. This will ensure maximum tightness of the Chucks on the rod, as the tighter the Head is on the Body the more the Chucks will squeeze the rod.
- A Penny (if you want a model that uses another similar coin leave a comment w/ dims.)
Do Not:
- Stab People with it, please.
- Rush the drilling. Do one unit and let the drill rest, this will ensure you don't burn it out.
- Use a good sharping stone for the course profile definition, it will leave gouges as shown below. You may use a good sharping stone once the tip profile is defined for polishing.

Printing Instructions:
Chucks:
Print the Chucks at minimum 9 perimeters (at least on a 0.4mm nozzle).
This should ensure the Chucks are all perimeters, which is best for the load they undergo.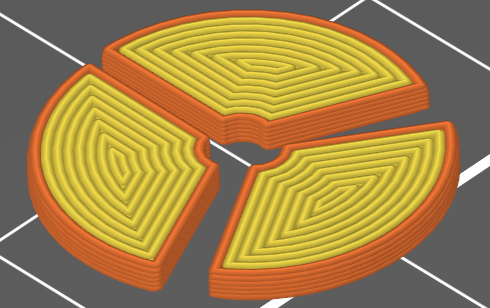
Head:
Print the Head in the orientation shown below.
Same as the Chucks make it all perimeters, or a 0.4mm nozzle that is 10 perimeters.
0.15mm layer height or smaller is best for ensuring the threads print properly.

Body:
I did 15% gyroid at 0.15mm layer height, which is required for the threads to come out clean.
The use of a modifier is recommended to ensure the threads and roughly the first millimeter of the body where they connect are completely perimeters. The rest of the body can be whatever infill you think is appropriate, just use something strong.
At roughly 41.5mm, you may stop the print and add a penny as a backing for the rod if you wish, this is overkill, but I like overkill. There is a “pennyless” version in case you can not afford the penny.
Body: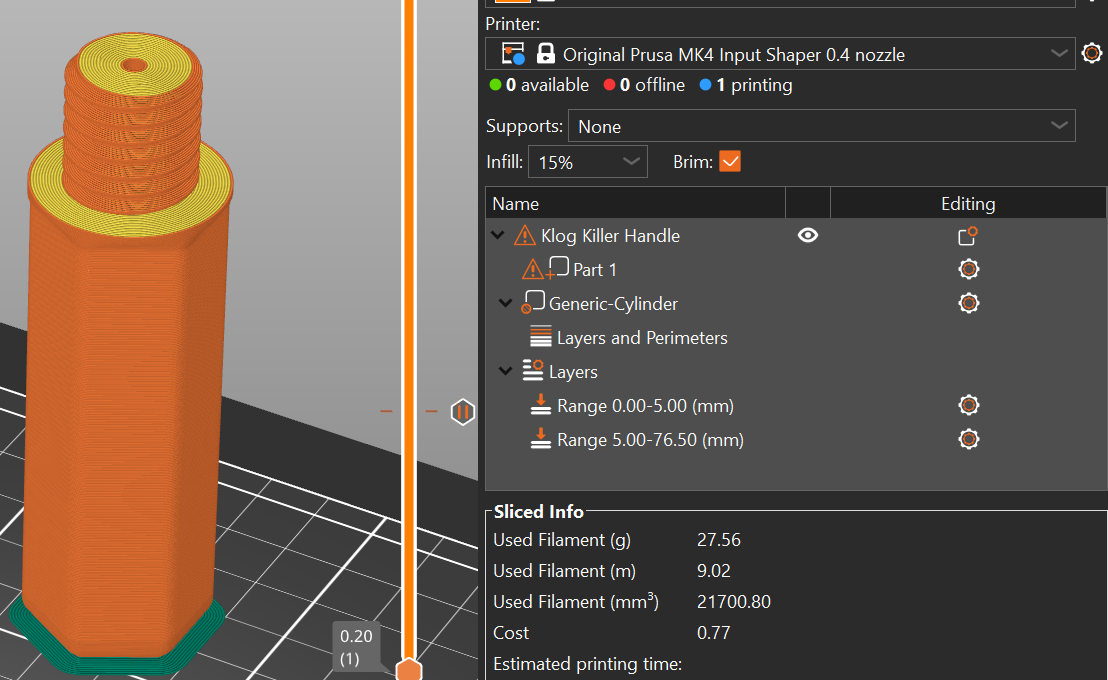
Body Penny: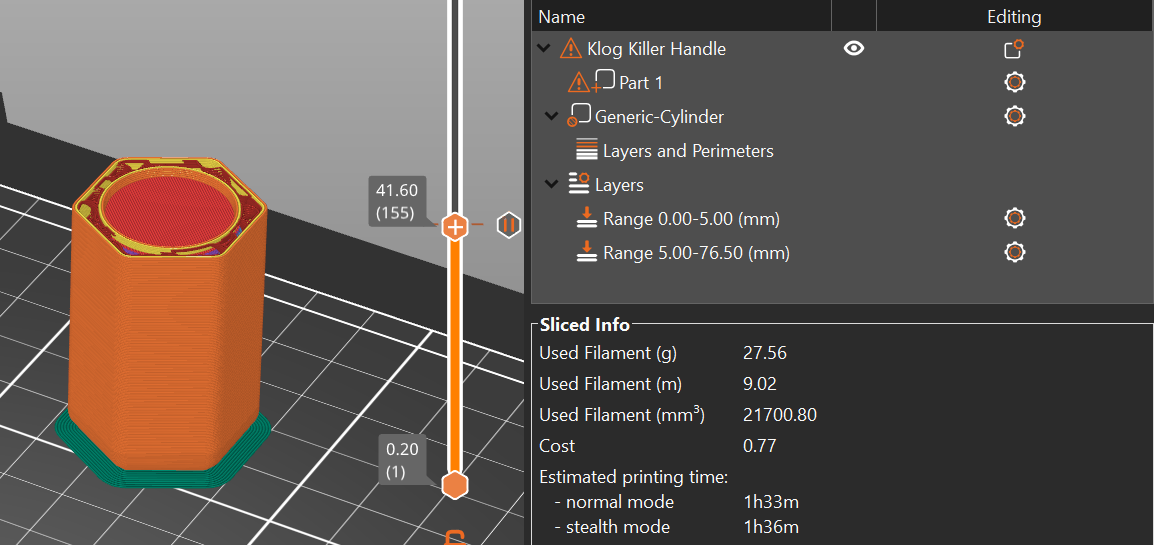
Rod Tip Definer Jig:
Print at 100% infill in the orientation shown. Use Jig angle best suited to your nozzle.
The angle in the tip definer determines the final angle of your rod.
If you need a custom angle please leave a comment and I will upload it shortly. 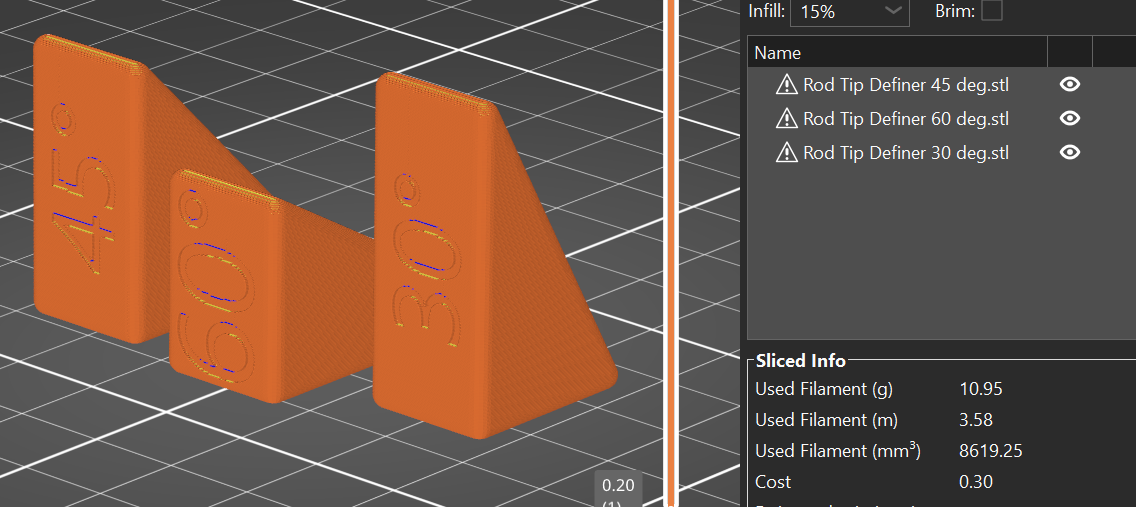
Assembly:
To assemble the Klog Killer, first print out all required parts, and grind the 1.5mm rod to the proper tip geometry for your nozzle.
Second, Insert the Rod into the Handle, ensuring the pointed tip is facing outwards and the blunt end is flush with the penny embedded within the Handle. 
Third, place the Head on to the Rod
Then place the Chucks onto the handle as shown. Be gentle as they are nudged off easily.
This is the easiest method I have found of ensuring they enter the head properly.

Fourth, hand tighten the Head onto the Body. If you have tools available such as the previously mentioned Crescent Wrench or a Vice, please make use of them to apply as much torque as you can without the part splitting. The more torque, the more secure the rod will be.
It is not intended for the gap between the head and the body to be bridged. This gap ensures that the Chucks are the stop between the Head and body, causing them to put a great deal of pressure on the Rod to keep it in place.
Fifth, enjoy your Klog Killer.