
Hella IS13 Insect Screen Replacement
Obliczymy ostateczną cenę na podstawie wybranego pliku. Sprawdzisz ją i zaakceptujesz przed płatnością.
Zapisane na tym urządzeniu.
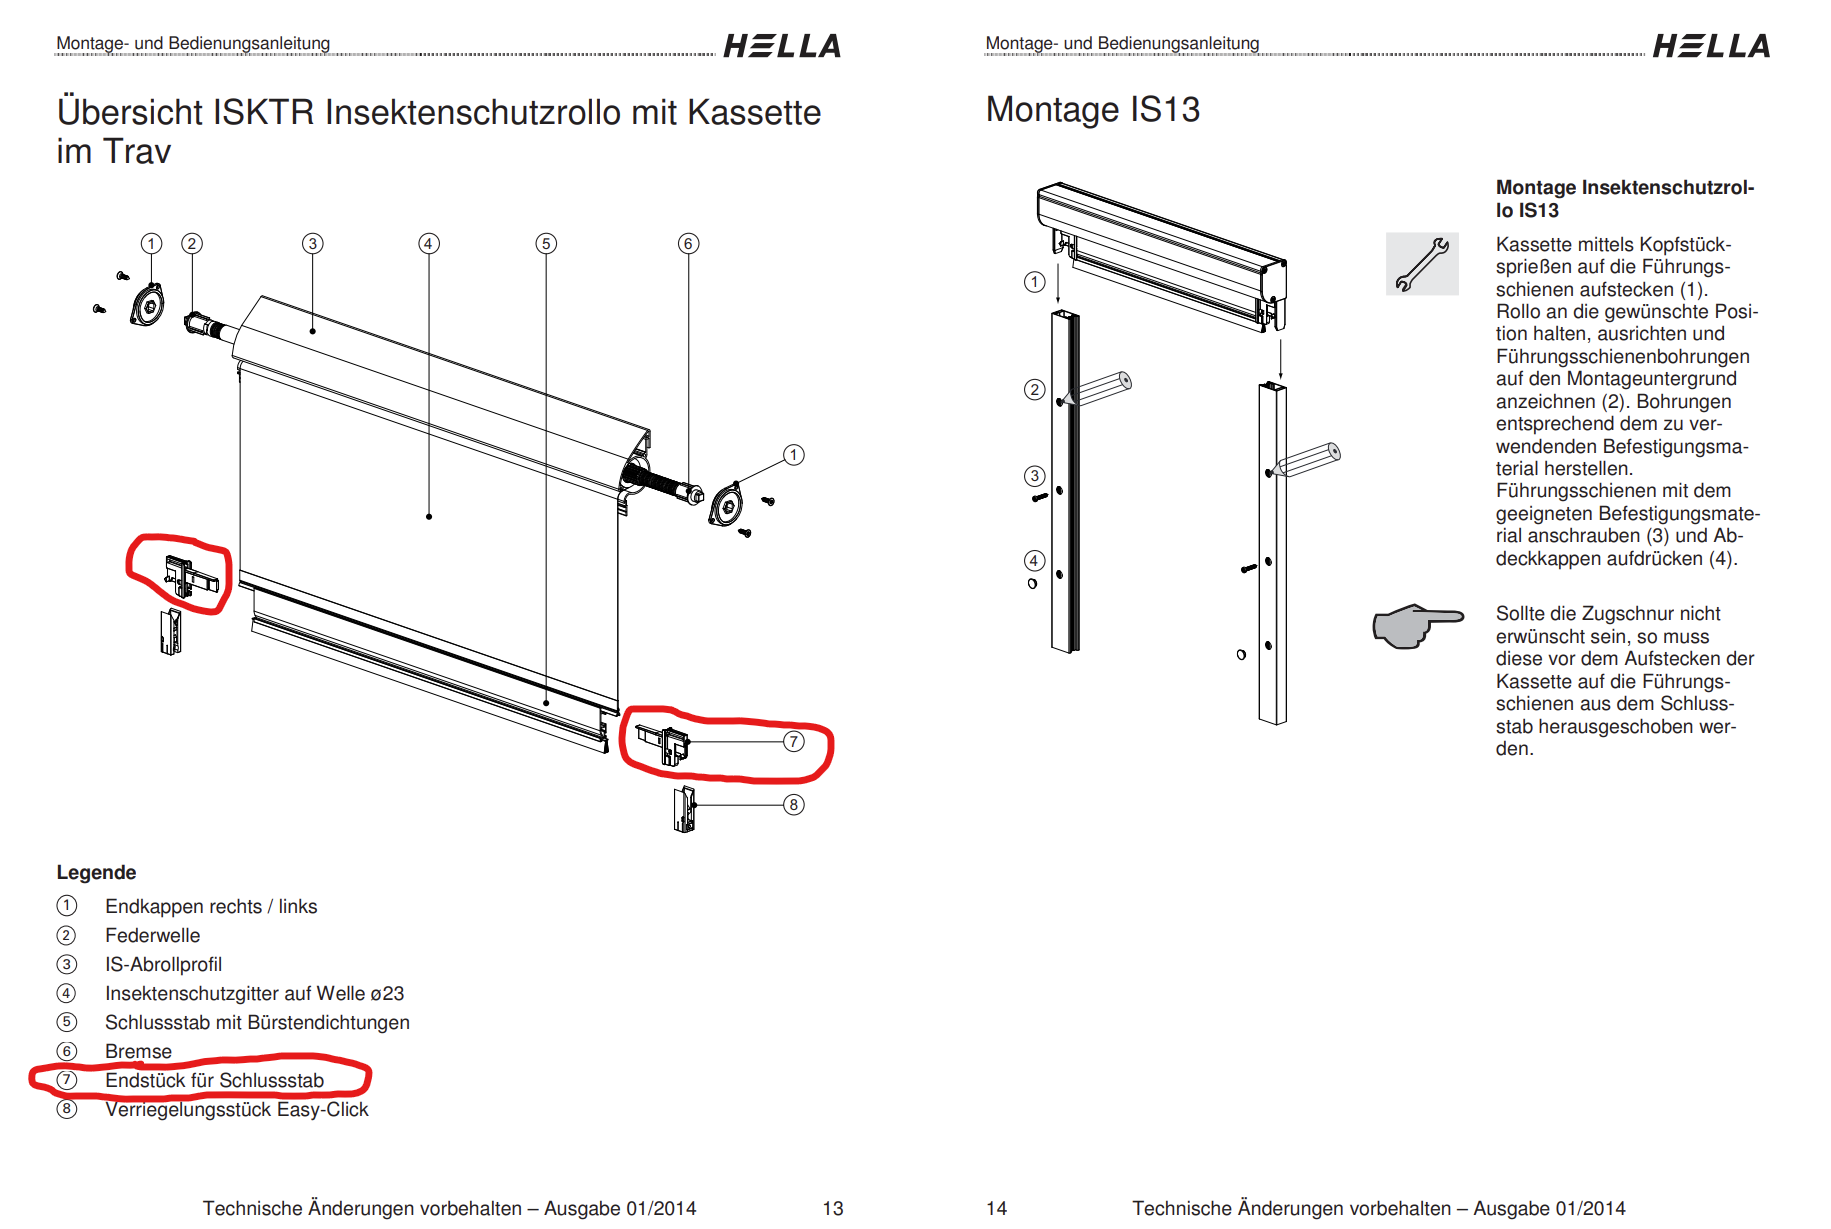
Replacement for the Hella IS13 insect screen end cap. Moving part of the endcap with noses that slot into the rails.
- Ocena
- 5 / 5
- Polubienia
- 4
- Pobrania
- 94
- Wydruki
- 0
- Wyświetlenia
- 294
- Oceny
- 1
Aktualizacja u źródła:
Informacje o modelu
- Źródło
- Printables
- Kategoria
- Other House Equipment
- Licencja
- Creative Commons — Attribution — Noncommercial
On our Hella IS13 insect screen for our windows the noses of the moving part (marked in the second picture) of the end caps broke. Therefore the insect screen was not staying down. This is the part as per the documentation I could find online. (The only replacements I could find online were 8€ per side …. that's why I own a printer and learned some CAD).
On my part the noses (green part) that slots into the retention mechanism on the bottom of the rails broke off probably due to the plastic becoming brittle over time.

To replace the broken moving part cut (only the moving part) like shown by the blue line and slide it out to the back. After that you can insert the replacement part in the same direction. A little bit of force is required due to the ramp that later retains the part.
Printing Instructions
Since the rails are metal an they get pretty hot use a heat resistant material. I used PCTG which is holding up nicely so far (2 months during summer with 32°C and above in direct sunlight). You can propably use ASA, ABS, or PC it's just what I had on hand.
I used 0.2mm layer height and 4 perimeters on a 0.4mm nozzle to ensure that the nose (green part) is completely solid and the part was printed standing up with supports to ensure better part strength along the axis with the load.
I also recommend using a brim to keep the part from tipping over. You might also want to go slow since it is a pretty small part with little details.
