
DSLR Star tracker
Obliczymy ostateczną cenę na podstawie wybranego pliku. Sprawdzisz ją i zaakceptujesz przed płatnością.
Zapisane na tym urządzeniu.

Motorized star tracker for a DSLR camera.
- Ocena
- 0 / 5
- Polubienia
- 15
- Pobrania
- 61
- Wydruki
- 0
- Wyświetlenia
- 892
- Oceny
- 0
Aktualizacja u źródła:
Informacje o modelu
- Źródło
- Printables
- Kategoria
- Physics & Astronomy
- Licencja
- Creative Commons — Attribution
DSLR Star tracker
I set out to create my own design for a basic star tracker. I decided against a barn door design, in favour of a more compact gear driven design. This is still a work in progress.
Here are the parts I printed. I printed them all using standard PLA at 0.2mm on an Ender 3, with exception for the worm gear. I ended up printing it with a resin printer, however I had previously printed it at 0.08mm and it worked okay too.
Parts print list
| Filename | Quantity to print |
|---|---|
| Ball head mounting plate.stl | 1 |
| Gearbox A.stl | 1 |
| Gearbox B.stl | 1 |
| Gearbox C.stl | 1 |
| DIN RA adapter.stl | 4 |
| Bearing base.stl | 1 |
| Bearing cap.stl | 6 |
| Worm gear.stl | 1 |
| Worm wheel.stl | 1 |
Parts list
| Component | Quantity |
|---|---|
| M6 nut | 50 |
| M6x10mm Button head | 15 |
| M6x16mm Countersunk | 3 |
| 25x160mm Aluminum bar (1/8" thickness) (OPTIONAL, but reccomended) | 5 |
| 6003-2RSL bearing | 1 |
| 605ZZ bearing | 6 |
| M3x20mm Raised cheese head | 12 |
| M3x8mm Raised cheese head | 4 |
| NEMA17 42-34 stepper motor | 1 |
| DRV8825 stepper driver (or equivalent, needs to have 1/32 microstepping) | 1 |
| 5mm LED | 3 |
| Radial Electrolytic capacitor (min.100 μf) | 2 |
| Raspberry pi pico, with header pins | 1 |
| GT2 20T and 60T 200mm pulley combo | 2 |
| 5x60mm metal rod | 1 |
| 5x120mm metal rod | 1 |
| Tripod ball head adapter | 1 |
| Custom PCB for electronics* (see more below) | 1 |
| M6x80mm coach bolt | 1 |
| M6 penny washer | 3 |
| 3/8″ 16 pitch UNC bolt for tripod ball head | 1 |
| JST XH 2 pin connectors male and female | 2 |
| JST XH 4 pin connectors female | 1 |
| LM7805CV 5V linear regulator | 1 |
| Diode | 1 |
| A tripod or wedge mount for equitorial tracking | 1 |
| DIN Rail 300mm | 2 |
*Regarding the PCB, I have attached the ZIP file to upload to JLCPCB/similar to have my design made. As an alternative, you can use your own design for a PCB. The PCB design files can be found here: https://github.com/WaylonGao/picoStarTracker
The key thing is that the stepper motor makes a 1/32 microstep every 1/79.5872 seconds.
Does it work?
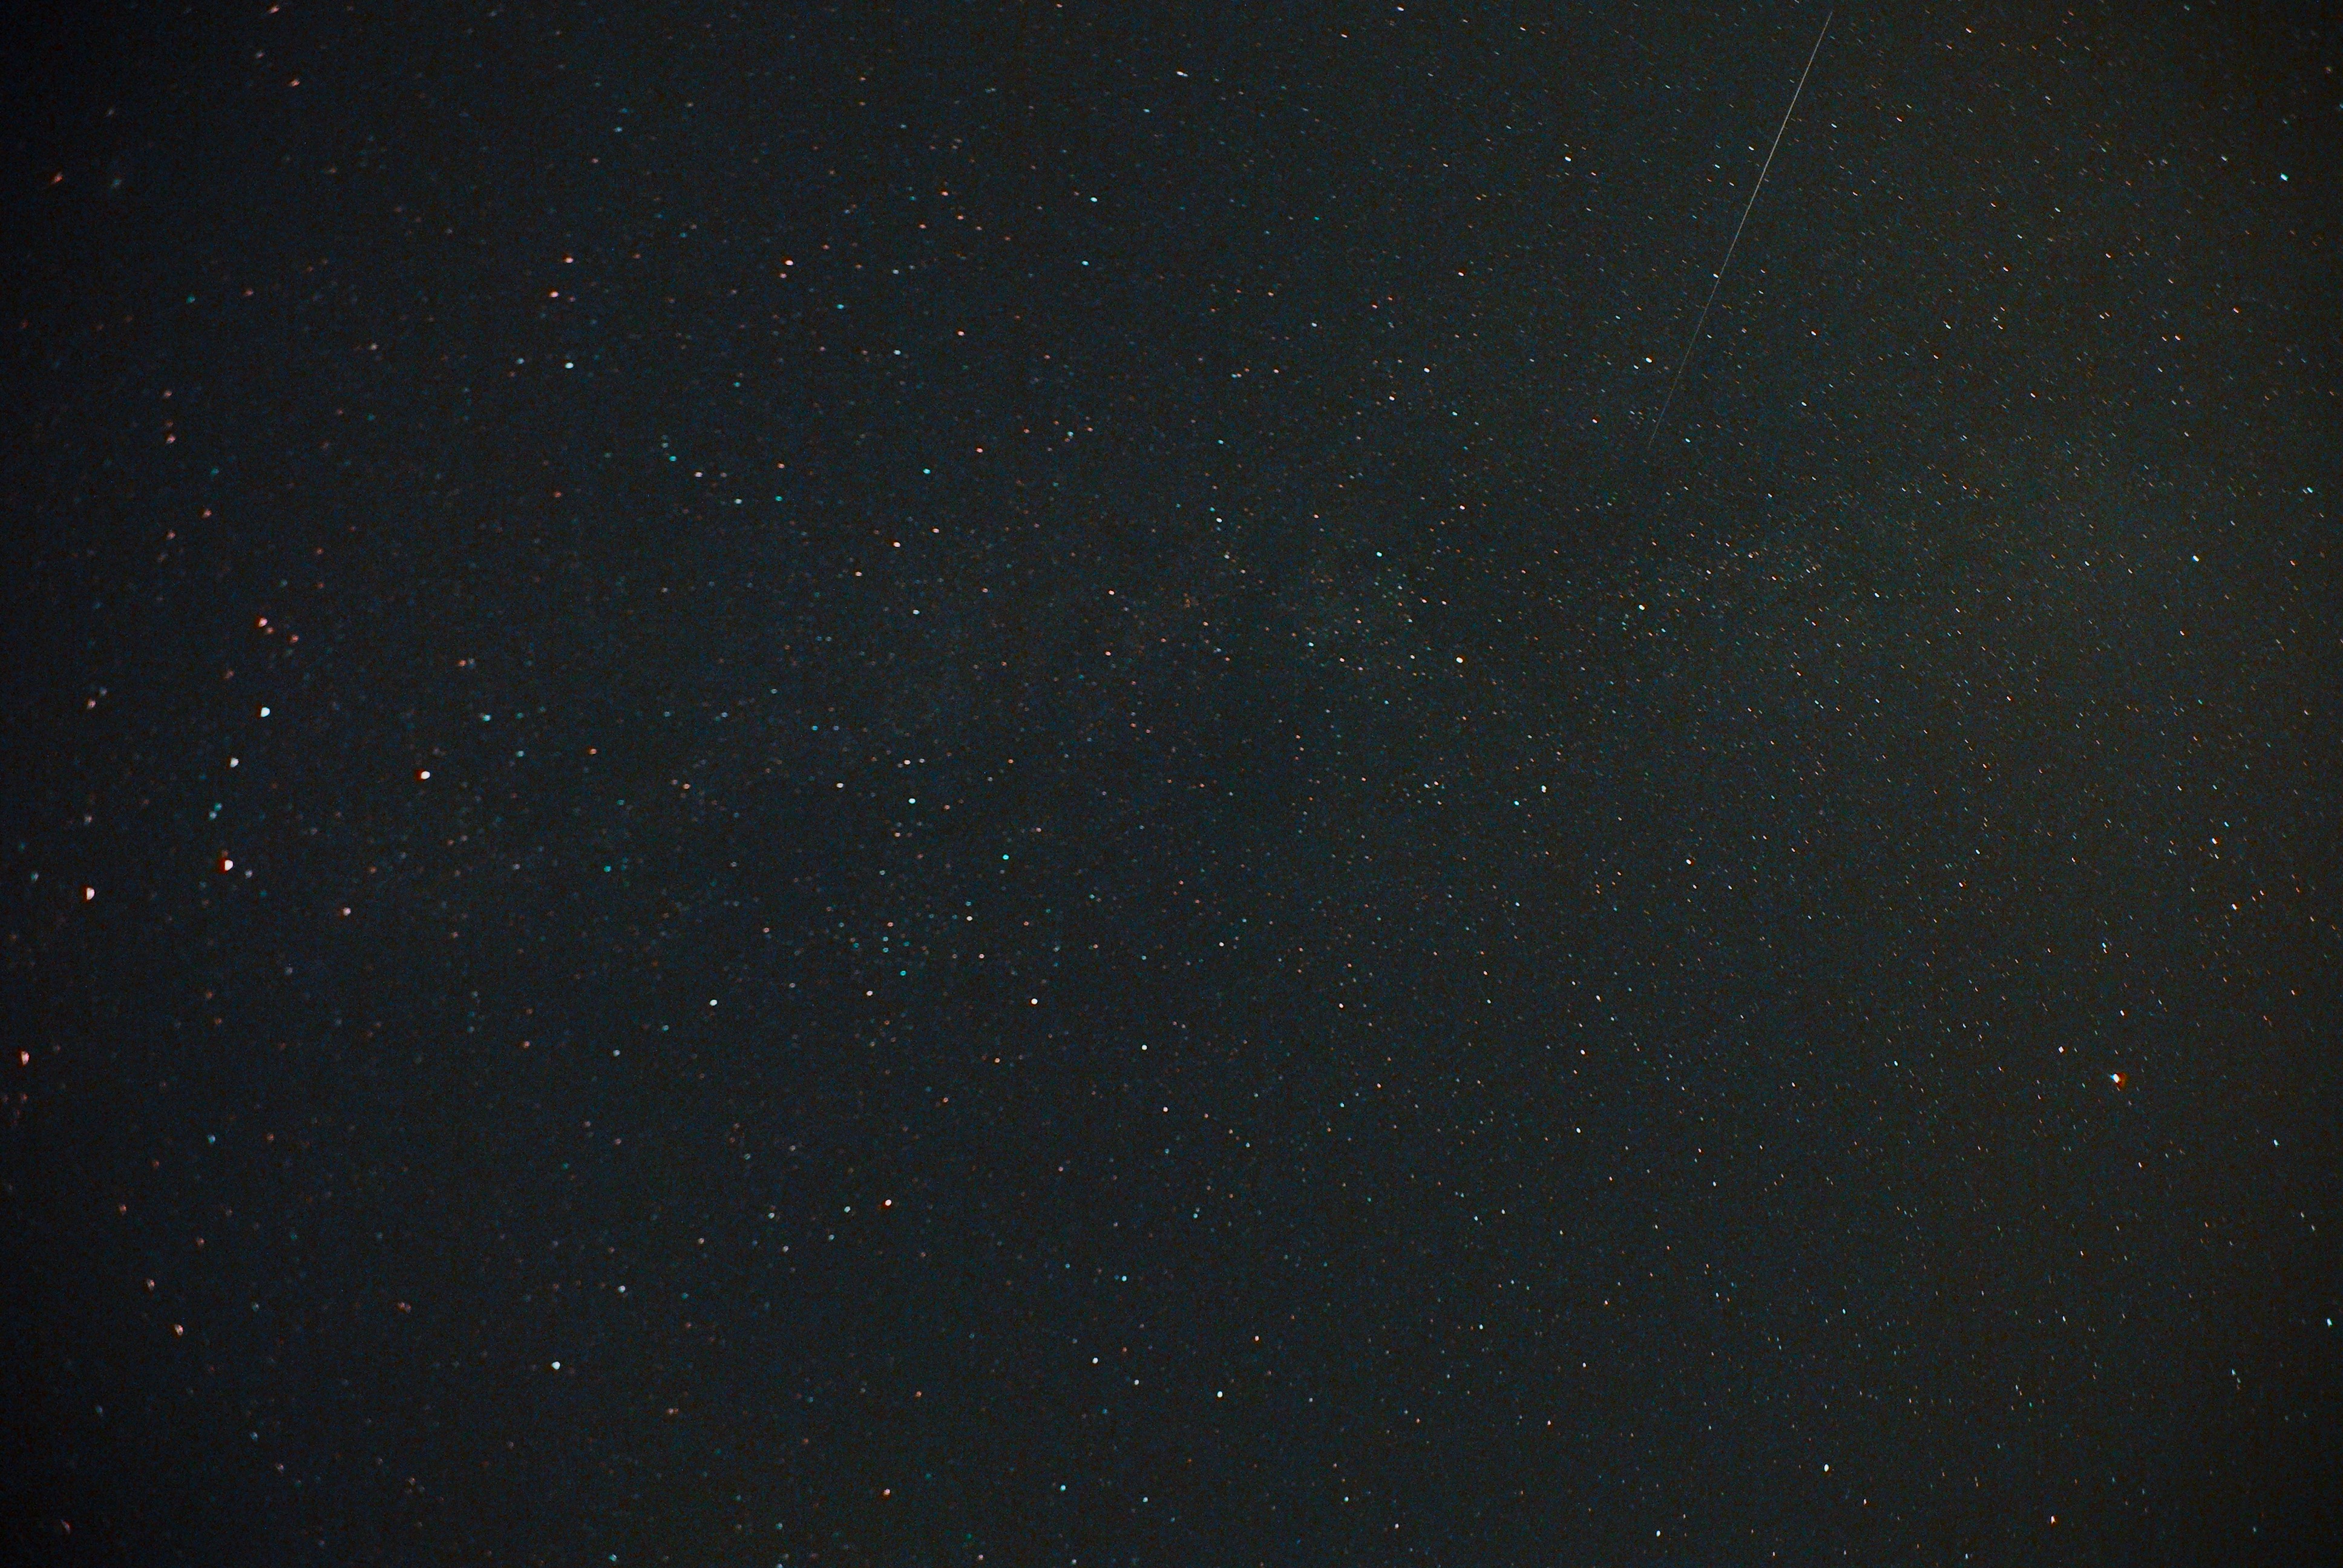
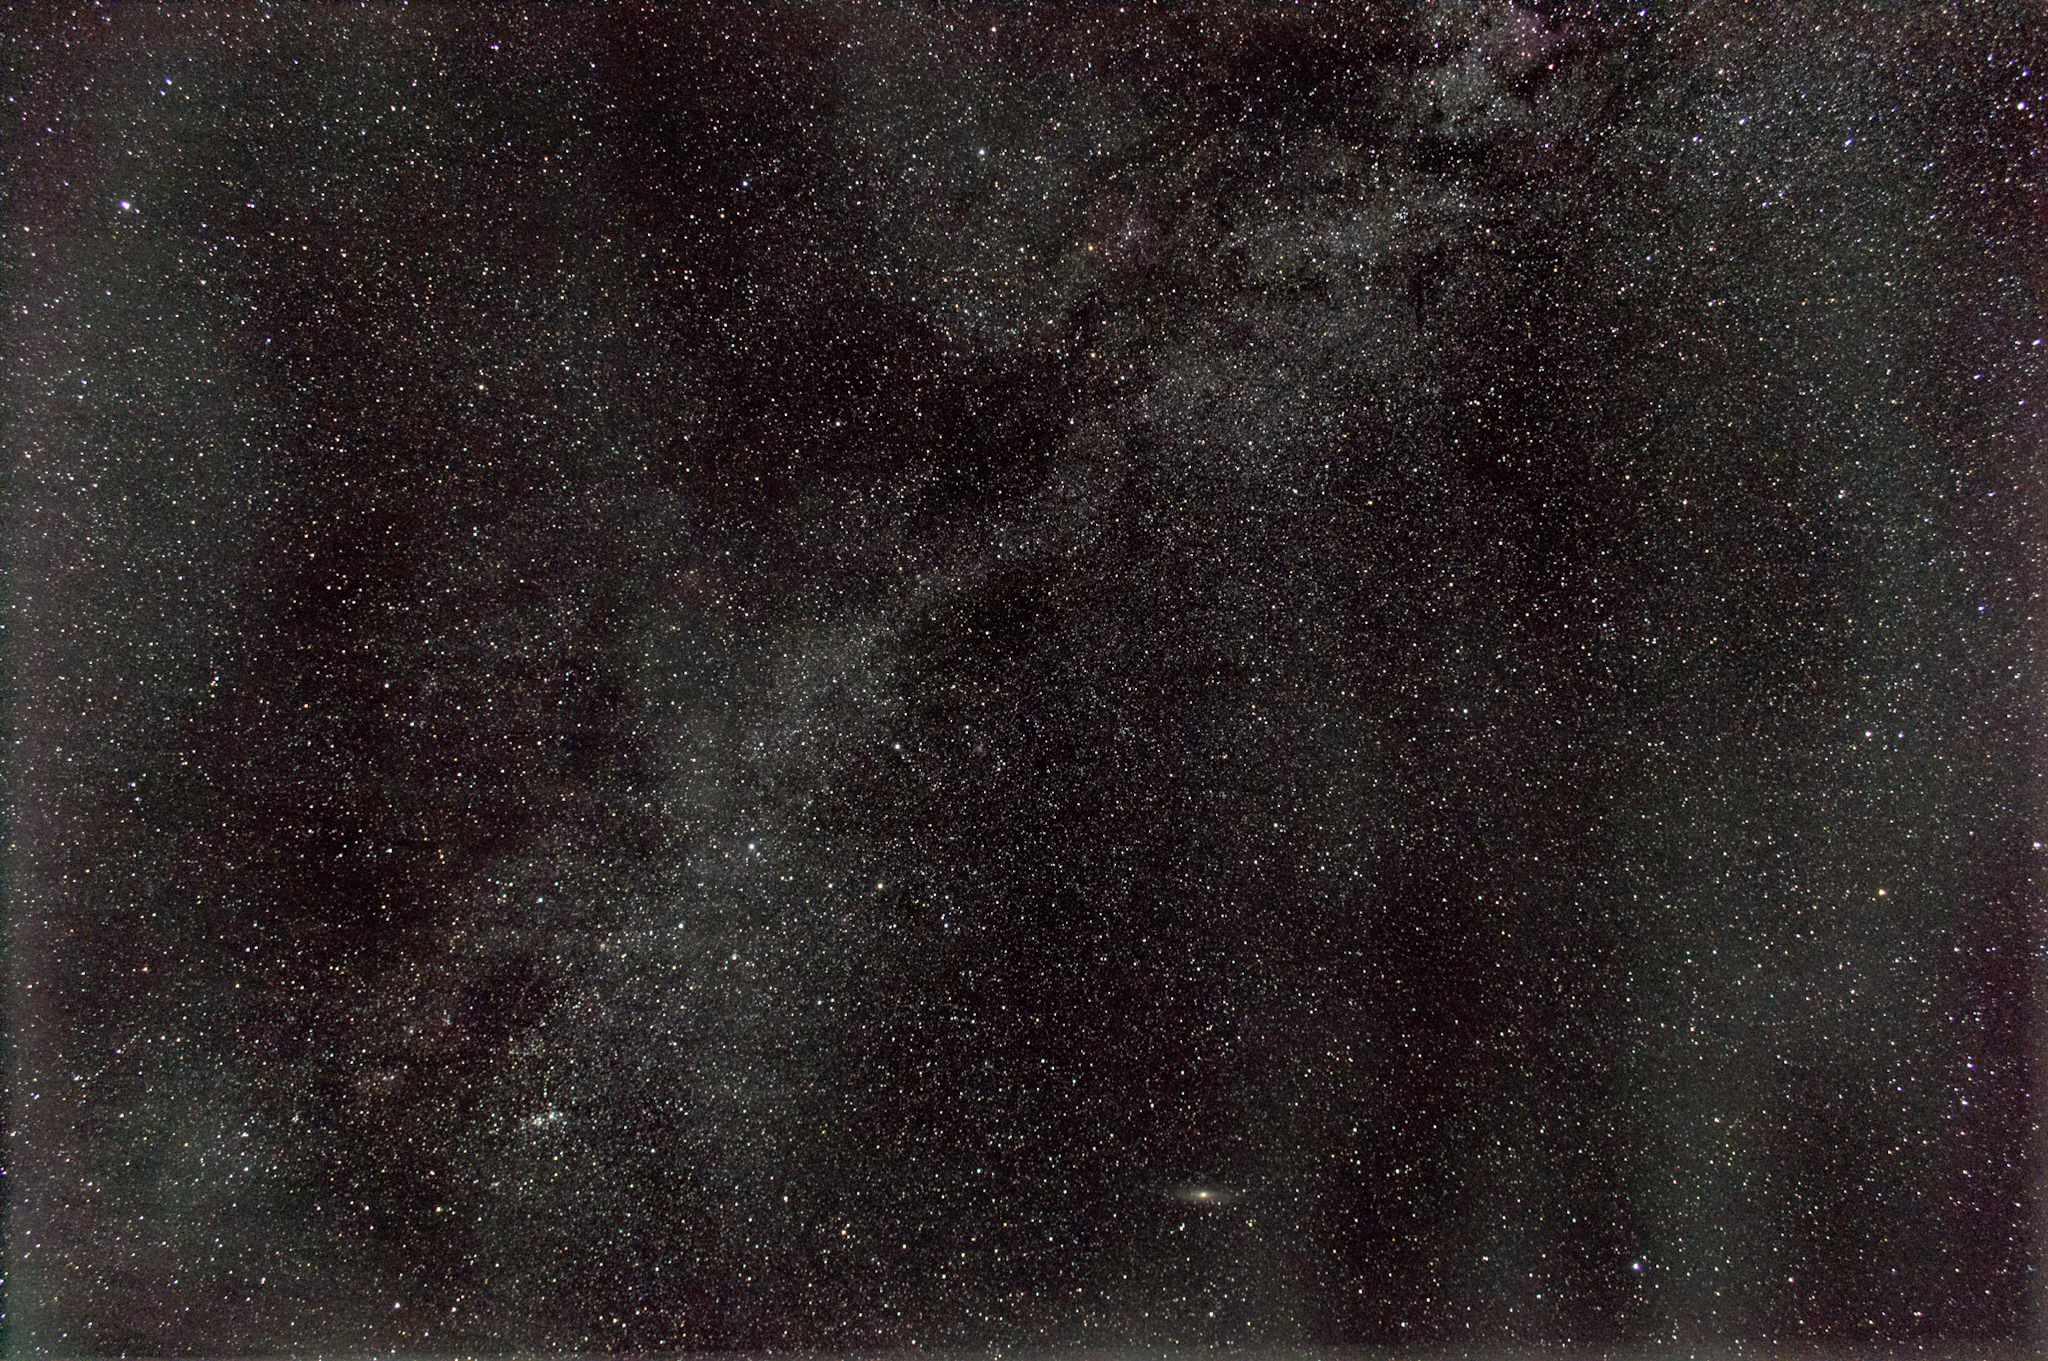
Yes! I tested it recently, and it works!
Milky way without tracking:
Milky way with tracking:
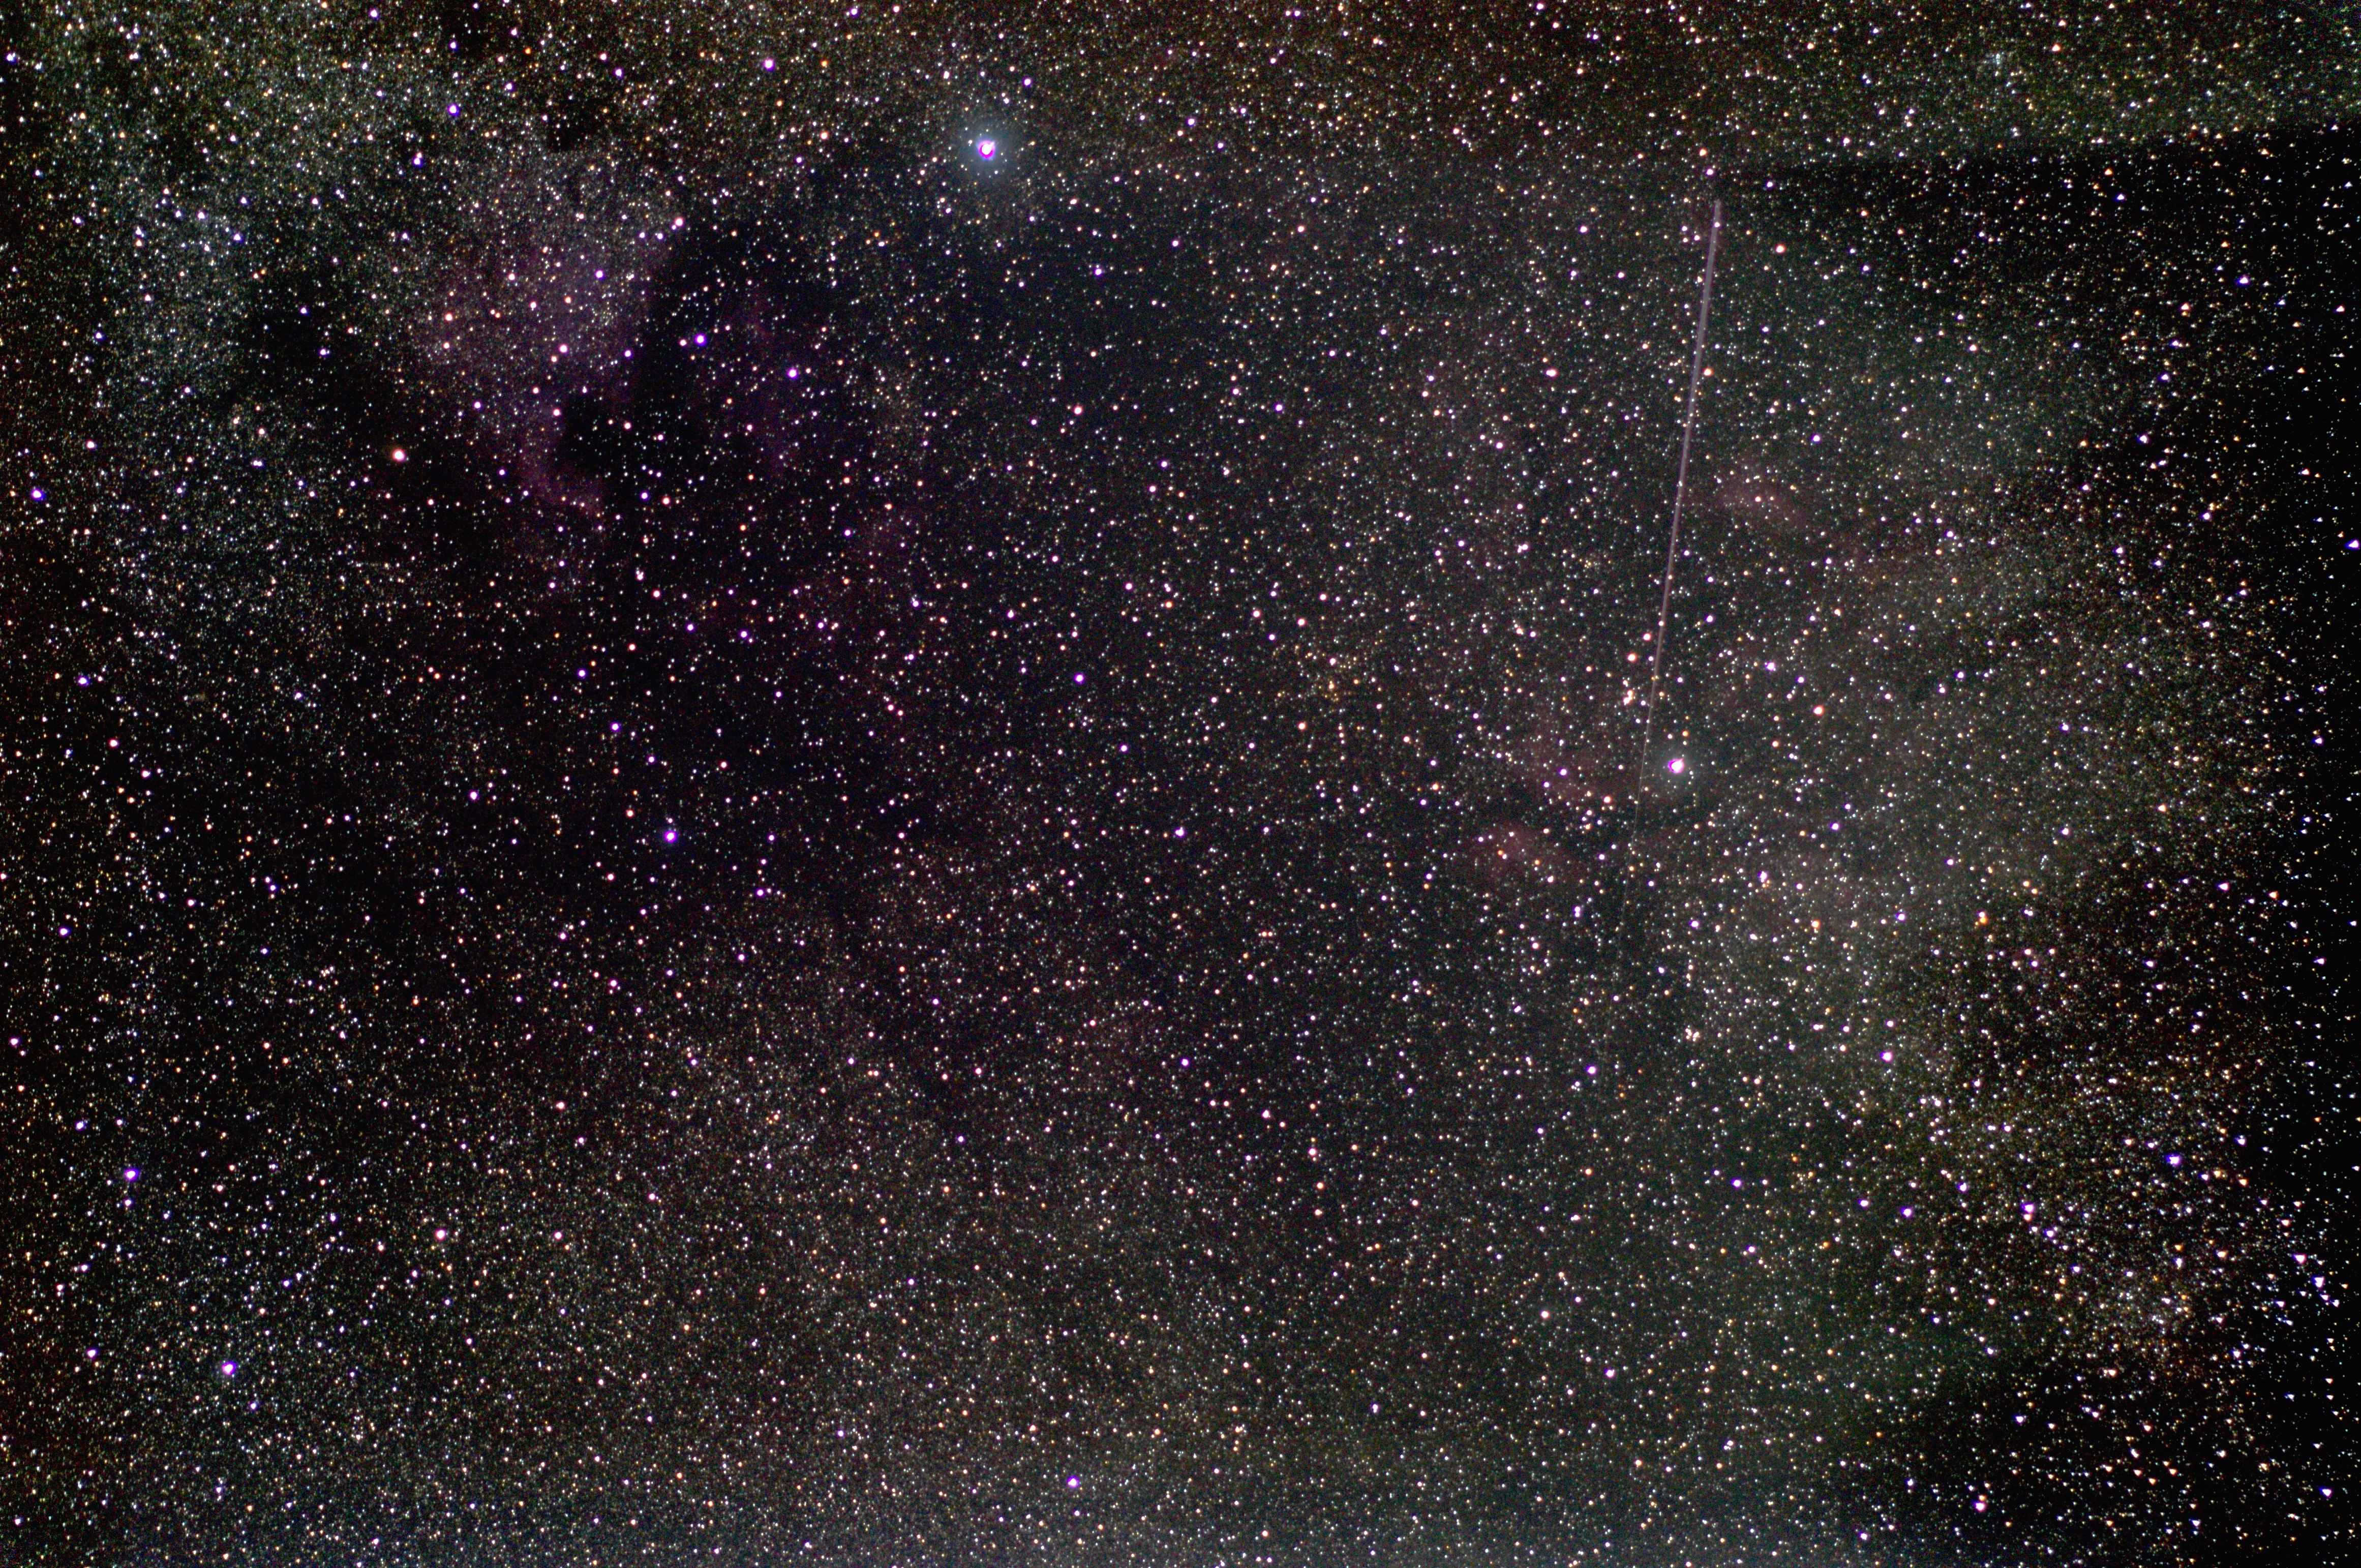
I also captured a photo of Deneb and the surrounding area:
Raspberry pi pico code
https://github.com/WaylonGao/picoStarTracker
To upload the code, I used Thonny (https://thonny.org/). I am using Micropython on the Raspberry pi pico.
"""
Raspberry pi pico based DSLR star tracker
Waylon Gao 2024
https://github.com/WaylonGao/picoStarTracker
"""
import machine
from machine import Pin
import utime
#Define INPUT pins:
adjDown = Pin(0, Pin.IN, Pin.PULL_DOWN)
adjUp = Pin(1, machine.Pin.IN, Pin.PULL_DOWN)
reverseDir = Pin(2, machine.Pin.IN, Pin.PULL_DOWN)
enable = Pin(3, machine.Pin.IN, Pin.PULL_DOWN)
fault = machine.Pin(4, Pin.IN)
#Define OUTPUT LEDs:
pwrLed = machine.Pin(5, Pin.OUT)
stepLed = machine.Pin(6, Pin.OUT)
errorLed = machine.Pin(7, Pin.OUT)Define the onboard LED
led = machine.Pin(25, Pin.OUT)
Define STEPPER DRIVER pins:
resetPin = machine.Pin(8, Pin.OUT)
sleepPin = machine.Pin(9, Pin.OUT)
stepPin = machine.Pin(11, Pin.OUT)
enablePin = machine.Pin(10, Pin.OUT)
dirPin = machine.Pin(12, Pin.OUT)
m2 = machine.Pin(13, Pin.OUT)
m1 = machine.Pin(14, Pin.OUT)
m0 = machine.Pin(15, Pin.OUT)
T = 1.0 / 79.5872 #rotate at sidereal rate
on = 1
adjustment = 0.01 #adjustment to T for button presses
def setup():
   for i in range(9):
       print("boop")
       led.toggle()
       pwrLed.toggle()
       stepLed.toggle()
       errorLed.toggle()
       utime.sleep_ms(50)
       pwrLed.toggle()
       stepLed.toggle()
       errorLed.toggle()
       utime.sleep_ms(50)
   pwrLed.value(1)
   print("Setup done")
setup()
#turn on enable pin
enablePin.value(0)
dirPin.value(1)
m0.value(1)
m1.value(1)
m2.value(1)
#Max microstepping resolution (32 bit)
Main loop
resetPin.value(1)
sleepPin.value(1)
errorLed.value(0)
pwrLed.value(1)
led.value(0)
while True:
stepPin.value(1)
   stepLed.toggle()
utime.sleep(T/2)
   stepPin.value(0)
   utime.sleep(T/2)
This is still a work in progress! If you have any questions, criticisms or suggestions, please let me know! My email is [email protected]