
HyperPixel 4.0 case for Raspberry Pi 4B (Home Assistant)
Obliczymy ostateczną cenę na podstawie wybranego pliku. Sprawdzisz ją i zaakceptujesz przed płatnością.
Zapisane na tym urządzeniu.

HyperPixel 4.0 case for Raspberry Pi 4B running Home Assistant for my Wyze cameras for Prusa Connect.
- Ocena
- 0 / 5
- Polubienia
- 3
- Pobrania
- 89
- Wydruki
- 0
- Wyświetlenia
- 742
- Oceny
- 0
Aktualizacja u źródła:
Informacje o modelu
- Źródło
- Printables
- Kategoria
- Other Printer Parts & Upgrades
- Licencja
- Creative Commons — Attribution — Noncommercial
I tried to find a case for my needs, as there are several to download. Unfortunately, since I wanted to use my 5mm Pure Copper Heatsink with an Argon Fan HAT, I created a suitable case that was easy to print without support in Fusion 360.
The Gasket must be printed in Flexible materials (such as TPU).
The fan vents have been designed to have a perfect two-way vertical impression and solid.
The cover is optional but in my opinion, it is important to protect the screen from curious fingers.
Parts :
The links are only included to help people see what I used. I am not affiliated with any links.
- Raspberry Pi 4 Model B/8GB
https://www.pishop.ca/product/raspberry-pi-4-model-b-8gb/ - Pure Copper Heatsink for Raspberry Pi 4B Thickness 5mm
https://www.aliexpress.com/item/1005001691525070.html?spm=a2g0o.order_list.order_list_main.43.e8e31802R6vvae - Argon Fan HAT for Raspberry Pi 3B/3B+/4B 1
https://www.pishop.ca/product/argon-fan-hat-for-raspberry-pi-3b-3b-4b/ - Break-away 0.1" 2x20-pin Strip Dual Male Header 1
https://www.pishop.ca/product/break-away-0-1-2x20-pin-strip-dual-male-header/ - Touch - HyperPixel 4.0 - Hi-Res Display for Raspberry Pi
40-pin female header included to boost height 8mm+5mm pins
https://www.pishop.ca/product/touch-hyperpixel-4-0-hi-res-display-for-raspberry-pi/ - 4x Socket Head Cap Screw M2.5 x 12mm
4x Socket Head Cap Screw M2.5 x 16mm
https://www.amazon.ca/-/fr/gp/product/B08LKJJ9H3/ref=ppx_yo_dt_b_search_asin_image?ie=UTF8&psc=1 - 4x M3 Aluminum Spacers, 3.1mm ID x 6mm OD x 4mm
https://www.amazon.ca/dp/B0CQF4M8K2?ref=ppx_yo2ov_dt_b_fed_asin_title&th=1 - 4x Male Female Nylon Hex Spacers Standoffs M2.5*8+6
4x Female Female Nylon Hex Spacers Standoffs M2.5*12
https://www.amazon.ca/dp/B0BX8R1NBM?ref=ppx_yo2ov_dt_b_fed_asin_title&th=1
Installation :
- After installing the 5mm Pure Copper Heatsink on the Raspberry Pi, and the 40-pin female header included to boost height, insert the M3 Aluminum Spacers between the Raspberry Pi and the Pure Copper Heatsink for the screws.
- Install everything on the base and leave the 4 Socket Head Cap Screw M2.5 x 16mm protruded from the Pure Copper Heatsink.
- Screw 4 Male Female Nylon Hex Spacers Standoffs M2.5*8+6 onto the screws by hand.
- Carefully install the Argon Fan HAT.
- Insert the Break-away 0.1" 2x20-pin Strip Dual Male Header into the Argon Fan HAT and screw on the 4 Female Female Nylon Hex Spacers Standoffs M2.5*12
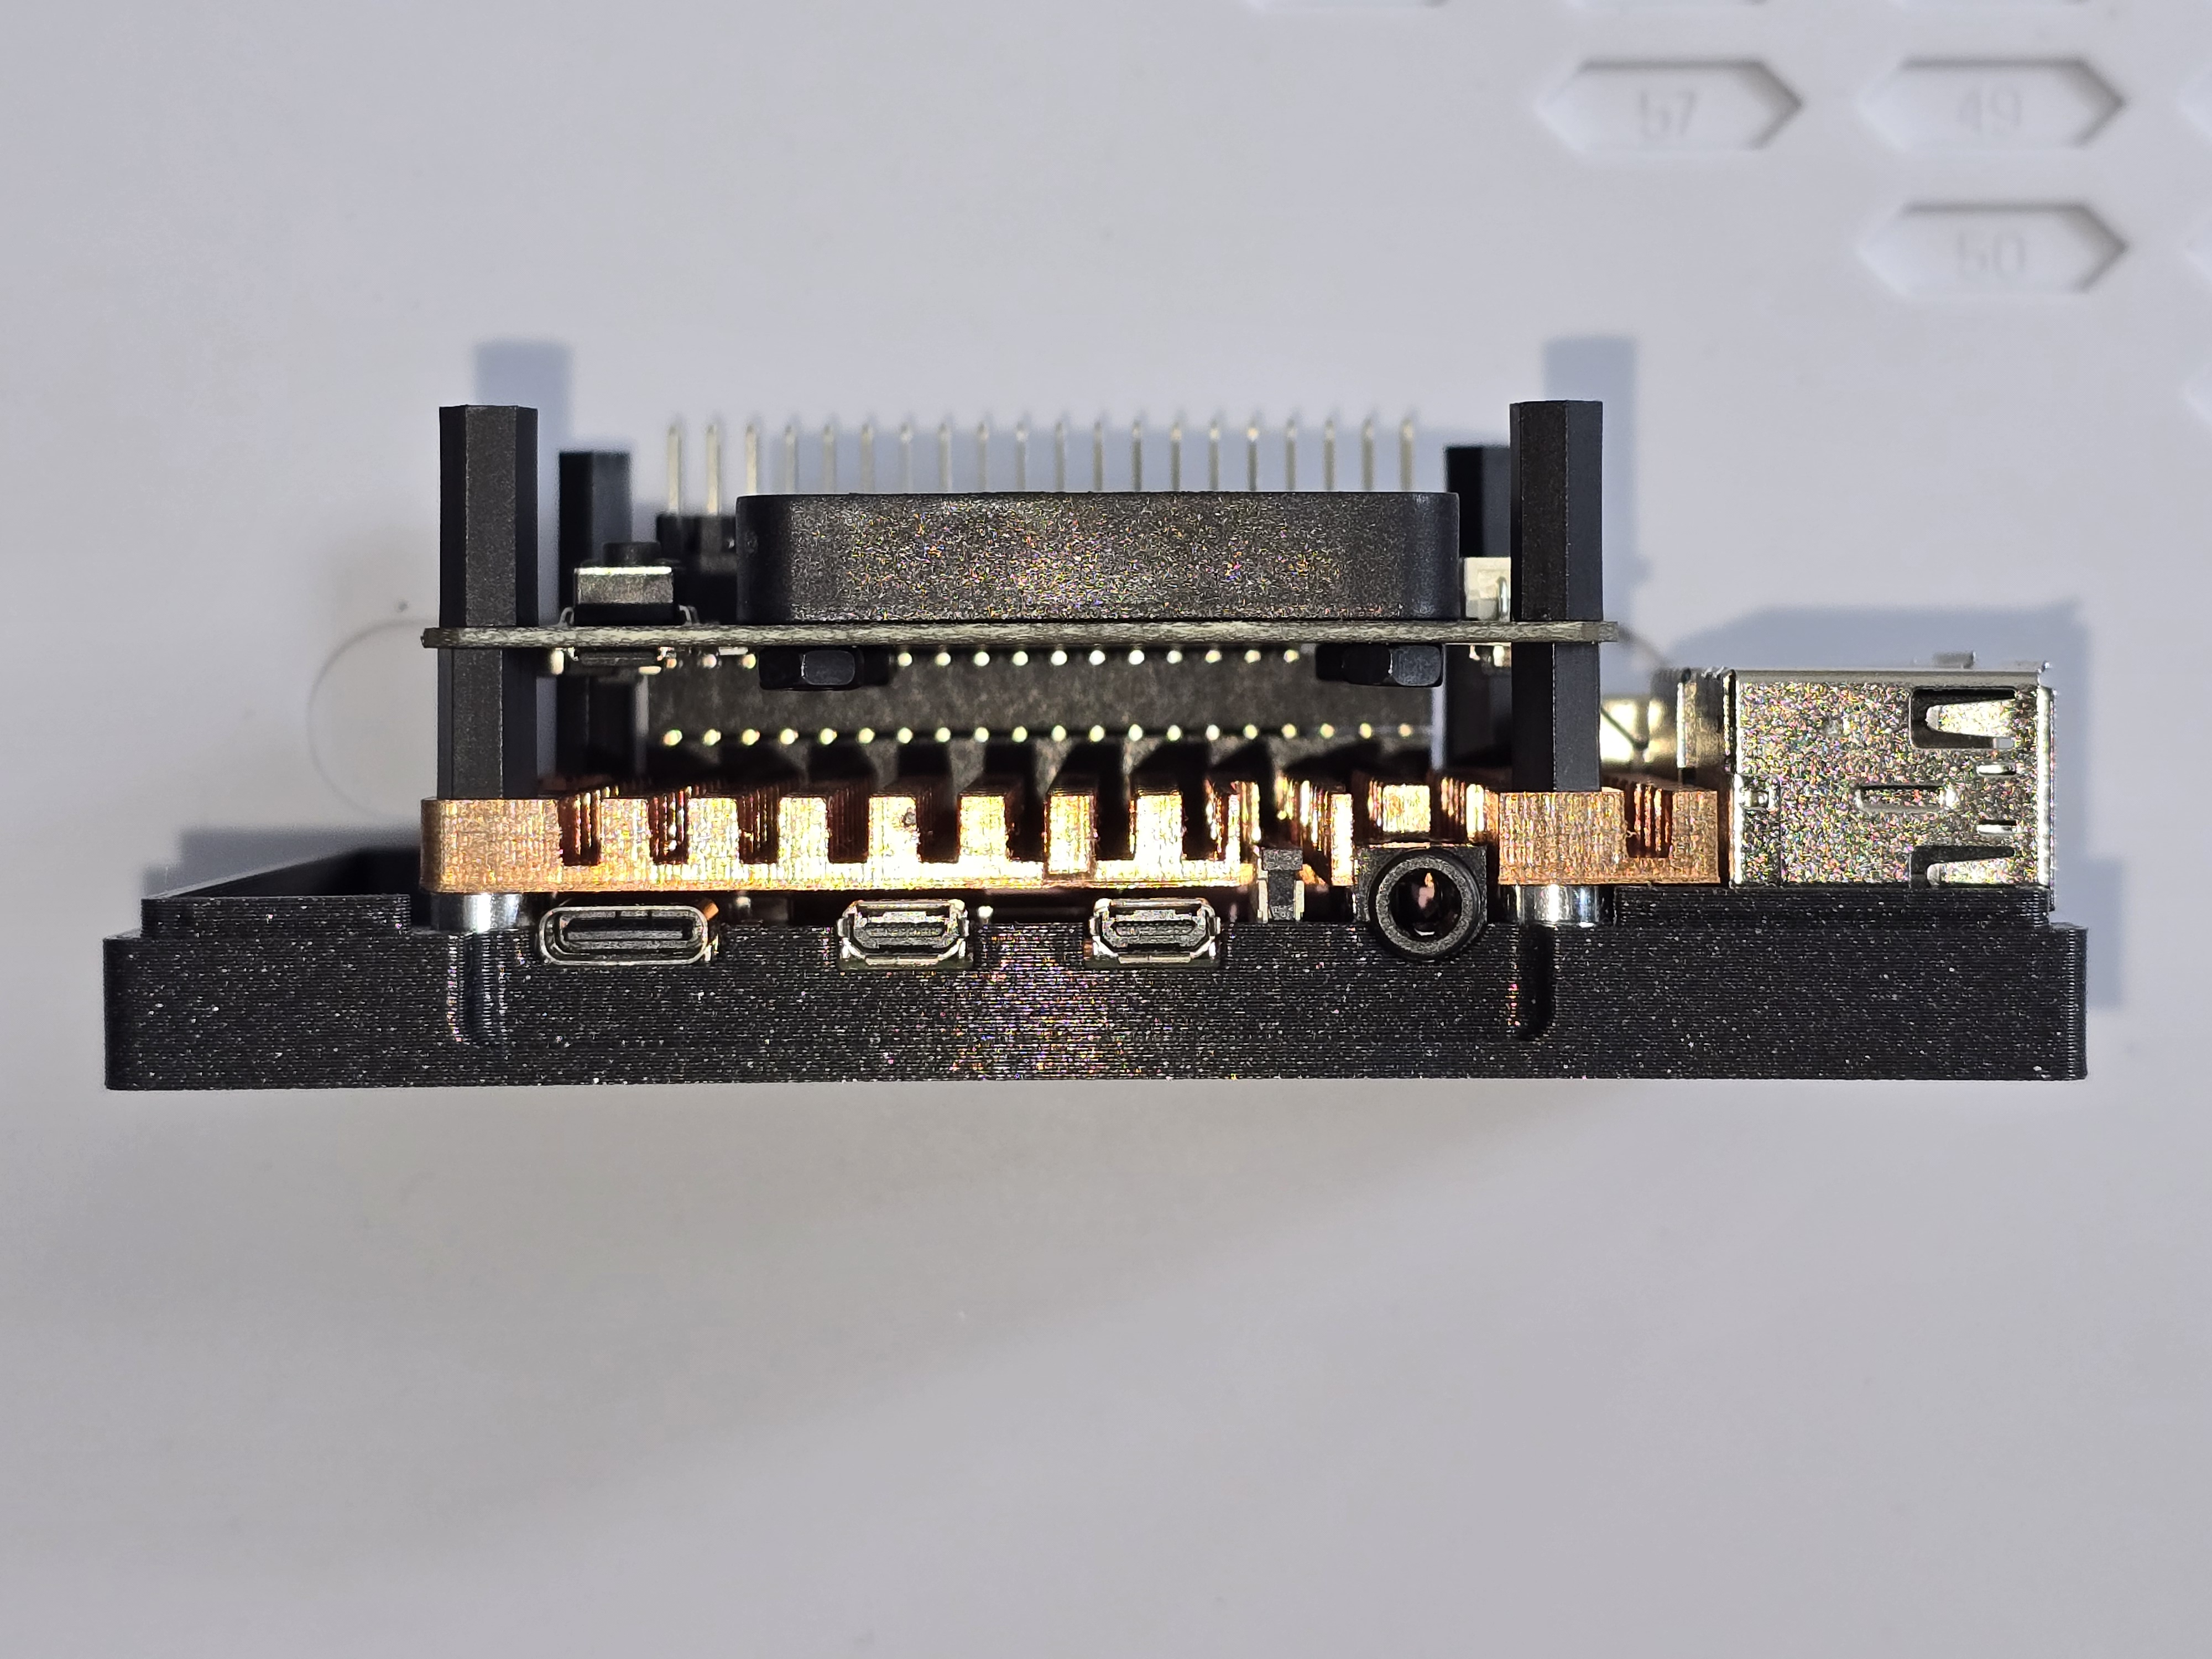
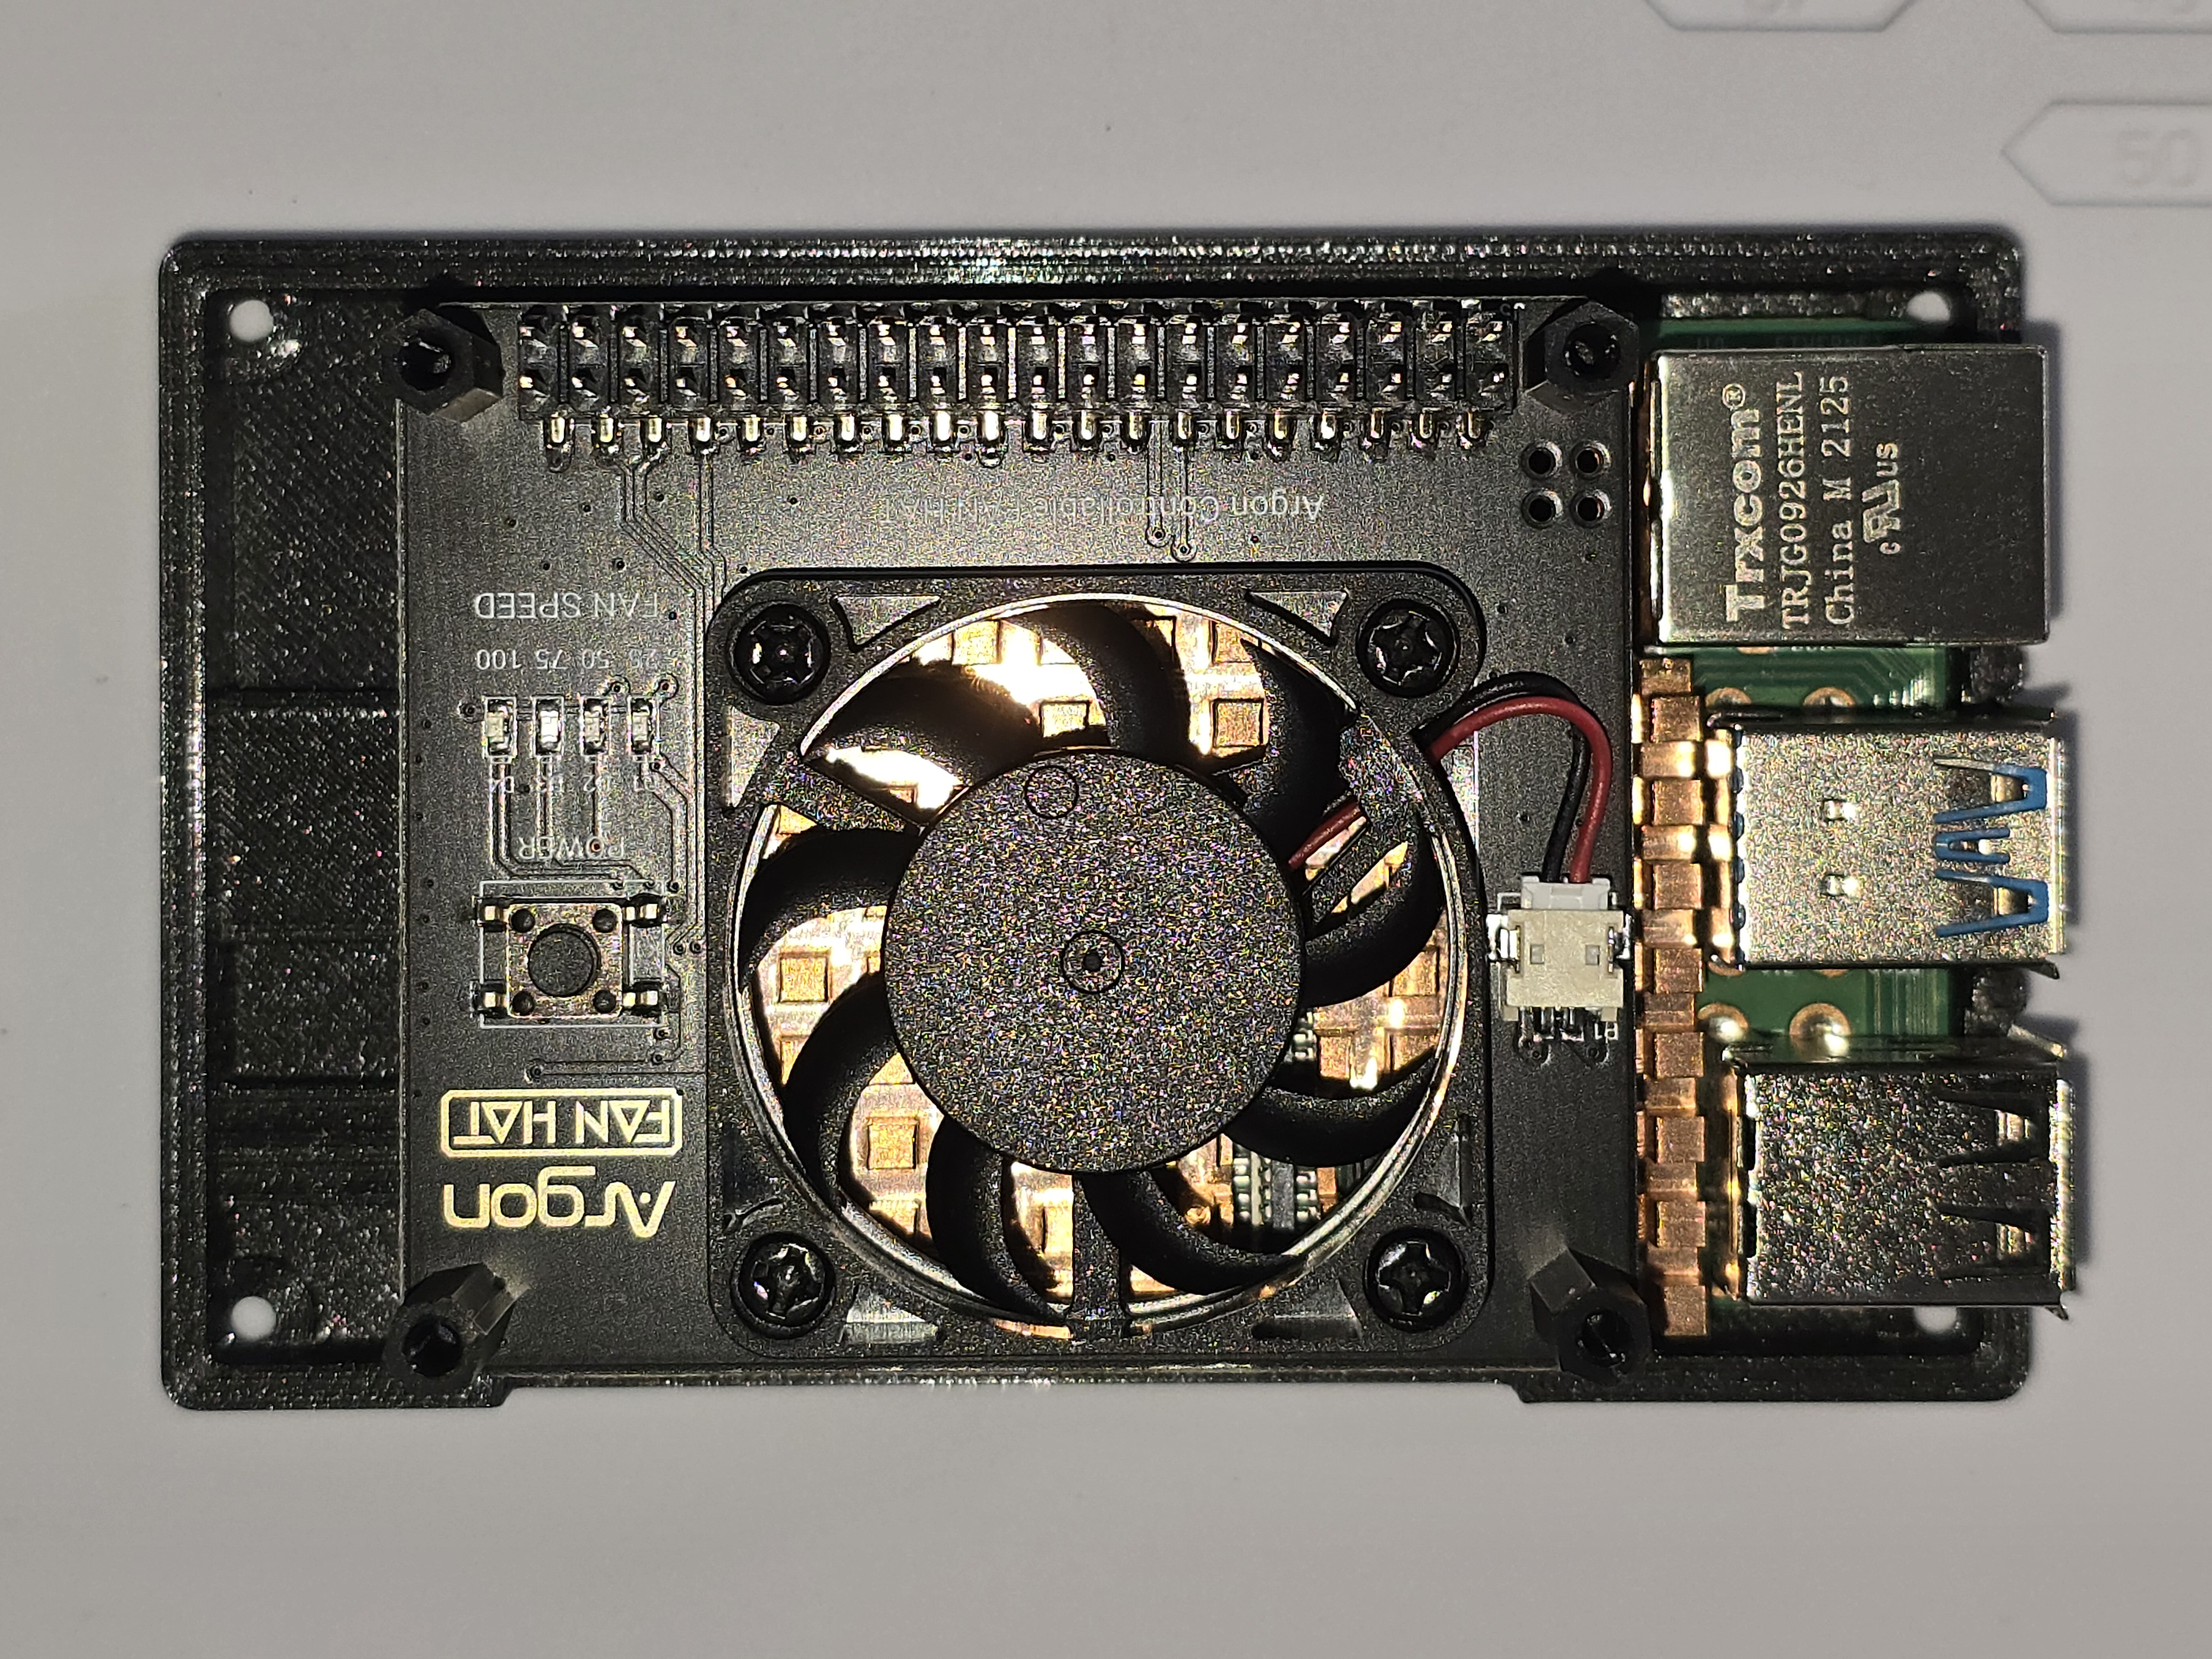
- Insert the gasket completely into the upper part of the case. Depending on your printer, it may need to be adjusted with a knife only at the beginning of the seams.

- Using white cotton gloves, insert the HyperPixel 4.0 at 45 degrees and tilt it completely gently so as not to break it in the upper part of the case.
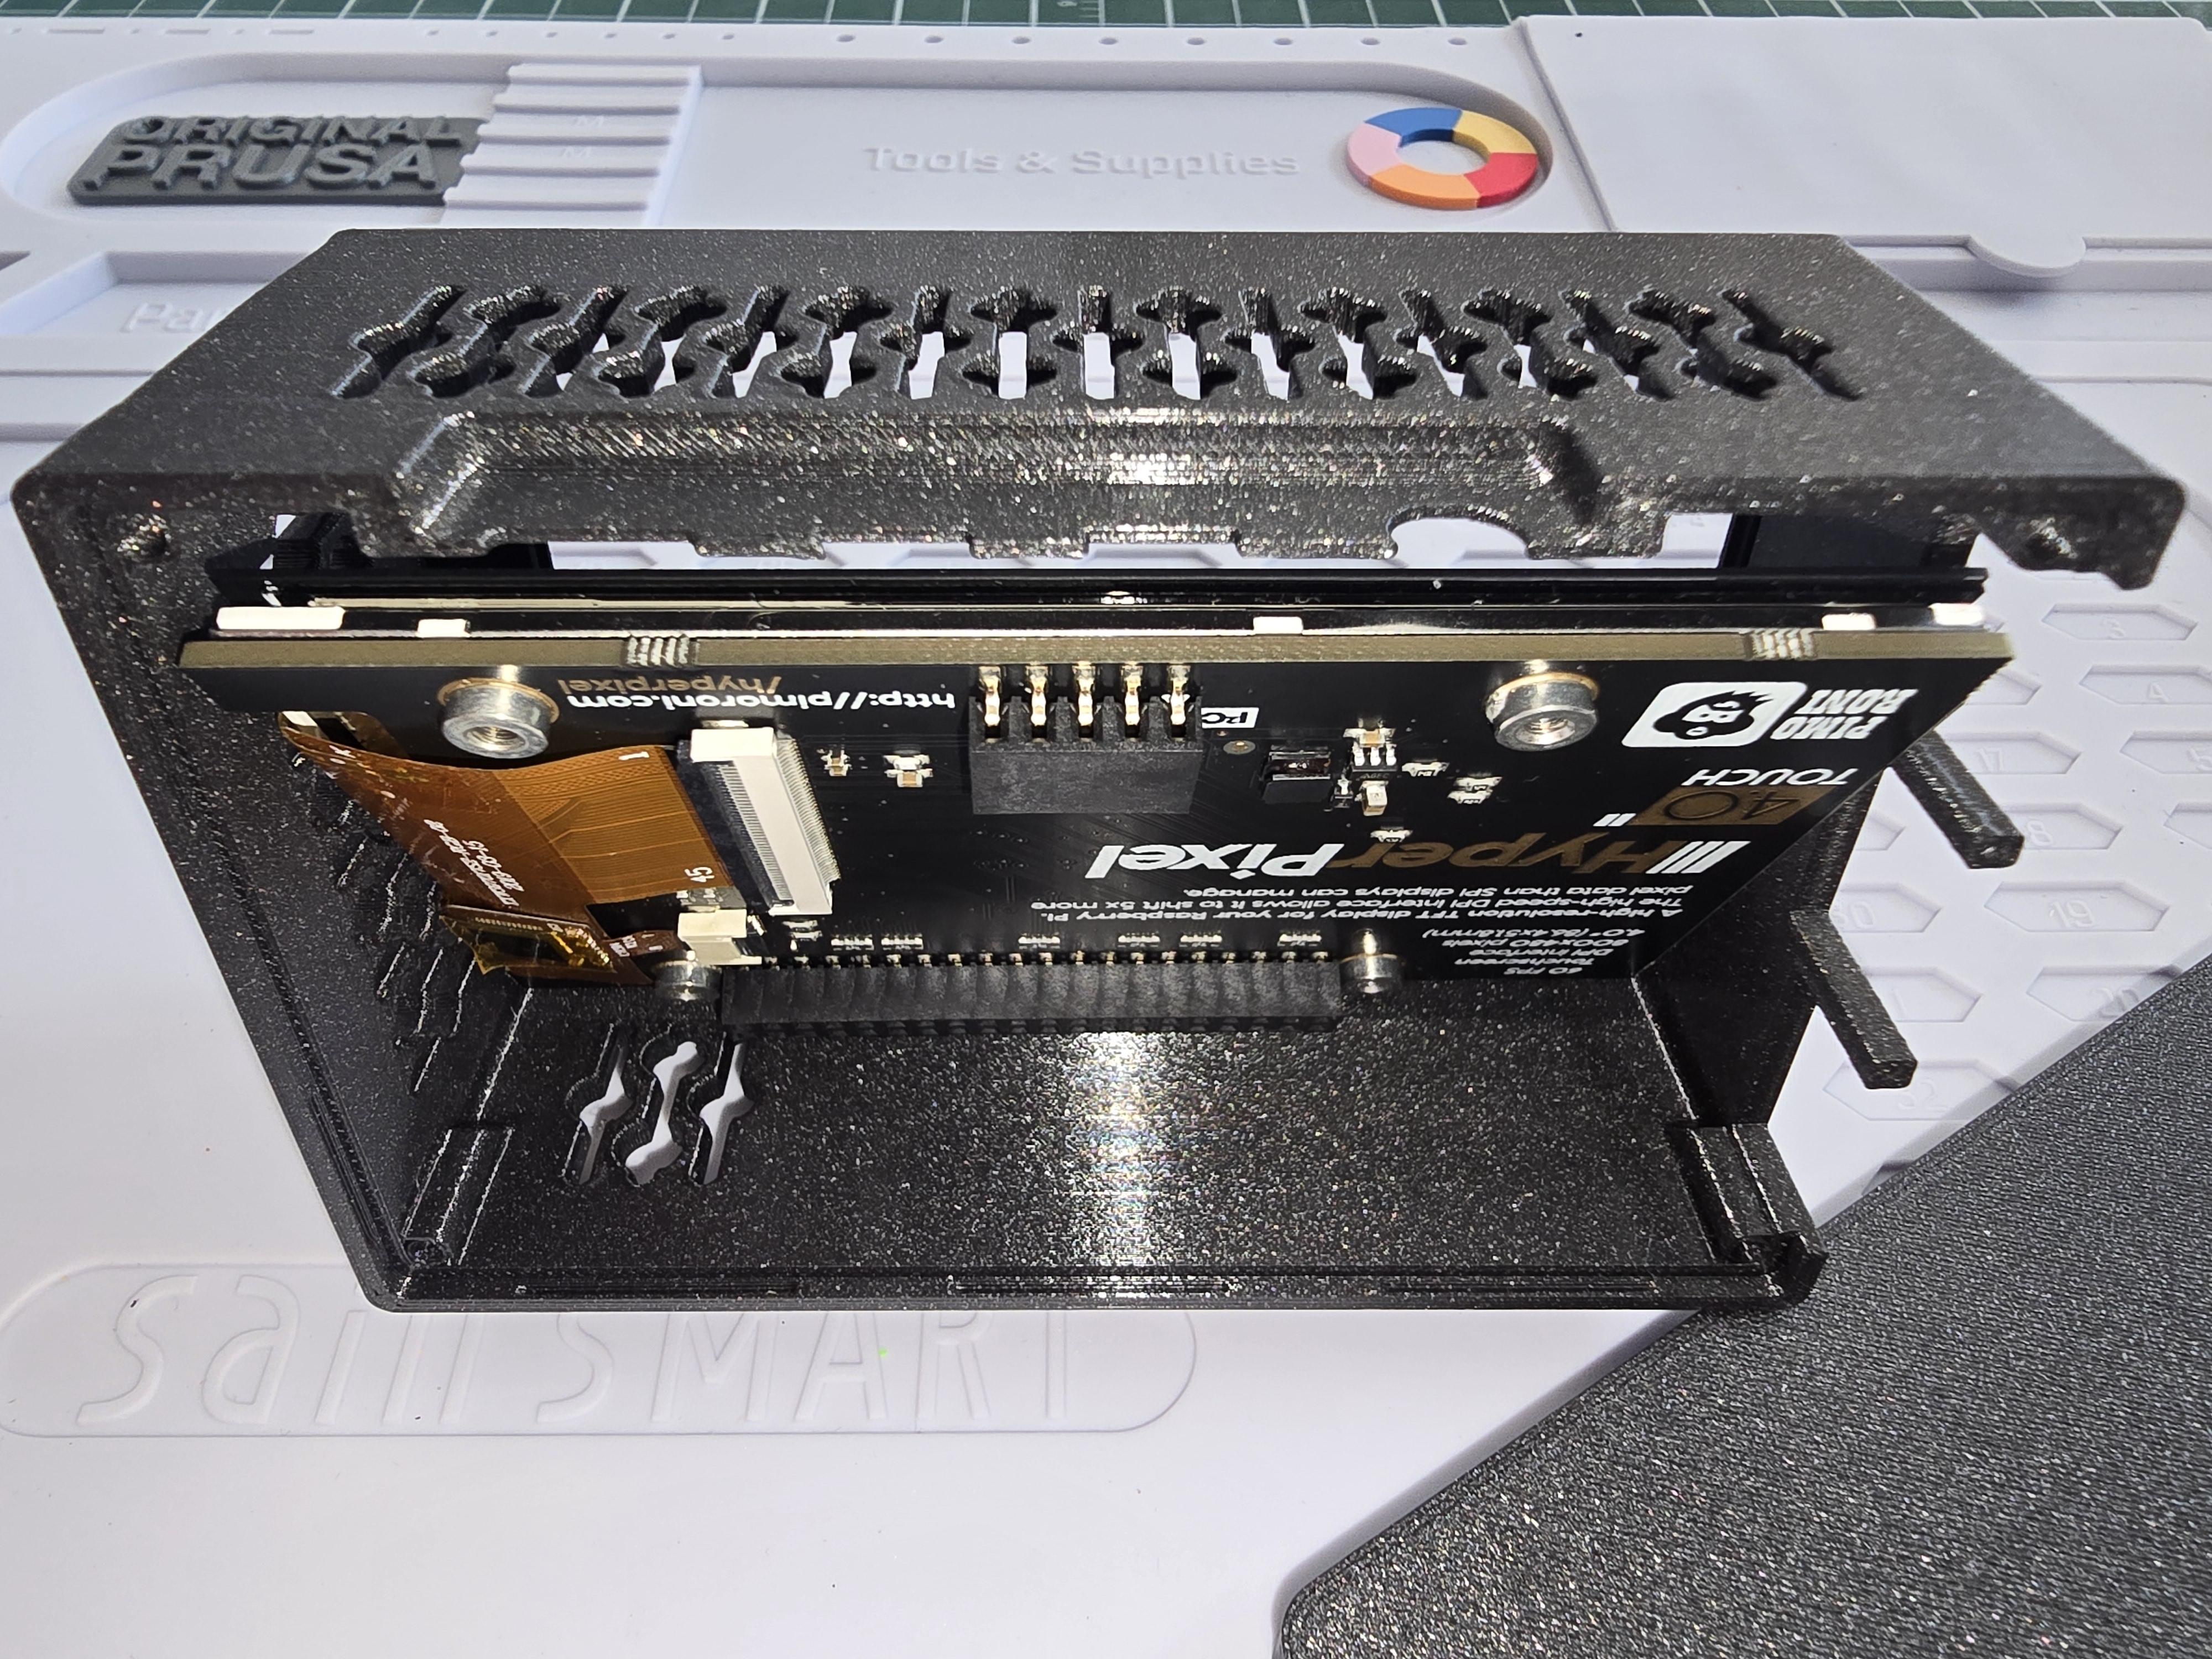

- Finally, you can complete the installation carefully and attach the last 4 Socket Head Cap Screws M2.5 x 12mm. Do not over-tighten the screws, as this is screwing into plastic.


- Install the SD card and boot it up.
Print instructions
Easy print, any material, I did it in Prusa Galaxy Black PETG.
0.2mm layer height, 5 Bottom and Top Layers with 15% Grid Infill for all the part.
0.2mm layer height, 100% Infill for the Flexible materials Gasket.
No supports needed.