P
PrintablesAlink

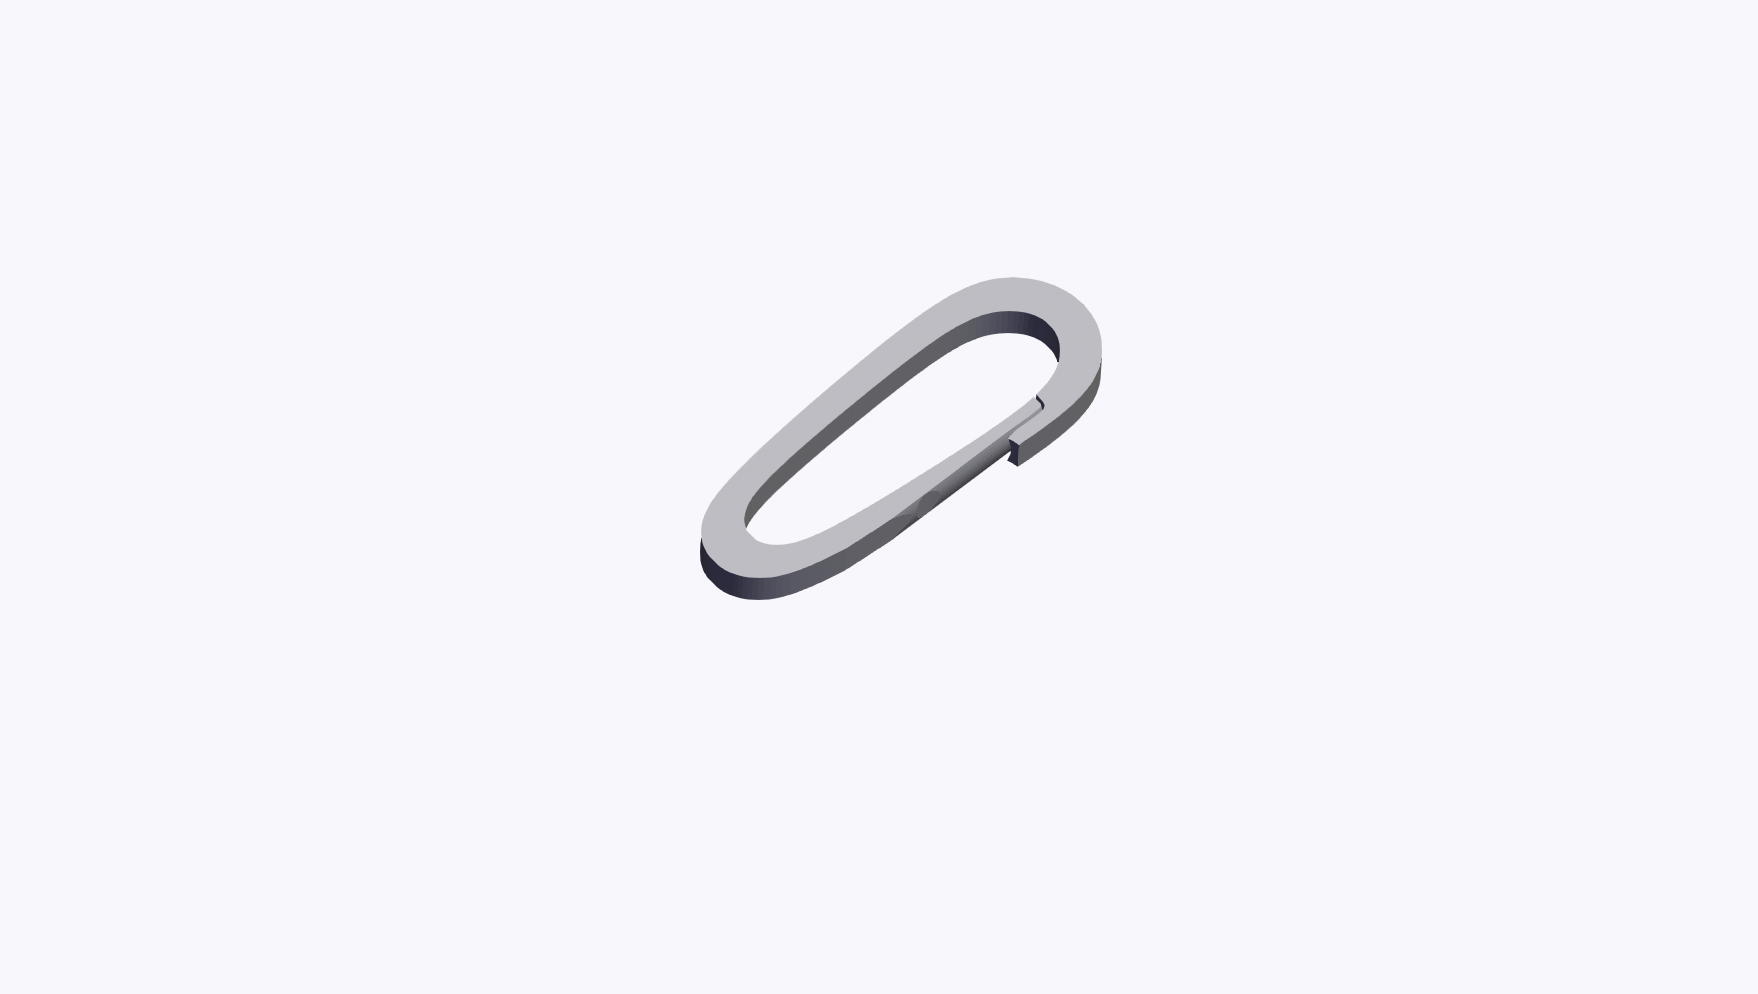
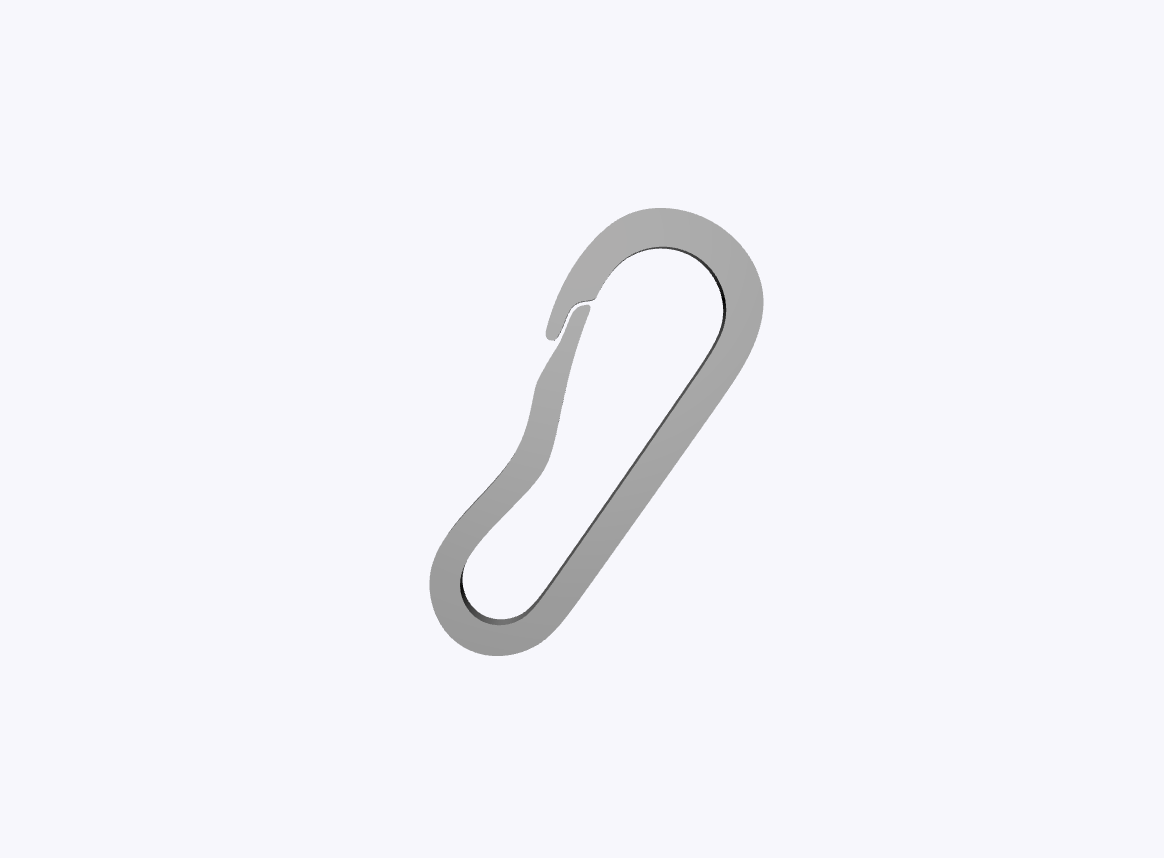
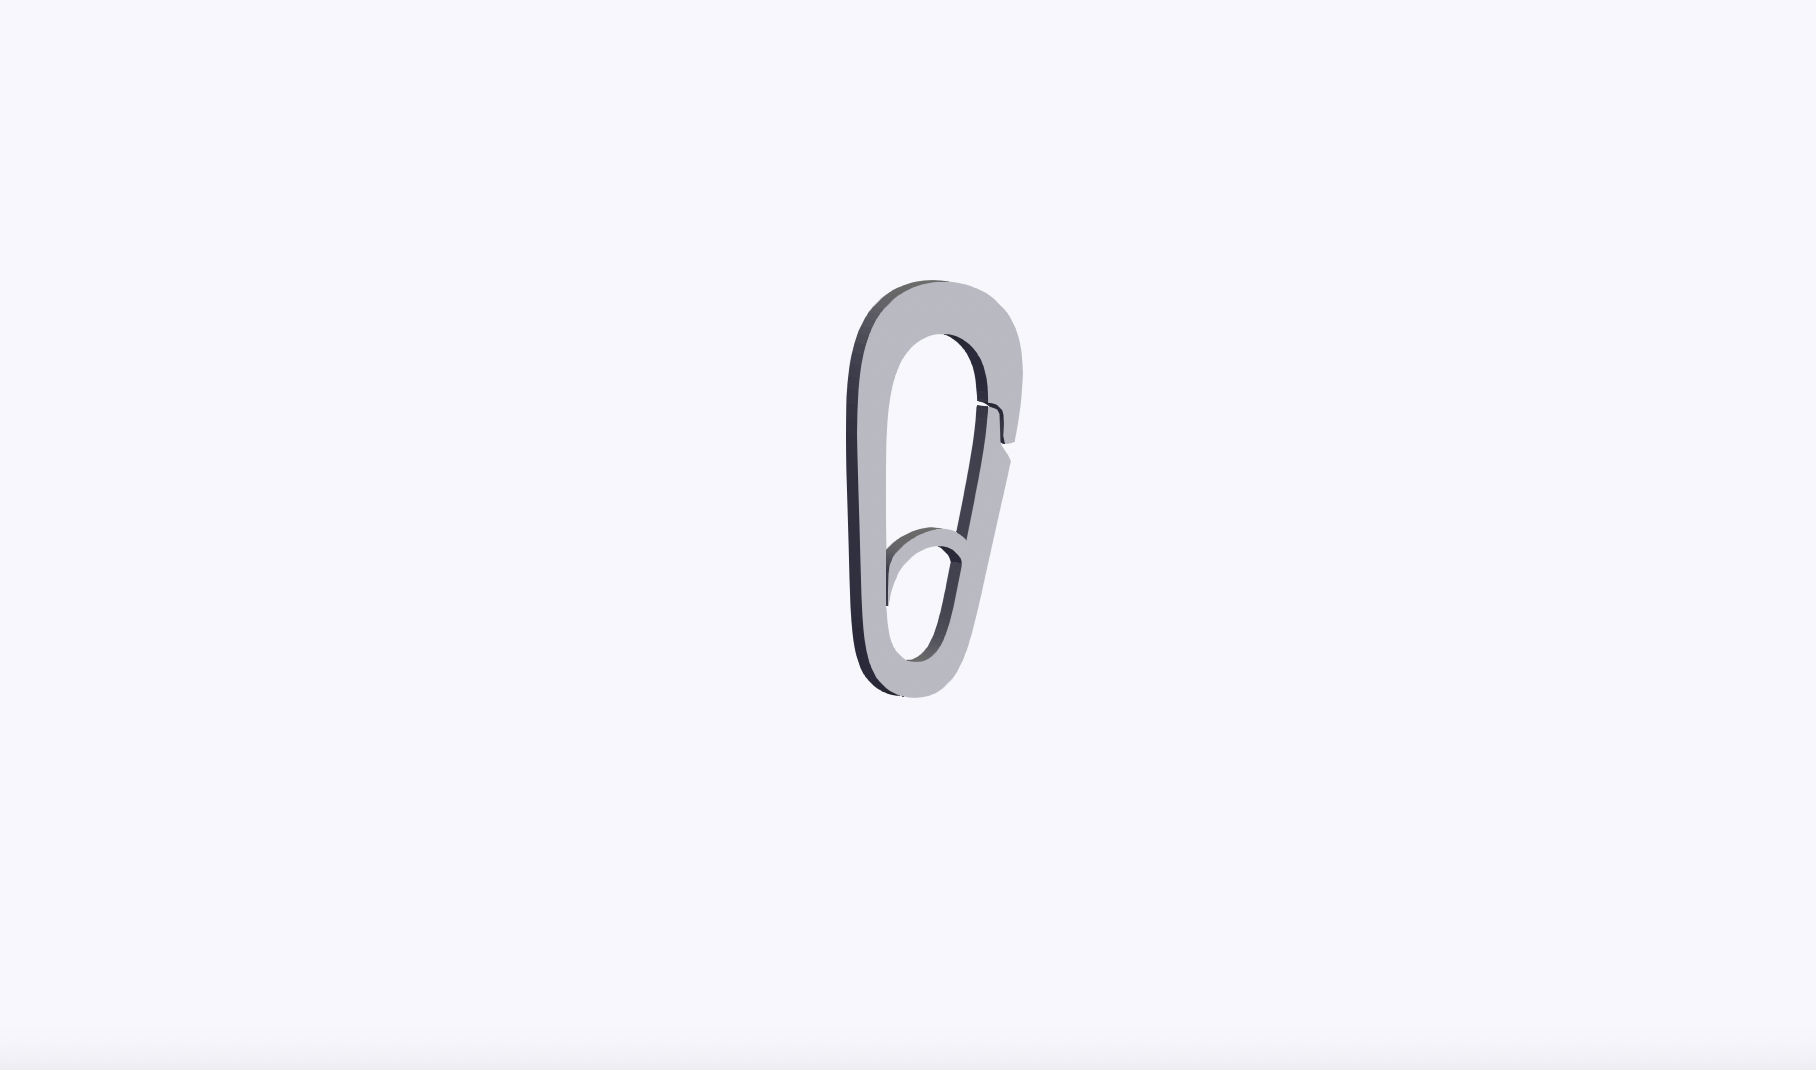
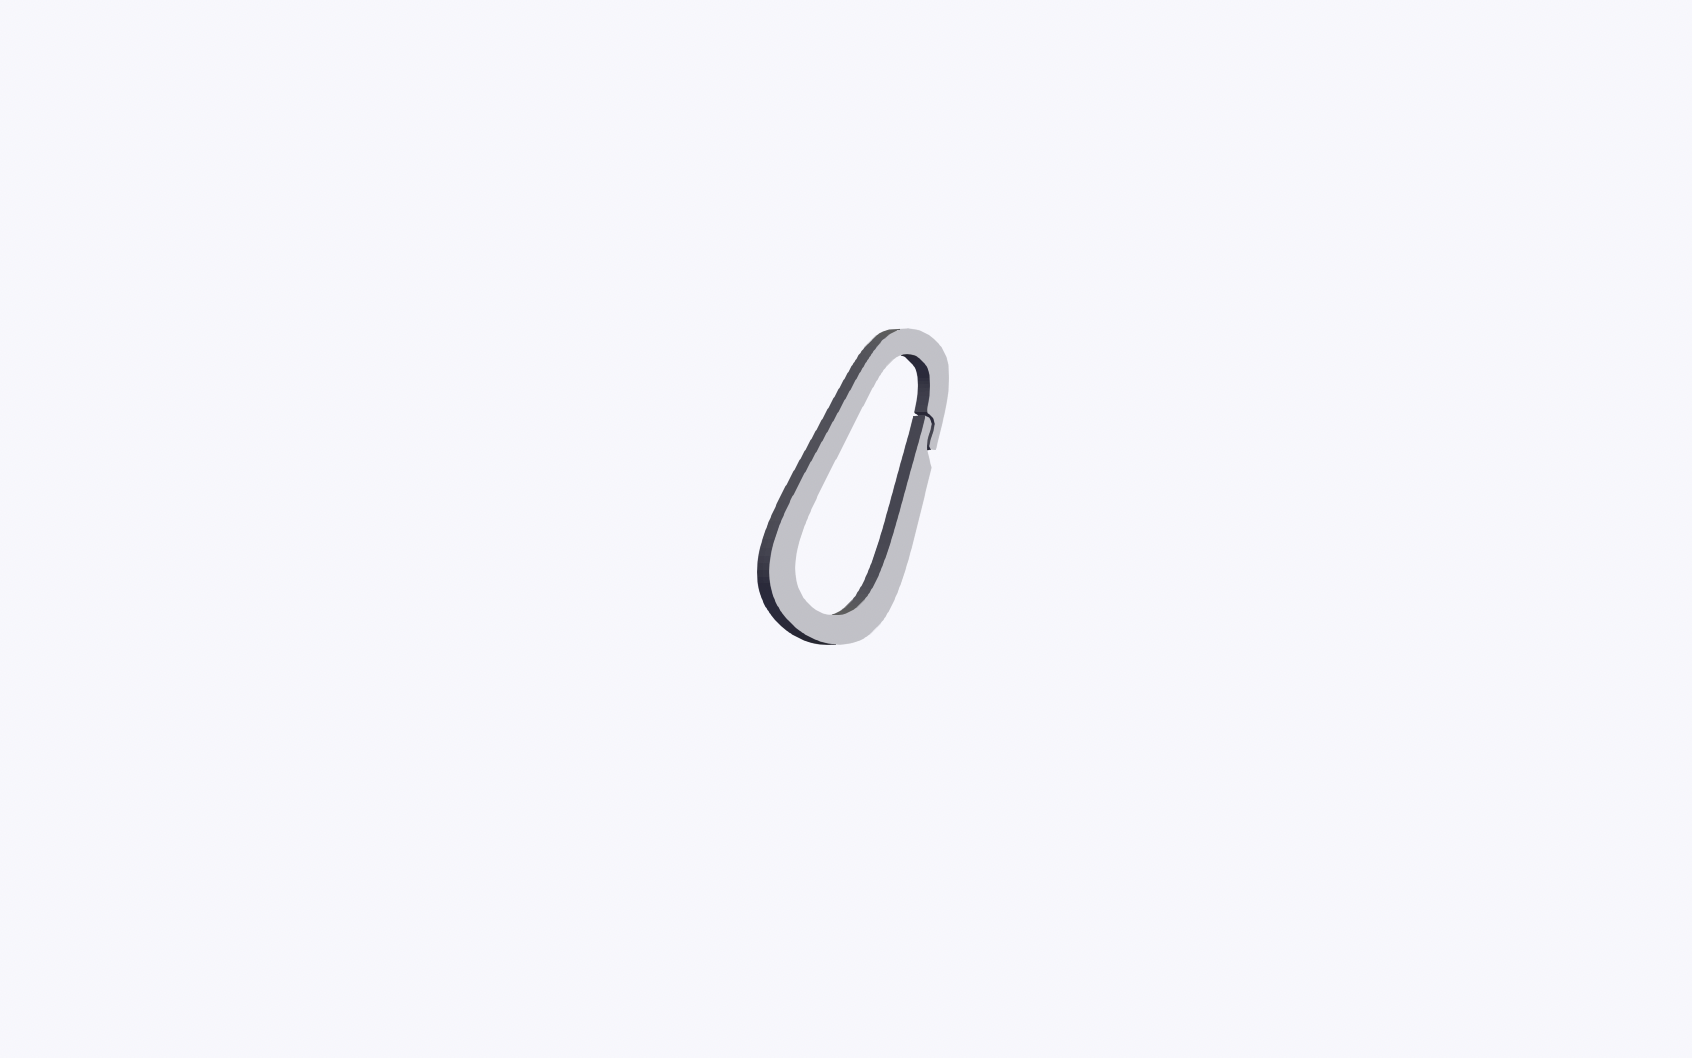
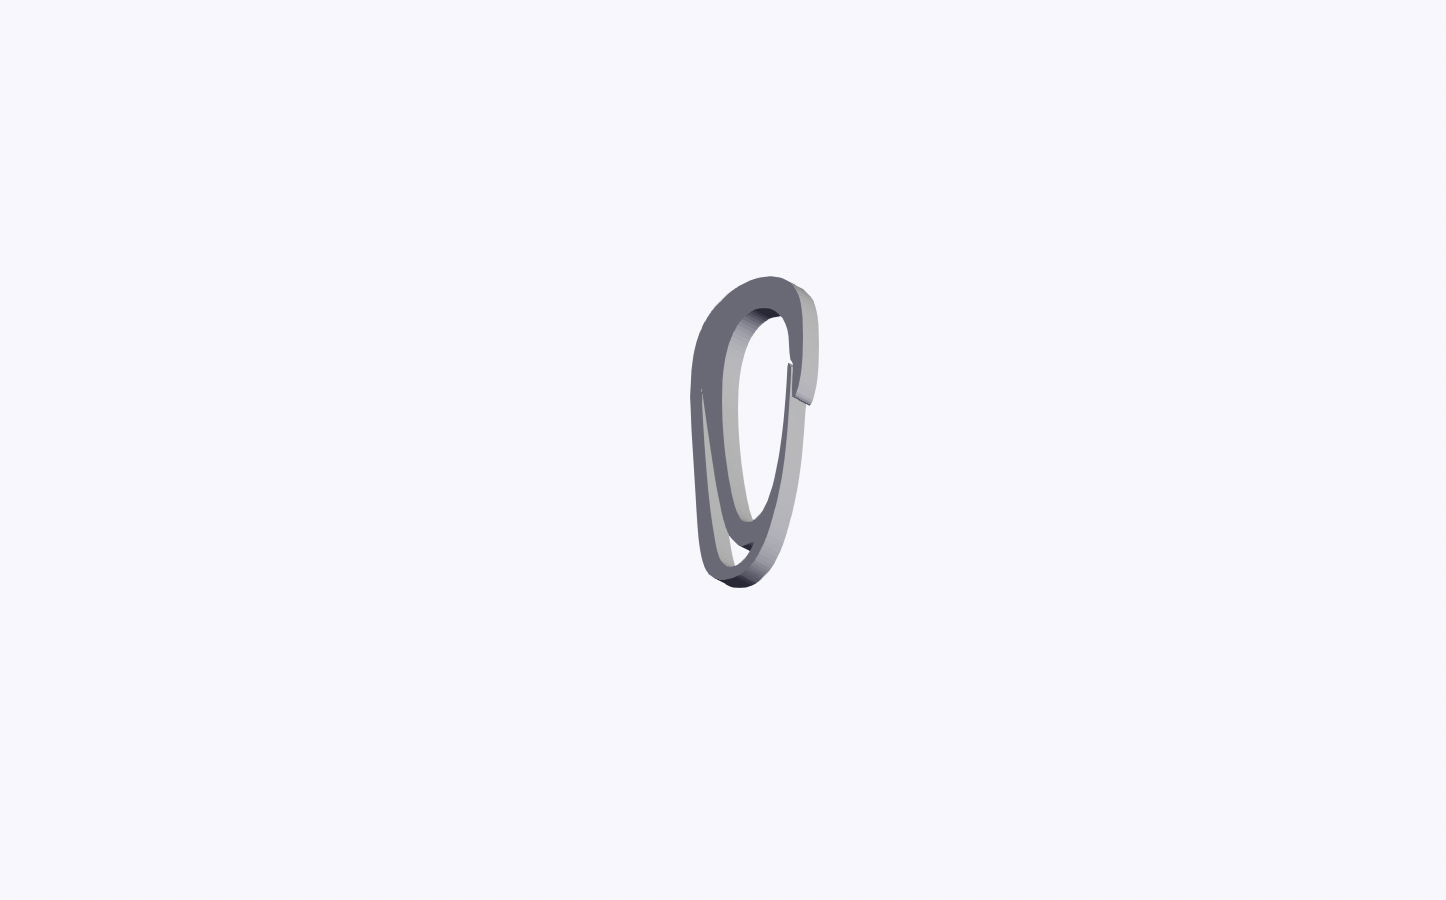
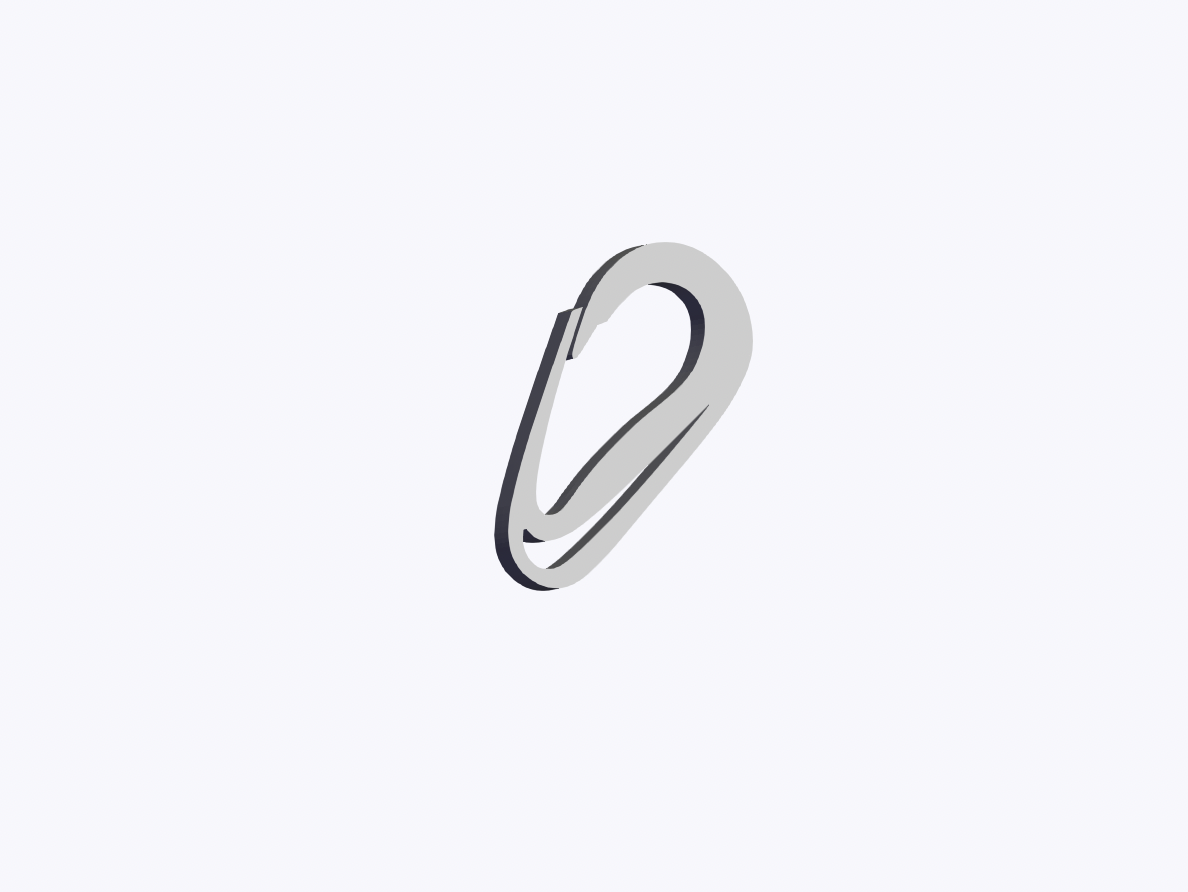
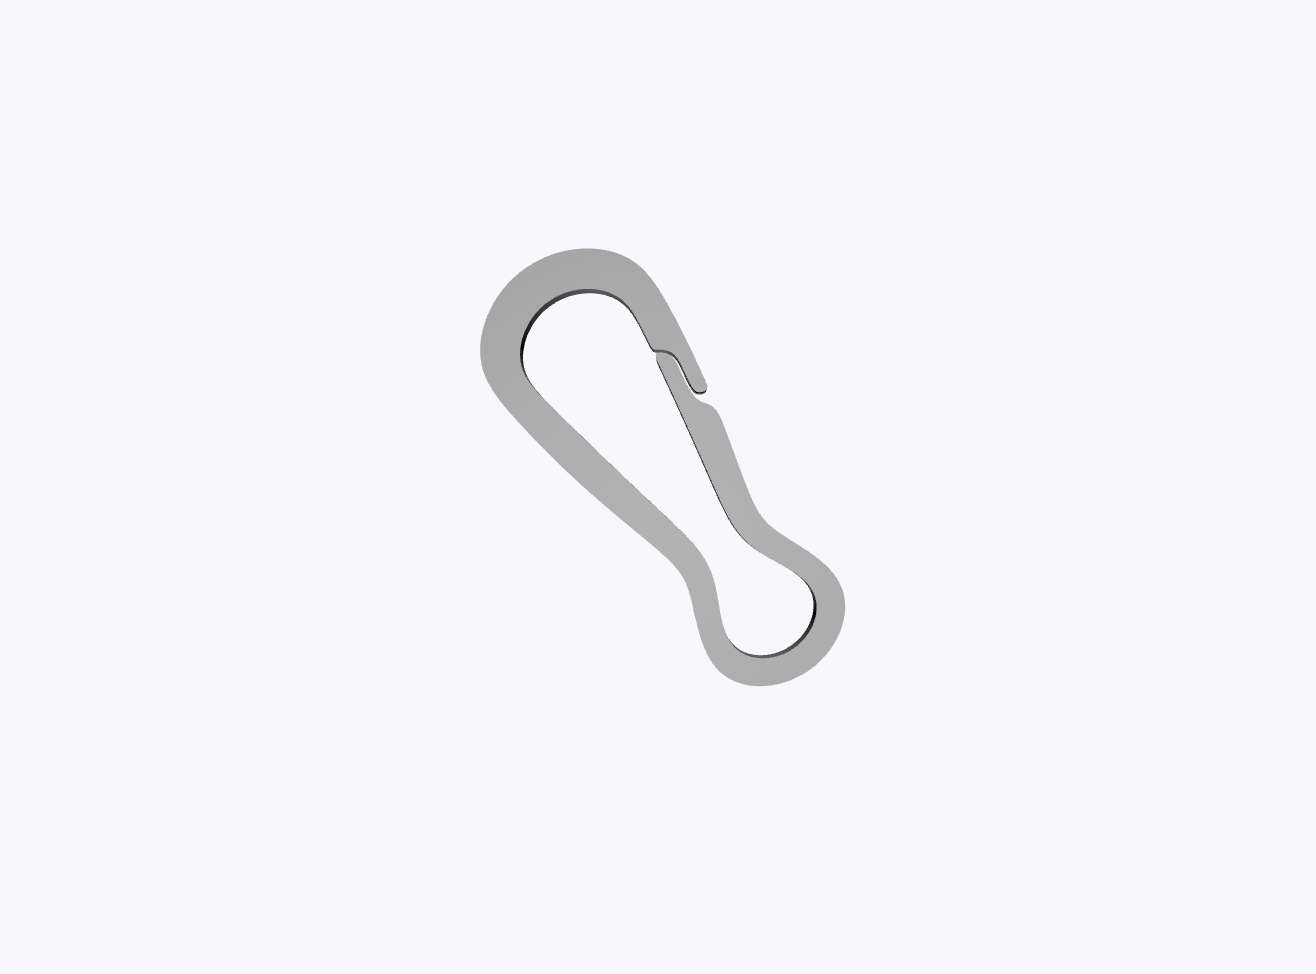
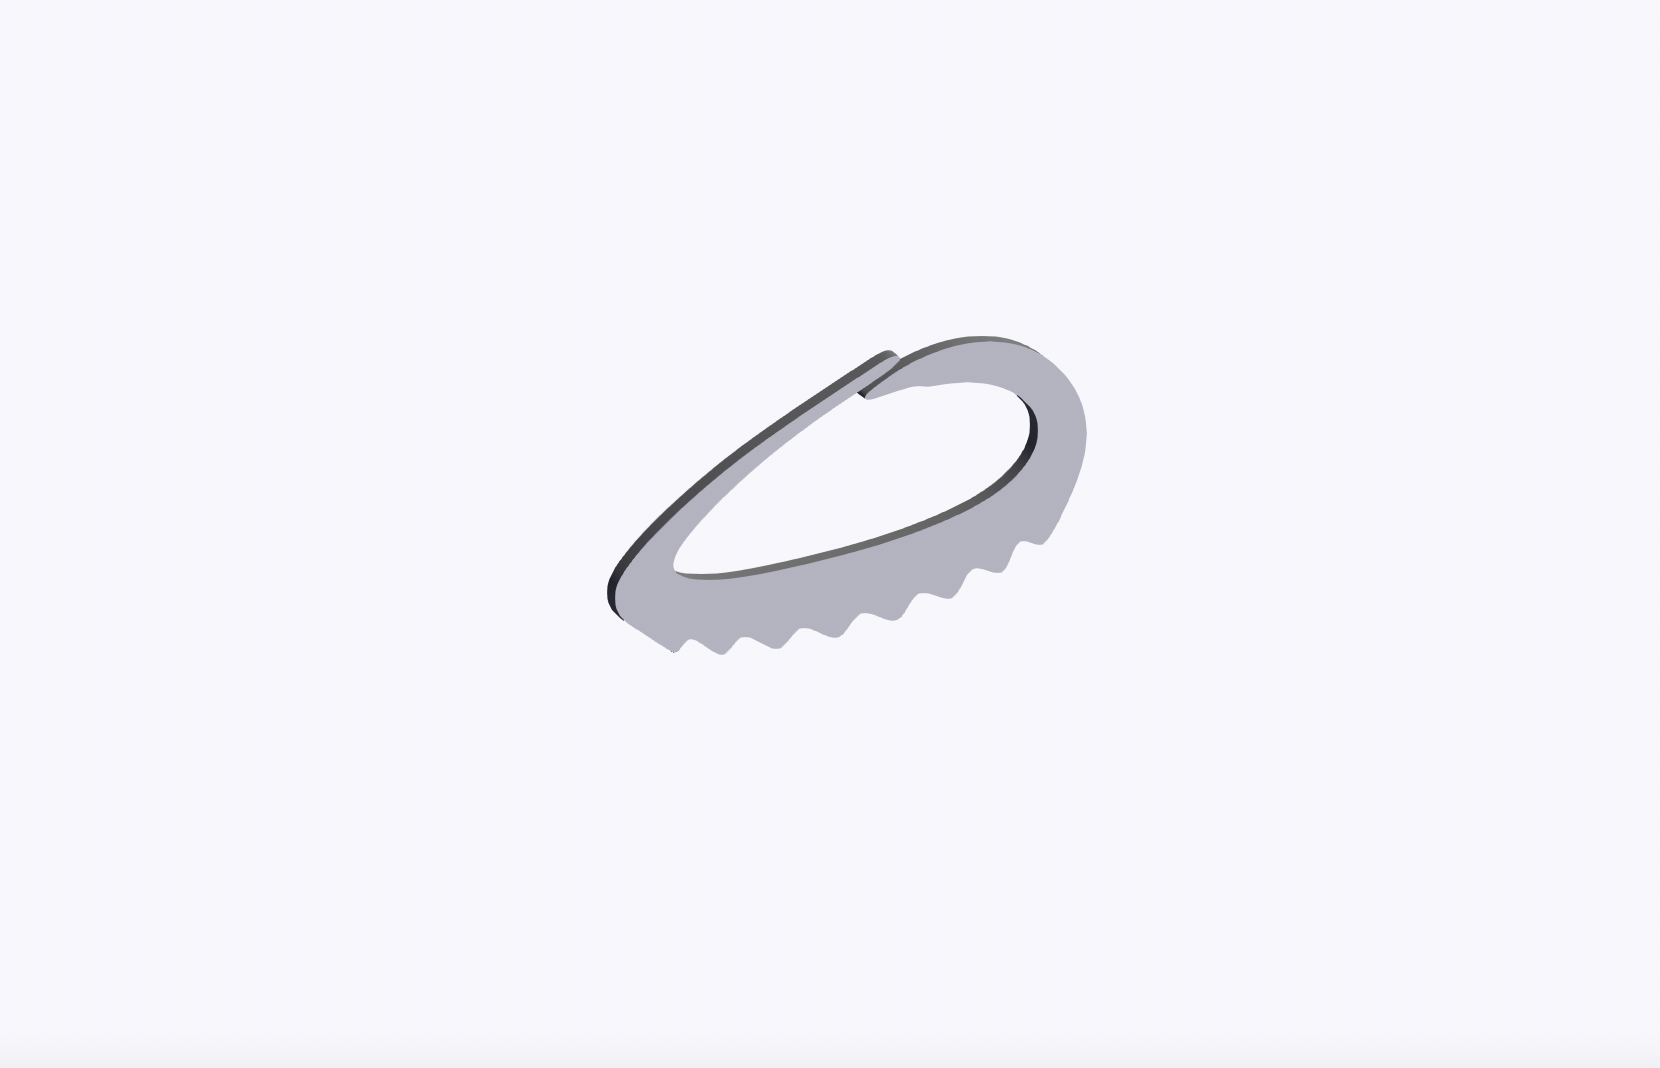
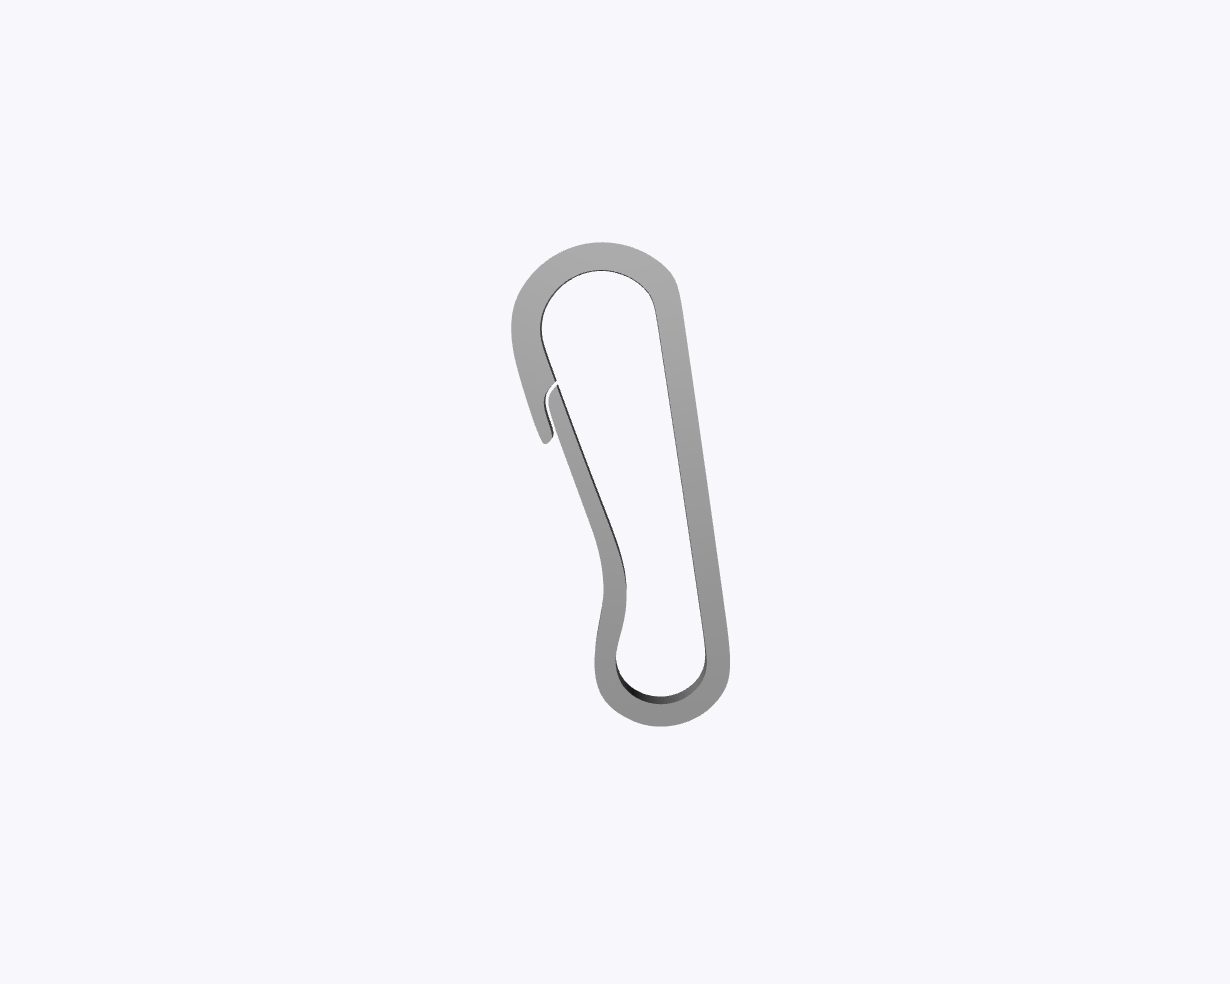
S Hook Carabiner (01) Double Link
Recommend Print Setting: 3 Wall loops 4 Top & Bottom shell layers Object Height (Z) - Minimum 4-5mm Designer DemNuhBad
- Pobrania
- 267
- Polubienia
- 20
- Ocena
- 5
Liczymy pasujące modele…
Recommend Print Setting: 3 Wall loops 4 Top & Bottom shell layers Object Height (Z) - Minimum 4-5mm Designer DemNuhBad
Recommend Print Setting: Wall loops - 3 Top & Bottom shell layers - 4 Seam position - Back Object Height (Z) - Minimum 4-5mm Designer DemNuhBad
Recommend Print Setting: 3 Wall loops 4 Top & Bottom shell layers Object Height (Z) - Minimum 4-5mm Designer DemNuhBad
Recommend Print Setting: Wall loops - 3 Top & Bottom shell layers - 4 Seam position - Back Object Height (Z) - Minimum 4-5mm Designer DemNuhBad
Recommend Print Setting: 3 Wall loops 4 Top & Bottom shell layers Object Height (Z) - Minimum 4-5mm Designer DemNuhBad
Recommend Print Setting: 3 Wall loops 4 Top & Bottom shell layers Object Height (Z) - Minimum 4-5mm Designer DemNuhBad
Recommend Print Setting: Wall loops - 3 Top & Bottom shell layers - 4 Seam position - Back Object Height (Z) - Minimum 4-5mm Designer DemNuhBad
Recommend Print Setting: Wall loops: 3 Top & Bottom shell layers: 4-5 A 47 A link DemNuhBad
Recommend Print Setting: 3 Wall loops 4 Top & Bottom shell layers Object Height (Z) - Minimum 4-5mm Designer DemNuhBad
Recommend Print Setting: Wall loops: 3 Top & Bottom shell layers: 5 A 47 A link DemNuhBad
Recommend Print Setting: Wall loops: 3 Top & Bottom shell layers: 4 A 47 A link DemNuhBad
Recommend Print Setting: Wall loops: 3 Top & Bottom shell layers: 5 A 47 A link DemNuhBad
Recommend Print Setting: Wall loops: 3 Top & Bottom shell layers: 4 A 47 A link DemNuhBad
Recommend Print Setting: 3 Wall loops 4 Top & Bottom shell layers Object Height (Z) - Minimum 4-5mm Designer DemNuhBad
Recommend Print Setting: Wall loops - 3 Top & Bottom shell layers - 4 Seam position - Back Object Height (Z) - Minimum 4-5mm Designer DemNuhBad
Recommend Print Setting: Wall loops - 3 Top & Bottom shell layers - 4 Seam position - Back Object Height (Z) - Minimum 4-5mm Designer DemNuhBad
Recommend Print Setting: Wall loops: 3 Top & Bottom shell layers: 5 A 47 A link DemNuhBad
Recommend Print Setting: 3 Wall loops 4 Top & Bottom shell layers Object Height (Z) - Minimum 4-5mm Designer DemNuhBad
Recommend Print Setting: 3 Wall loops 4 Top & Bottom shell layers Object Height (Z) - Minimum 4-5mm Designer DemNuhBad
Recommend Print Setting: 3 Wall loops 4 Top & Bottom shell layers Object Height (Z) - Minimum 4-5mm Designer DemNuhBad
Recommend Print Setting: Wall loops: 3-4 Top & Bottom shell layers: 4-5 A 47 A link DemNuhBad
Recommend Print Setting: Wall loops - 3 Top & Bottom shell layers - 4 Seam position - Back Object Height (Z) - Minimum 4-5mm Designer DemNuhBad
Recommend Print Setting: Wall loops: 3 Top & Bottom shell layers: 4-5 A 47 A link DemNuhBad
Recommend Print Setting: Wall loops - 3 Top & Bottom shell layers - 4 Seam position - Back Object Height (Z) - Minimum 4-5mm Designer DemNuhBad
Recommend Print Setting: Wall loops: 3 Top & Bottom shell layers: 5 A 47 A link DemNuhBad
Recommend Print Setting: Wall loops: 3 Top & Bottom shell layers: 5 A 47 A link DemNuhBad
Recommend Print Setting: Wall loops: 3 Top & Bottom shell layers: 5 A 47 A link DemNuhBad
Recommend Print Setting: Wall loops: 3 Top & Bottom shell layers: 4-5 A 47 A link DemNuhBad
Recommend Print Setting: Wall loops: 3 Top & Bottom shell layers: 5 A 47 A link DemNuhBad
Recommend Print Setting: Wall loops: 3 Top & Bottom shell layers: 4 A 47 A link DemNuhBad
Recommend Print Setting: Wall loops: 3-4 Top & Bottom shell layers: 4-5 A 47 A link DemNuhBad
Recommend Print Setting: Wall loops: 2 Top & Bottom shell layers: 5 A 47 A link DemNuhBad
To wszystkie aktualnie dostępne wyniki.