P
PrintablesTheo Jarmer

Whiteboard Week Schedule
1. Print both pieces separately (No supports needed) 2. Attach using snap-fit connectors 3. Place magnets in the circle-shaped cut-outs Designed by Theo Jarmer
- Pobrania
- 141
- Polubienia
- 129
- Ocena
- 0
Liczymy pasujące modele…
1. Print both pieces separately (No supports needed) 2. Attach using snap-fit connectors 3. Place magnets in the circle-shaped cut-outs Designed by Theo Jarmer
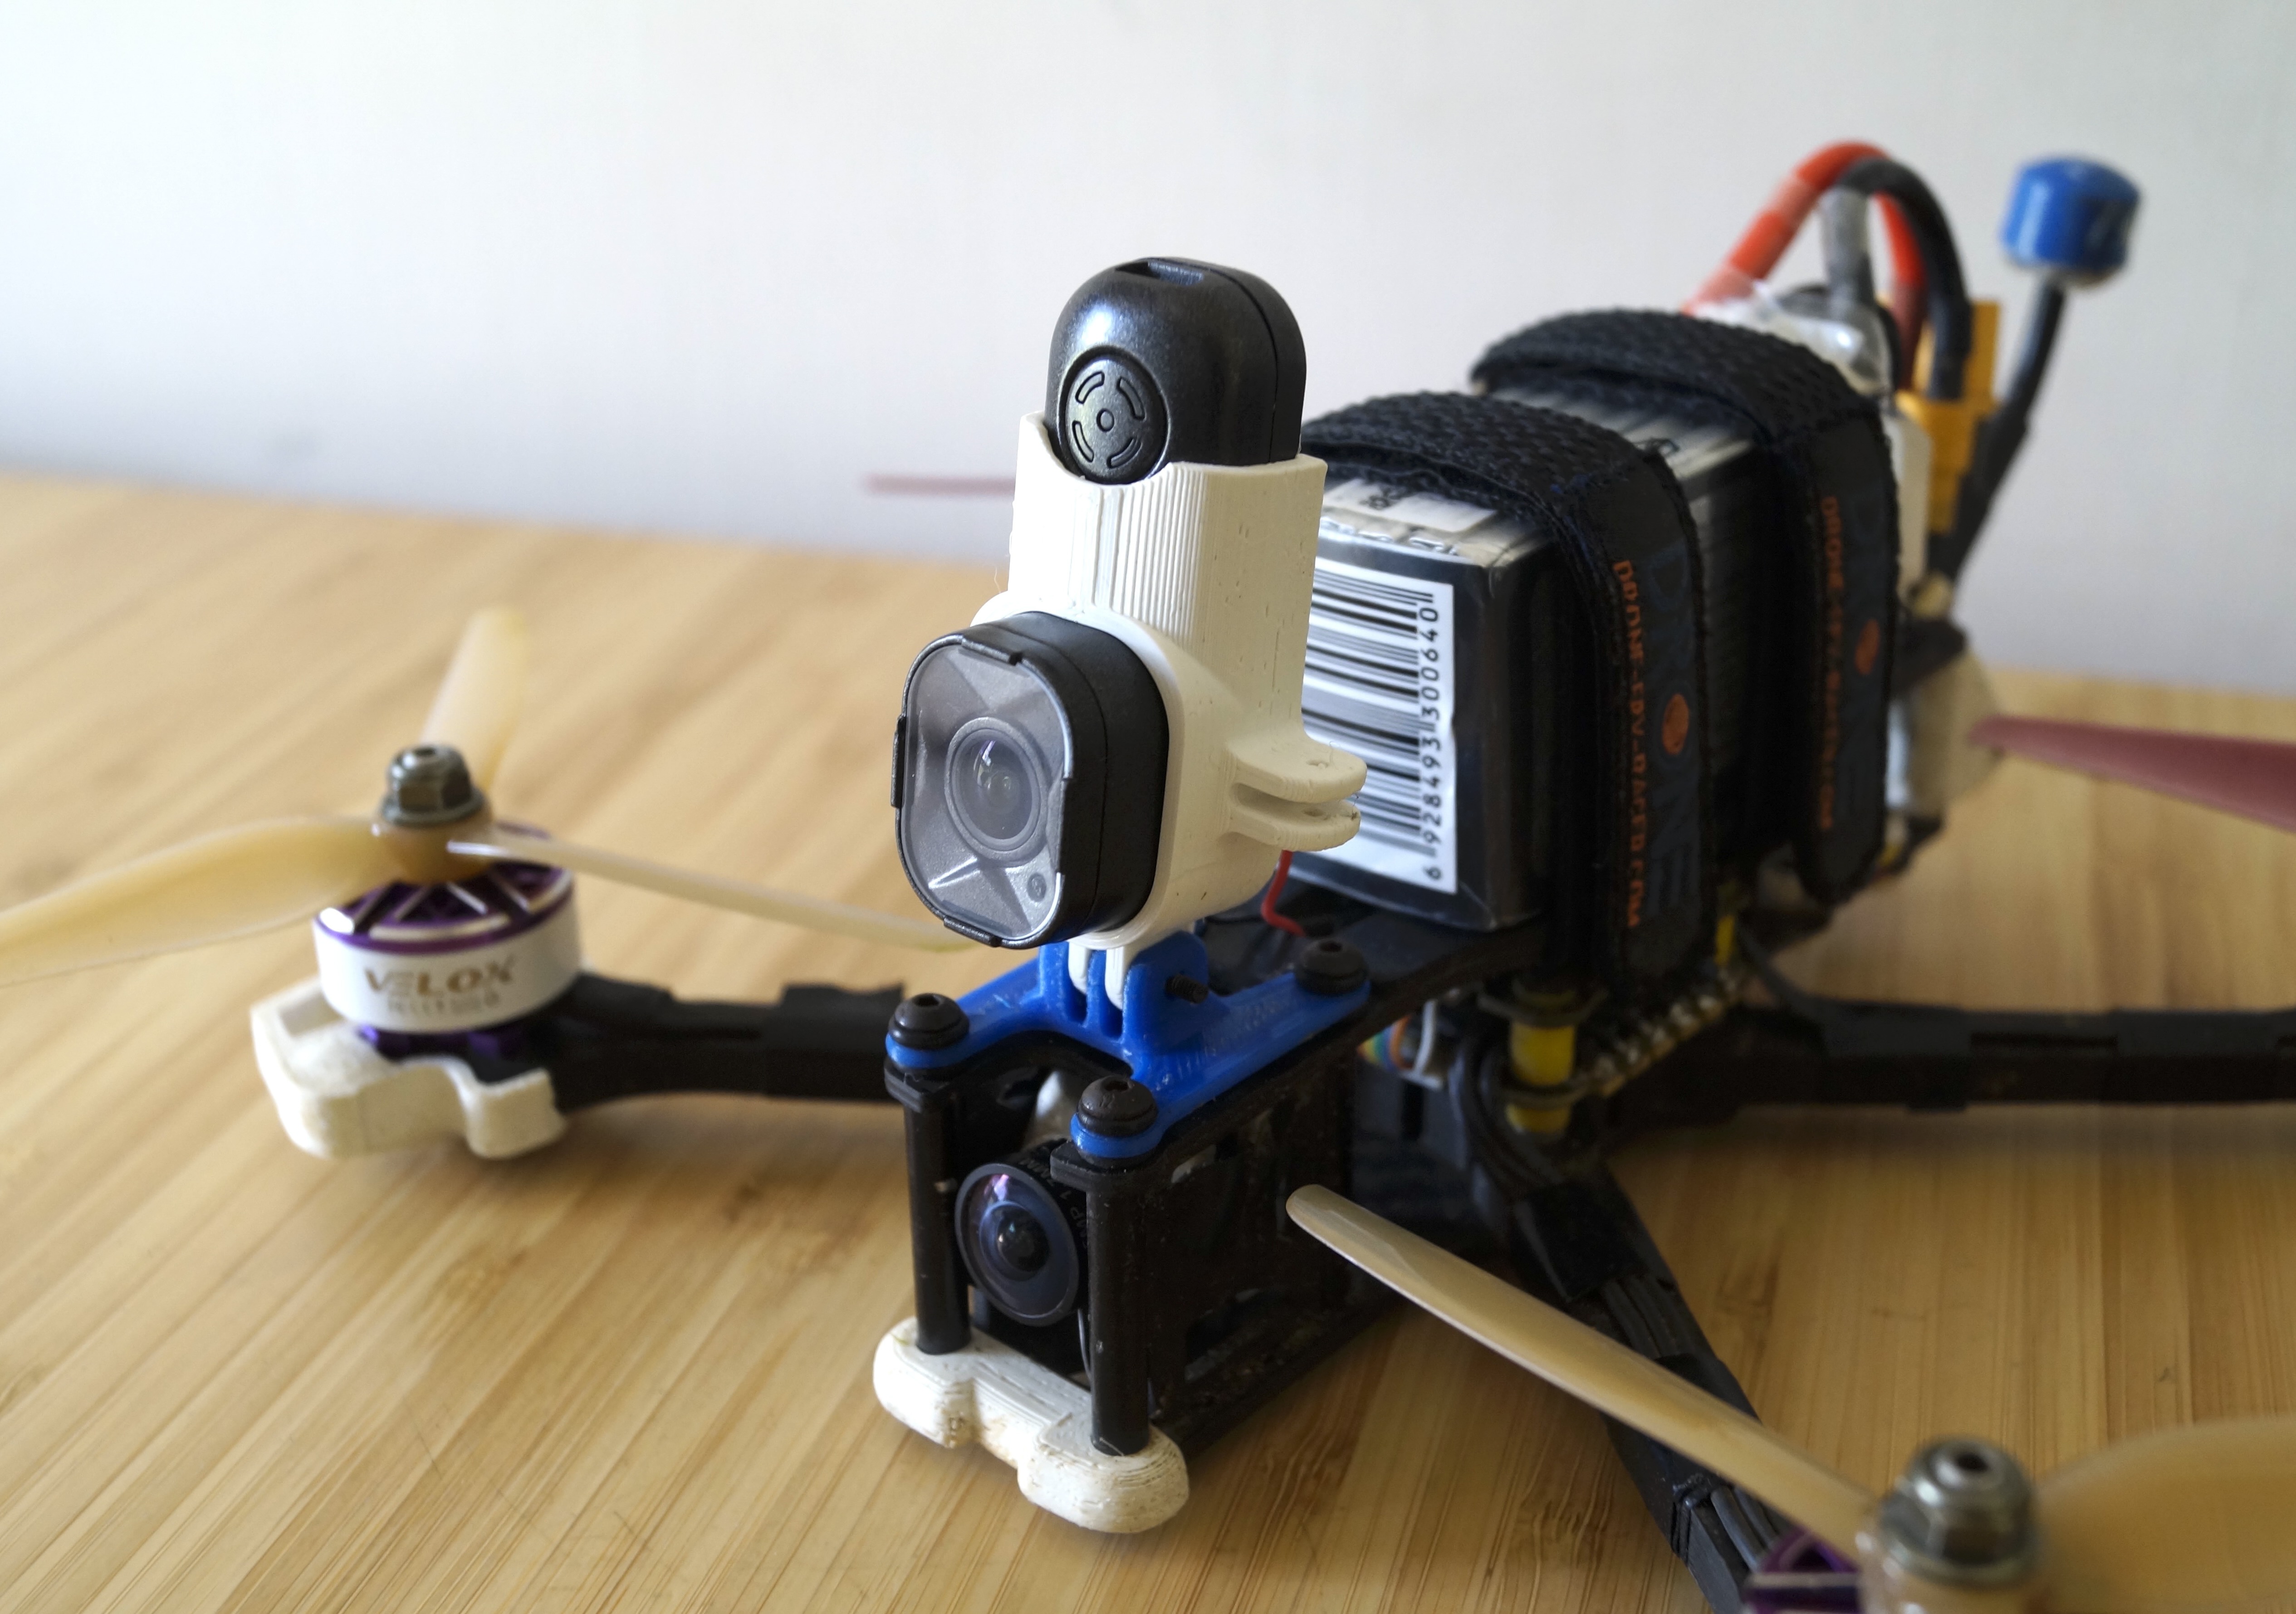
To make the mount follow these steps: Print the model using 4 perimeters, 100% infill and 0% fan cooling (~25 min) Attach the Runcam Thumb Pro case (comes in with Runcam) to the 3D printed mount using one of the M2 screws and one M2 nut…
To make this model you simply have to print it, NO additional hardware required. Print settings: 0.3 mm first layer height 3 perimeters No supports are needed Make sure to either rotate the print in the slicer or change the top/bottom…
To make the mount, follow these steps: Print the model using TPU, 4 perimeters and 100% infill Put the runcam thumb pro inside the mount by bending it slightly. Use the M2 screw and M2 nut (included with the camera) to attach to mount to…
1. Print the Left_Base and the Right_Base out of a hard filament (e.g. PLA, PETG, ABS, etc.): 2. Print the Left_Cover and the Right_Cover out of a flexible filament (e.g. TPU): 3. Connect the Left_Base and the Right_Base using the…
To wszystkie aktualnie dostępne wyniki.