P
Printables3DP-MAMSIH

Y-endStop sensorLess homing - RatRig V-minion
Y-endStop sensorLess Y-axis homing Happy 3d printing
- Pobrania
- 305
- Polubienia
- 32
- Ocena
- 3,67
Liczymy pasujące modele…
Y-endStop sensorLess Y-axis homing Happy 3d printing
--- Commercial Use --- By purchasing this design on Cults , you support my work and receive a commercial license to sell physical 3D prints of the model Click here to purchase the design and get the commercial license (or just type…
A endstop for 2020 Profiles. Designed for collision with the carriage.
BOM: M5x12 and M5 t-nut
replace your endstop with this
Use 2 M5x14mm Hex screws with 2 Hammerhead or normal T-nuts to attach this to the back of the extrusion. Adjust the position to your preference.
Use this replacement X endstop cover to more securely hold cameras, lights, cables, whatever! You need 12 M3 heat-set inserts (mine are 4.5mmx5mm) and the rest of the hardware comes from your existing endstop cover. Print in whatever you…
I had some problems with the original model, I just removed the guide for 3030 extrusion as it was not clamping correctly
The holes for the angled screws in the TAP_Front that the magnets attract to were too loose and would easily strip so I made them smaller. I then modified the [a]Tap_Center_r6 to remove the endstop mount since I use sensorless homing. It…
Uses a M4x10 SHCS screw and a T nut. I used supports but it's not necessary.
…Please at least be sure to hit like & post a make, I'd love to see your prints! Replace your endstop switches when using senseless homing feature on compatible stall guard equipped boards. Use at your own risk & be sure to have your…
Ender 3 X axis motor cap replace for sensorless homing. You can use original screws. PLA works fine 50% infill and more
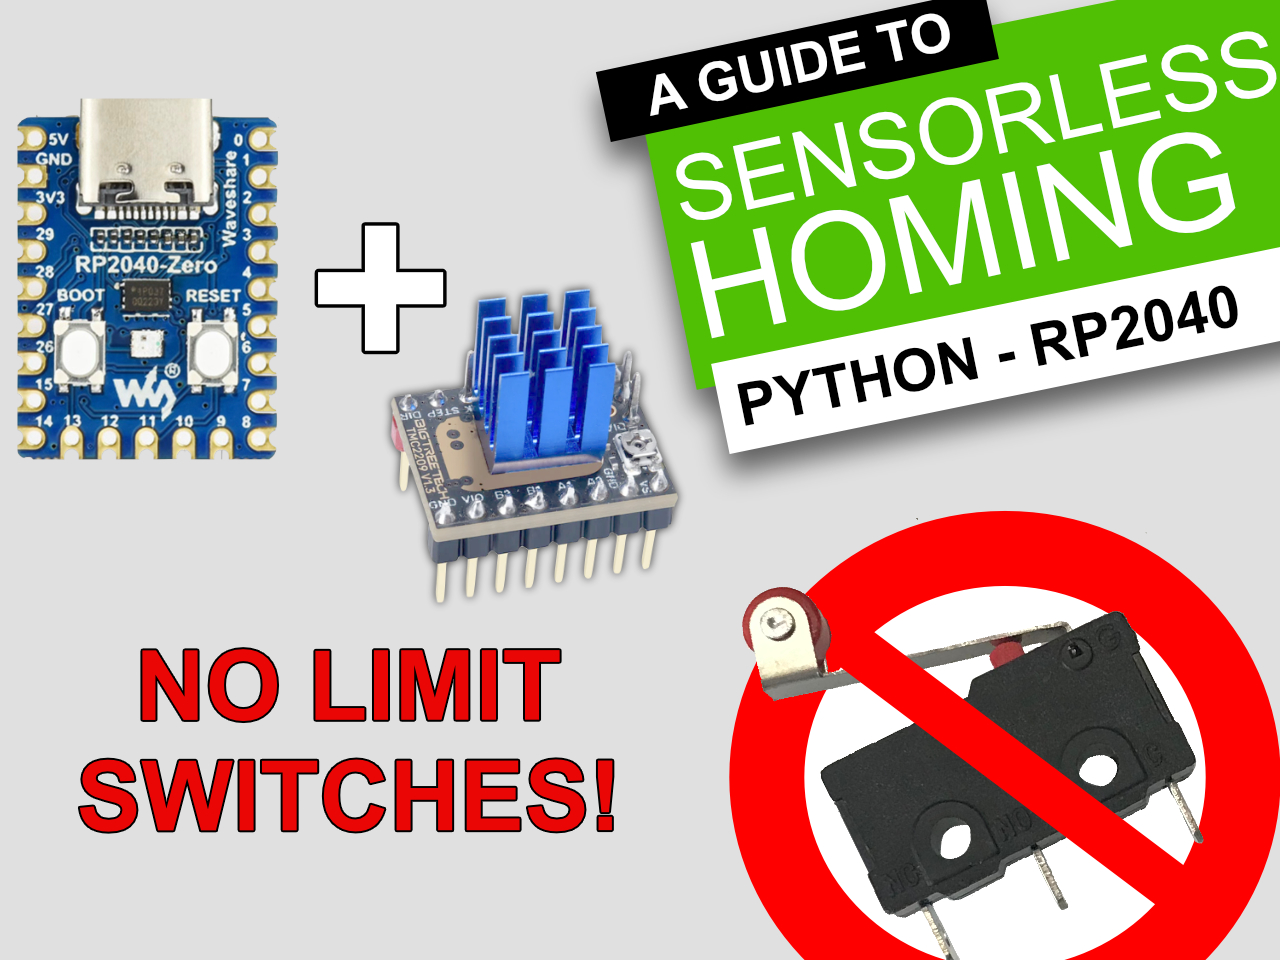
Use sensorless homing in your own projects! In this project and associate video I’ll show you how to set up sensorless homing using a TMC2209 stepper driver — no mechanical limit switches required! Perfect for 3D printers, CNC machines,…
Made this parts to avoid destroying the endstops that came with the printer, they are based on the official Creality CAD files so they should fit well. I have been testing them for over two years (feels great to migrate my models here 🤣)…
Fasten with an M5 screw, included a M5 spacer. Designed for 2020 extrusion but could be used with whatever its compatible with.
One model with a clip to hold the cable to the hotend assembly and one without a clip In the picture I just engraved my own name, it is not included in the model
Top mounting block for the EVA-3 designed to mount on an MGN9C linear rail. I have done a fairly exhaustive search and could only find designs for 9H+. So I drew this up quickly. Just a simple design to get the job done. I only added the…
sensorless x endstop Category: 3D Printer Parts
Top plate for EVA 3.0 extruder for MGN 12H Rail There are two versions, one for endstop and one for sensorless
What's the Purpose of This Part? When the bed homes (Y-axis), it slightly twists along the X-Y plane when the bump occurs at the back. This is not an issue, that is, it's not having an effect on the printing process or print quality.…
This is a parametric Endstop dummies for your ender3/ender 3 pro using a StallGuard 2 board ( like btt skr mini e3 v3). Please enable sensorless homing on your firmware. You can parameter the lenght of the endstop on fusion 360 IM NOT…
I made this because I couldn't find my M3 3030 T nuts. I obviously found them while this was printing so here this is to save someone else the 5 minutes to enlarge the hole.
Remixed the endstop dummy to work with a Micro Swiss Direct Drive on my Ender 3 Max X axis. The Micro Swiss DD will cause the 0 position on the X axis to be incorrect and the prime line to happen off the edge of the bed. I simply added…
it is for x5sa pro sensorless homing Y endstop and spacer Category: 3D Printer Parts
This is just a simple remix of gdramos' design . I removed the 2 unneeded screw holes to make it a little more aesthetically pleasing. Tested both on my Tevo Tornado and Tevo Tarantula Pro.
For use with fan 4020 and TMC2209 Print Settings Rafts: No Supports: No Resolution: 0.16 Infill: 25 Filament: Bembird ABS Black Category: 3D Printer Parts
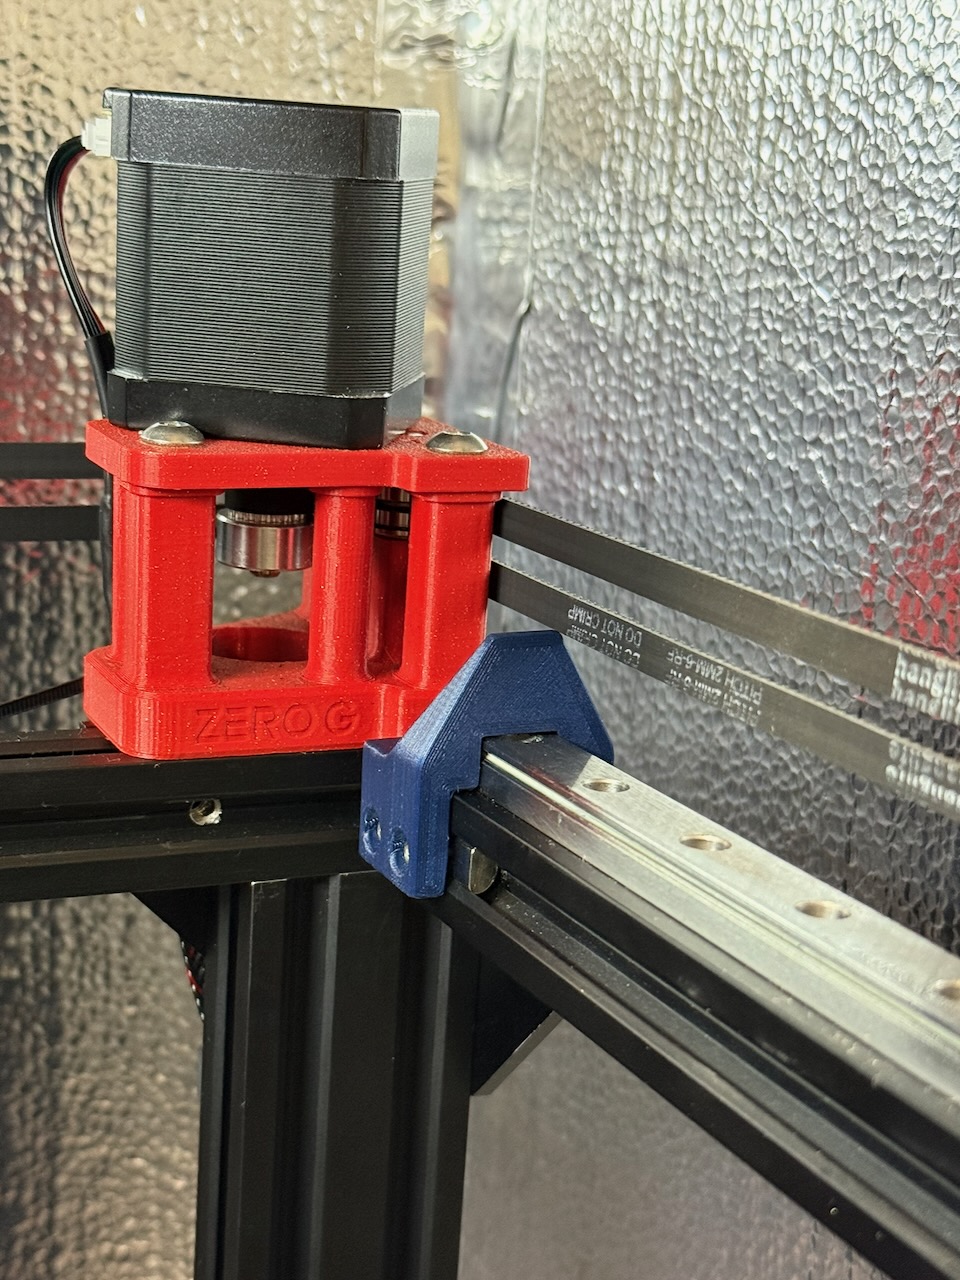
I have a ZeroG Mercury One.1 printer with X and Y axis linear rails. I needed a sensorless homing bumper/stop block that I could mount on top of the Y axis rail. But, since I use steel plate corner brackets to stabilize my frame, I could…
This is a dummy sensorless endstop, commonly used when you install sensorless drivers like TMC2209 / TMC2226. If you don't want complicate with Marlin setup (X_MIN_POS / Y_MIN POS) this part could be that you need. Simply align the nozzle…
This uses 2 7-8mm M4 SHCS bolts, slightly shorter than the ones included in the Exoslide Ender 3 Y carriage kit. With this, you can get rid of the microswitch and use sensorless homing on the Y carriage. It looks cleaner than just leaving…
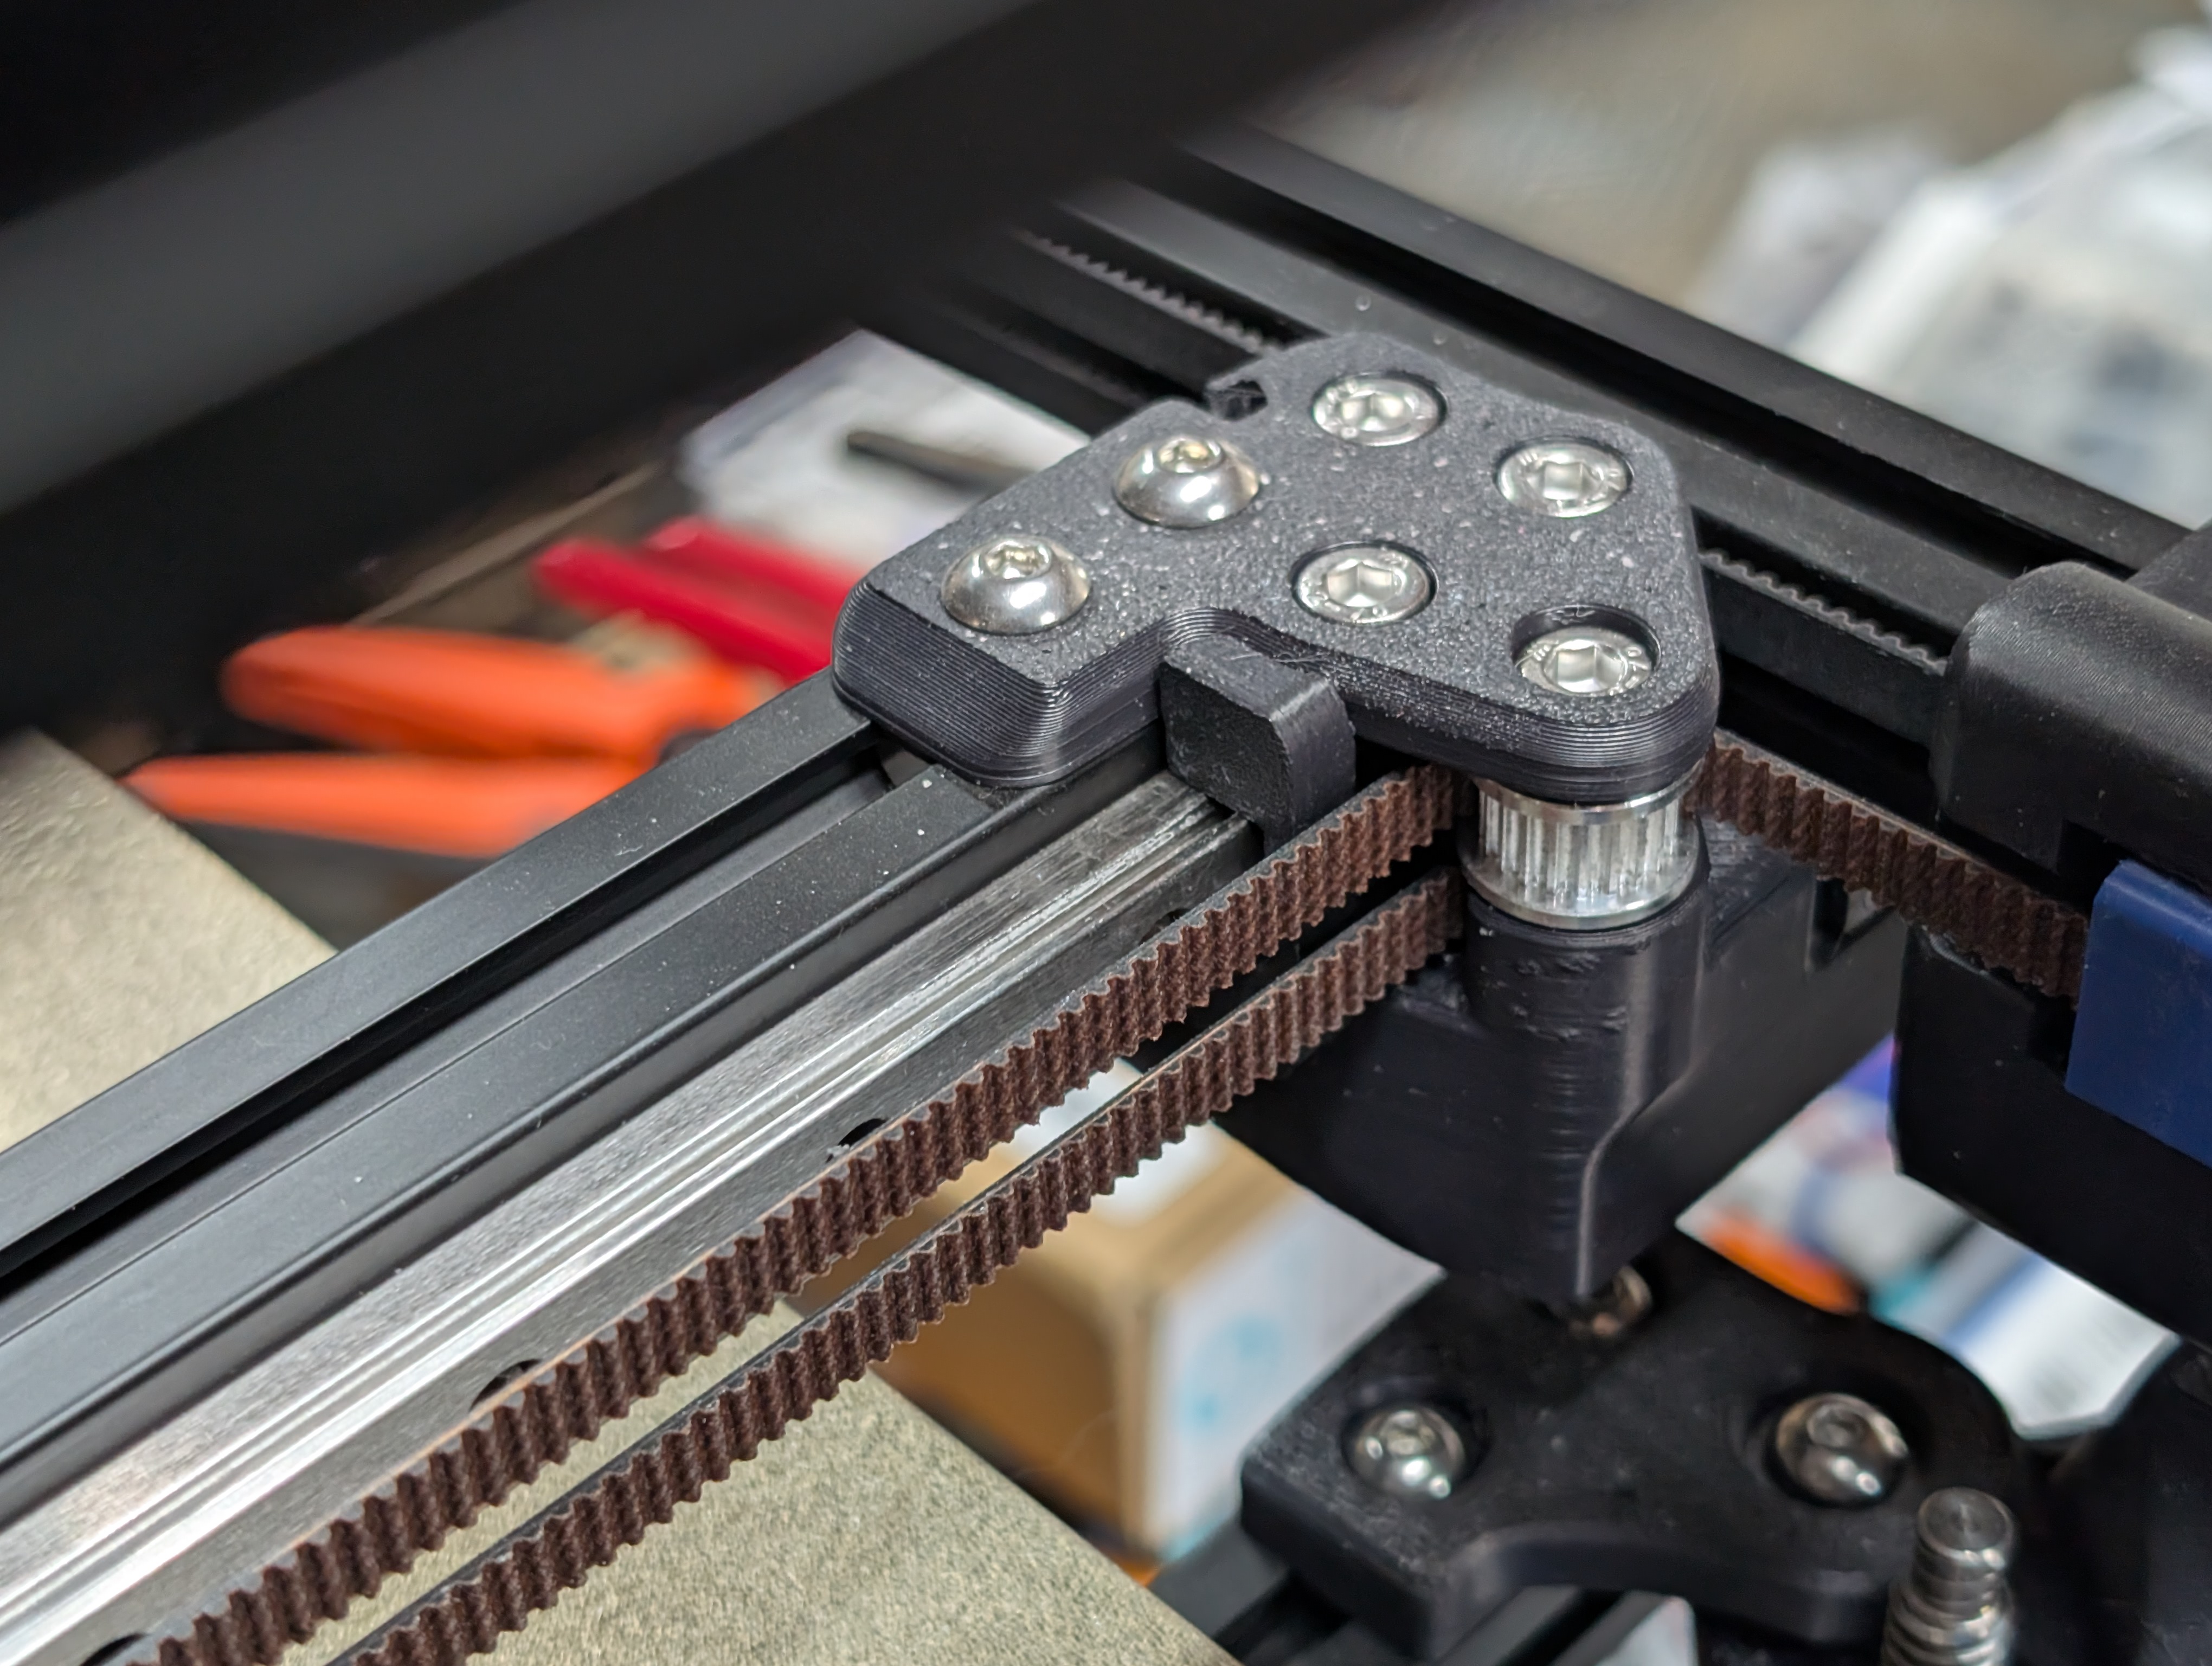
A short stumpy little block for the Calamity Toolhead on a Voron 2.4 (trident might also work), in order for the toolhead to hit the xy joint to trigger the X-axis sensorless homing, instead of crashing the toolhead or fans against the…
This is for voron 2.4 printers that have sensorless homing on CNC AWD carriages. X_Endstop bumpstop replaces the microswitch on carriage 2 x M2 Y_Endstop bumpstops mount to holes drilled in the CNC A&B motor mounts. 4xM3x6 or M3x8
This is a simple modification of the existing MGN12 alignment tool that makes it a shim on the X rail. When setting up my Tapchanger, I wanted to use sensorless homing, but the shuttle by itself touches the X axis at a different location…
This is a recreation of a Thing I printed about 5 years ago and needed to re-print, but the original Thing seems no longer available. So I recreated it. These are the Y-axis bump stops, mount on the four corners, if you have a BLTouch, be…
I have a ZeroG Mercury One.1 printer with X and Y axis linear rails. I needed a sensorless homing bumper/stop block that I could mount on top of the Y axis rail. But, since I use steel plate corner brackets to stabilize my frame, I could…
This is a simple modification of the existing MGN12 alignment tool that makes it a shim on the X rail. When setting up my Tapchanger, I wanted to use sensorless homing, but the shuttle by itself touches the X axis at a different location…
These are NOT required for sensorless homing. These are just part optimization for use with sensorless homing. My goal was to preserve as much of the original parts as possible ,like the internal ribs inside the TAP center, for…